This is part two of my before and after renovation story with photos illustrating our whole house DIY renovation. Part one is RIGHT HERE. Before & After: Hello Lovely’s Home Renovation tours the master and great room renovations. I hope you enjoy and find these shopping resources helpful! (And if yer more in the mood for laughter rather than shopping, see THIS.)
This post contains affiliate links which I hope you will use since they won’t cost you a penny extra yet may earn this blog a small commission.
Before & After: Hello Lovely’s Home Renovation
What inspired the direction of this renovation? I listened to the house and looked to my favorite designers including Pamela Pierce and Brooke Giannetti:
Why, yes, that’s a toilet in the middle of the catwalk! Living through a renovation is glamorous business.

Master Bedroom Before & After
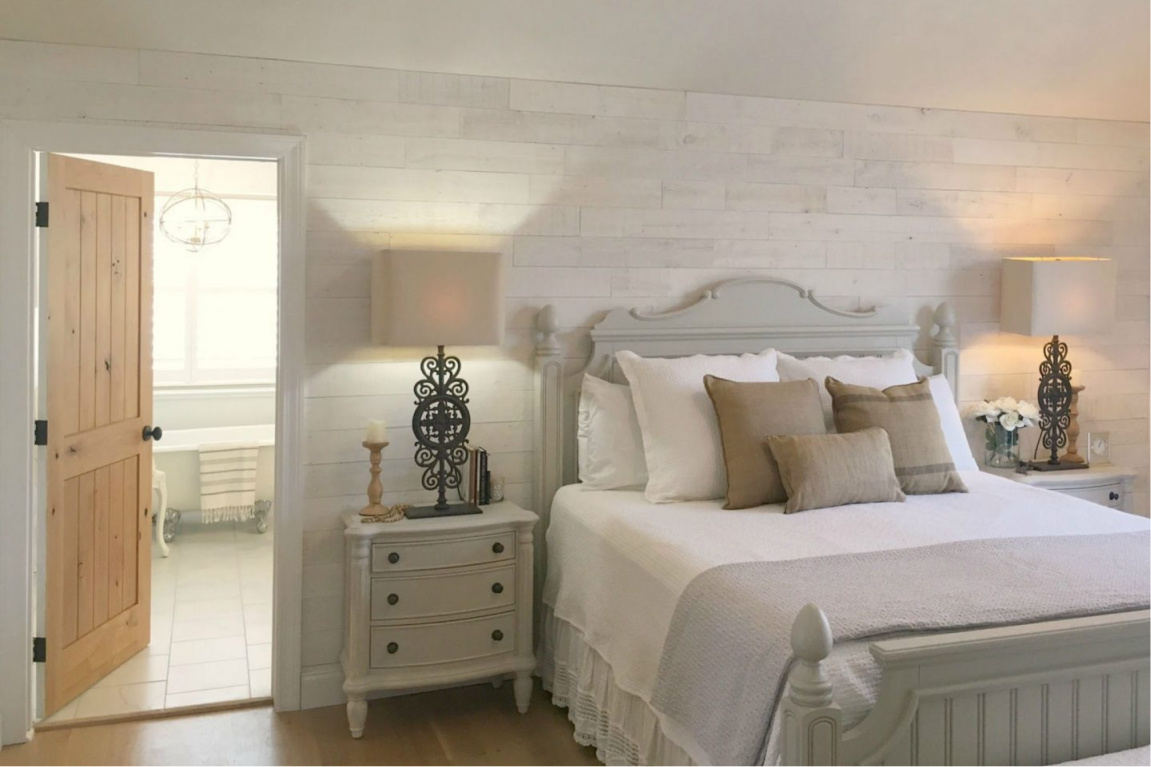
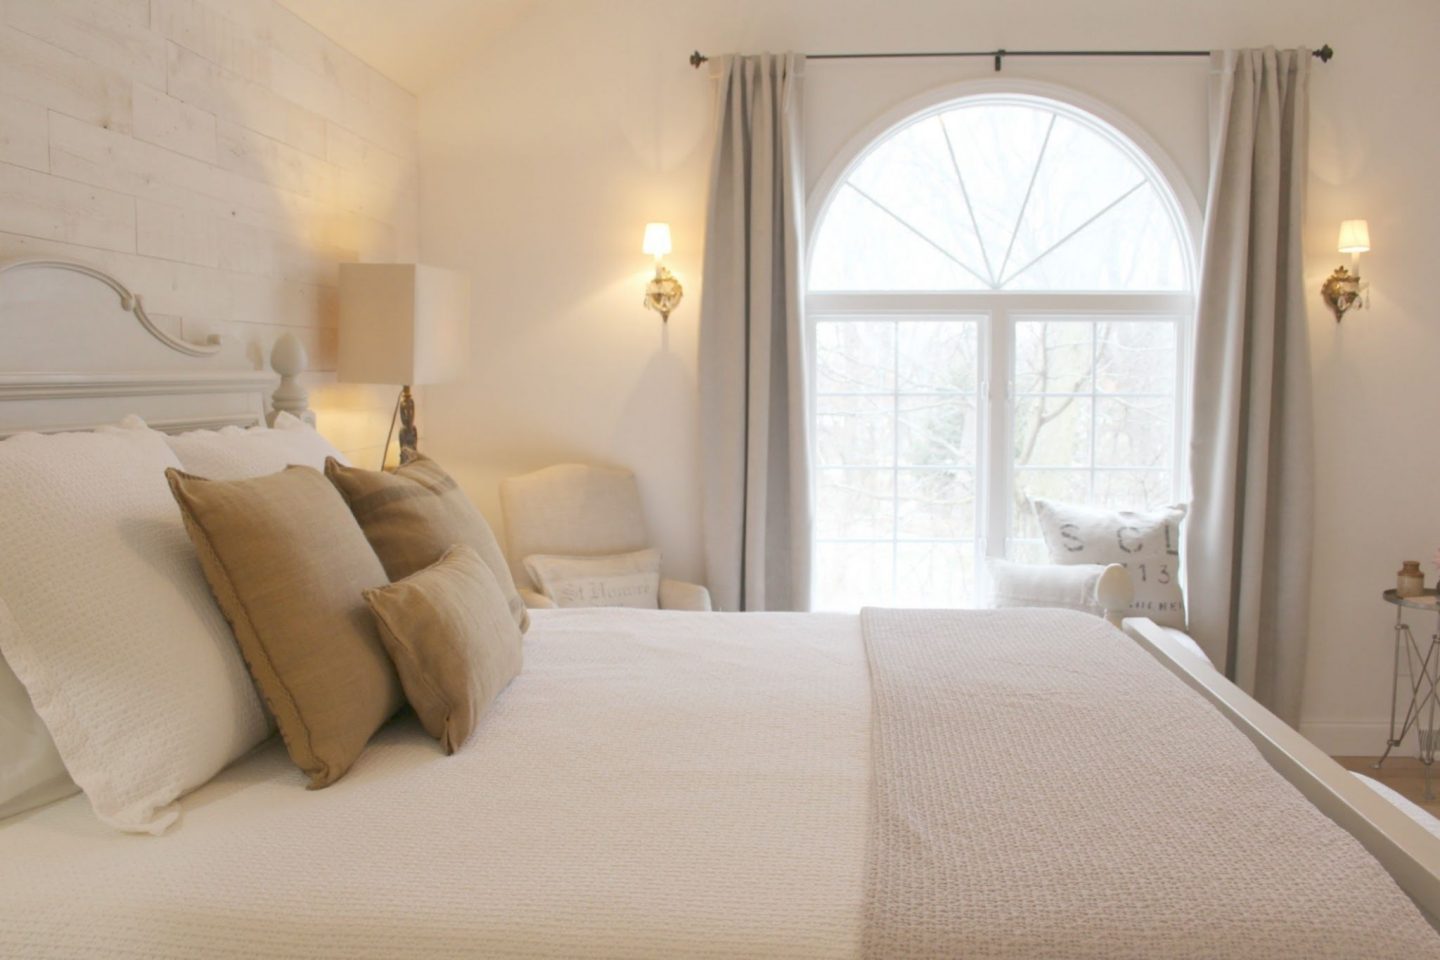
Let’s turn our attention to the master bedroom. Here is a taste of what we finally arrived at…
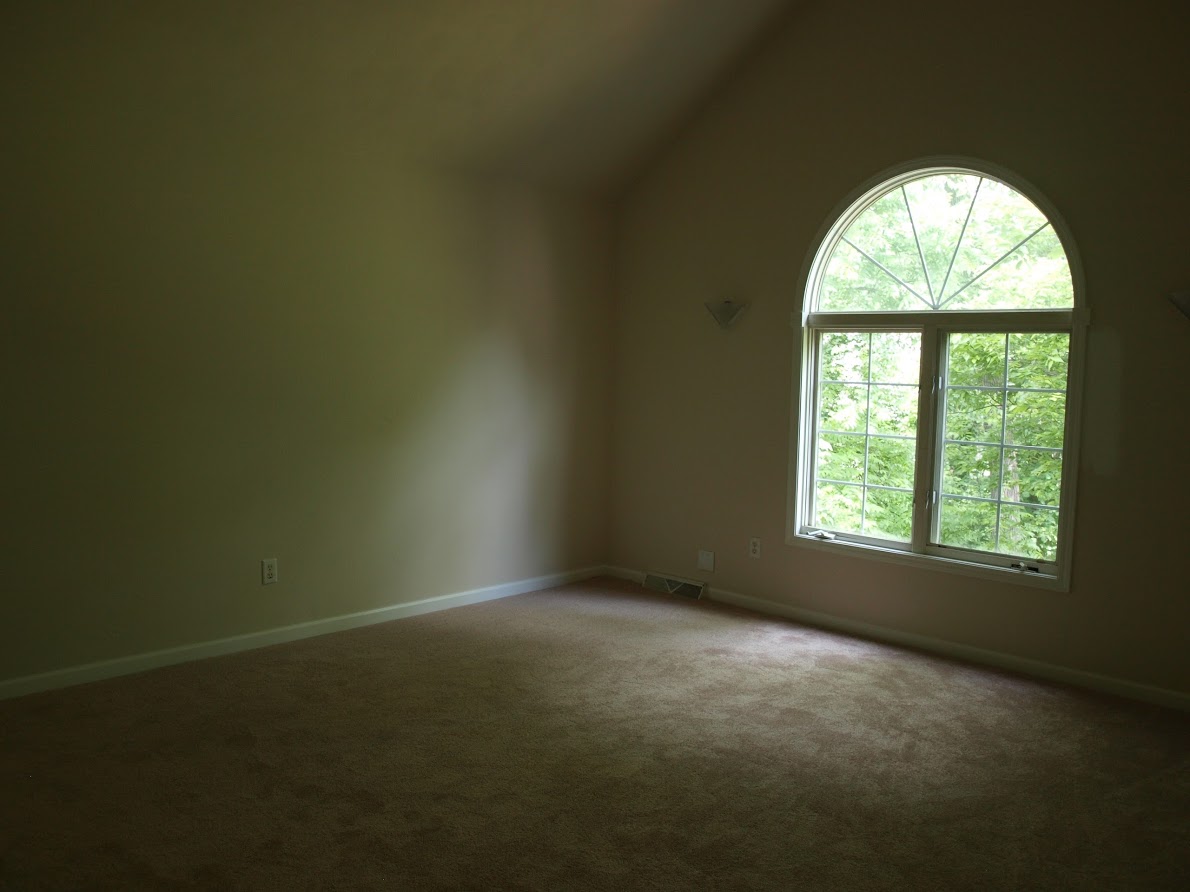
But what we lived with before we ever got there was this:
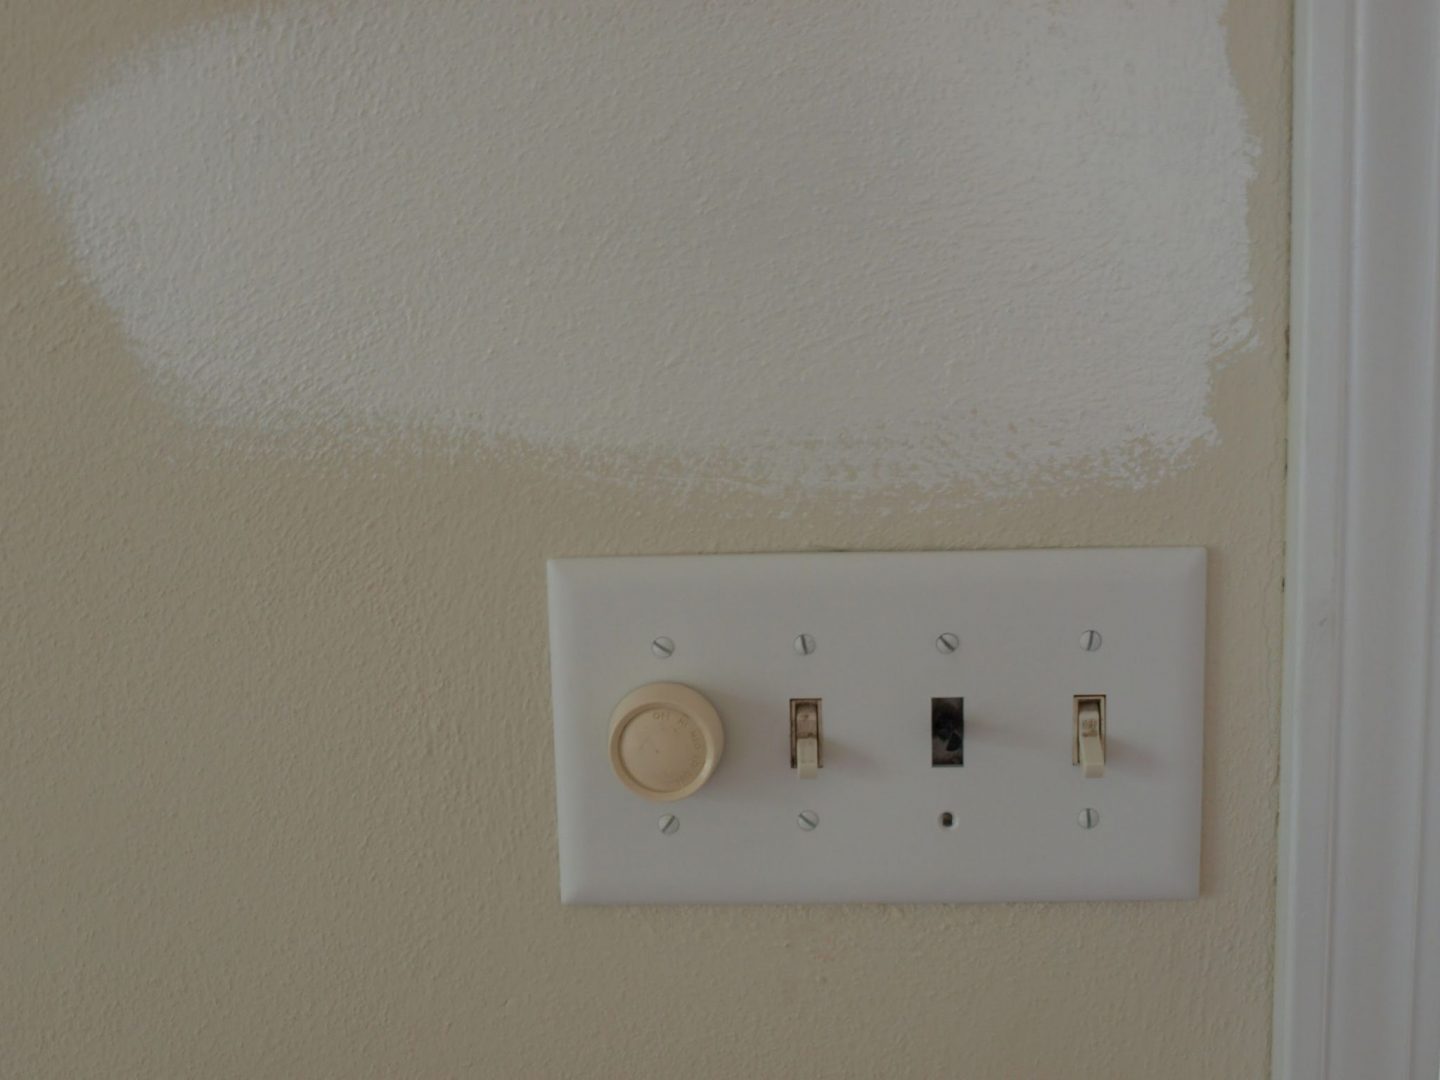
Note the awful color on the wall which made everything feel THAT much more dingy, dark, and (sorry for this) urine-soaked. The BENJAMIN MOORE White paint did wonders (just look at the contrast when I rolled on a sample, above), as did a major upgrade of outlet covers and light switches.
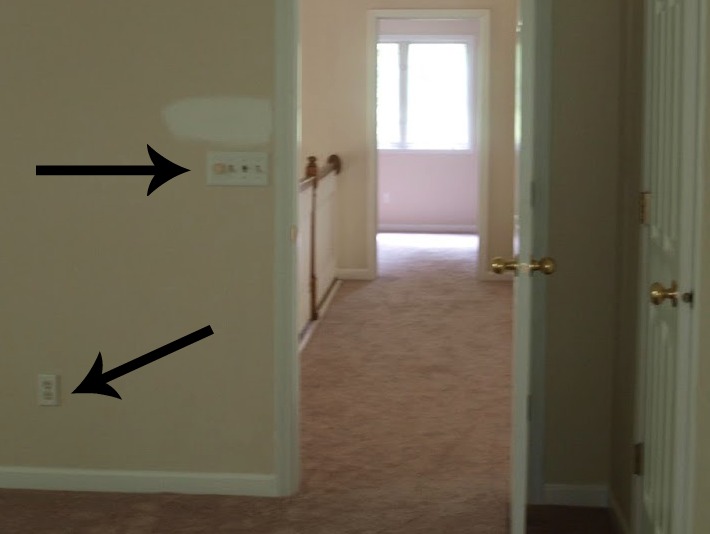
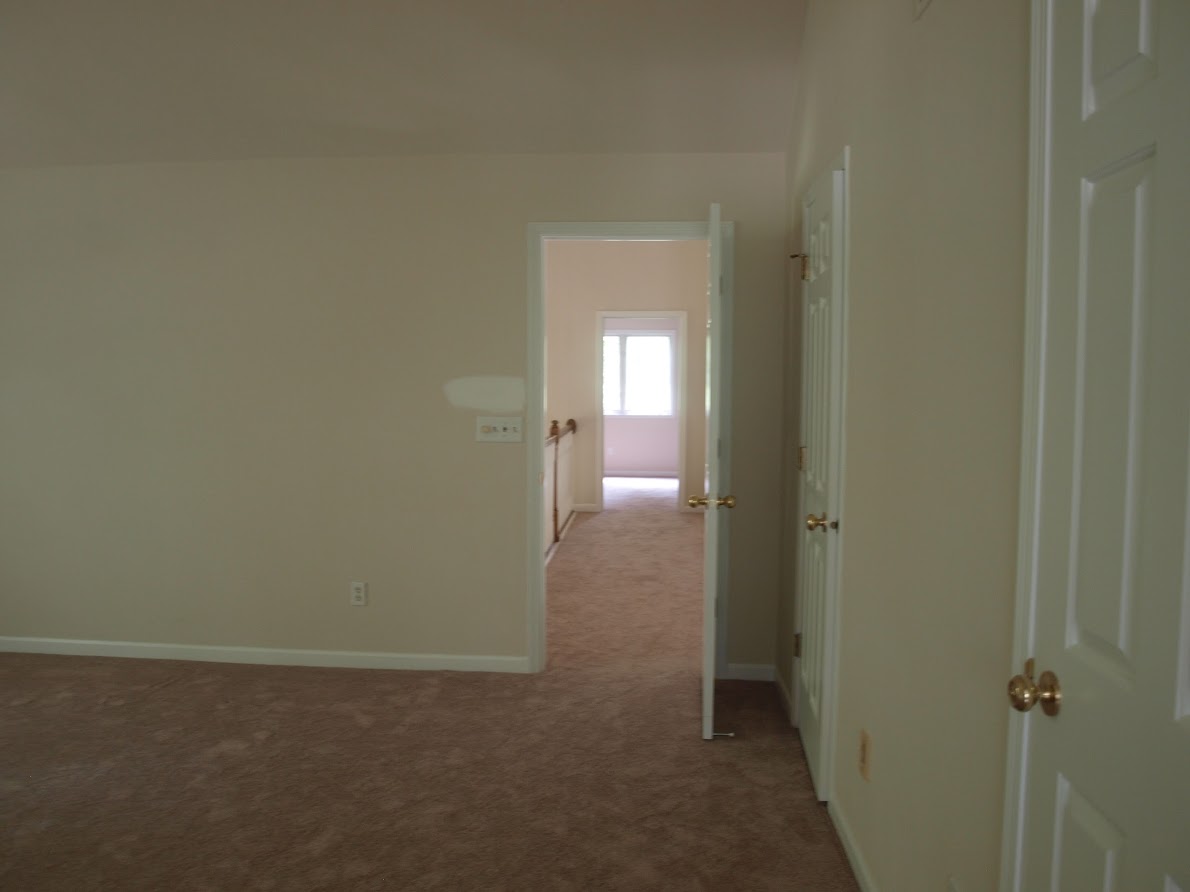
You can also get a sense of the subpar “design features” we inherited with the master bedroom. Cheap, hollow core interior doors with awful hardware, taupe carpet installed over pet-soiled carpet pad, and worn out everything!
I painted the room a bright white, took down some odd wall sconces flanking the window, ripped up the carpet (and ALL THOSE AWFUL NAIL STRIPS!!!), and the white oak hardwoods went in!

Wood Statement Wall in Master Bedroom
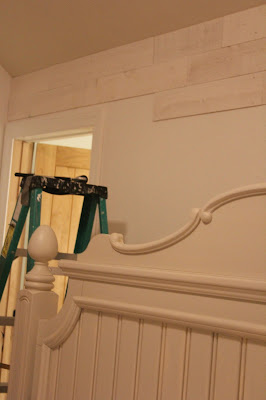
One of the yuckiest ‘befores’ in here was the wall behind the bed which had these horrible repairs (repairing textured walls is an art and a toddler may have been the artist in charge before we got our hands on the place.) We covered it with reclaimed pine Stikwood (Hamptons).
You can buy it RIGHT HERE, and for details on how easy this peel-and-stick project was for us (it only took an evening of easy work), SEE THIS.

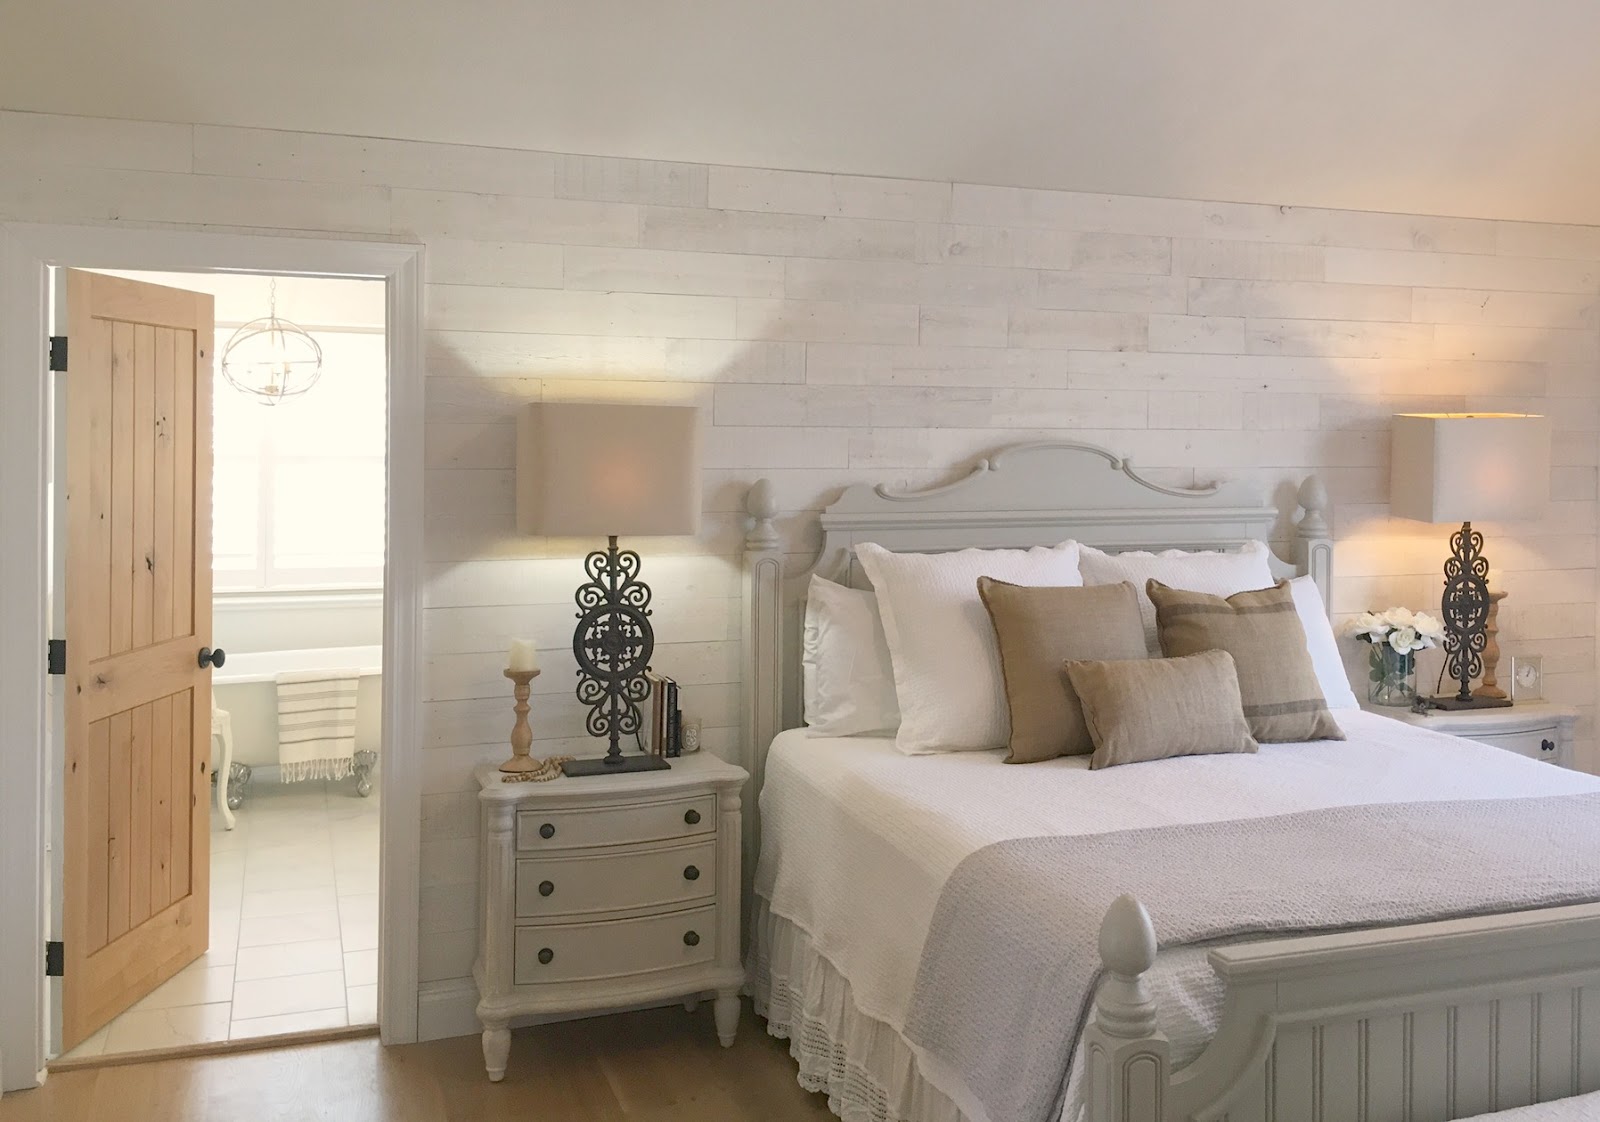
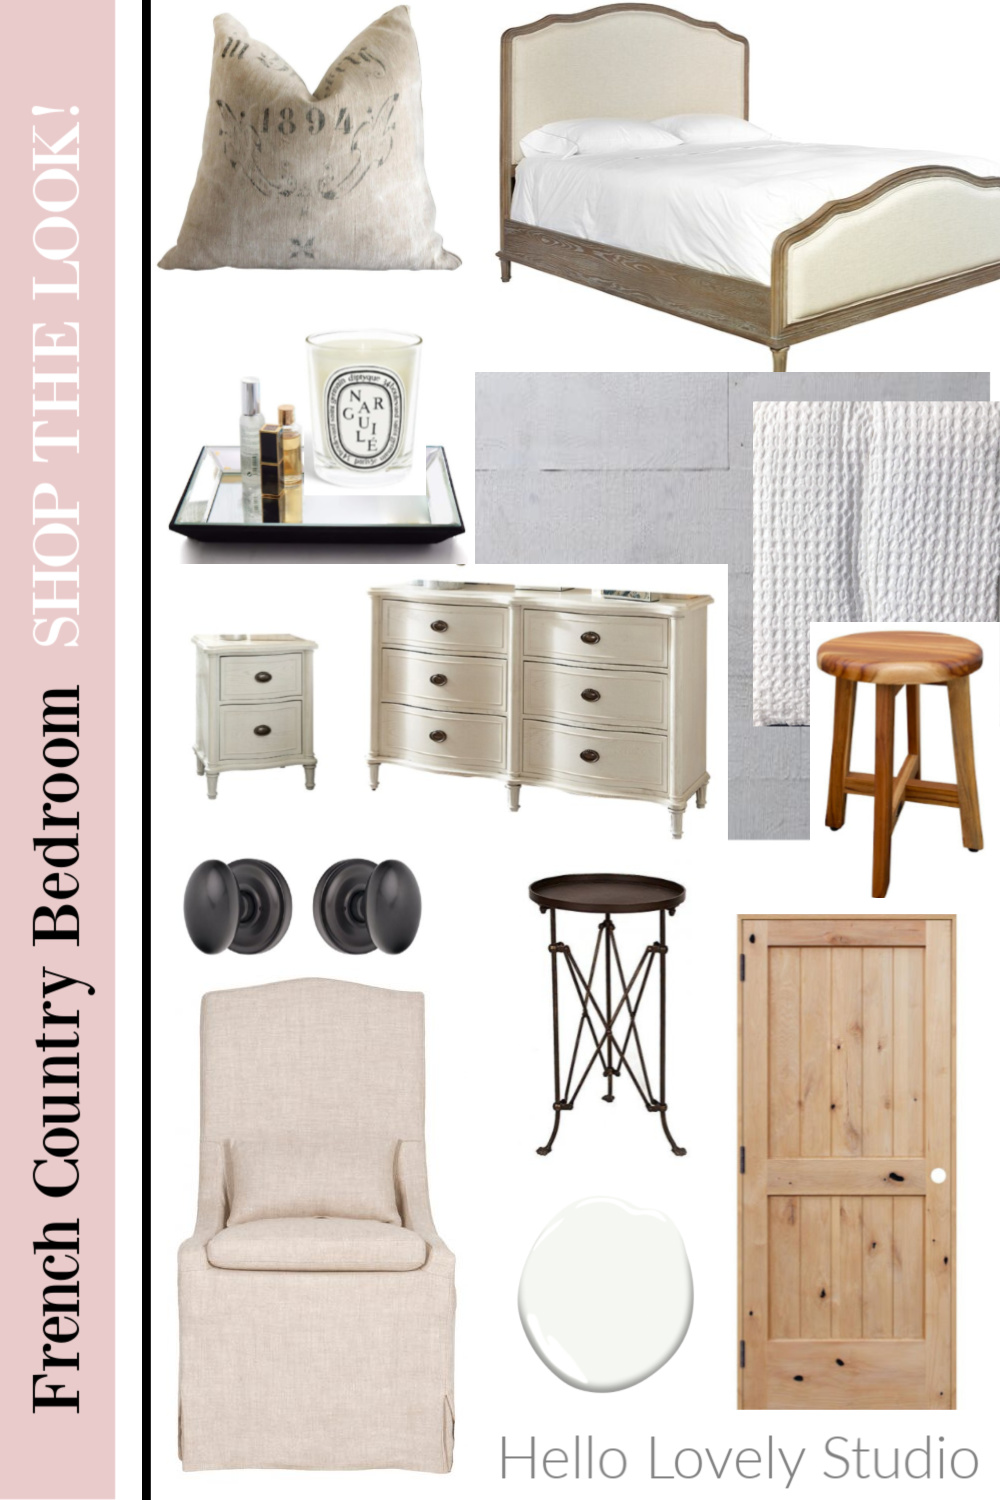


Upgrading the Interior Doors
We took our time deciding what to do about the his and her closets situation. Since we were totally gutting the bathroom, we considered converting them into one walk-in closet accessible in the bath, freeing up this wall below.
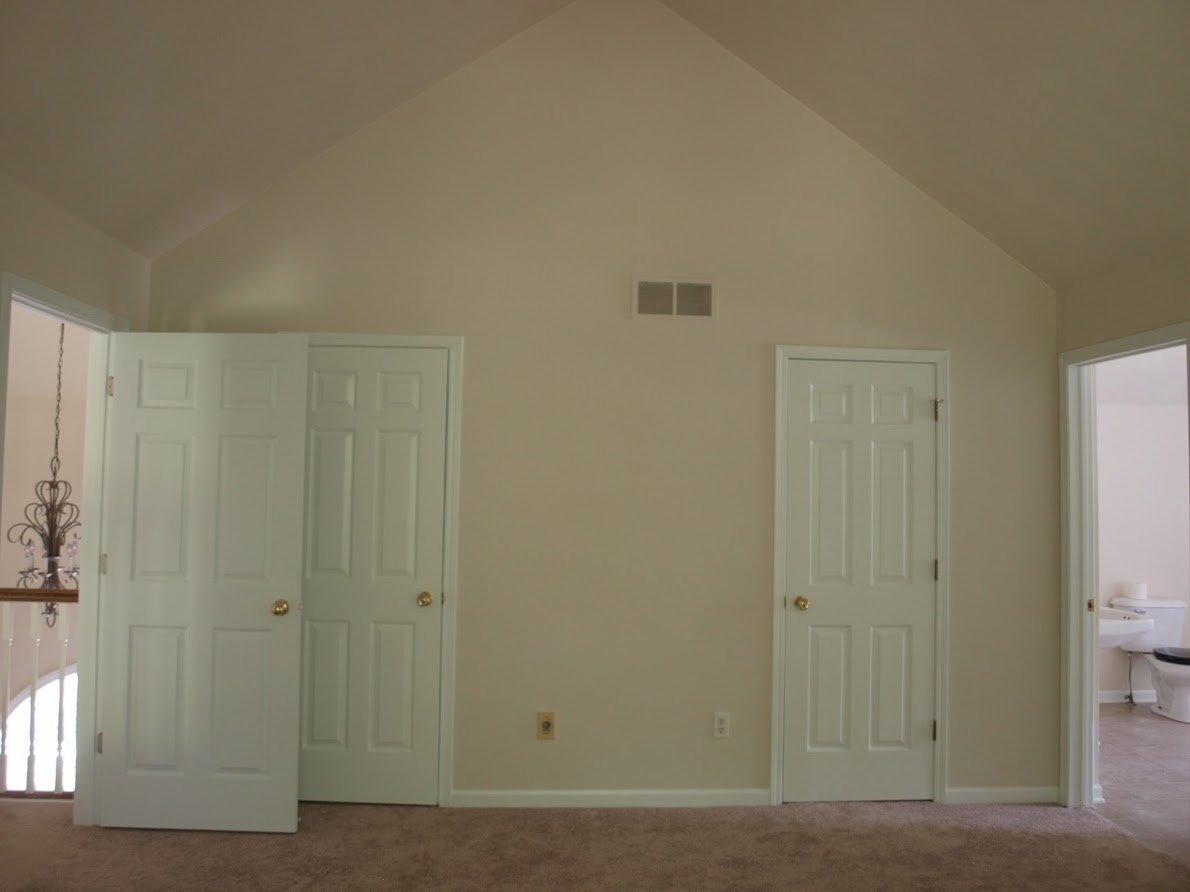
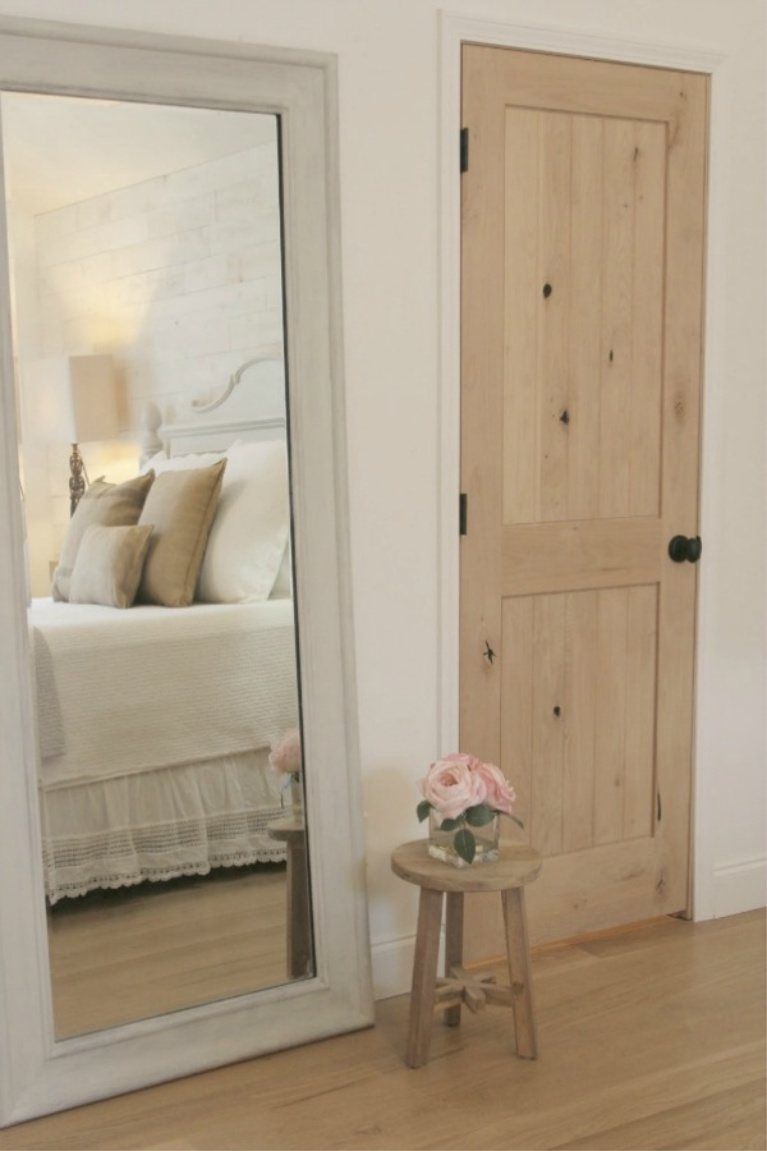
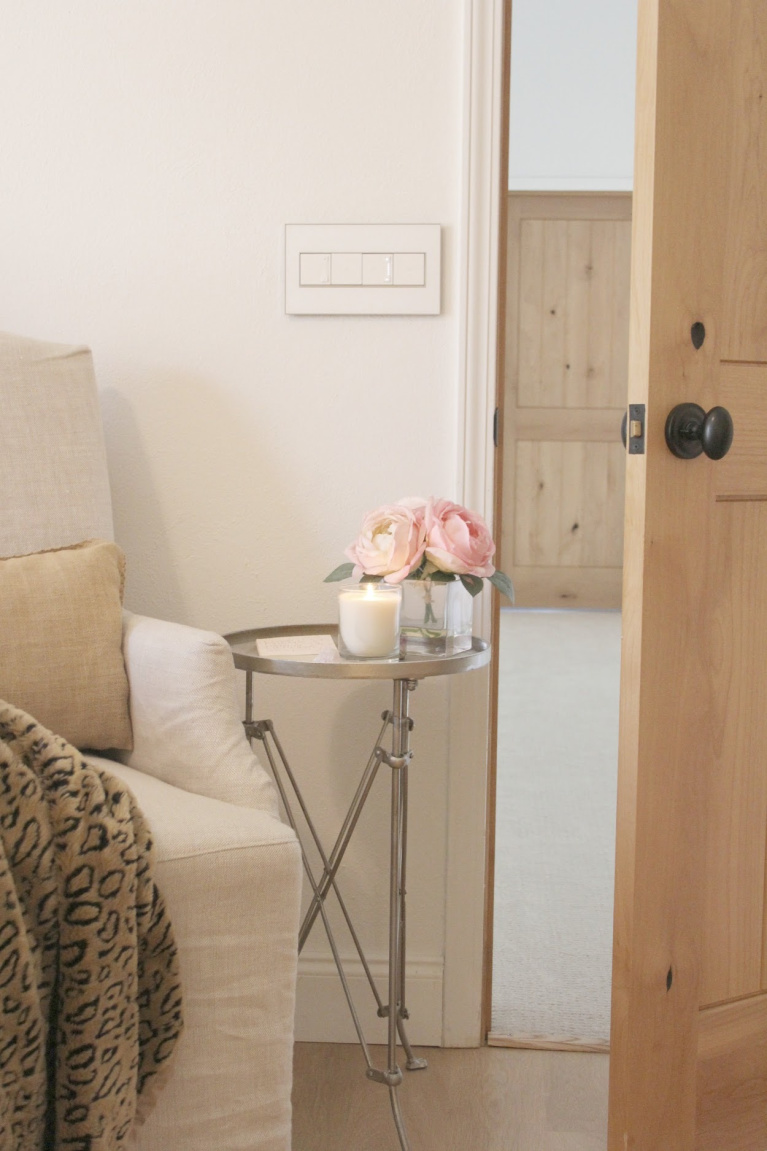
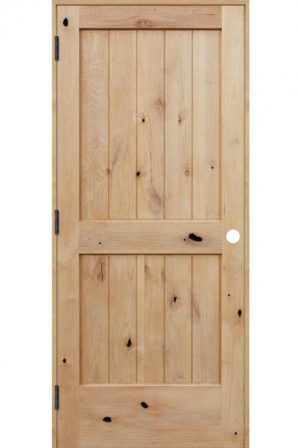
But after living with the closets, we sort of enjoyed having our own spaces so we worked with them and added beautiful rustic alder doors with oil rubbed bronze hardware.
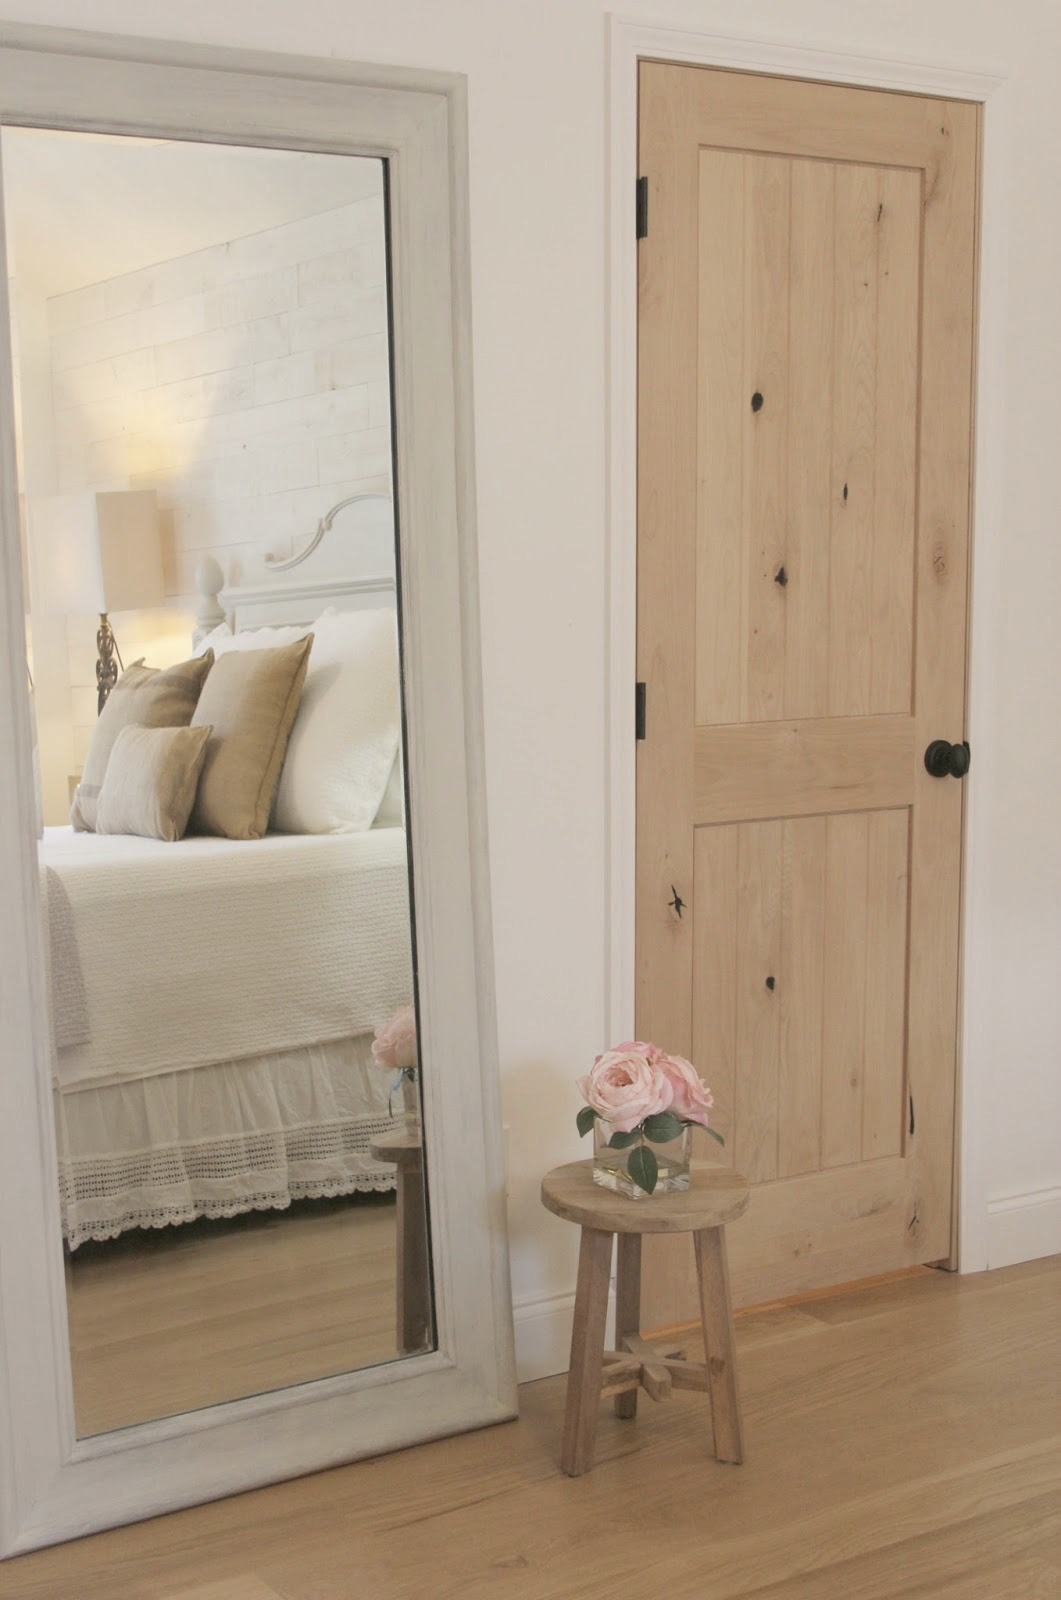
We chose to not stain the alder and sealed them with poly for a natural look. These solid doors are wonderful to live with.

Master Bathroom Before & After
Fortunately we had plenty of space to work with! We took our time coming up with a design plan and ended up with a totally unique and custom final outcome.
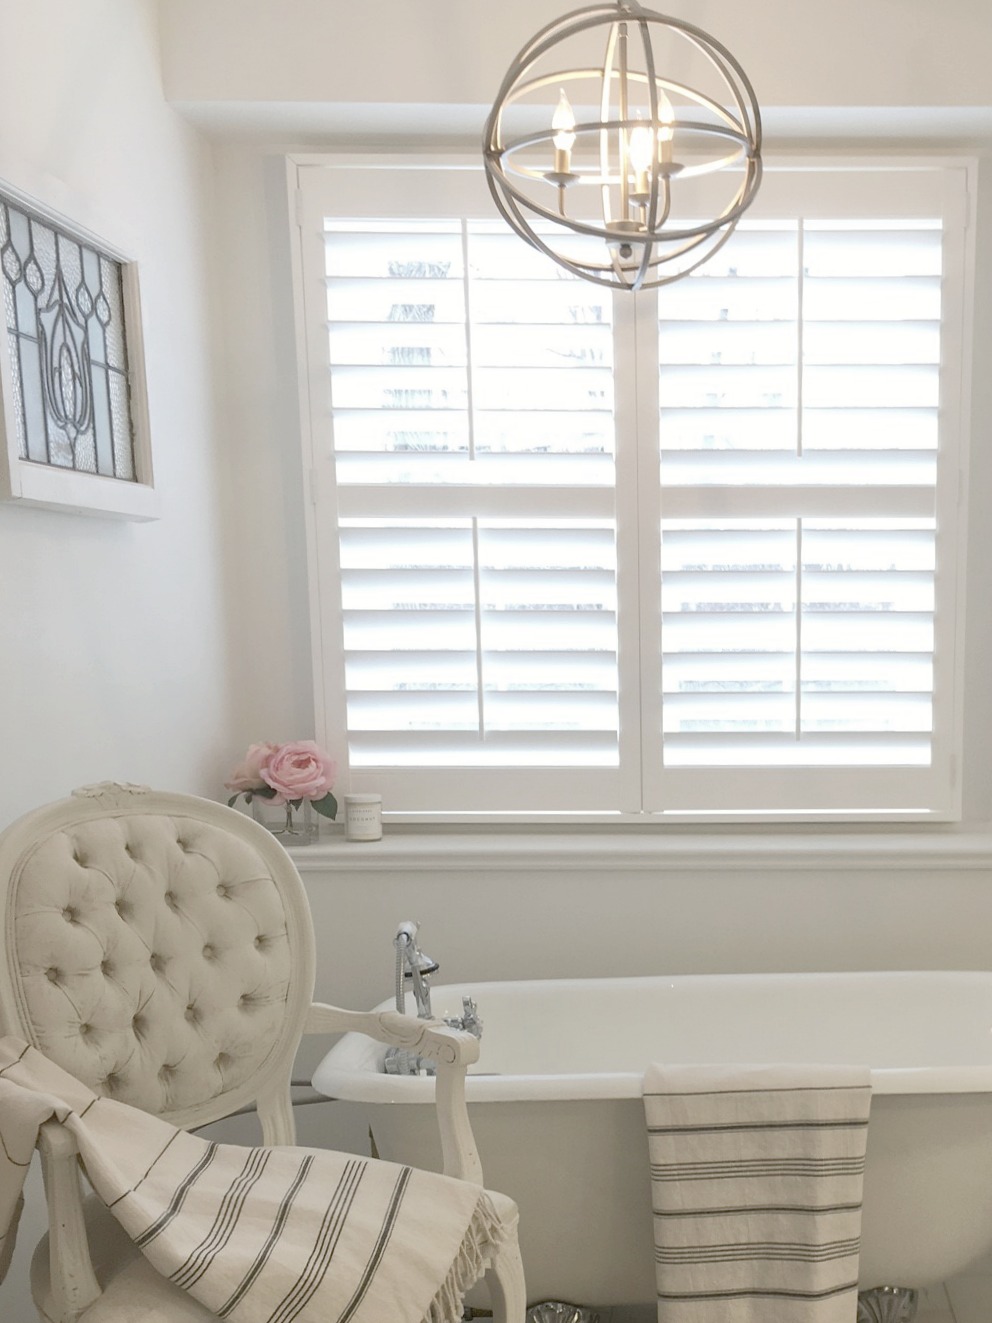
You can see in the photo below that I painted the inside of the alder door white to keep things spa-like when you’re in the bathroom. However, I didn’t paint any of our other alder interior doors.

There were more awkward moments than I can say in this strange master bathroom. I diagrammed it for you to explain it all.

Below, you’ll notice there was a pedestal sink with a linen closet next to it. The door to the bathroom actually opened directly into the second sink with vanity!

The quality throughout was poor – vinyl cabinets and hollow paper thin doors. Light switches for all of the lighting in the bathroom were located in the bedroom, not the bath!
The sconces on the mirror were hideous, but we were grateful the wiring was already there. The vinyl flooring was also not a favorite and had to go. Then again, EVERYTHING had to go so we demo’d the whole thing.
Bathroom Vanity Area
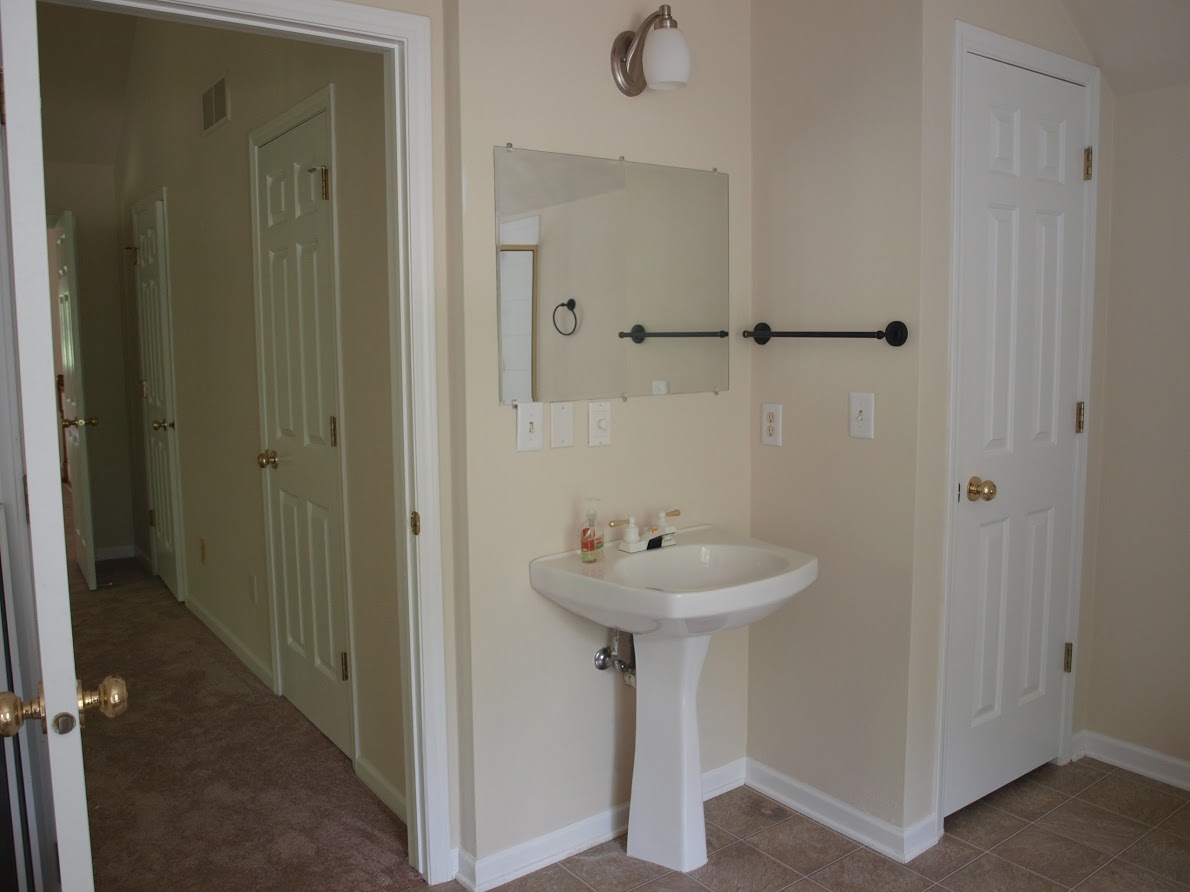
Some of the oddity may not jump out at you so do this: enlarge the photo above and check out the light switches and cover plates under the mirror…just not necessary to carelessly design like that!
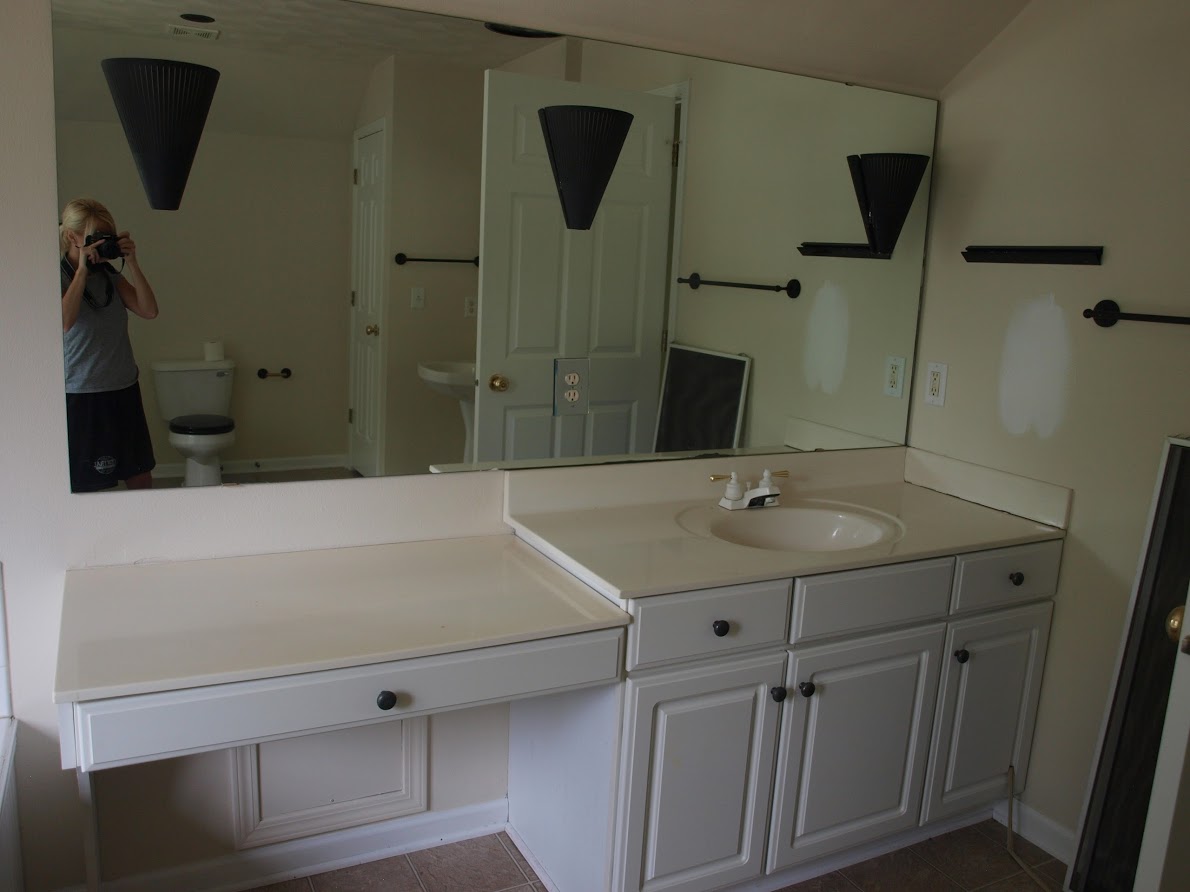
I liked the idea of his and hers vanities with a bridge connecting them. This is a very cost-conscious way to renovate. What an improvement to have two sinks where there was one on this side of the bath.

Carrara marble vanity tops have been wonderful to live with. In our prior home, I chose white granite so I wondered whether the carrara would be more vulnerable. It doesn’t stay perfect, but I like the aged look.

If there is one thing I have learned from designing baths over the years, it is to avoid down lighting bathroom mirrors. For the most flattering light, you always want the light coming from the sides.

I splurged on the bathroom faucets because I did not want to have to ever replace them. It’s an everyday luxury I highly recommend.
Bathroom Floor Tile
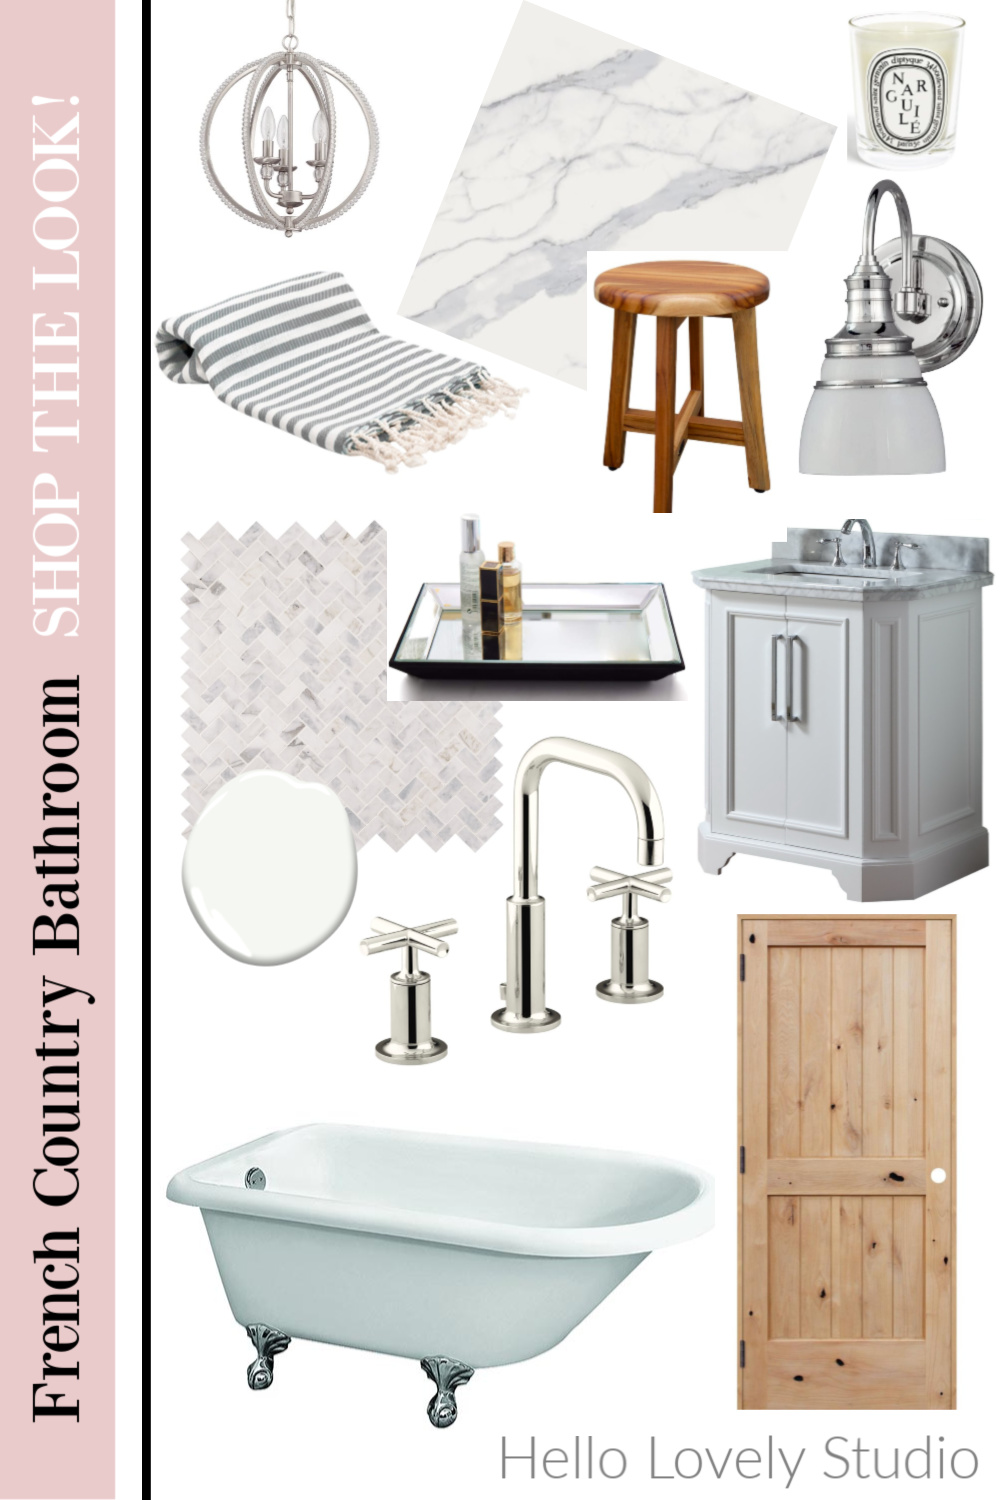
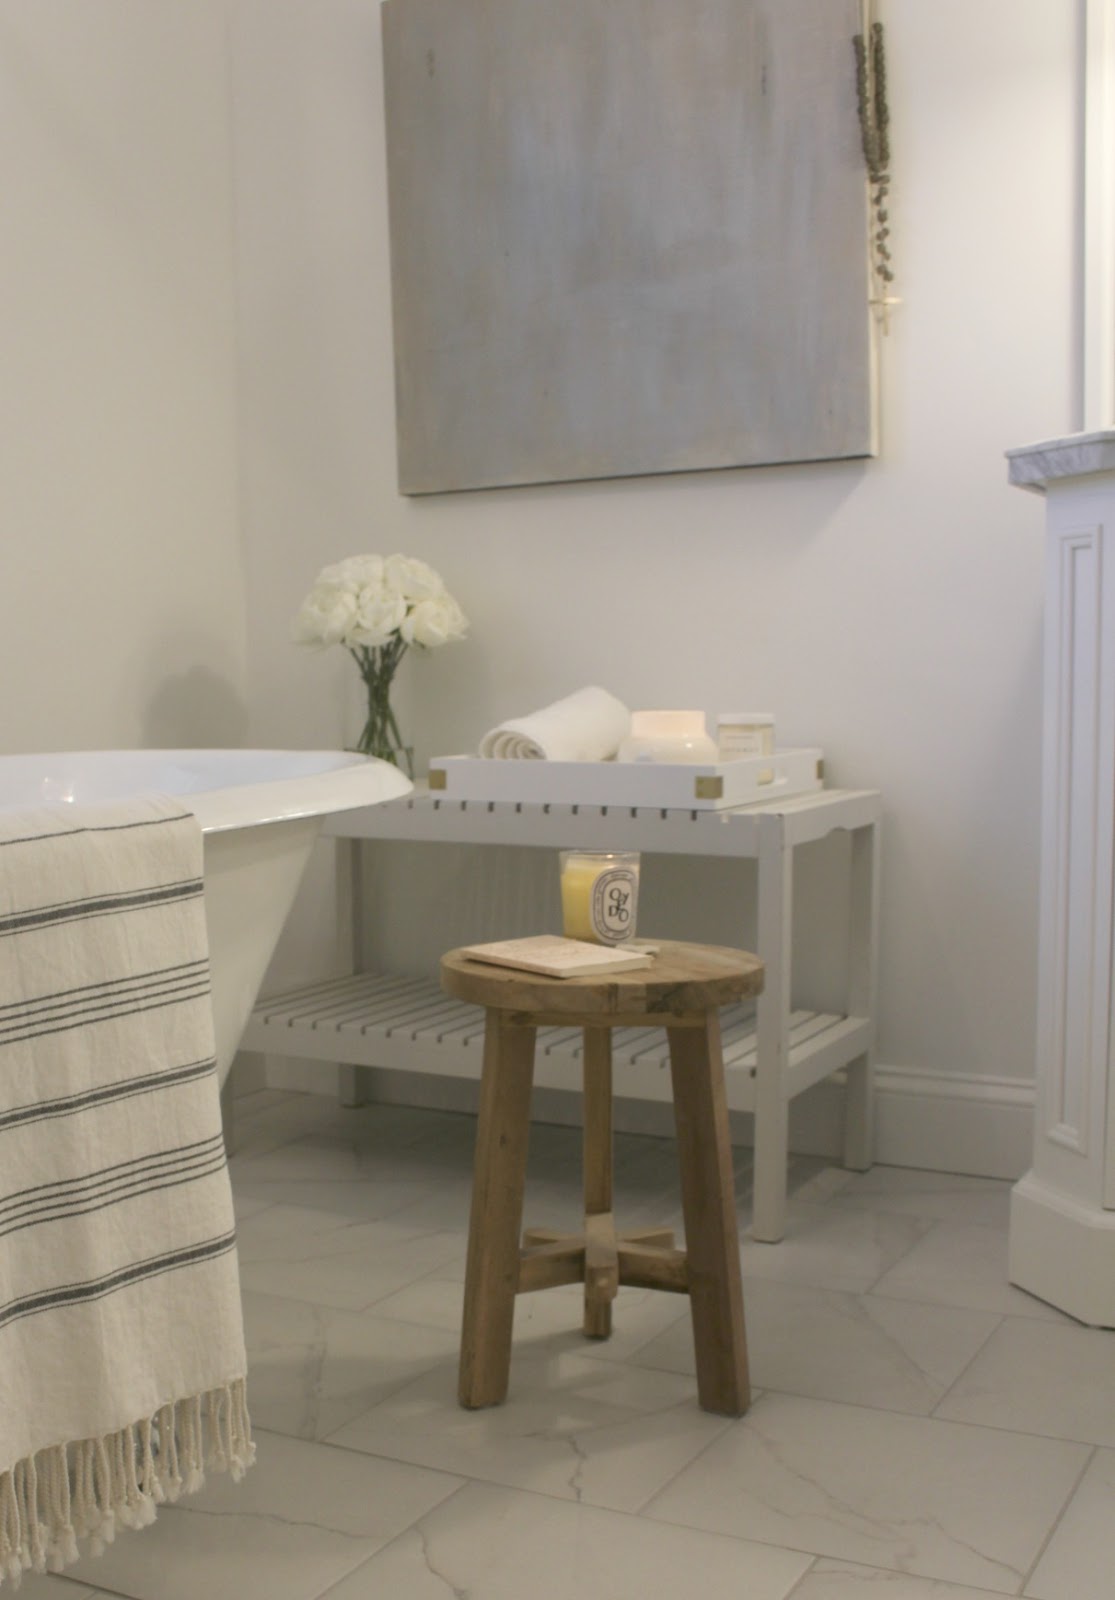
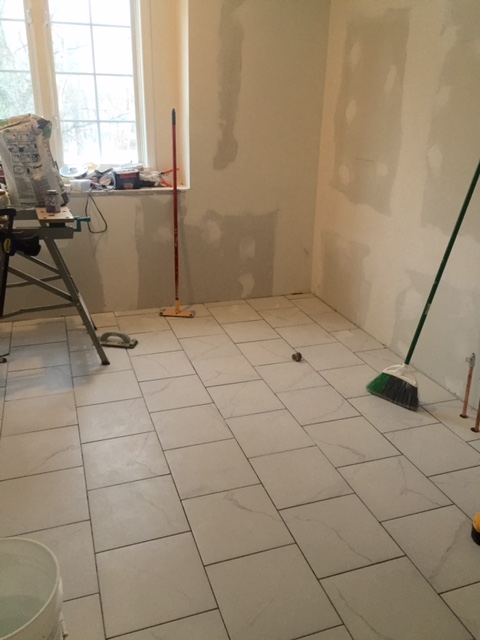
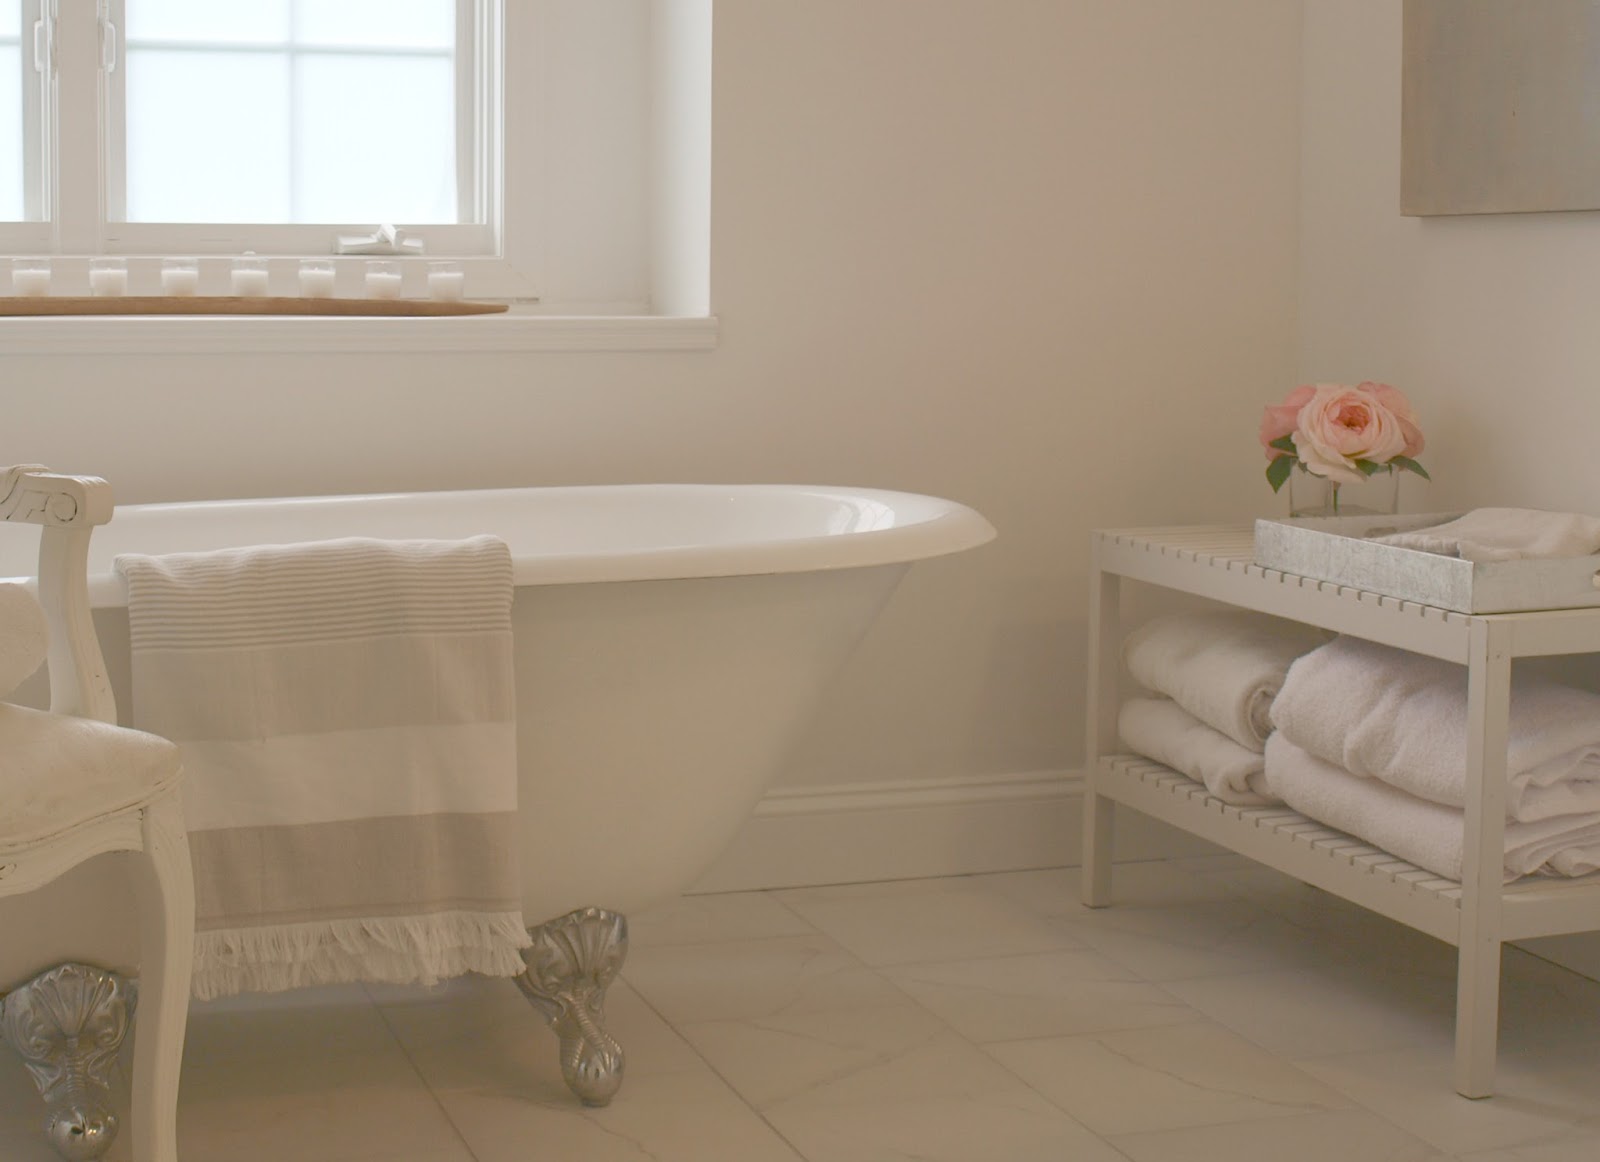
The flooring looks like calacatta marble, but it is porcelain. Here’s the exact porcelain tile, and also find options HERE. This made installation easy and requires no sealing or maintenance. The slatted bench is Ikea’s Molger which I painted BENJAMIN MOORE Revere Pewter.

During Demo of the Bathroom
Where you see blue tape on the floor below is where we decided a new wall should go for a larger walk-in shower.
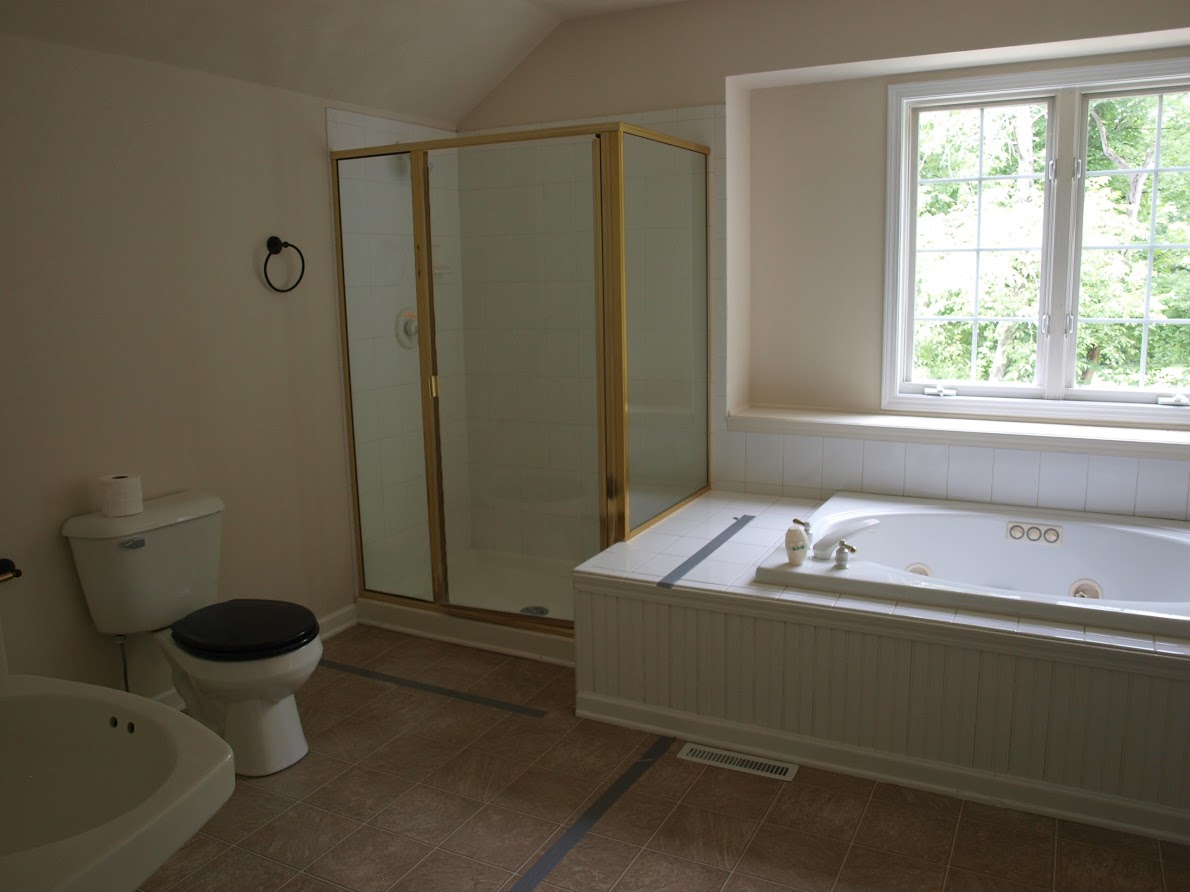
We tore out the tub and surrounding apron to prepare for a vintage cast iron clawfoot tub I found in Wisconsin on Craigslist.
Here’s that corner now…

New Bathroom Shower
We traded the fishbowl shower for a great big shower without any glass at all. I know glass shower walls and doors are popular, but I hate the maintenance when you have hard water. I opted for a spa-like shower curtain.
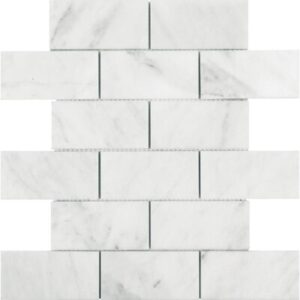
I chose a marble herringbone pattern mosaic tile for the shower floor. You’ll also note what a difference the light grey grout makes from the photo with before grouting above.
Living Through Renovation
HERE’S THE HARSH REALITY OF RENOVATION LIFE: After we moved in, we actually used this sink to get ready in the morning! Toothpaste next to the tube of caulk, anyone?
Before & After Bathroom Renovation
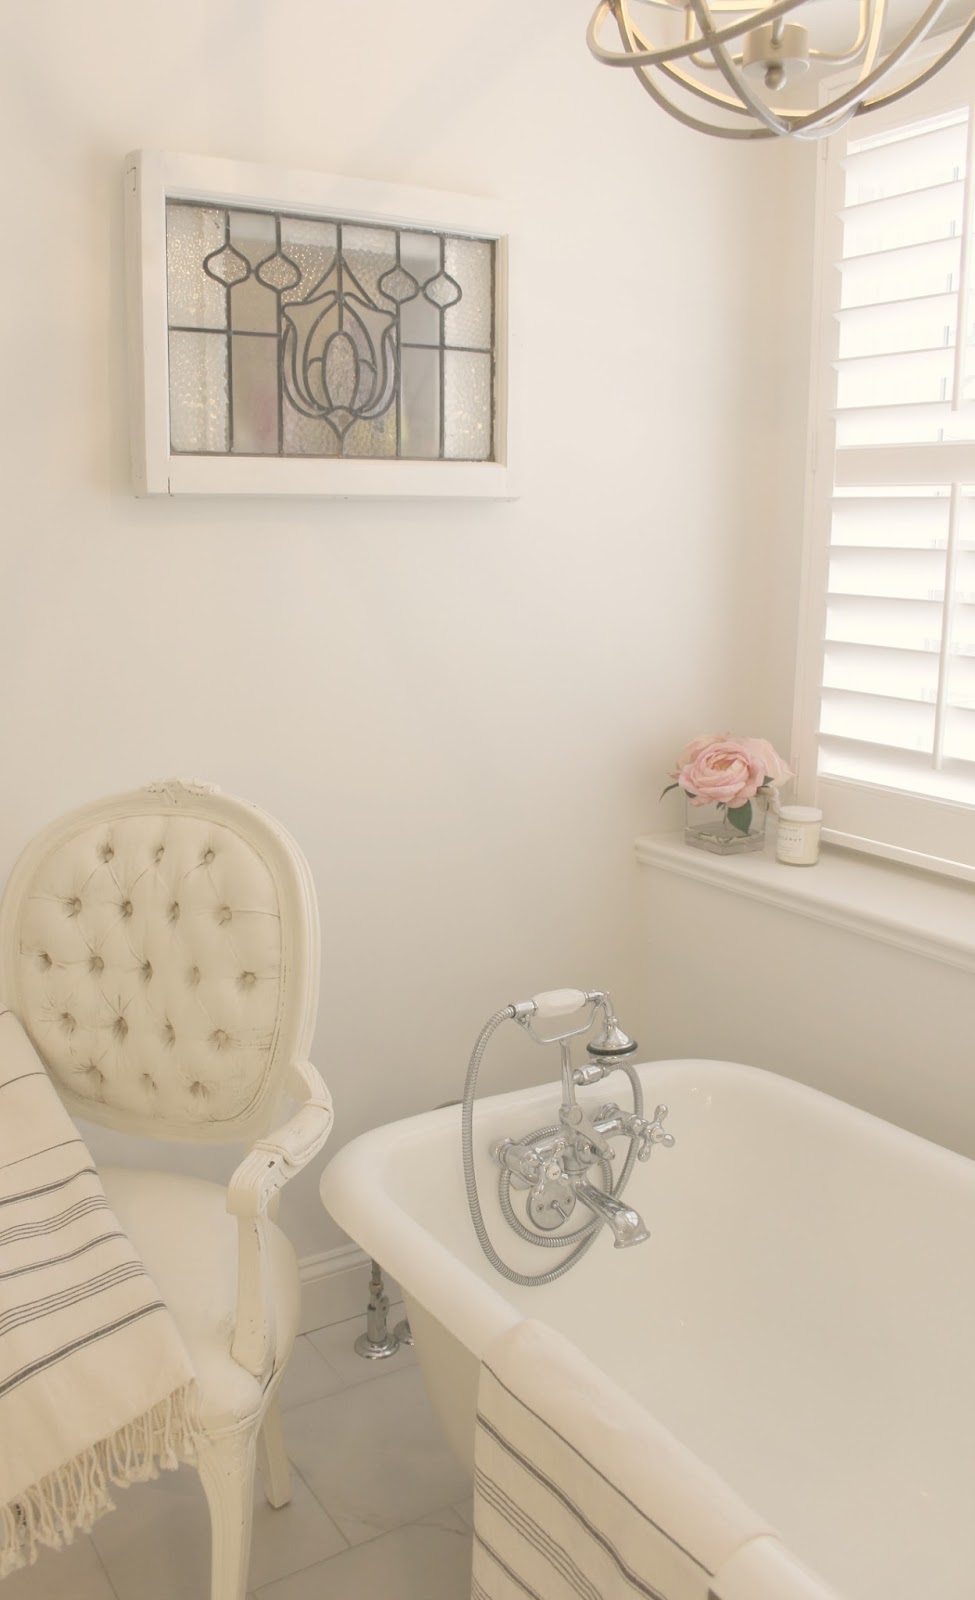
This was my first experience with plantation shutters, and I love their function and beauty. Just perfect for this space where we need privacy.

The antique leaded glass window you see below is one I found many years ago and had been storing for the right project. We hung it on the wall here (with hinges) so the natural light could flow into the shower. Inside the shower behind the window is a shelf for products.
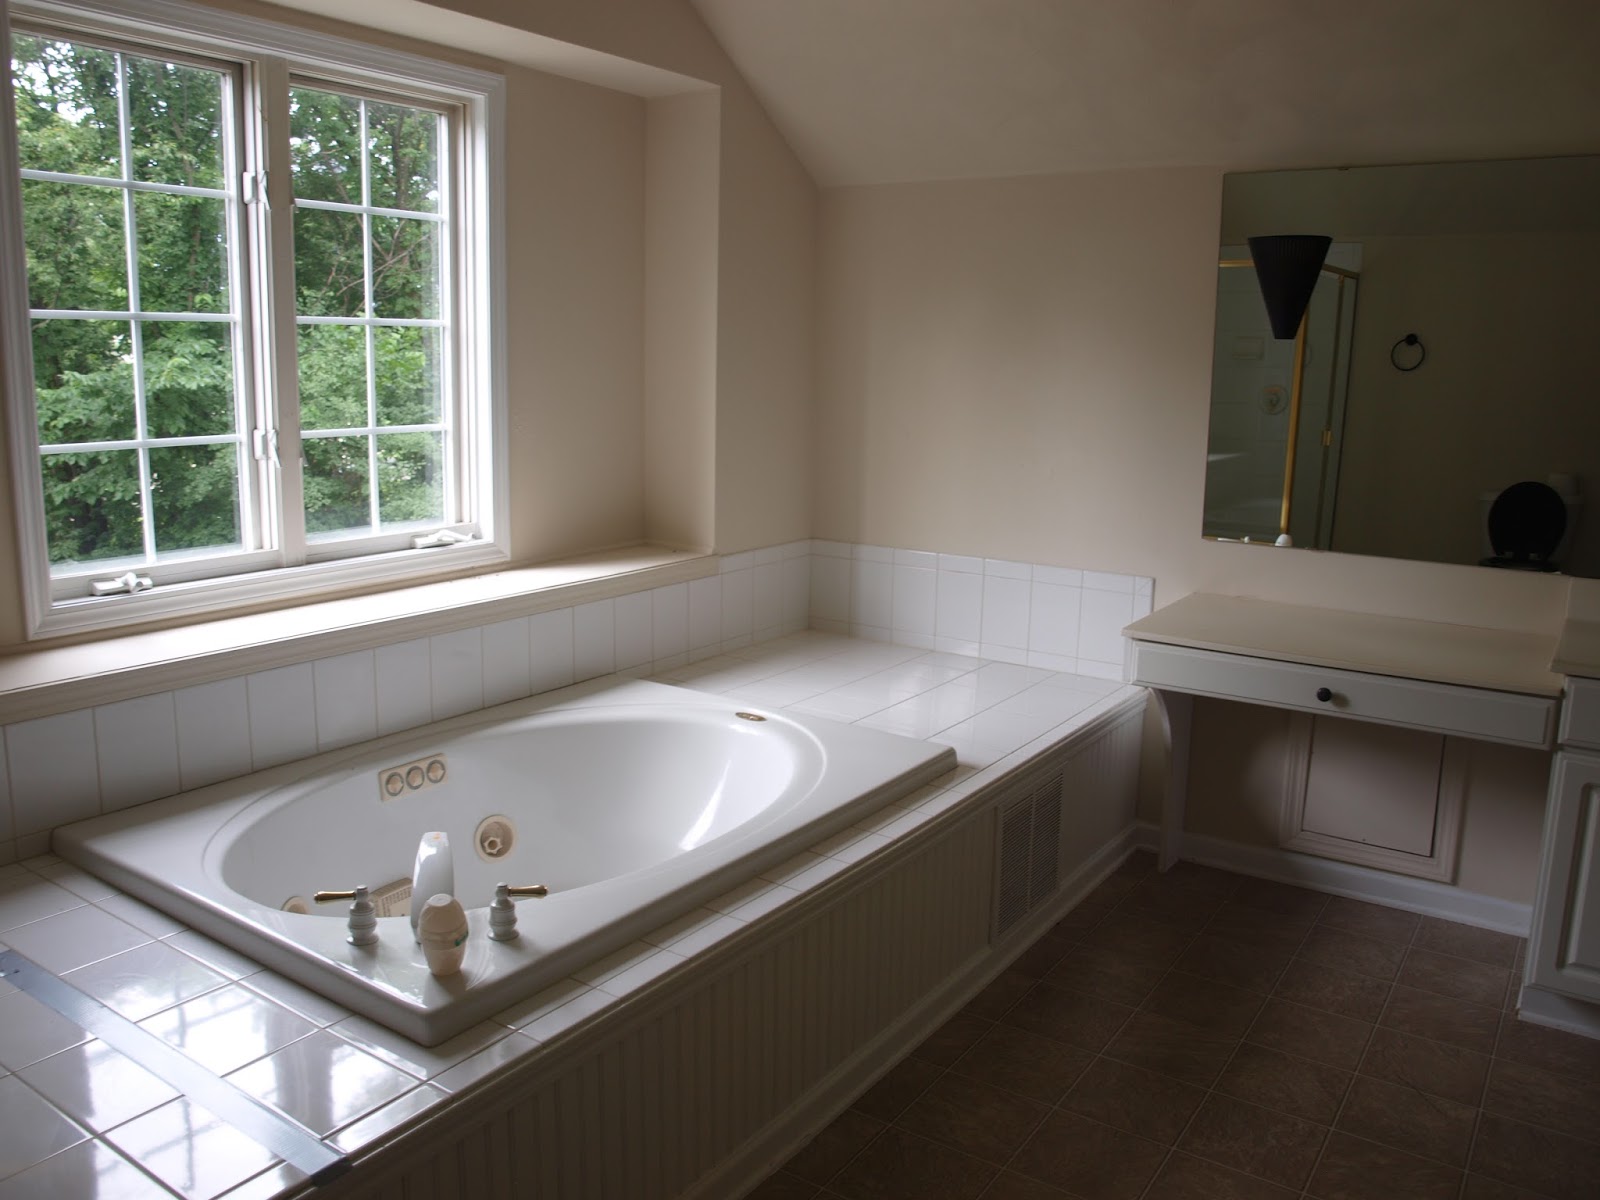

Black & White Toilet Situation
I don’t have anything positive to say about the toilet area before except that it looks as though it was accessible for wheelchairs.
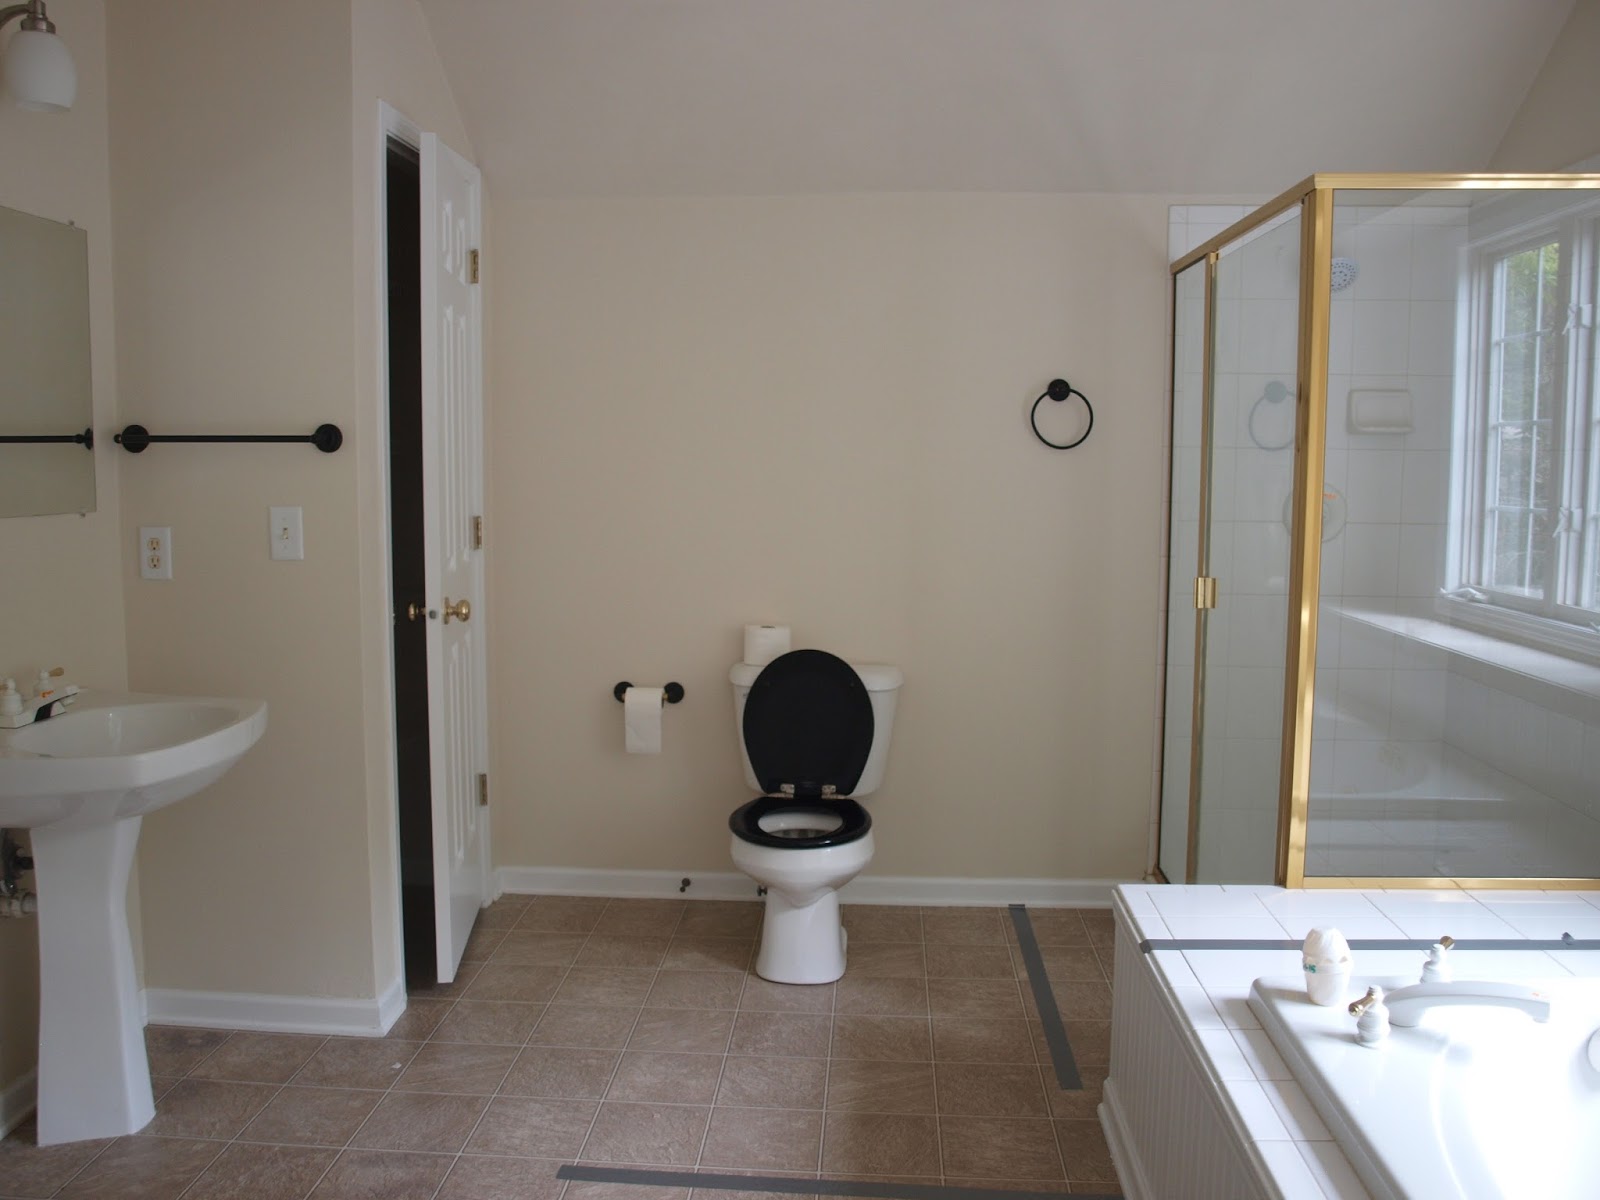
We moved the toilet away from the closet and extended a wall so that you don’t see it when you walk in the bath. A second bench from Ikea holds bath mats and some bathing essentials.

Great Room Before & After
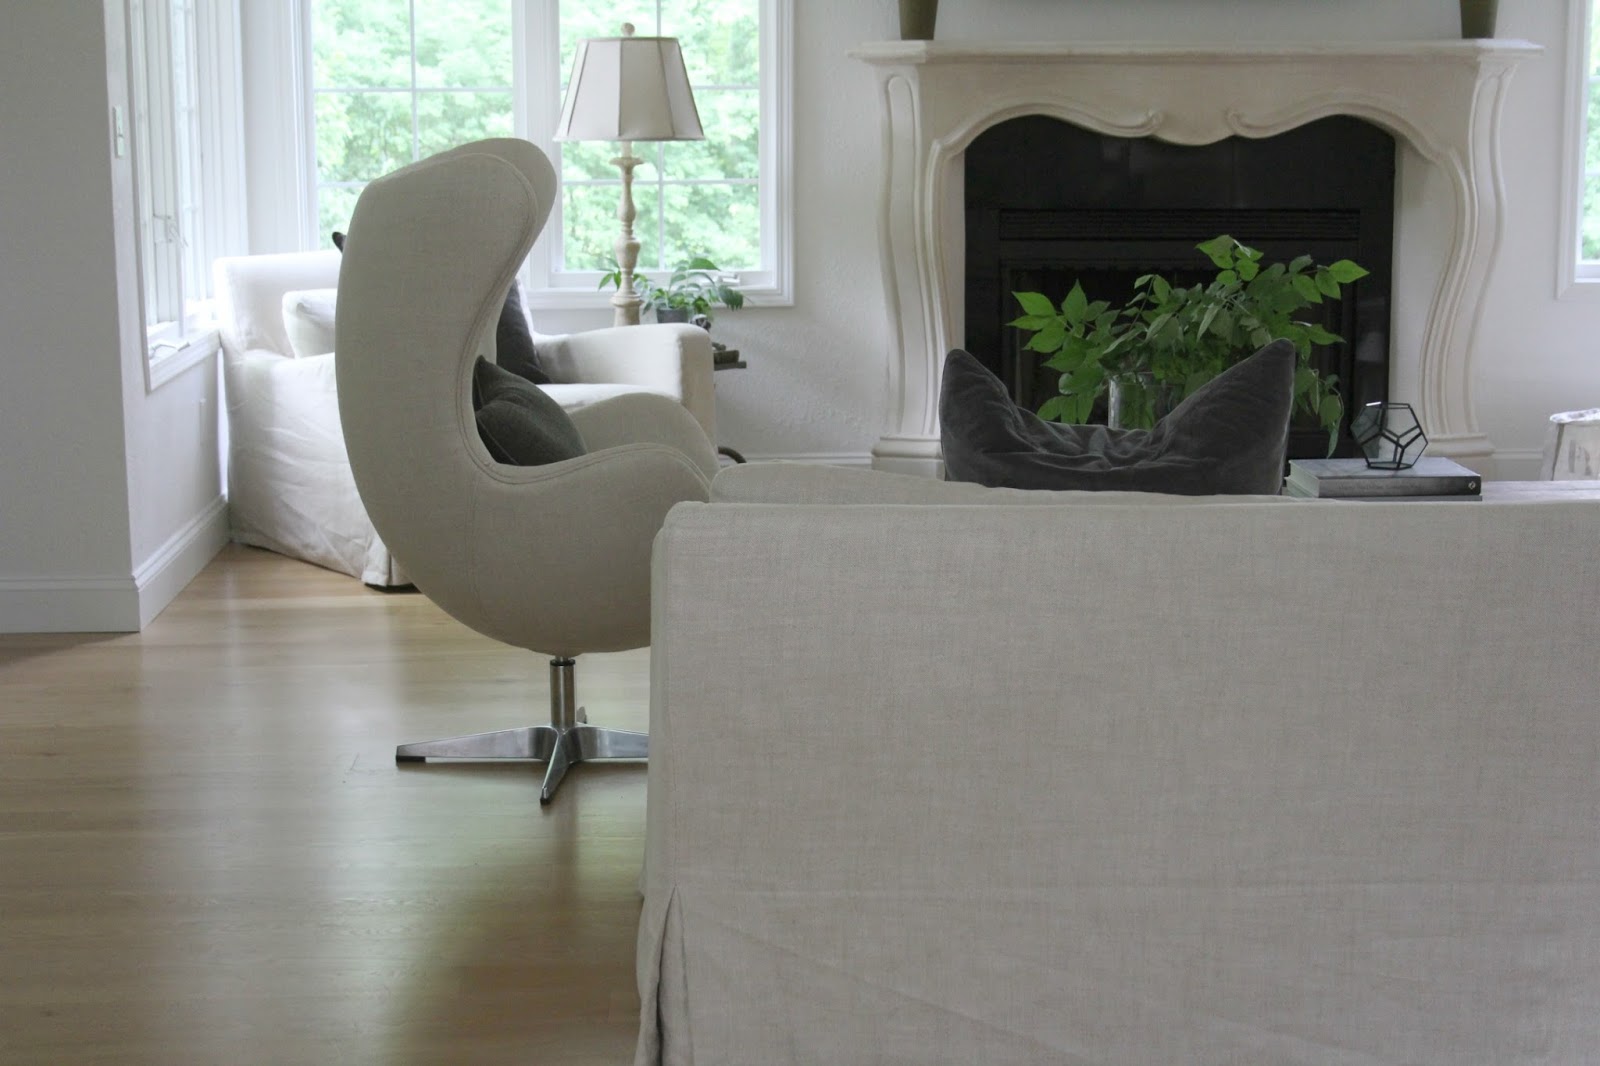
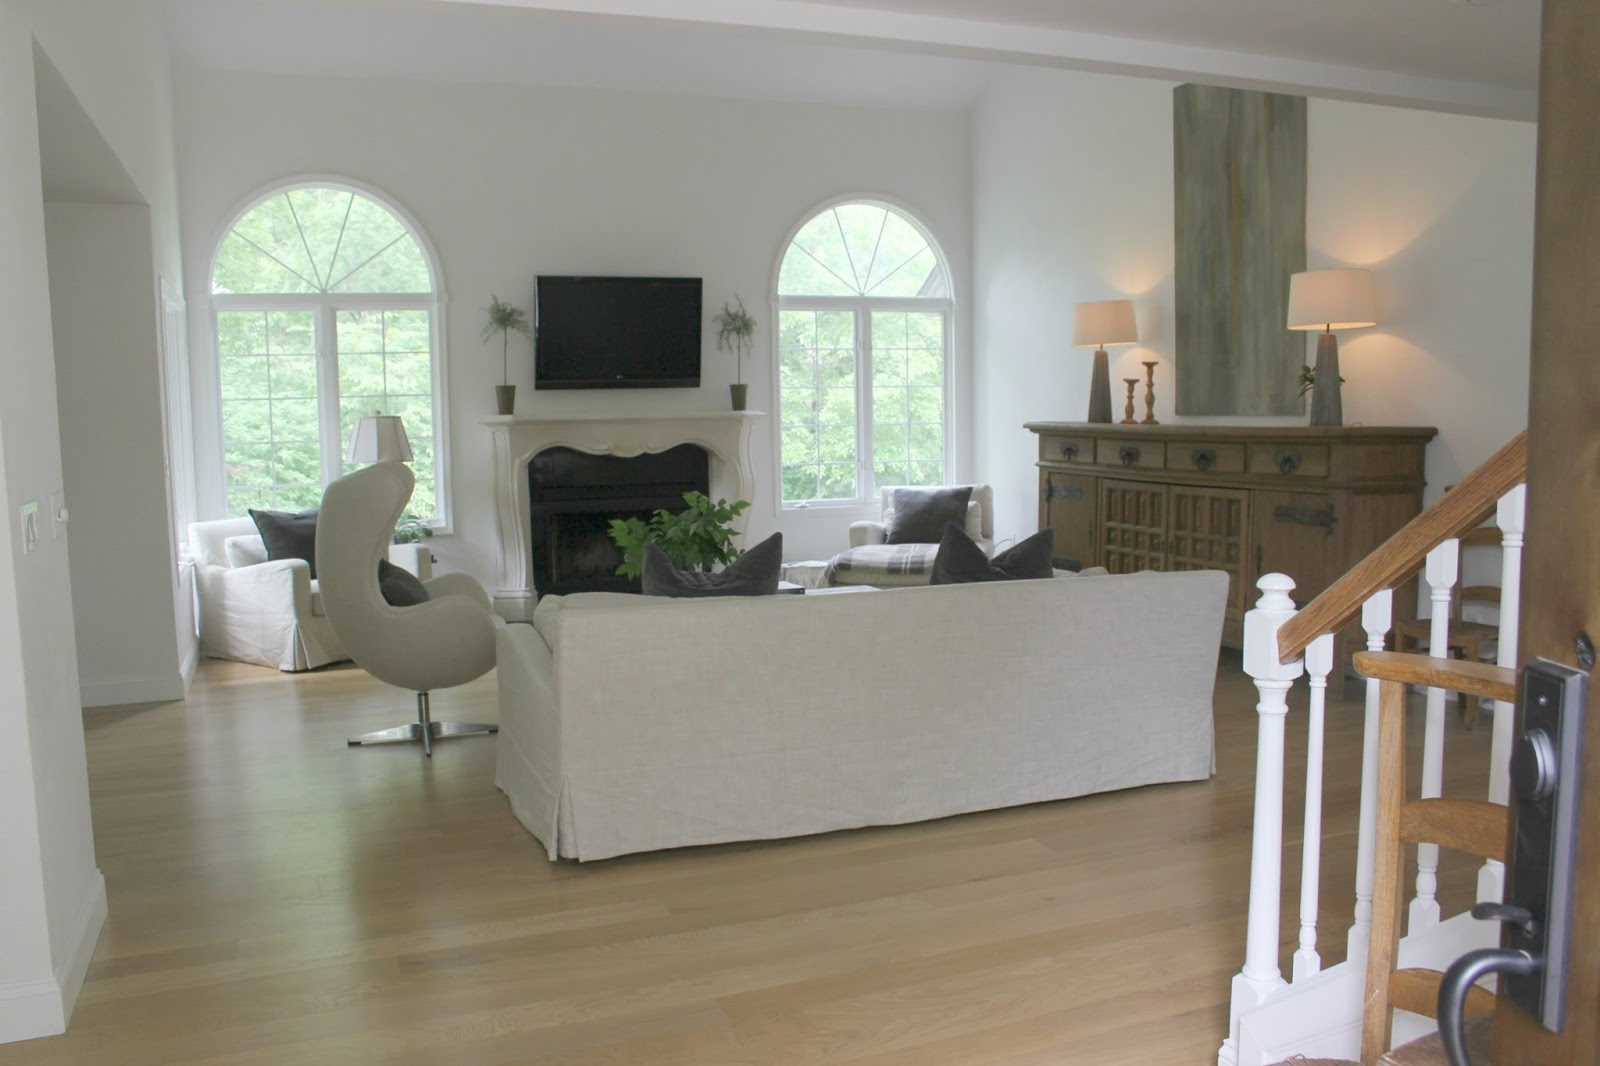
I love the great big room for living in the center of the house. It has soaring ceilings and overlooks a private backyard with Northern exposure. We painted the walls, ceiling, and trim BENJAMIN MOORE White and removed the colonist style fireplace surround, replacing it with a French style mantel.
I didn’t buy anything new for the space besides the fireplace and lamps. Our old 9′ sideboard from Belgium is right at home, and I have left the windows bare.

It always happens! You think you’ll just be ripping up carpet in preparation for hardwoods, but then you discover structural issues that must be addressed unless you want to fall into the basement below!
It’s a super simple space! I left the black granite on the hearth and simply removed the glass doors.
An Open Floorplan
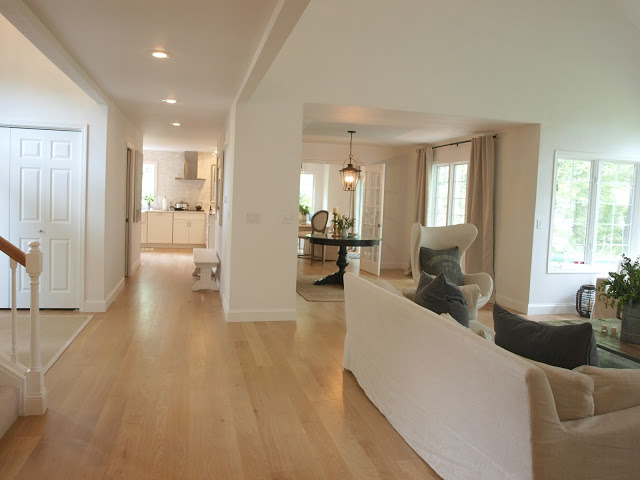
Here’s how the space looked when we were just getting started and there was an expanse of pink-y taupe with yellow walls. You can see the great room, dining room, kitchen, and hall.
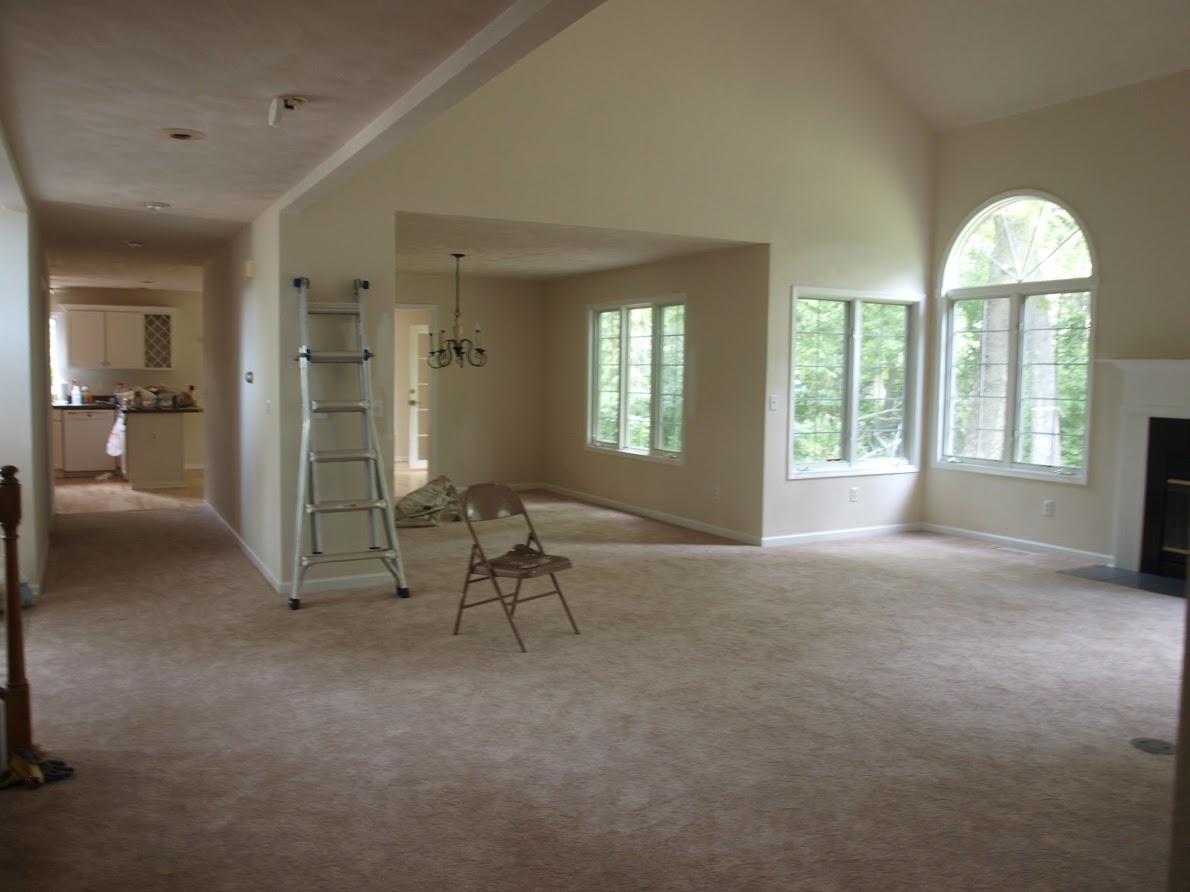
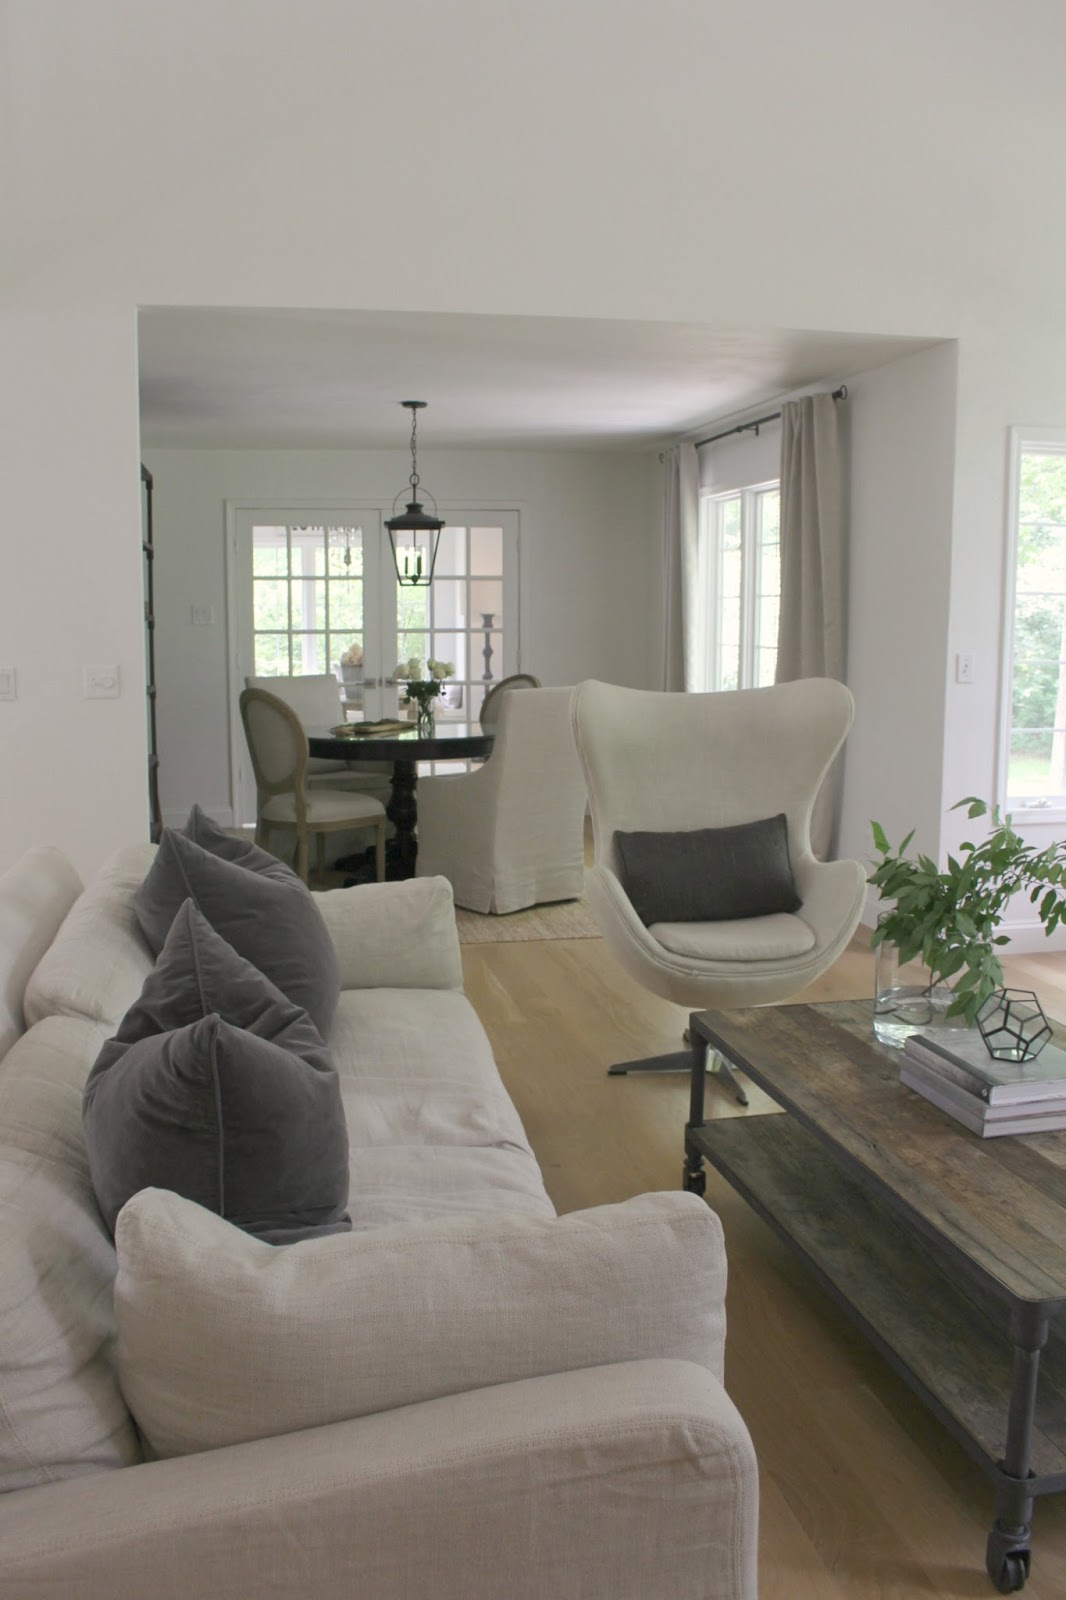
The white oak hardwood flooring (no stain, finished on site by hand with just a clear matte sealer) and white paint make a huge difference. We also smoothed the hallway and dining room ceilings with plaster since I am not a fan of textured ceilings.
Why White Paint?
There are multiple reasons why the old yellowy antique white paint on the walls didn’t work. For one, it made less than desired design features like white painted closet bifold doors jump out in contrast. White paint calmed and unified everything, making even the sub-par stuff easier on the eye.
Painting ceilings DIY style in a 2-story room? Not for the faint of heart. We rented scaffolding and used our paint sprayer for the huge job!
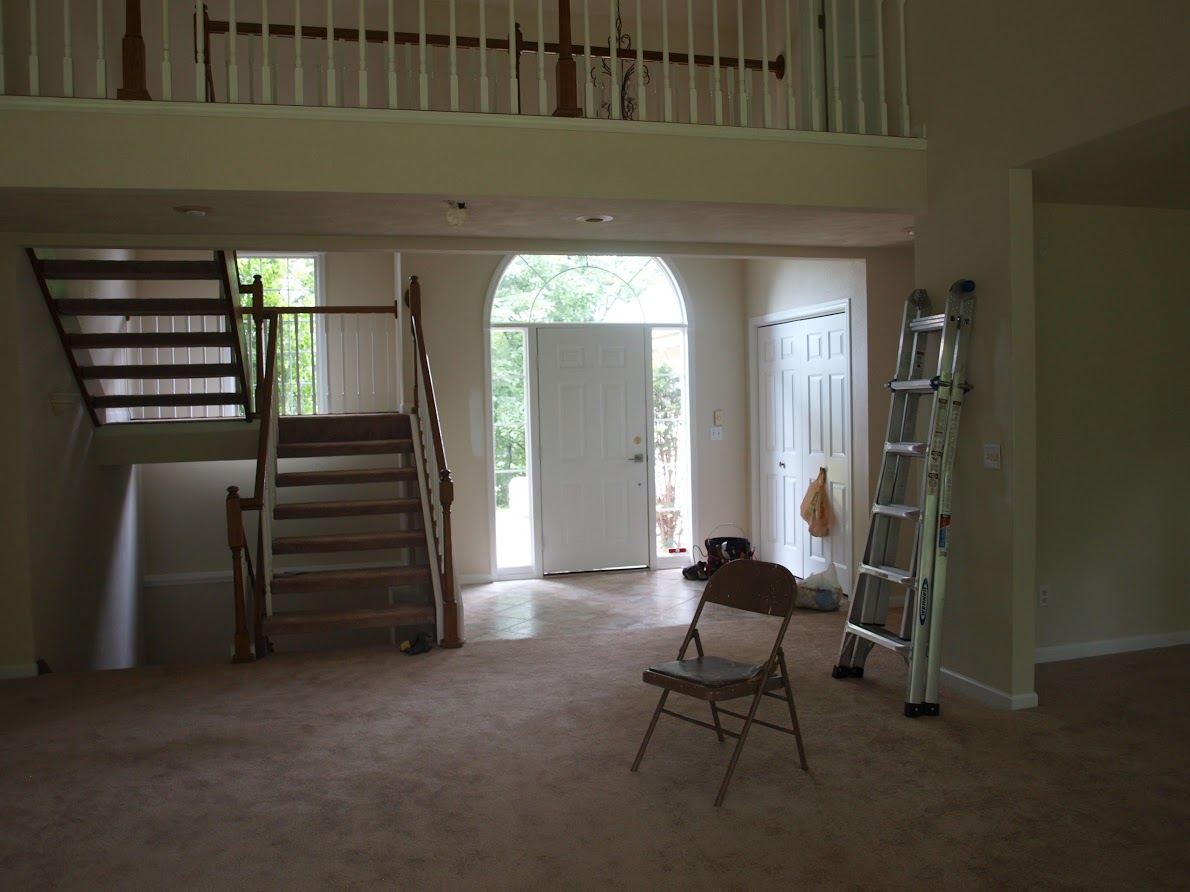
Even the Second Floor Has An Open Feel

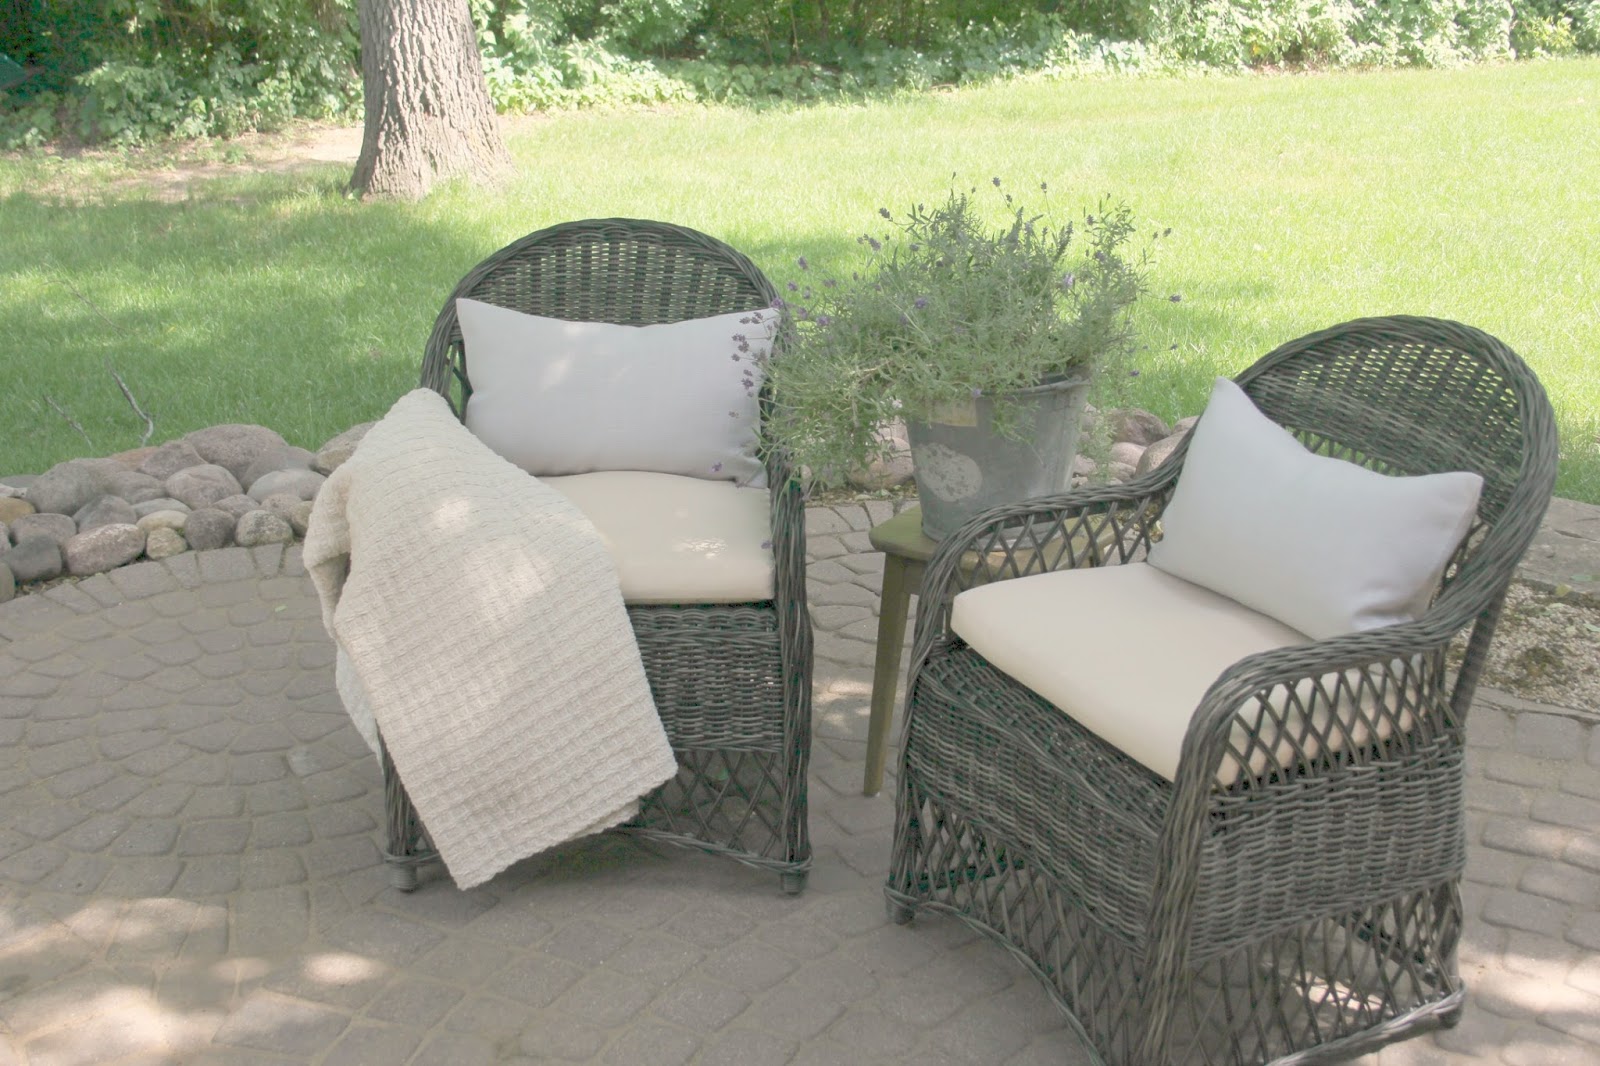
I liked the design of the Belgian paver patio area off of the kitchen, but it was a mess! My sons helped to demo the whole thing, level the ground, and put it back together.

Stay tuned for our current whole house update at our new home!
If you missed part 1 of this story with our kitchen renovation – Go HERE. For more French Nordic inspiration, do visit THIS and THIS.
I independently selected products in this post—if you buy from one of my links, I may earn a commission.
Peace to you right where you are.
-michele
Shop for items you already intended to buy on Amazon RIGHT HERE, and also find home decor here to keep decor inspiration flowing on Hello Lovely!
Hello Lovely is a participant in the Amazon Services LLC Associates Program, an affiliate advertising program designed to provide a means for sites to earn fees by linking to Amazon.com and affiliated sites.













A LOT OF HARD WORK INDEED, AND THE RESULTS ARE MAGNIFICENT. AS FOR ME I AM A BEACH AND SAND LADY, NOT TO MENTION A PASSION FOR COLOUR. I LOVE TROPICAL COLOURS. I HAVE MOSTLY BEEN RAISED IN FLORIDA, AND REMAIN A FLORIDIAN AT HEART, AND ESPECIALLY THE PALM TREES. THEN AGAIN THAT WHAT MAKES ALL OF US AN INDIVIDUAL, IT WOULD BE A BORING WORLD IF EVERYONE OF US HAD THE SAME HOUSES, WITH THE SAME COLOURS.
Author
The inner beach and sand lady in me longs for those palm trees and the tranquility of the water – what a blessing those tropical blessings must bring. Thanks so much for reading, friend.
Lovely indeed (as you say) —- you are cracking me up , it looks like y’all were using some sort of plumbing flange as a cup holder for your soda can during the bathroom reno. Thanks for the ” Reality” photos.
Author
Can you even believe that awful vignette? Yes – that pop can…oh my soul! 🙂 Thanks for laughing with us.
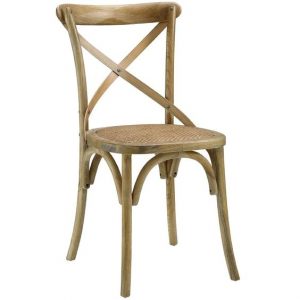
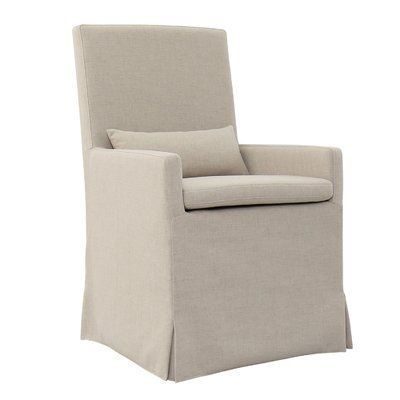
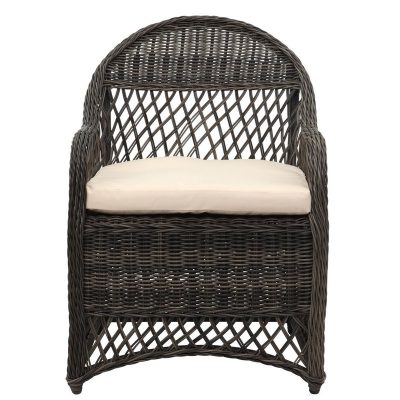
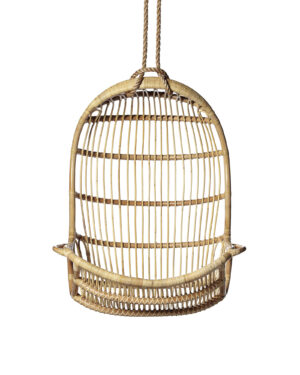
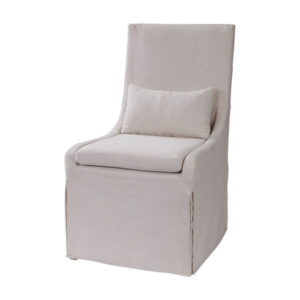
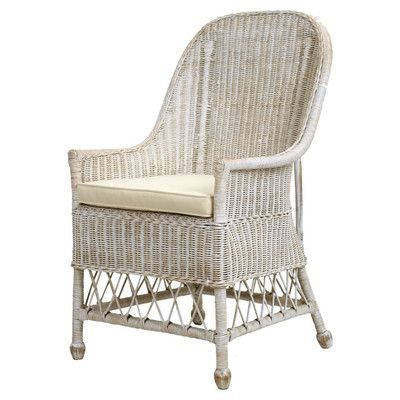
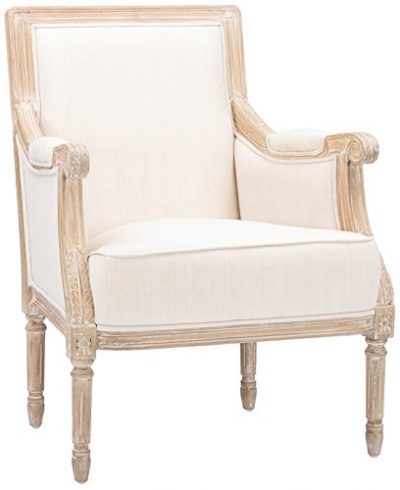
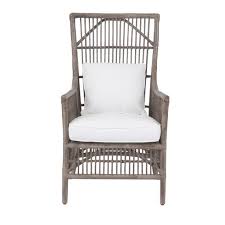
Oh so lovely, restful and serene feeling. And a tremendous amount of work and love. My dear husband would get twitchy living through a reno….bless yours! I adore the rattan chairs but the link took me to Wayfair where I waded through hundreds of nifty chairs but not quite yours. Any additional info to identify them would be much appreciated, thank you.
Author
Sorry about that and thanks so much for letting me know – I think what happens is when they go out of stock, the link gets redirected. Here are the chairs: https://rstyle.me/+_F9kVi3uzg67Fbc6D1OgWQ and I have updated the post. Best to you. 🙂
Fantastic decor! What color paint is on the walls in the bathroom?
Author
Thanks! Benjamin Moore White – that’s the color just WHITE. 🙂
Congratulations on an amazing job. Look for your feature on Wednesday’s Charming Homes & Gardens Link Party.
Rachel
Author
Thanks so much, Rachel! I’ll be over to join you creatives on Wednesday!
You’ve done so much work! And i am just in love with it all! So much so, that you are my feature this week on Charming Homes and Gardens!
Author
Thank you so much, Kim. It has been a labor of love, and we’ll never do it again, but it’s gratifying to know we once had the guts! Looking forward to gathering with you at the party again. xox
Wow – beautiful transformations, Michele! I especially love the picture you painted in the bathroom – it’s lovely! And perfect for that space! I’m inspired by so many things here, and when I eventually post about my upcoming bathroom renovation, I’m sure you’ll recognize some of them! 😉 Thanks so much, and Happy 4th!
Author
Thanks so much, Barbara. That painting was done days after my sweet doggie passed away so my tears are mixed in. How exciting to be renovating – looking forward to seeing it! Happy 4th, friend.
Awesome work with your home. It inspires me to have a better renovation with my home. Thanks for sharing your renovation journey with us.
Author
I only wish it were mine! Hahahahaha – this real estate is a little beyond my budget. 🙂
Thank you so much for sharing this information about before after my home renovation part-2. This is very nice and inspiring!! Thanks for sharing and look for more in future!! I hope you keep update us with such great tips and information in future too. This is a great post; I will share as much as I can.
Author
🙂
Excellent post on before and after look of home renovation. Gives me a certain idea of what to do with my home renovation. Thanks for curating this and sharing it with us.
Author
Thanks so much for reading. 🙂
Thank you very much for sharing these ideas. I really appreciate your efforts for creating this exceptionally well content. I was looking for such content about before after my home renovation, you have really helped me with the same… great post!!
Author
Thanks you for reading!
These are some great information that you have shared here before after my home renovation part 2. I really loved it and thank you very much for sharing this with us. You have a great visualization and you have really presented this content in a really good manner.
I love the result! So chic but still so cozy! I’m in the process of helping my parents remodel their home. They’re getting up in age and use medical alert systems, so it’s time for some senior-friendly changes. Do you have any tips for doing a senior-friendly remodel? I was reading that monitoring systems can help, but anything material-specific you can think of? In any case, I’ll be saving these pics as a vision board for what we eventually do!
Author
Great idea for a future blog post topic – thanks and best as you help your folks. 🙂
A home renovation provides you with a great opportunity to make your house energy-efficient and save on electricity bills. It helps to change the light bulbs and upgrade your kitchen and bathroom appliances. You could also insulate the walls in the basement to help with temperature control.
Author
🙂 thanks for the tips.
What you did is the kind of renovation that I wanna make into my home. It is so inspirational. Renovating a whole house is not an easy job but it is totally worth it after you are done with the work.
Author
Thank you for the kind words and encouragement. Yes, it is so gratifying when all is done and you know it was done right since yours were the hands that labored. Hope you get the opportunity!
Very informative and helpful blog. I really liked the ideas. Thanks for sharing.
Practical and useful tips.Thanks for sharing them with us.
Author
🙂
Nice Blog!! The content you have shared is very elaborative and informative. Thanks a lot for sharing such a great piece of knowledge with us.
Author
🙂
Well, this is an awesome post and written very well. Your point of view is very good.
Author
Thanks for reading and the kind words.
Thank you for sharing.
This is an amazing article! Thank you for sharing so many wonderful ideas. I know you put a lot of effort into collecting these ideas and sharing them!
Author
thanks for reading!
This is an amazing post! Thank you for sharing so many wonderful ideas. I know you put a lot of effort into collecting these ideas and sharing them!
Author
Thanks for visiting – keep coming for inspiration.
unbelievable information
Your home renovation journey is remarkable! The transformation is awe-inspiring, showcasing thoughtful design choices. Inspired to embark on my own renovation adventure. Thanks for sharing this incredible before-and-after story!
Author
🙂