It isn’t time for a styled reveal post with pretty decor moments and a finished look, but here’s where we are. Part 1 is here and shares peeks at our bedroom’s reno progress, and it’s feeling sooooo much better thanks to a design that works for us thanks to back breaking DIY labor from my husband. This was an interesting bath remodel for us in that when we bought the house, the primary bath didn’t scare us too much, and we thought it could work as a “his” bath since there are two more second floor baths for me to claim and tweak if need be. Let’s peek at the progress of a 90’s style bath going coastal modern French.
I independently selected products in this post—if you buy from one of my links, I may earn a commission.
Hello Lovely’s Renovated Bath Progress
Even though we didn’t like the dark brown tile and almond grout covering so many surfaces in the bath, we thought maybe we could live with it since a change required such long hard demo, reconstruction and expense.
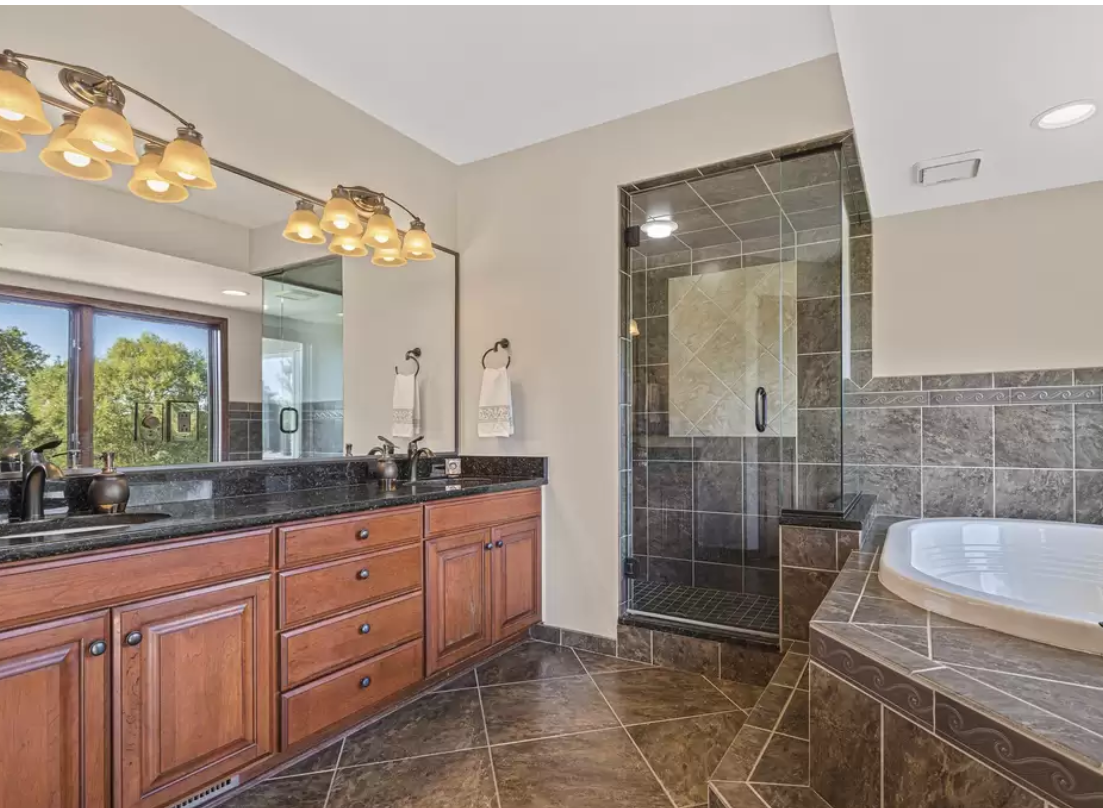
But after one shower, my husband knew the design of the shower would have to be modified. A built-in bench (not seen above or below) was located under the shower head rather than opposite it (to the right of the door, above). So you could not stand directly under the shower head. I’m sure the design makes sense for someone with trouble standing in the shower, but we were not up to the physical challenge of backbends and straining our necks and backs each day.
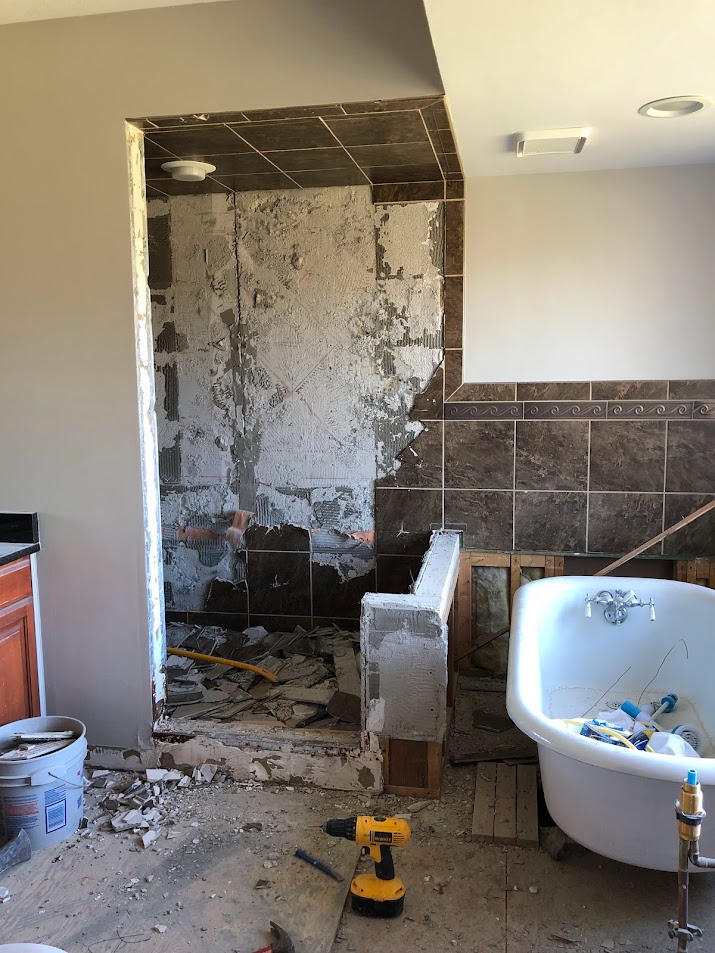
That decision to correct the shower’s design led to a re-imagining of the entire space, and because of the scope of it as a DIY remodel, we took our time, prioritized function over aesthetics, and held all of our ideas loosely. The floor tile, tub platform and steps, and jetted tub were the first elements demolished. Then demo of the shower tile began:
We initially planned to refinish the existing vanity, re-install it at a proper adult height, and top it with marble. However, once we calculated the amount of labor for refinishing the wood and received estimates on custom stone or quartz for the top, it no longer made sense. We didn’t trash the old vanity. Instead, we are repurposing the three bases in another space.
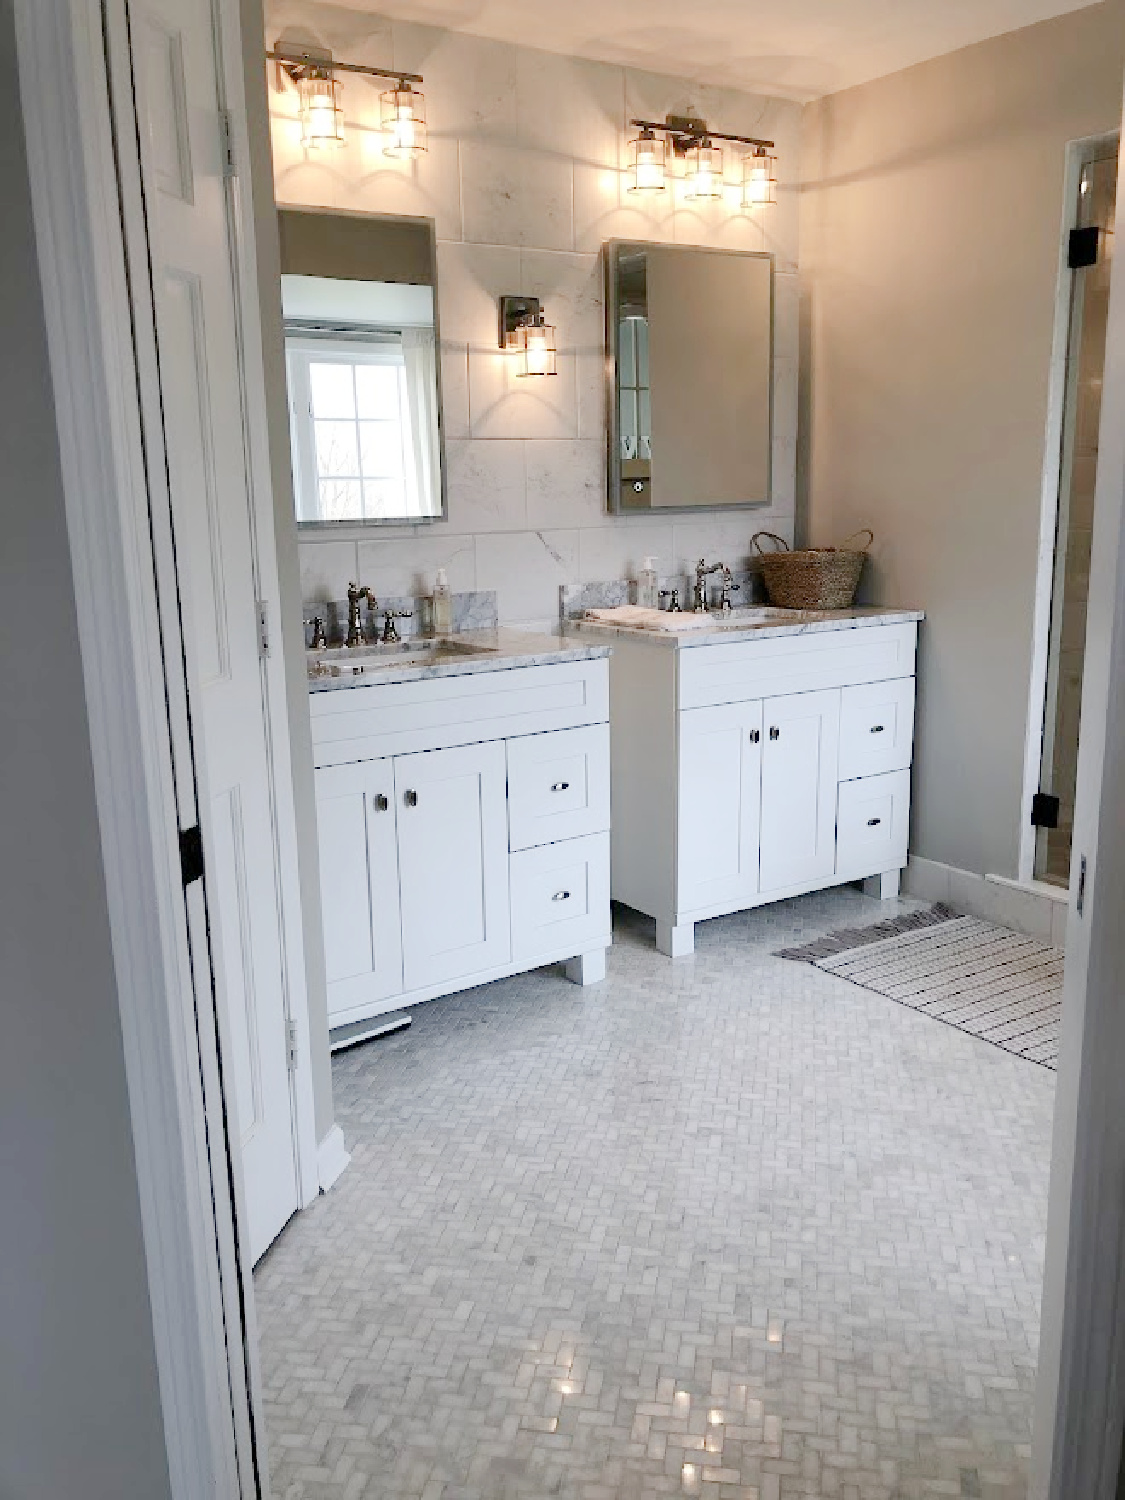
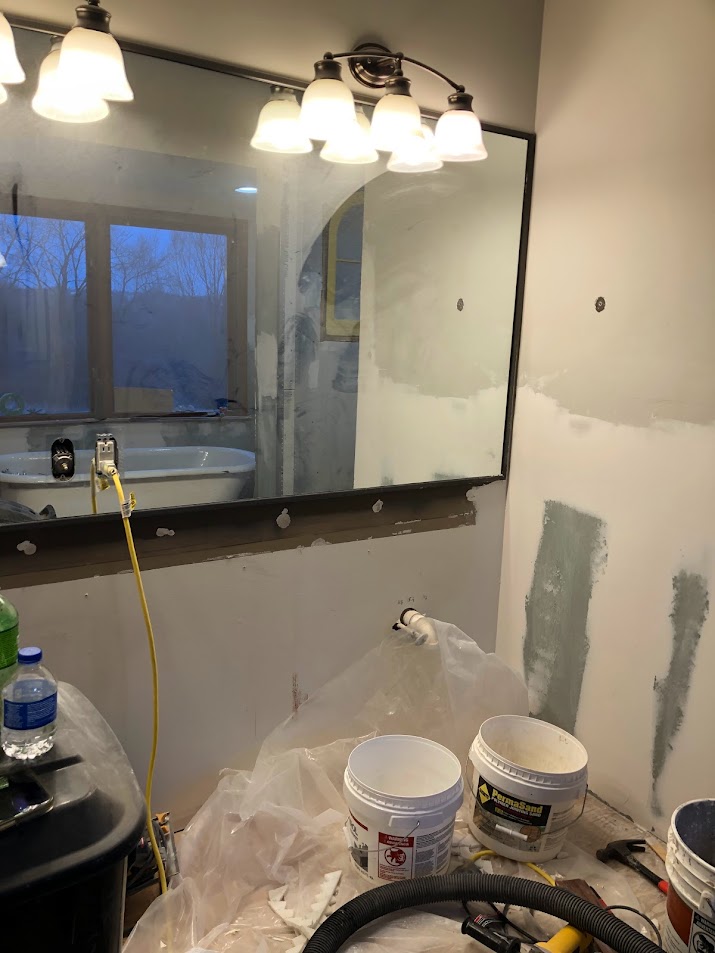
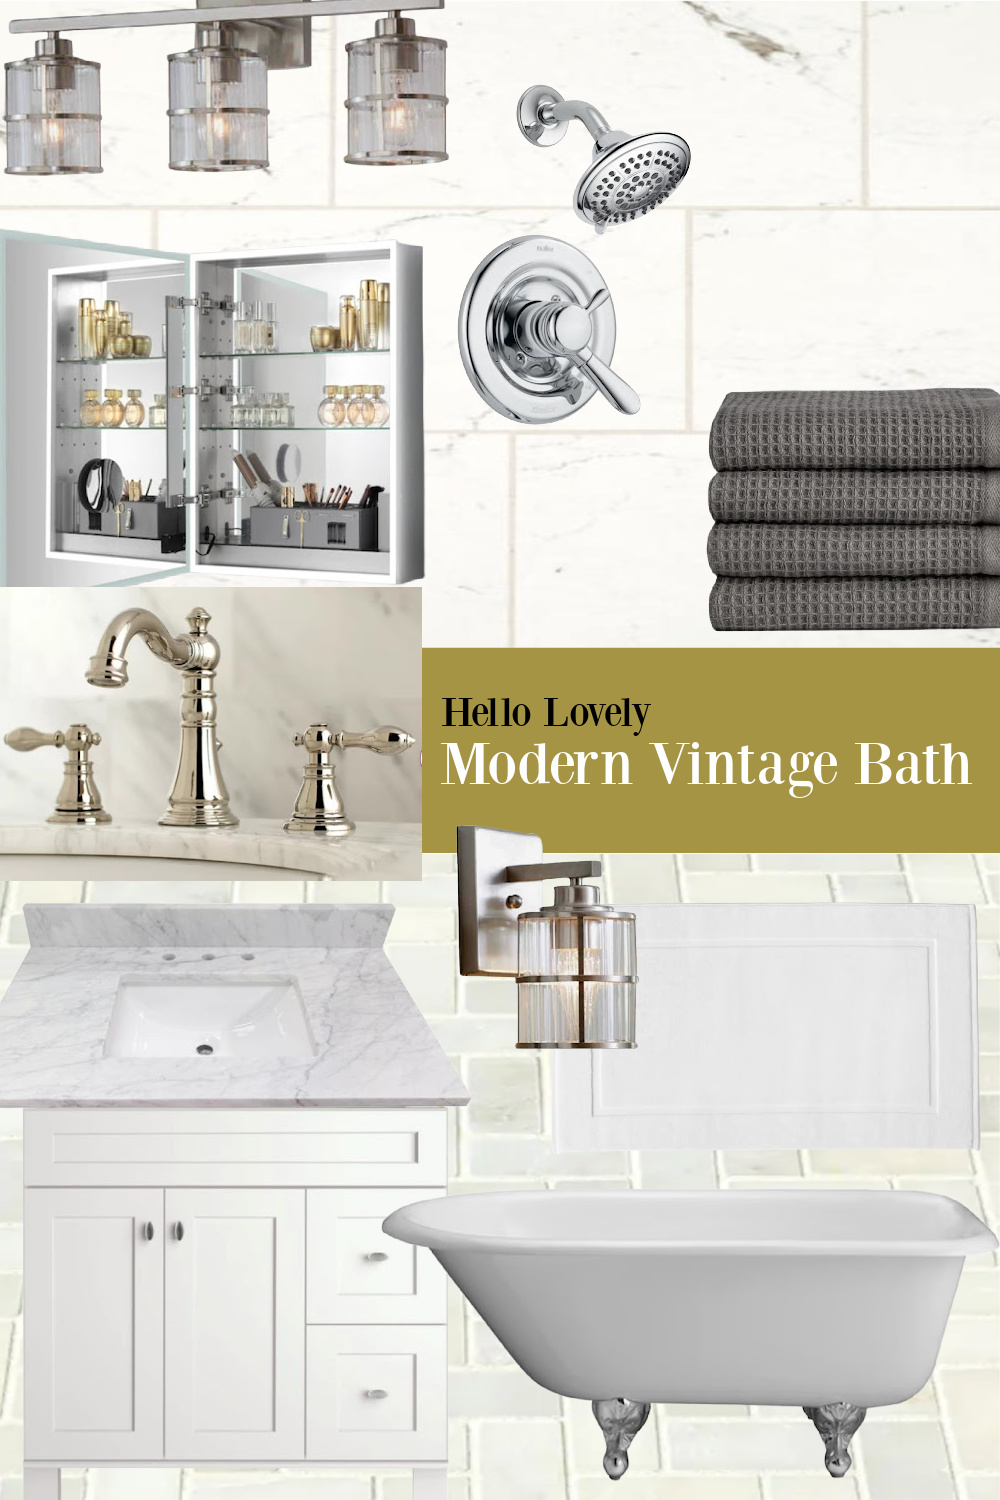
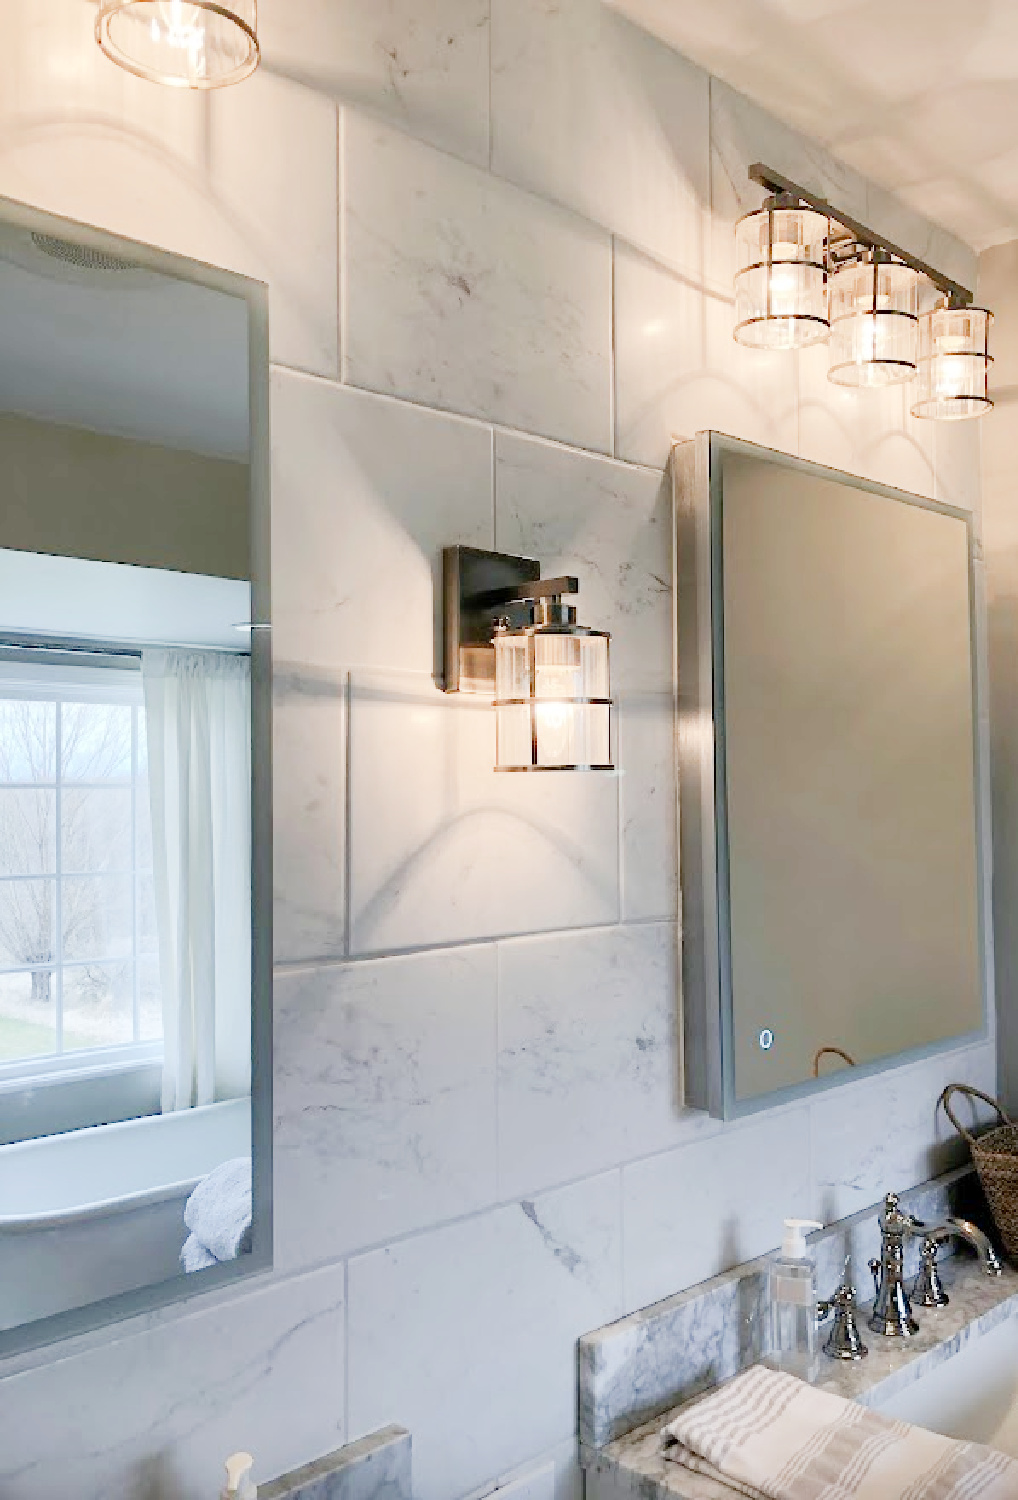
We loved the idea of introducing classic, modern, minimal, Shaker style his and her vanity cabinets. Each is 36″ wide, leaving about a foot in between for a narrow basket, hamper, open shelves or nothing as we have now. We bought the carrera marble tops with rectangular integrated sinks separately. One of the design decisions that made a significant difference was installing new vanity sconces higher on the wall. Notice how they were low before in order to cast light on the mirror:
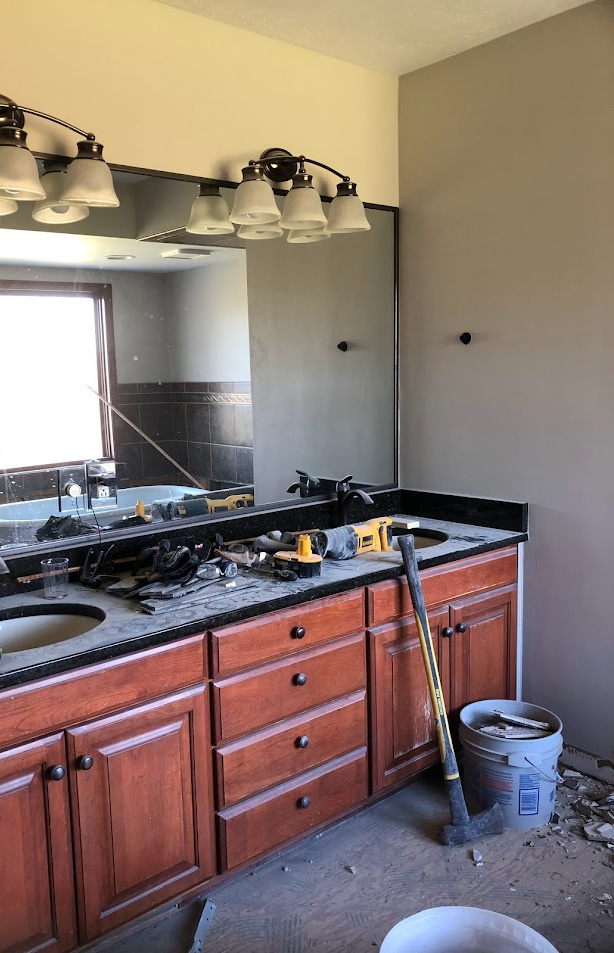
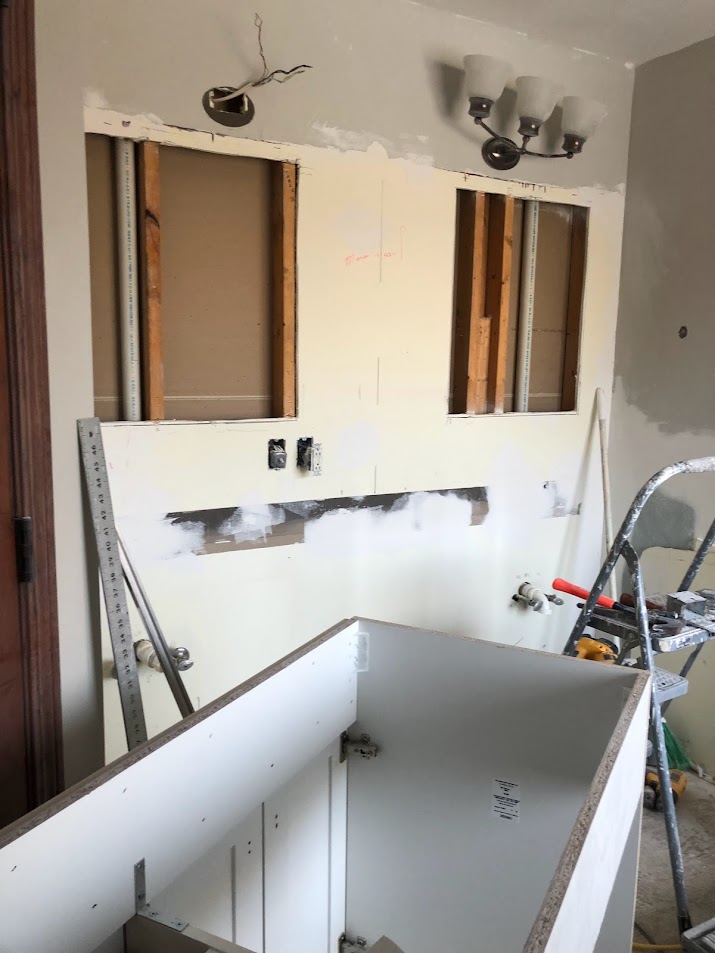
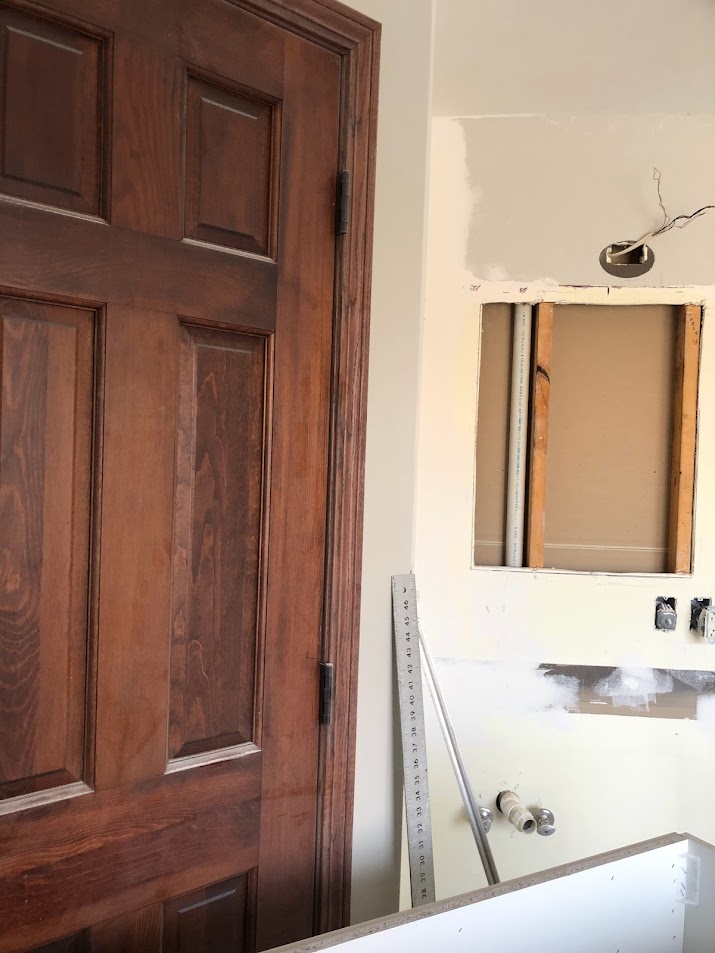
We didn’t mind the sheet mirror, but high on my husband’s wish list was a medicine cabinet with tons of storage so it needed to go. After living without medicine cabinets or adequate closed storage in our last home, it was time to give ourselves abundant space for toiletries. We found modern LED mirrored cabinets that light the face, contain more lighting and outlets inside, and feature a night light on the door. The only catch was the surprise we found when we opened the wall to recess them: plumbing (see below) in the way! So instead of replumbing the whole shebang and recessing them fully, they are semi-recessed.
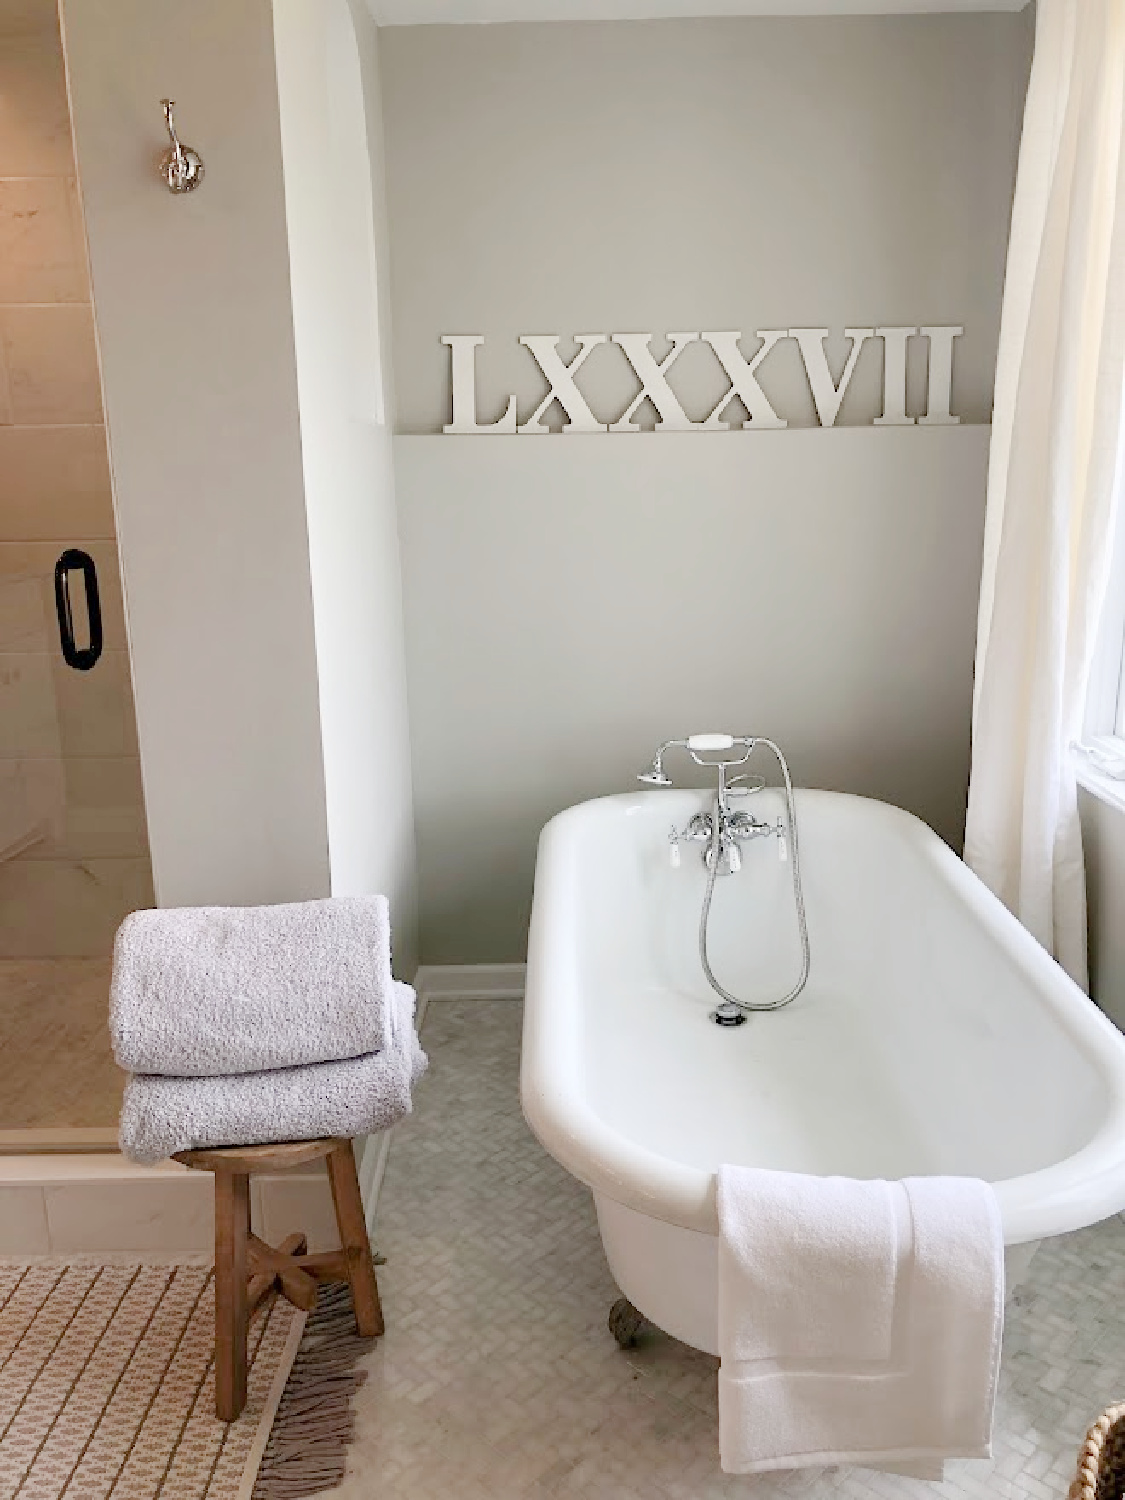
The vintage clawfoot tub is from a 1920s cottage in Madison, WI, and what a day of celebration it was for me to finally see it installed in the same place the outdated and hazardous tub platform was.
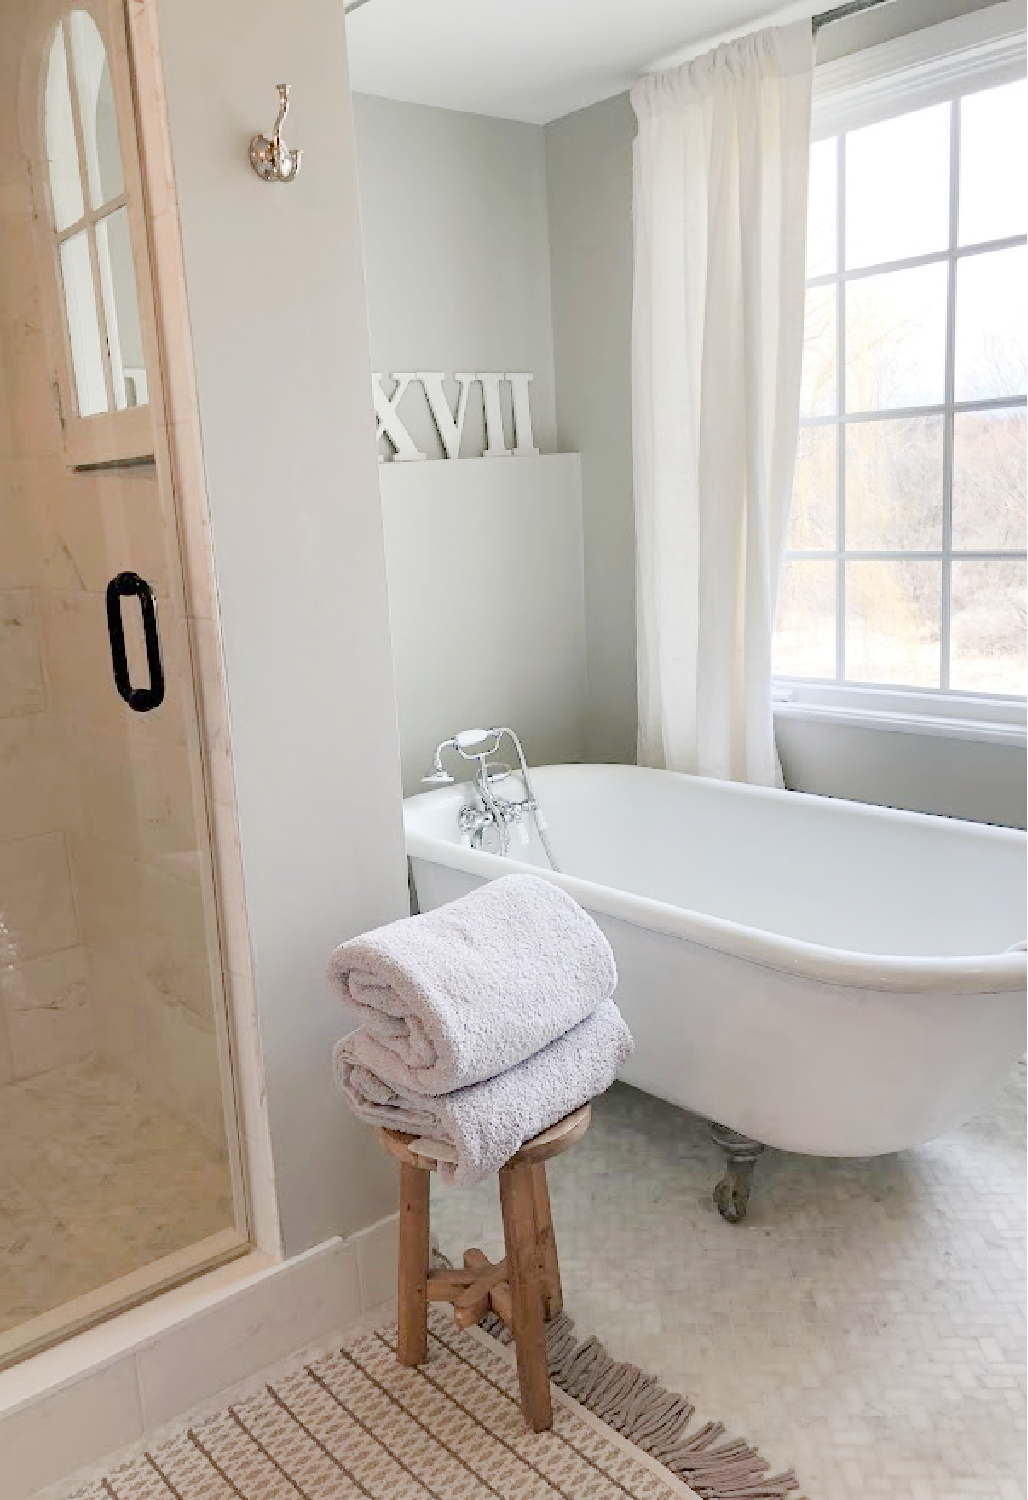
Here’s that space at an earlier stage of construction. I am still not sure whether I’ll add wainsoct panels, beadboard or wall tile to this area. I want to live with it before deciding (told you I take my time!). I placed wood Roman numerals on the shelf for now (they signify the year we were married).
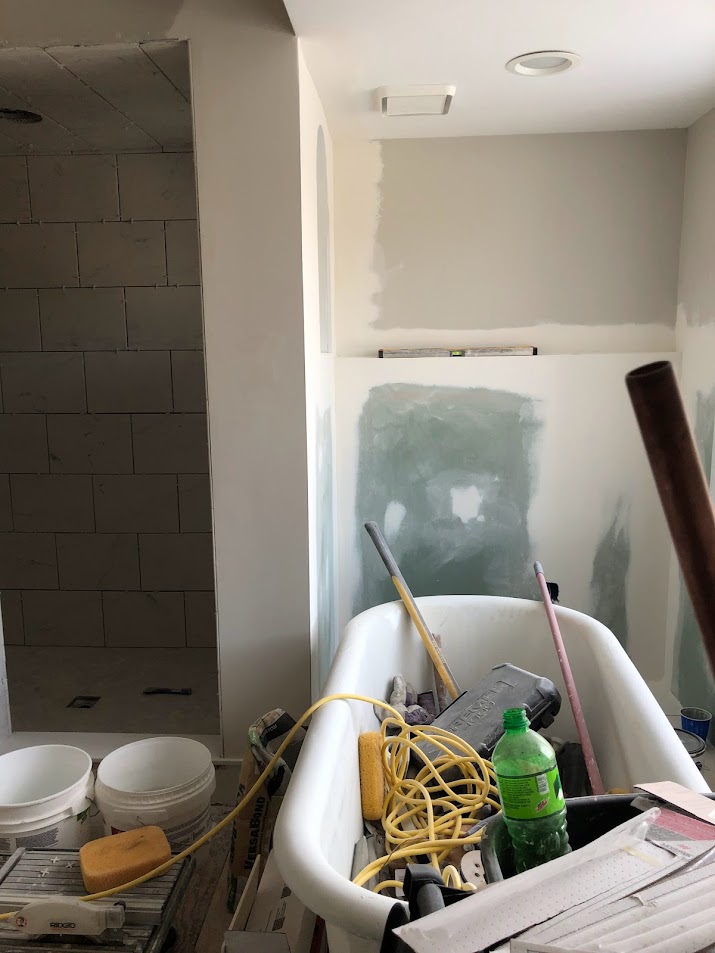
While the wall color may appear to be the same color as the bedroom (SW Agreeable Gray), that color wasn’t right with the veining in tile and marble vanity tops so we opted for SW Repose Gray.
Repose Gray is a cooler grey with blue undertones. Agreeable Gray can go green on you, and while you don’t notice the colors are different as you transition from bed to bath, the subtle difference looks much better.
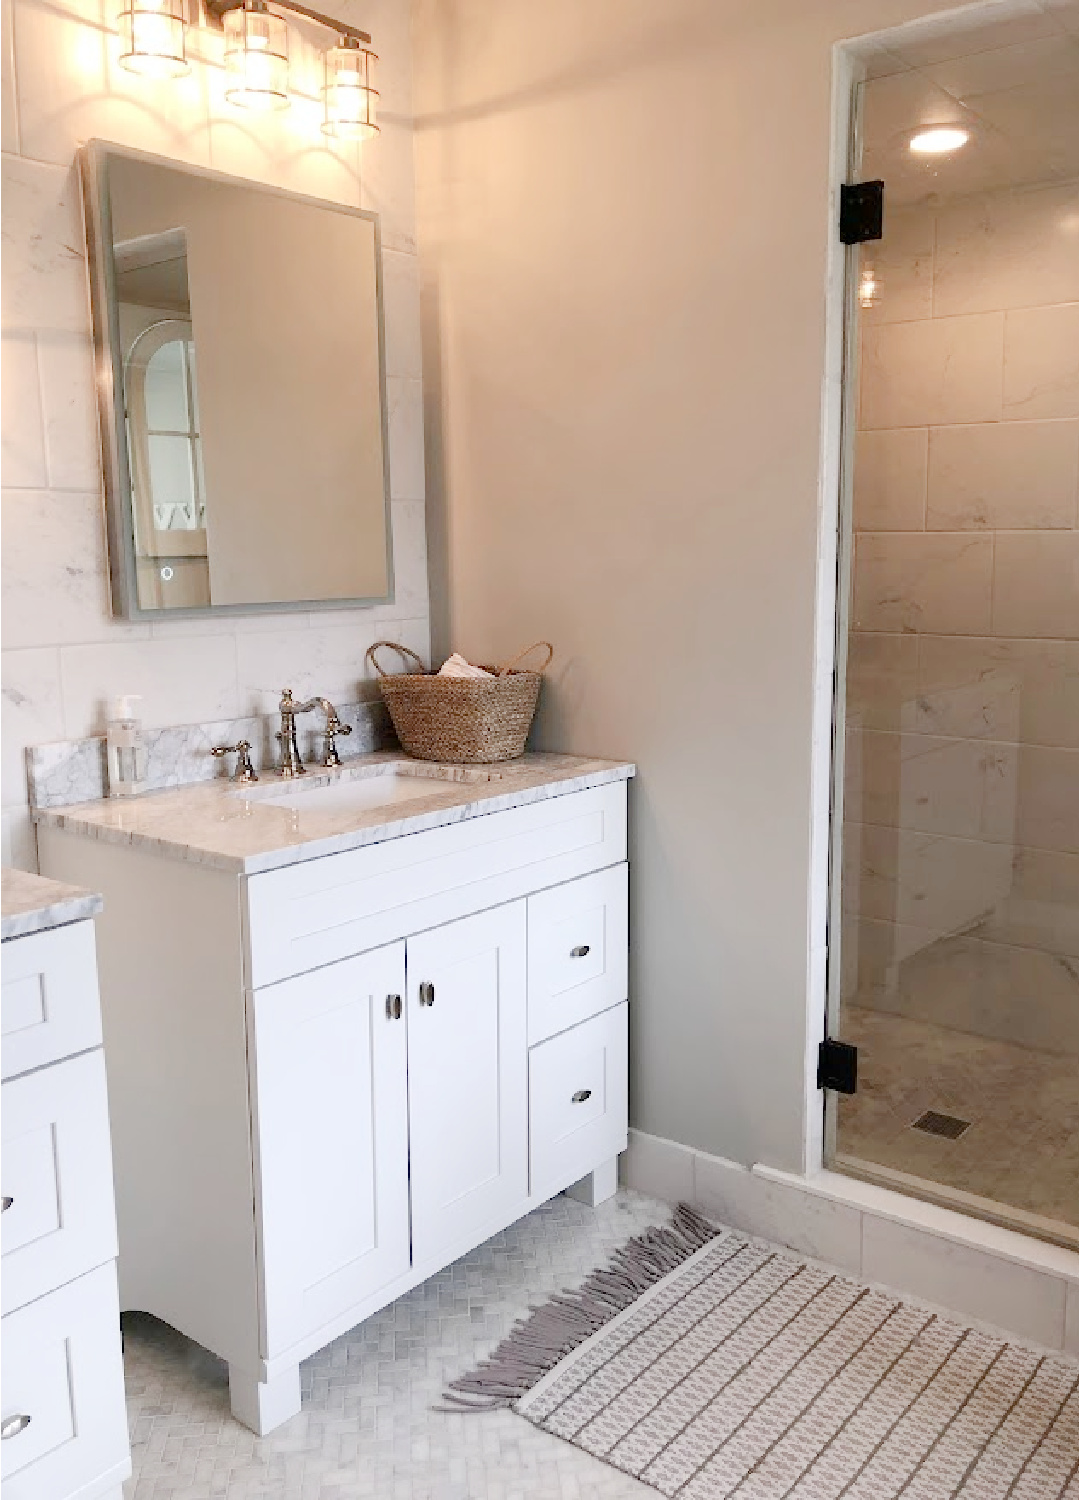
The border around the mirrored medicine cabinet you see above is actually light. When you touch the little round night light, the border becomes illumined. It’s such a bonus to have multiple light sources for daytime, night, makeup application, and ambient mood lighting.
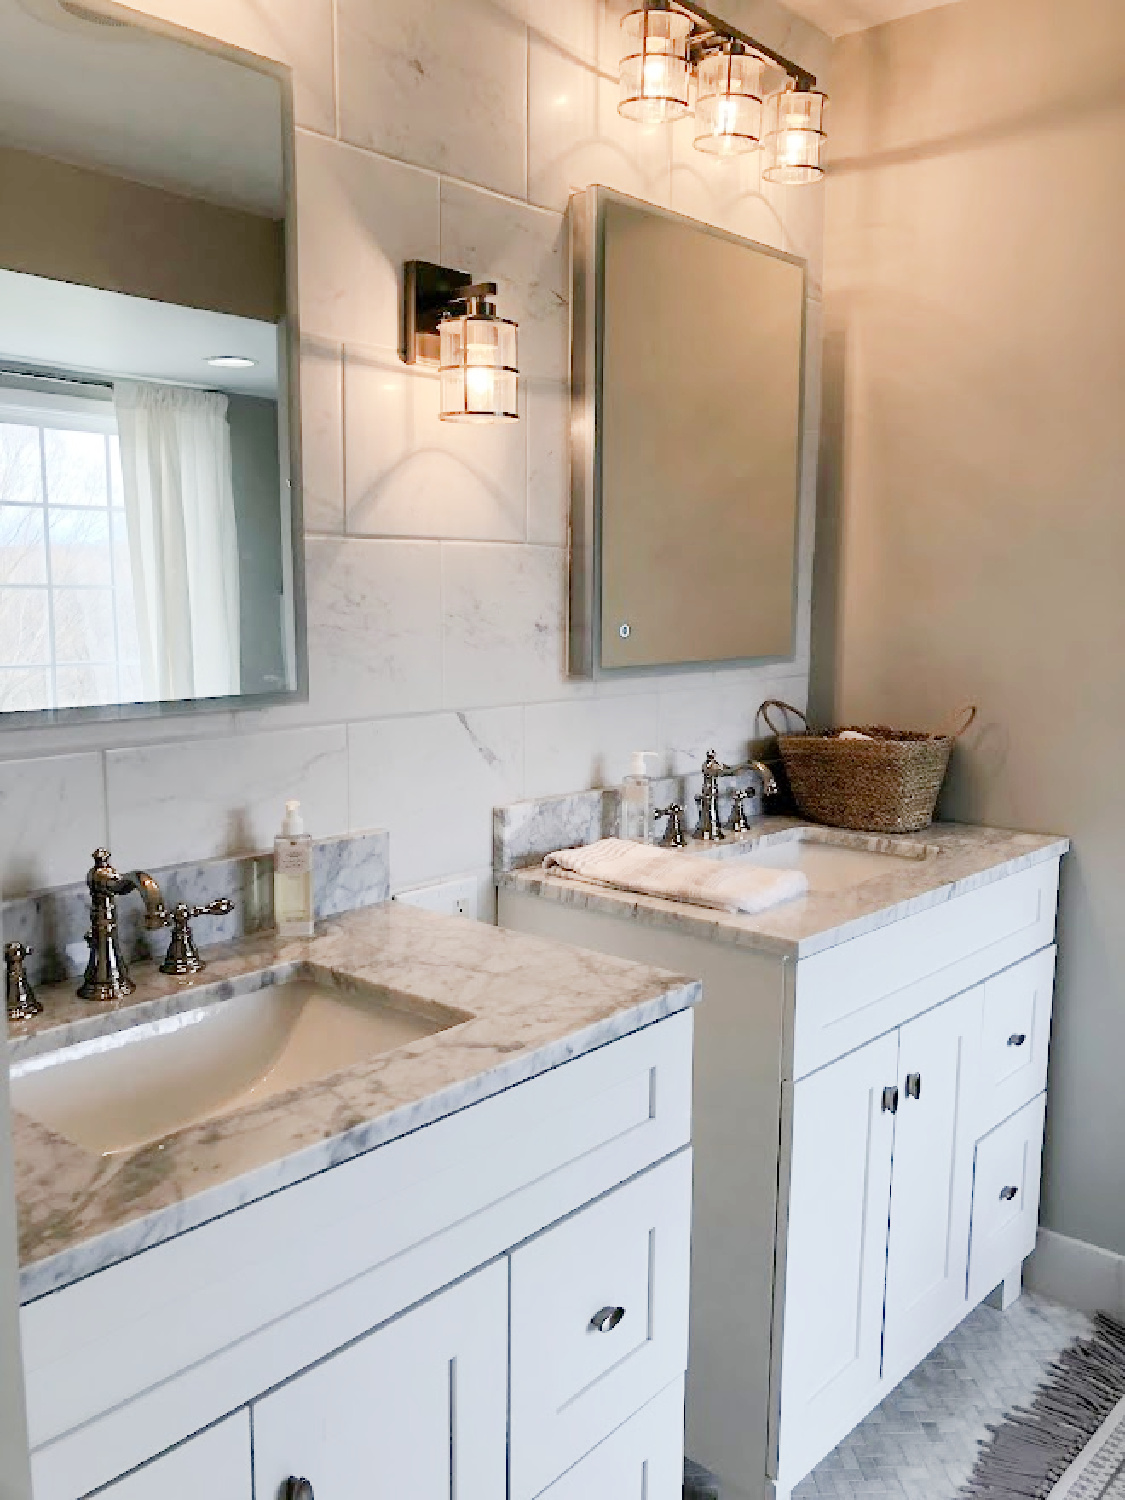
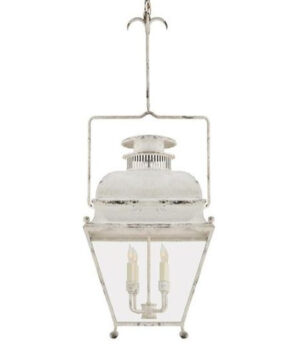
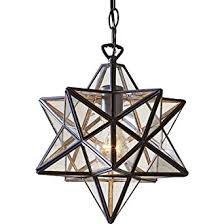
We even added another source of light at face level: the lantern-style wall sconce. There wasn’t room for three of these on the vanity wall because of the size of the mirrors and layout. So this is a more unique compromise with lighting above and at face level.
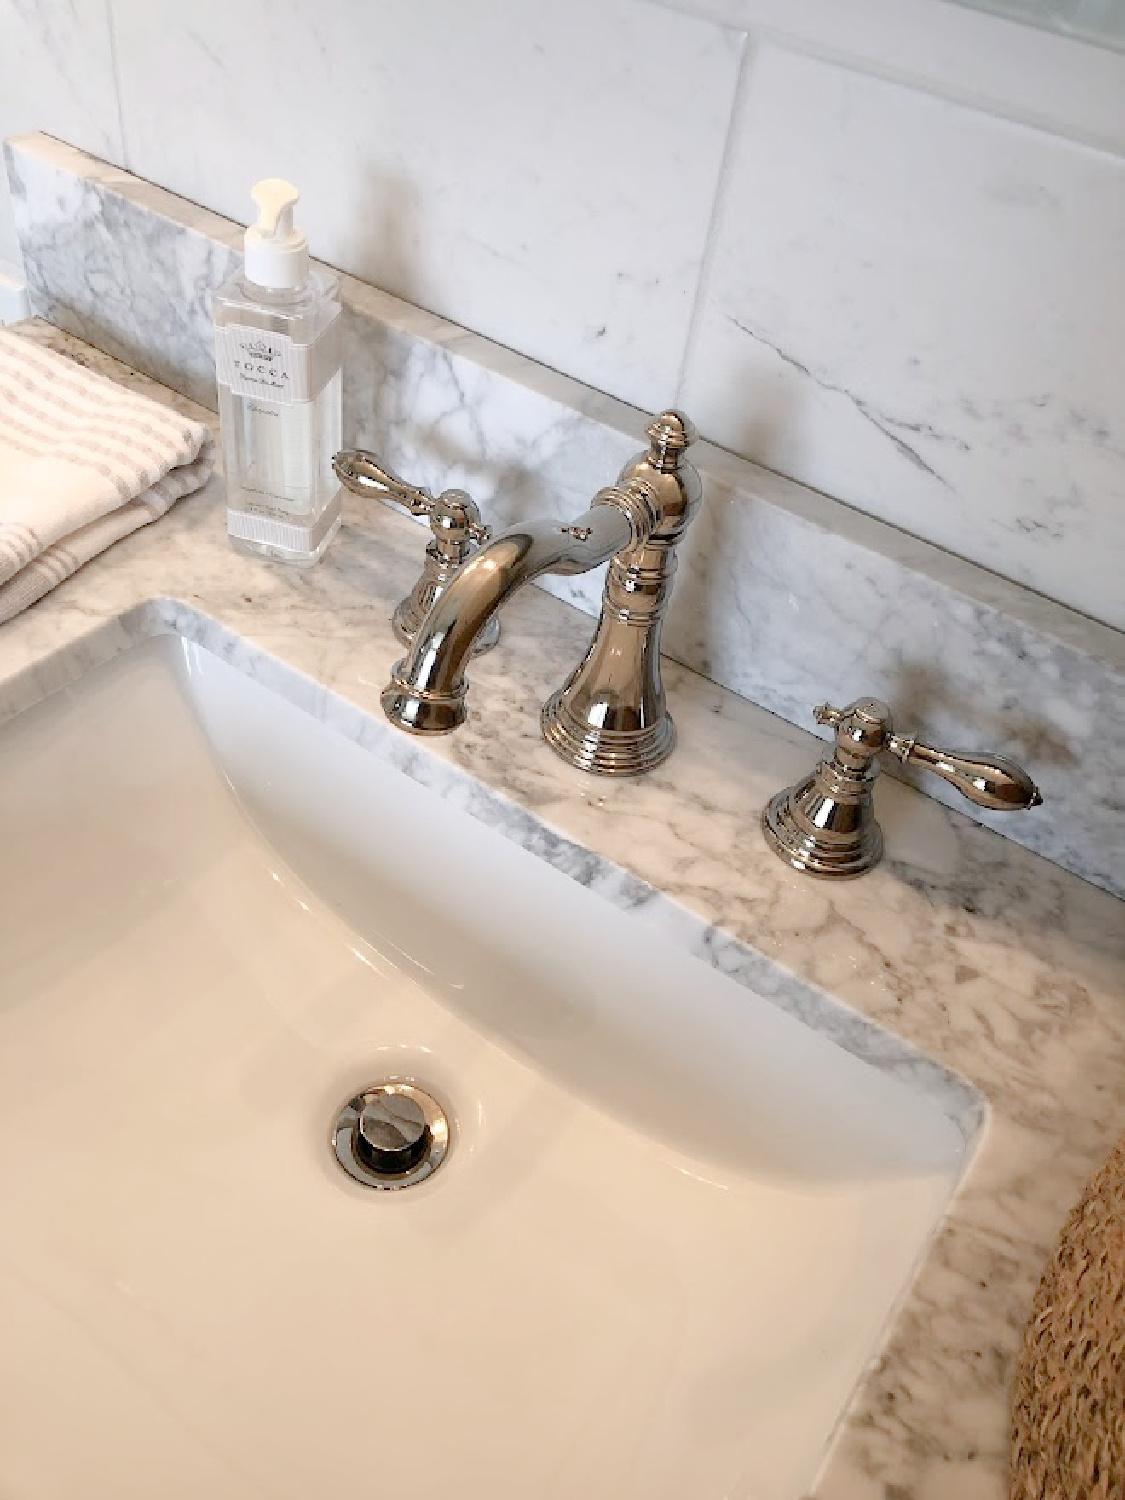
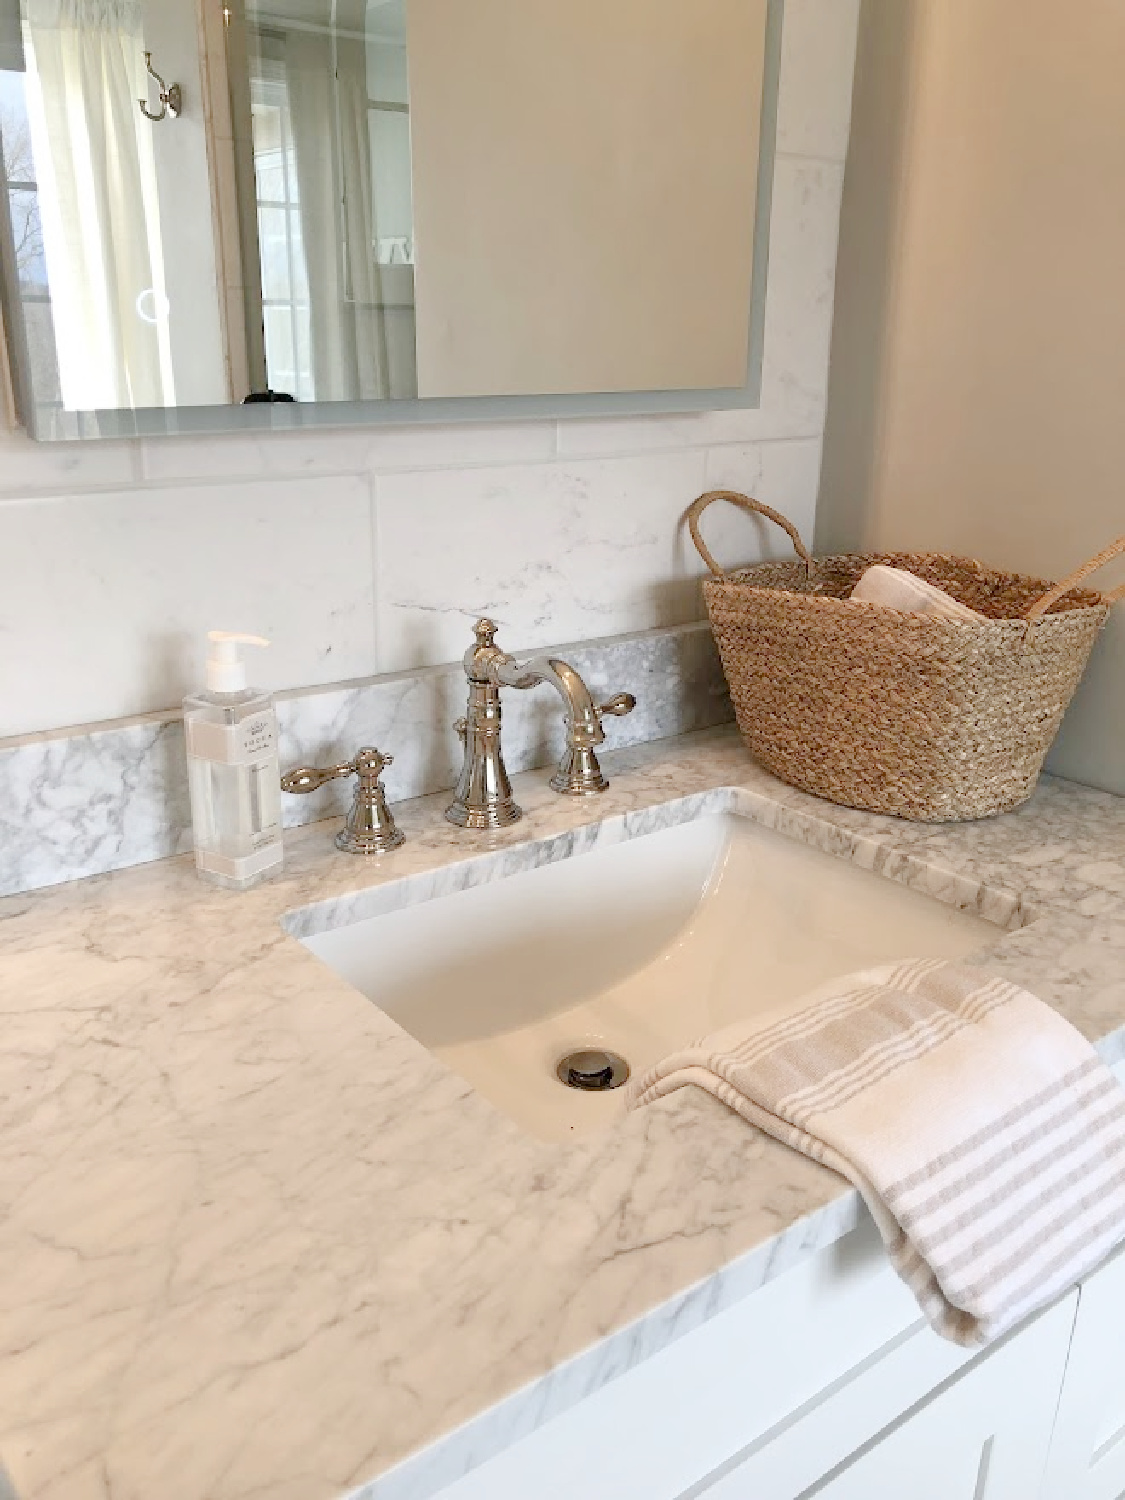
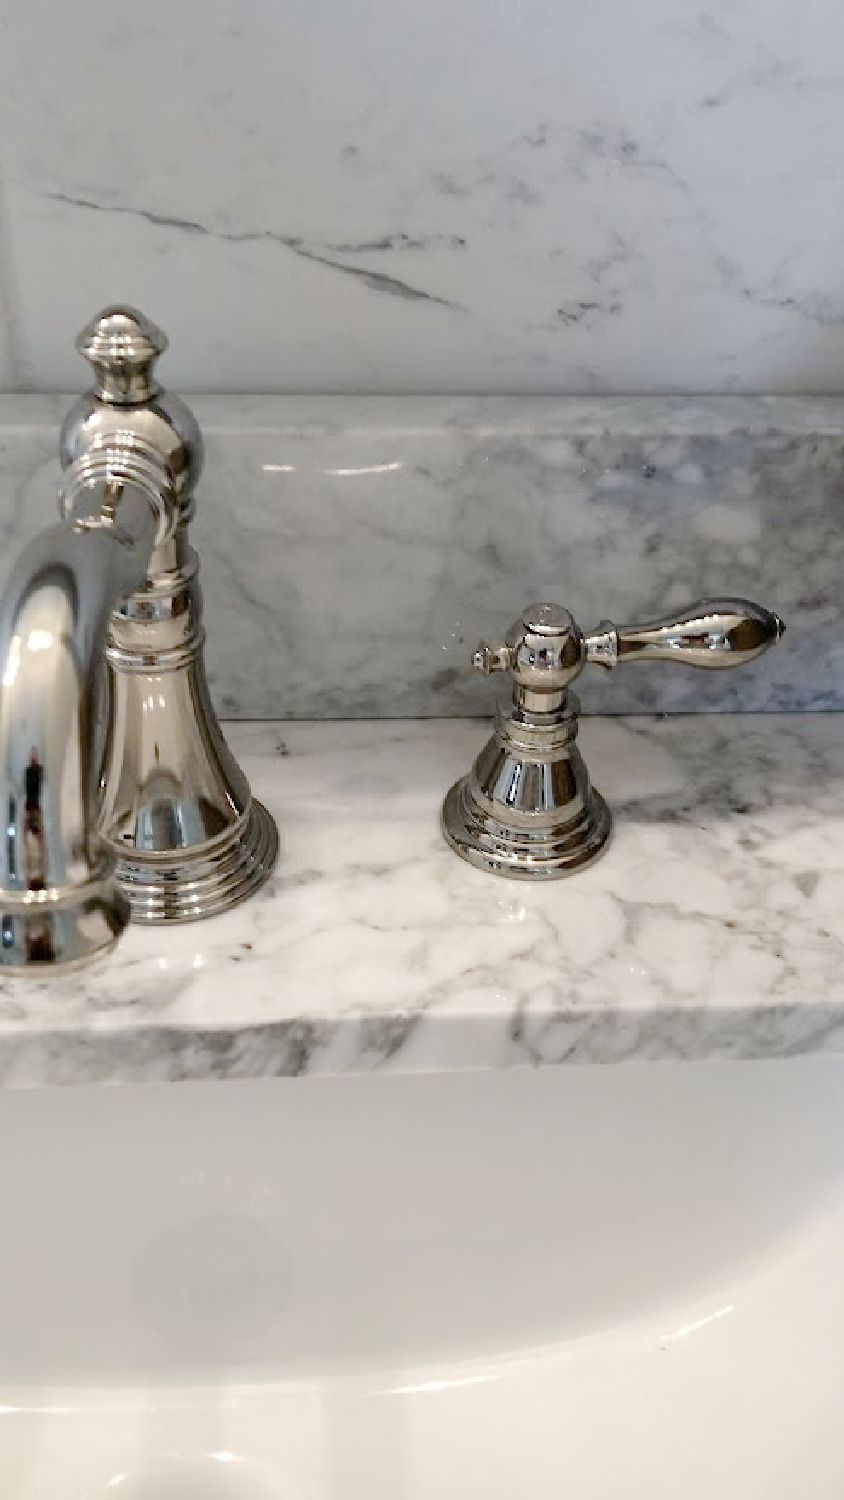
We love these traditional style, polished nickel bath faucets for their high quality and timelessness.
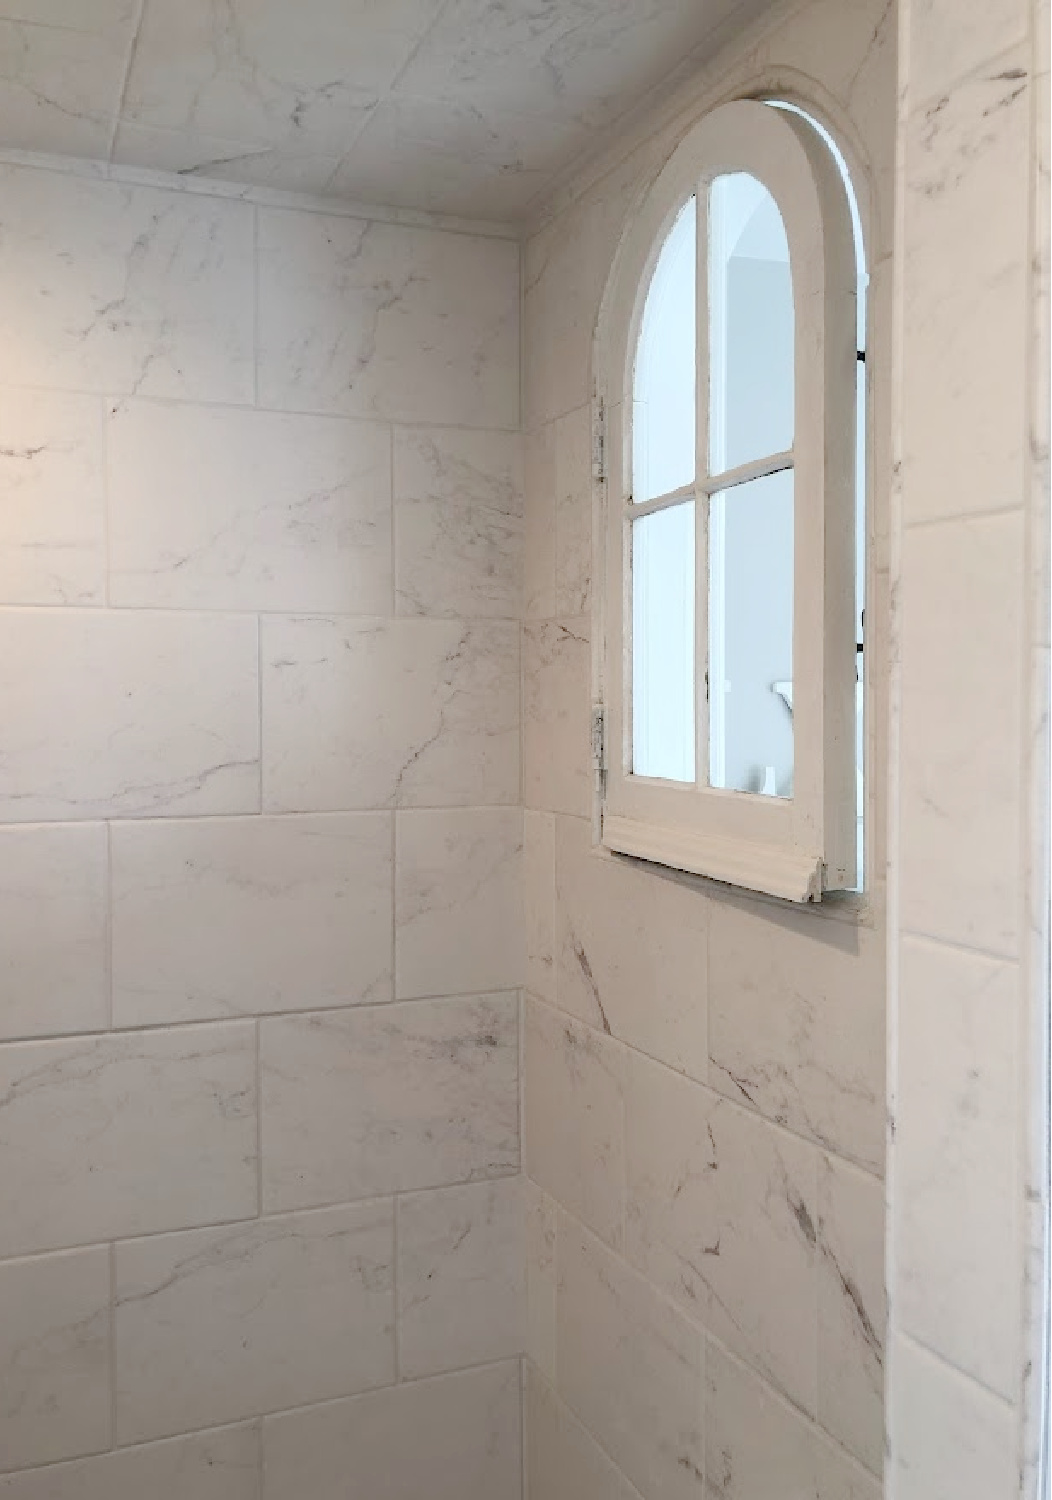
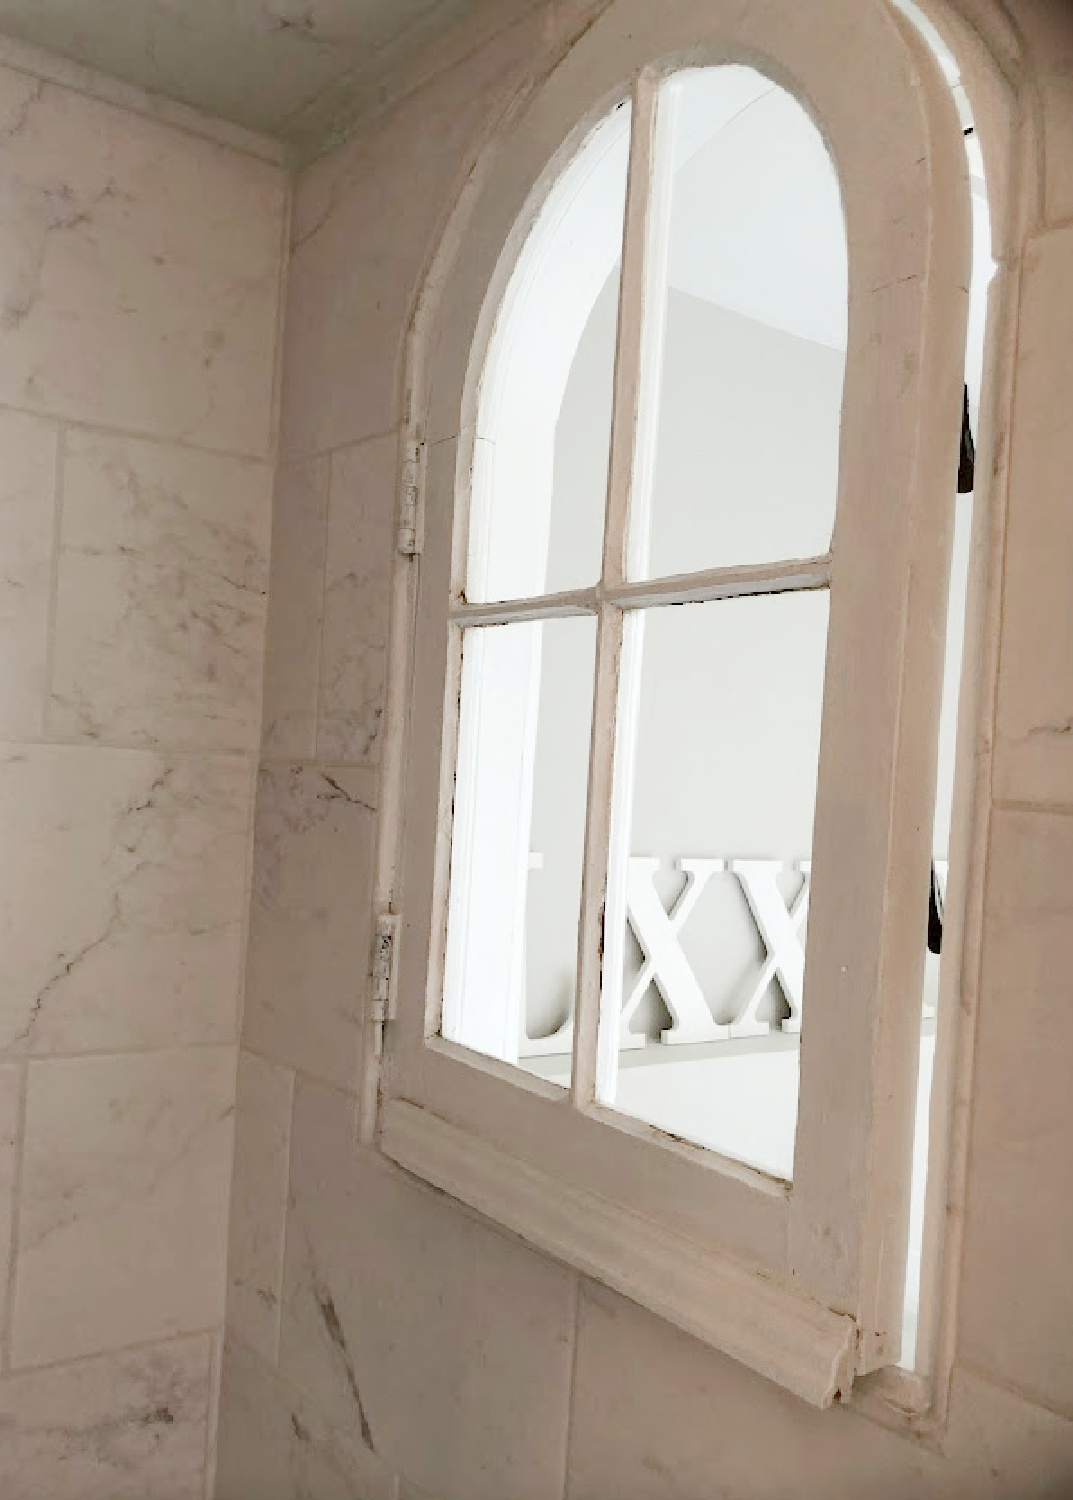
Where there was once glass at the end of the shower, there is now a tiled wall with a vintage salvaged window. I just love this custom look, and it has such a timeless look that won’t look out of place 10 years from now.
The tub area has such a different feel from where we began:
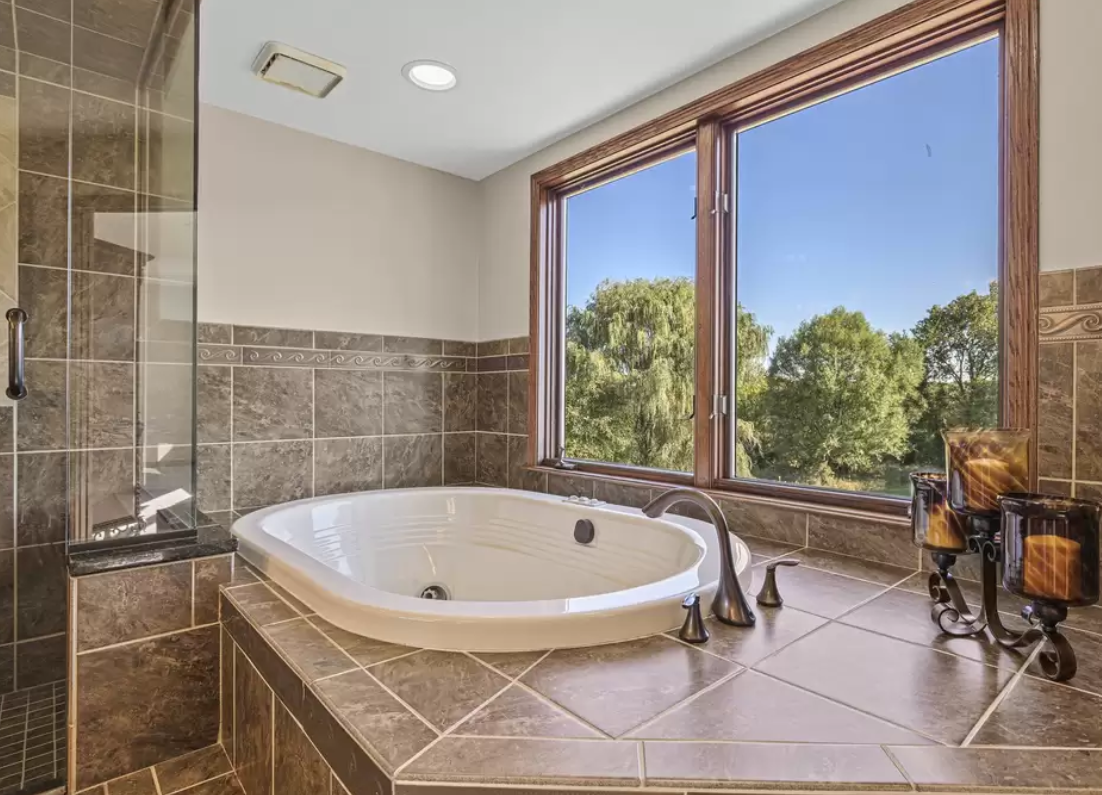
It’s like we went from the 1990s to the 1920s.

We were able to design the custom shower in the same foot print as the original one…mainly because we decided not to change the ceiling soffit which would entail lots of complications. It’s a large shower (over 6′ long rather than the standard 5′), and we kept the original door. We’ll repurpose the glass from the half wall somewhere else.
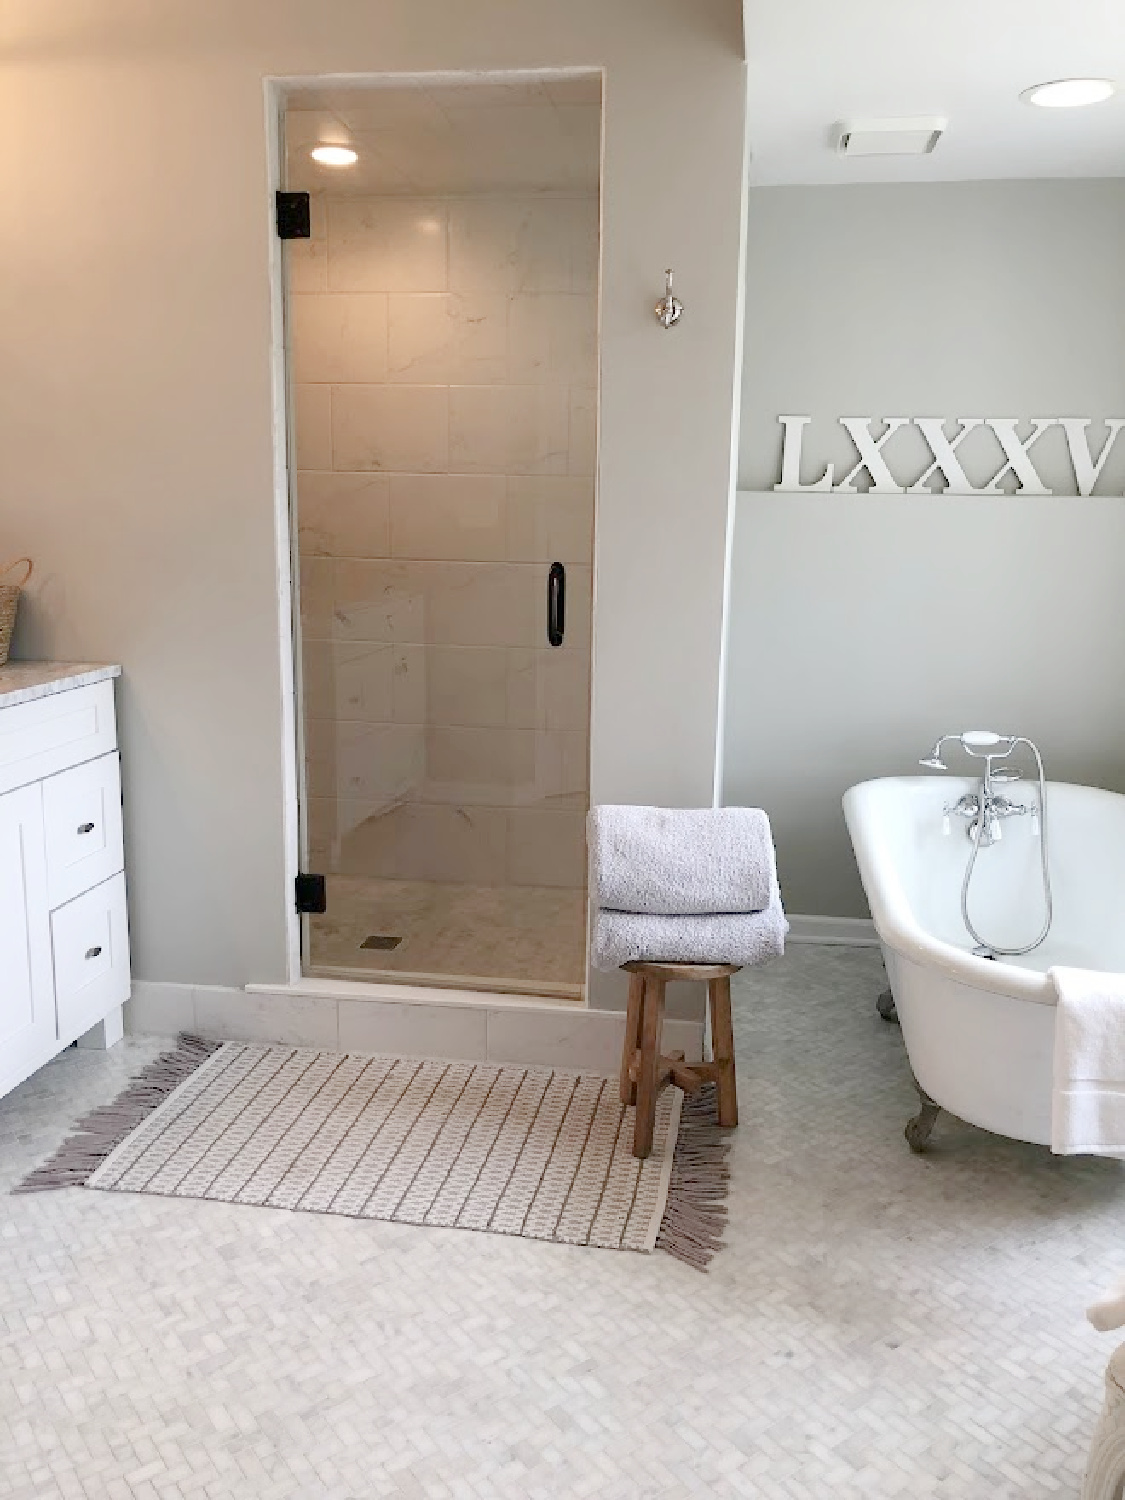
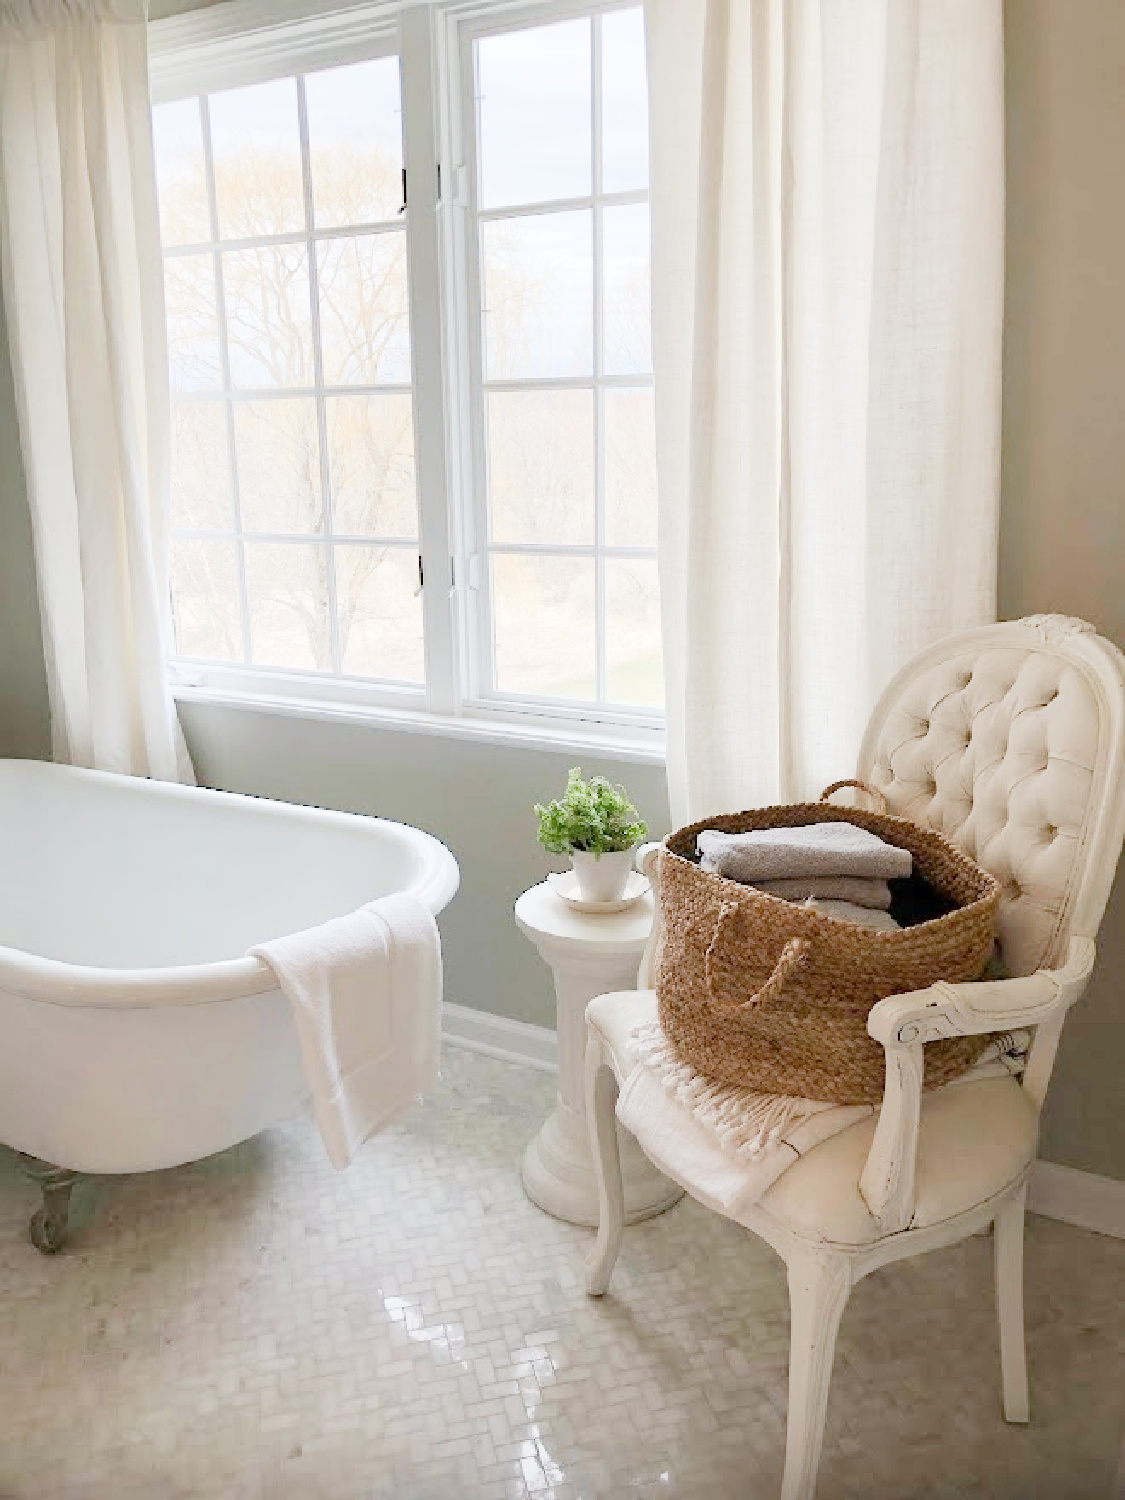
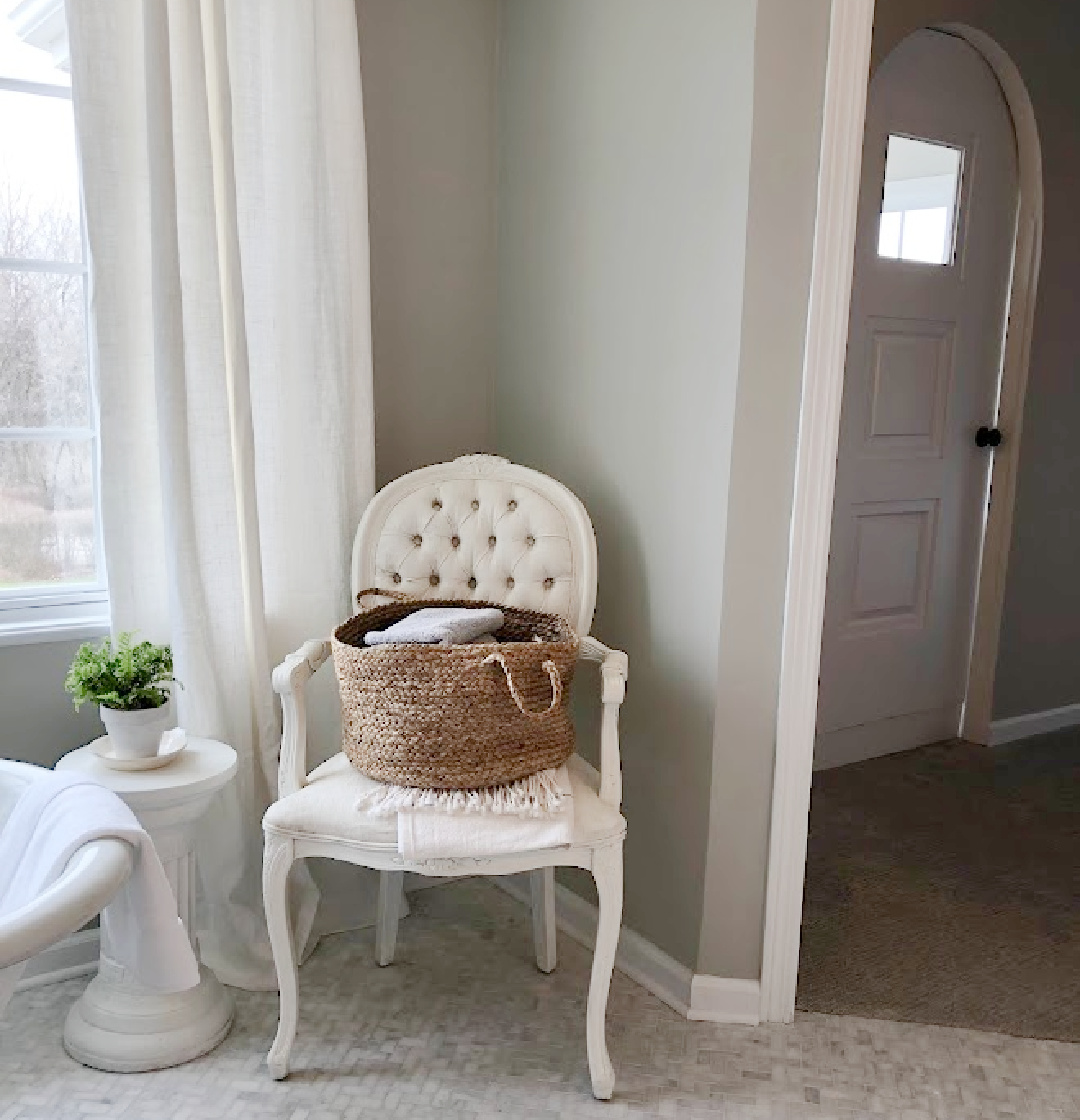
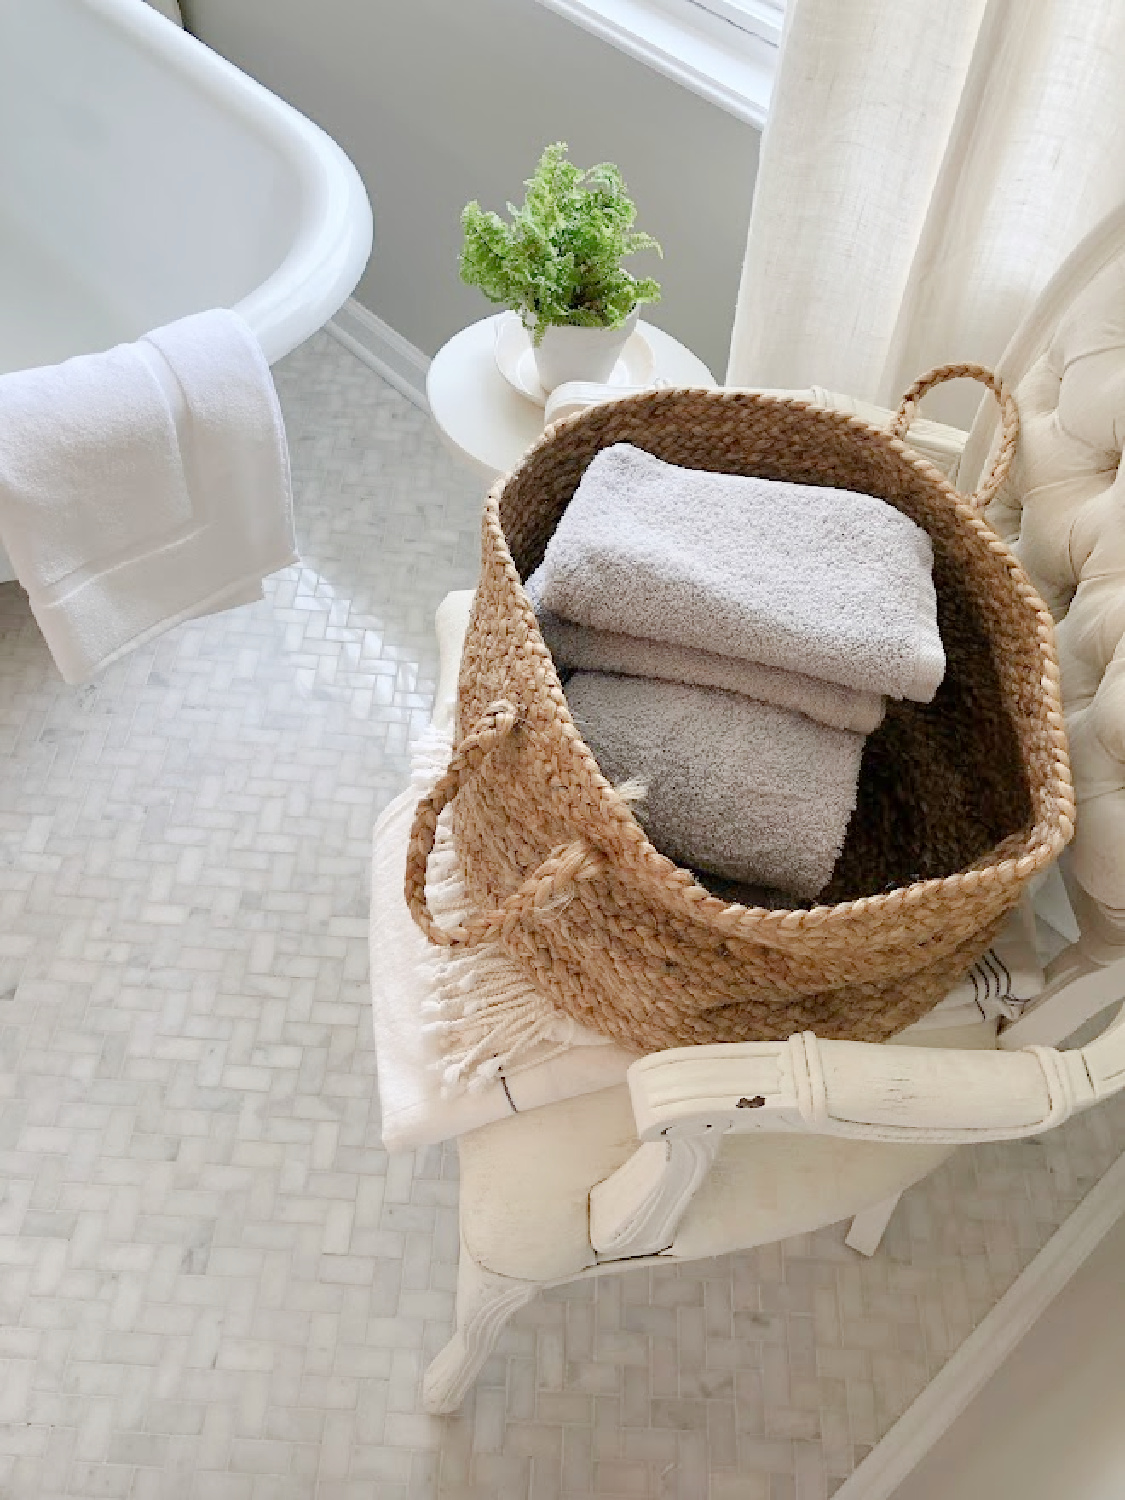
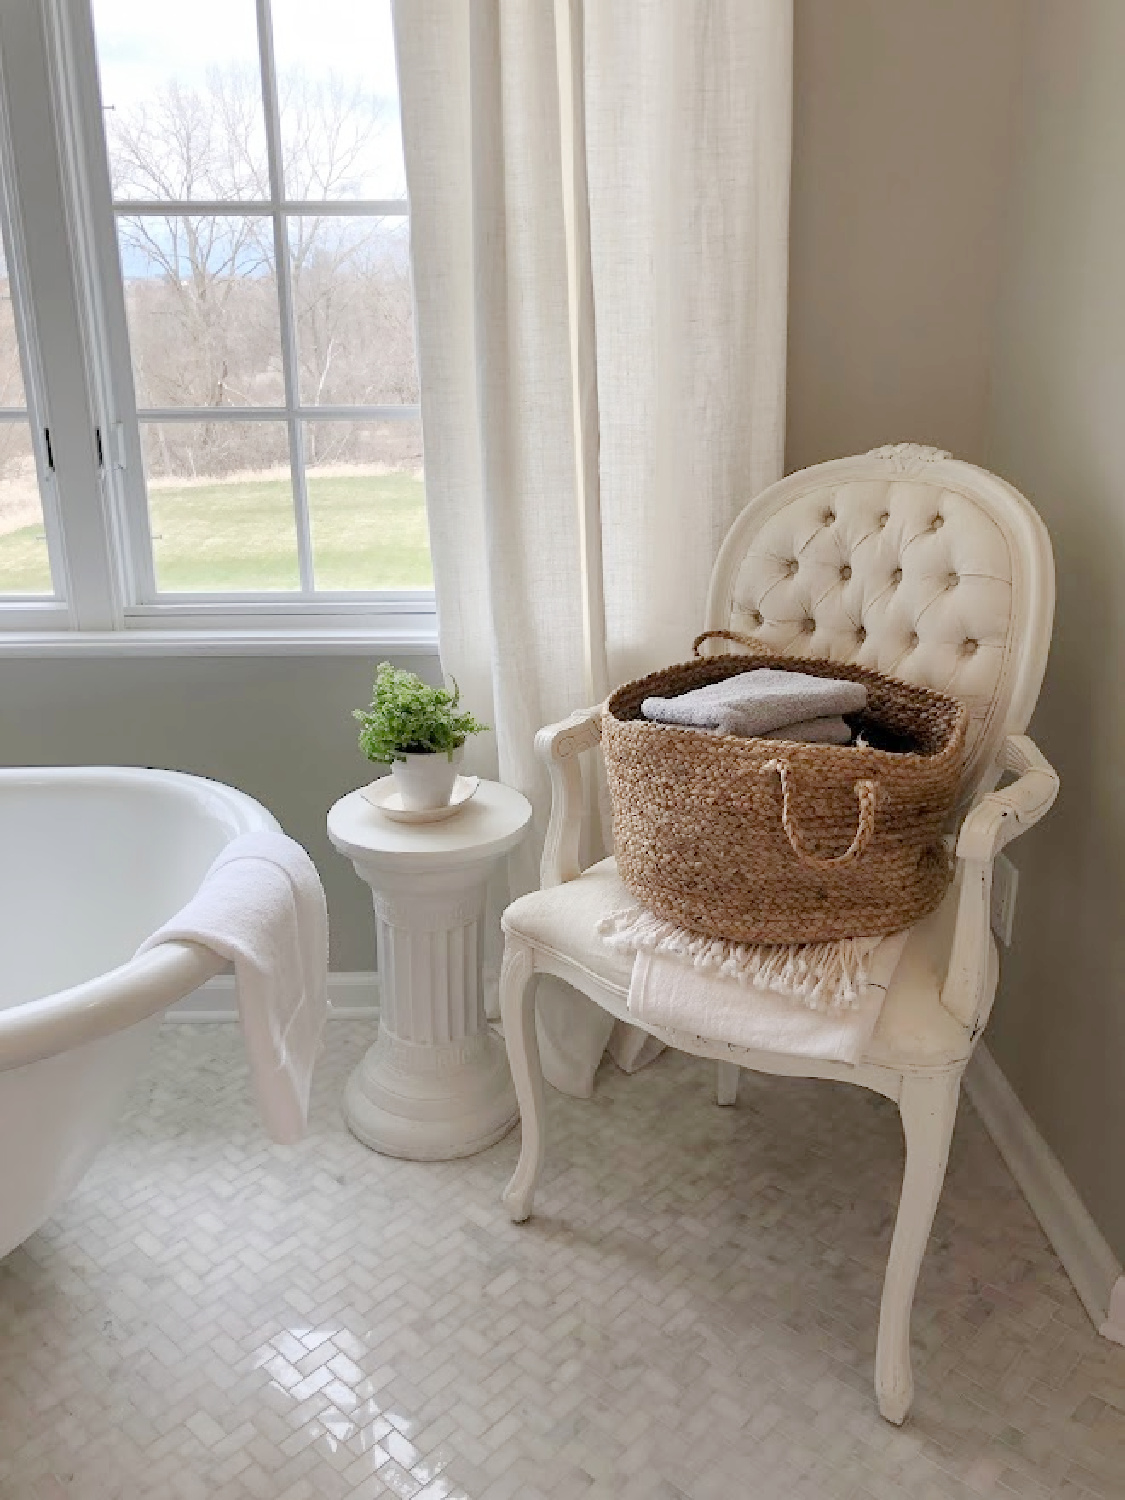
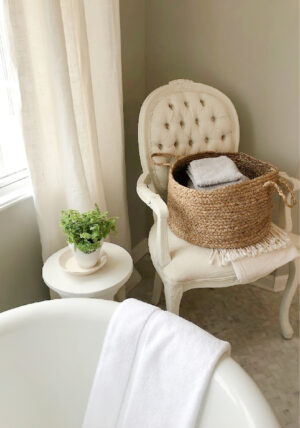
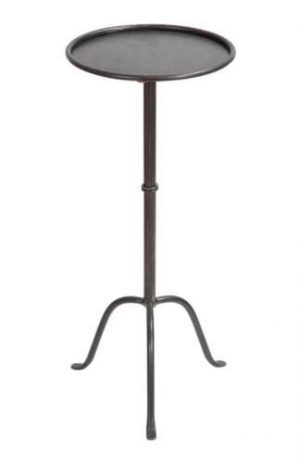
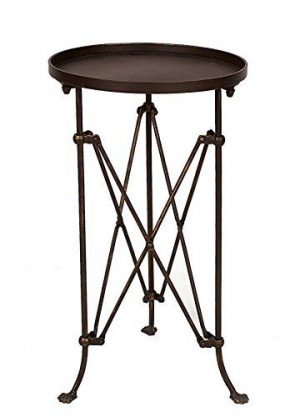
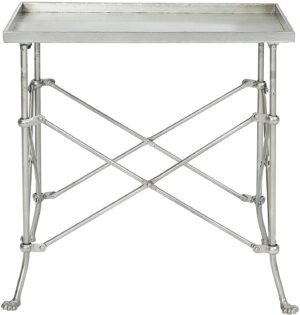
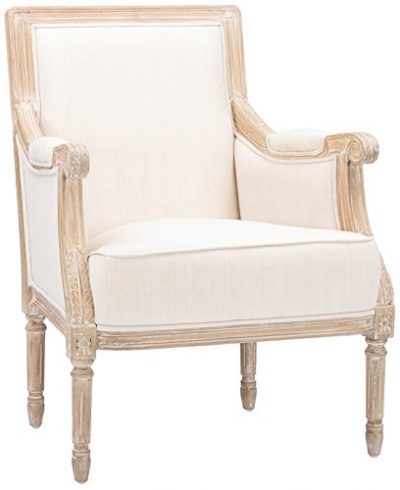
There’s plenty of space near the tub for a variety of design elements, and I have a chair and accent table in the corner presently. A petite makeup vanity, a pantry for linens, a full length leaner mirror, or other features would work.
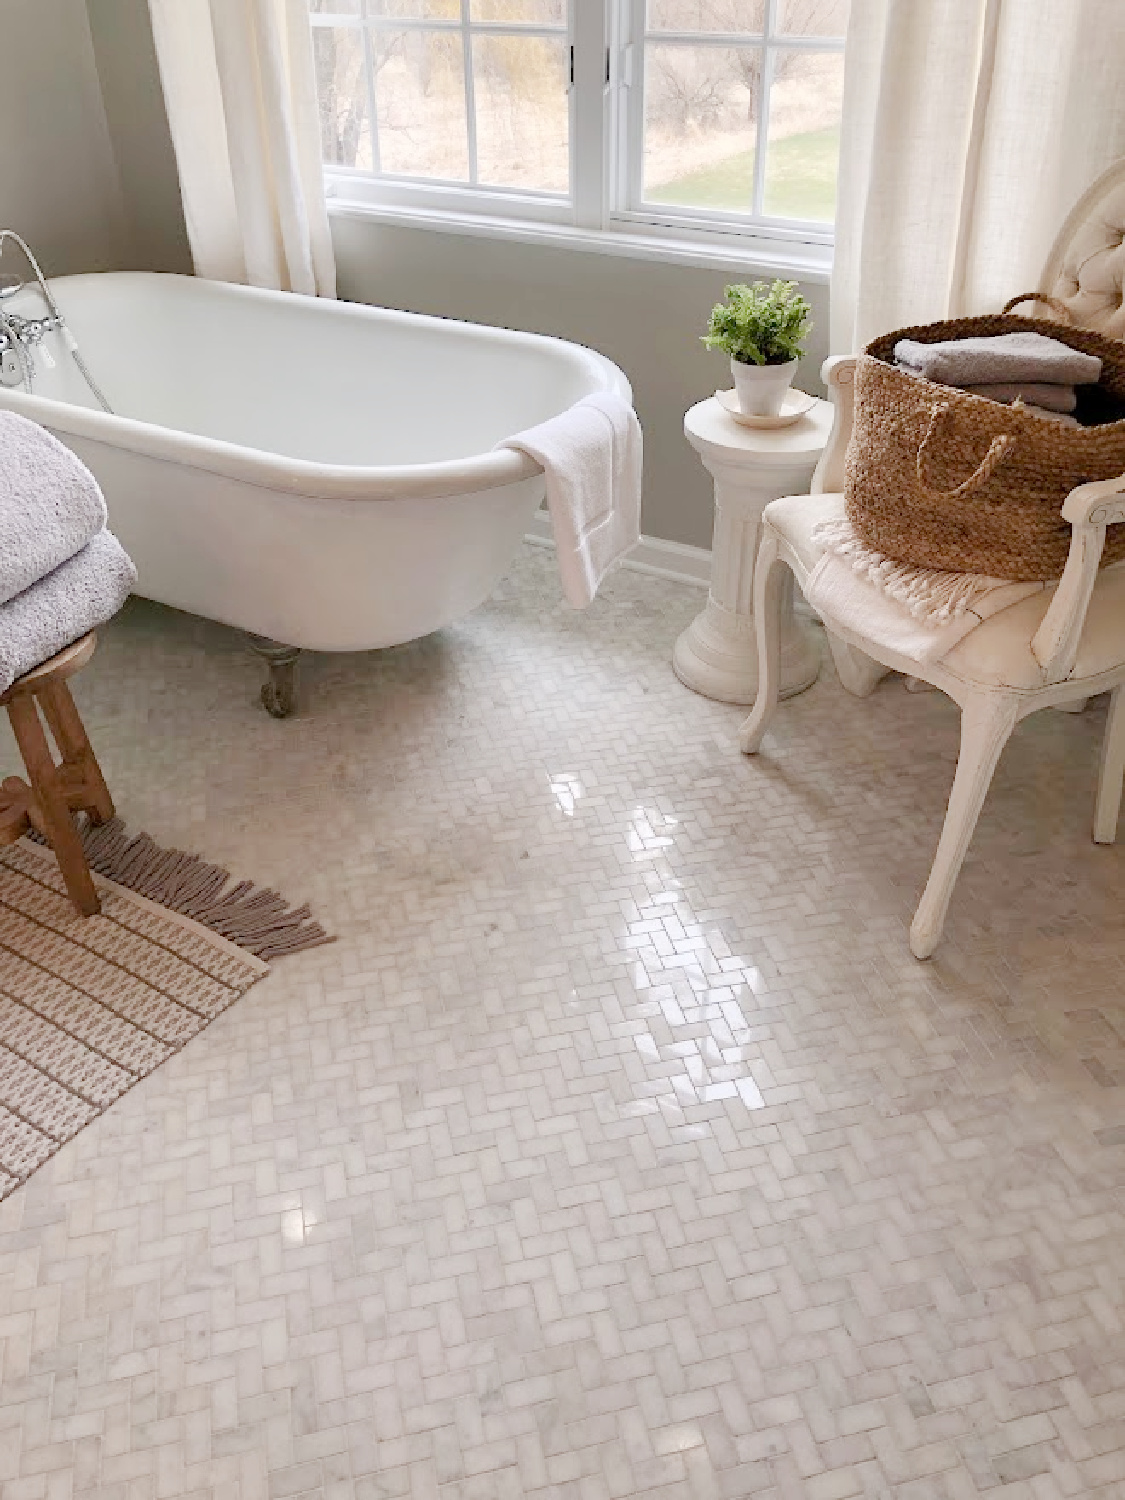
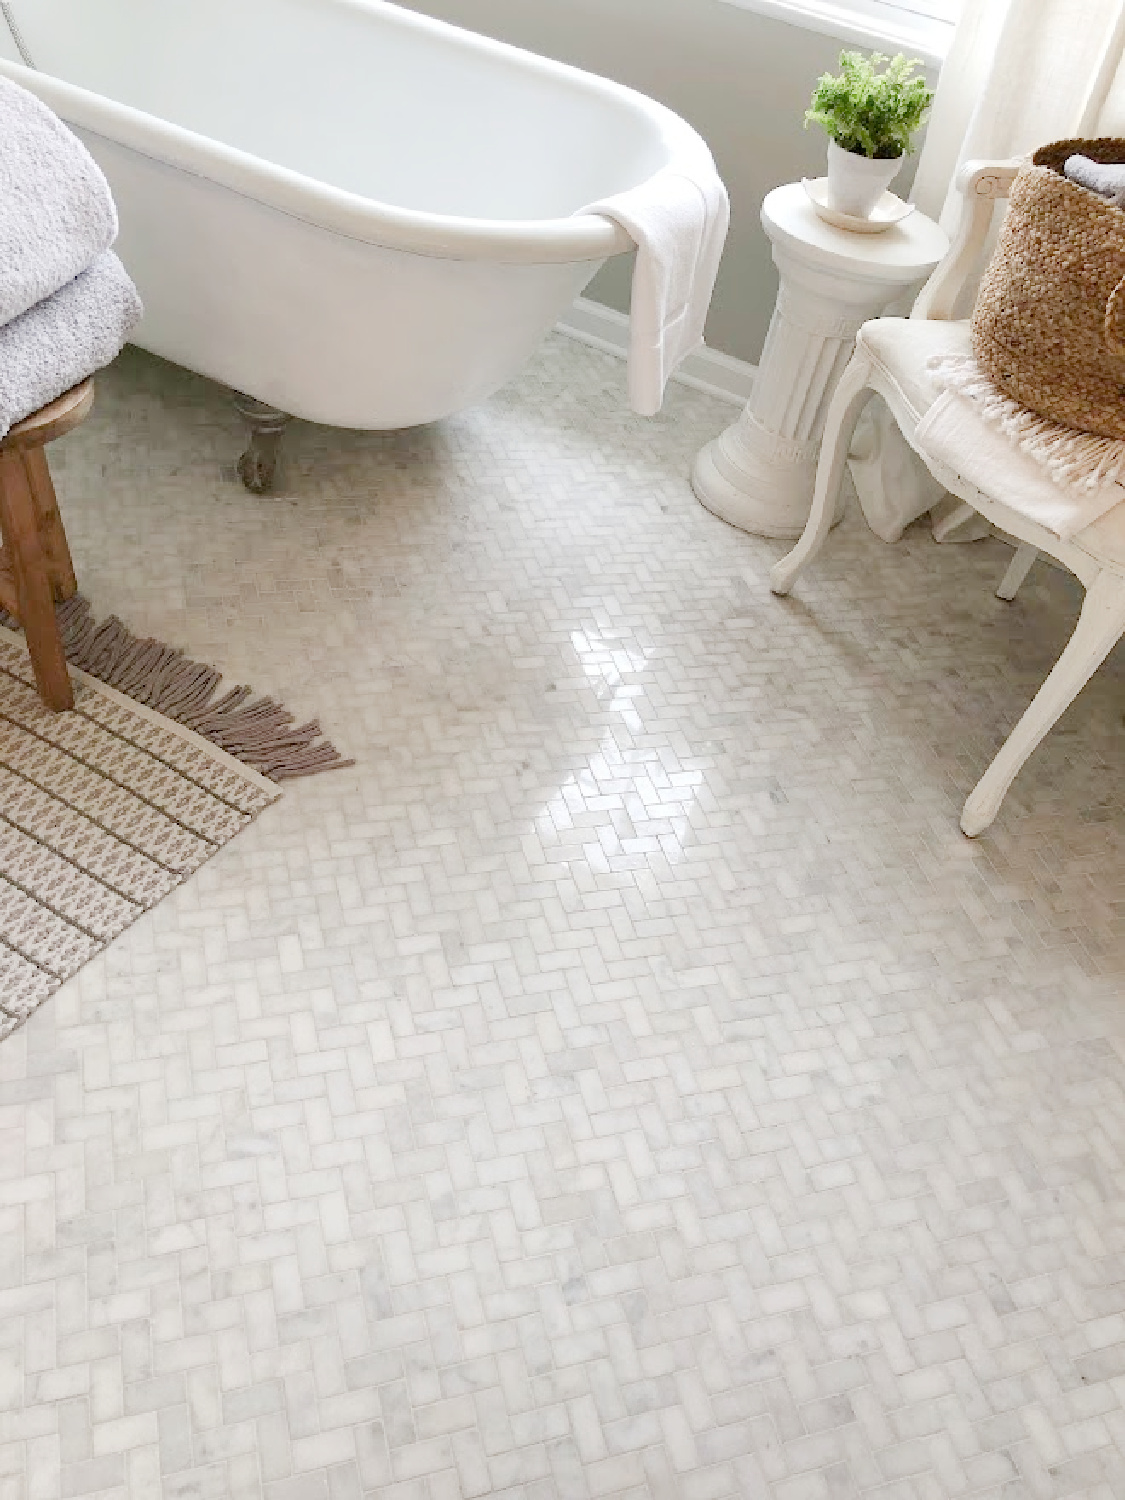
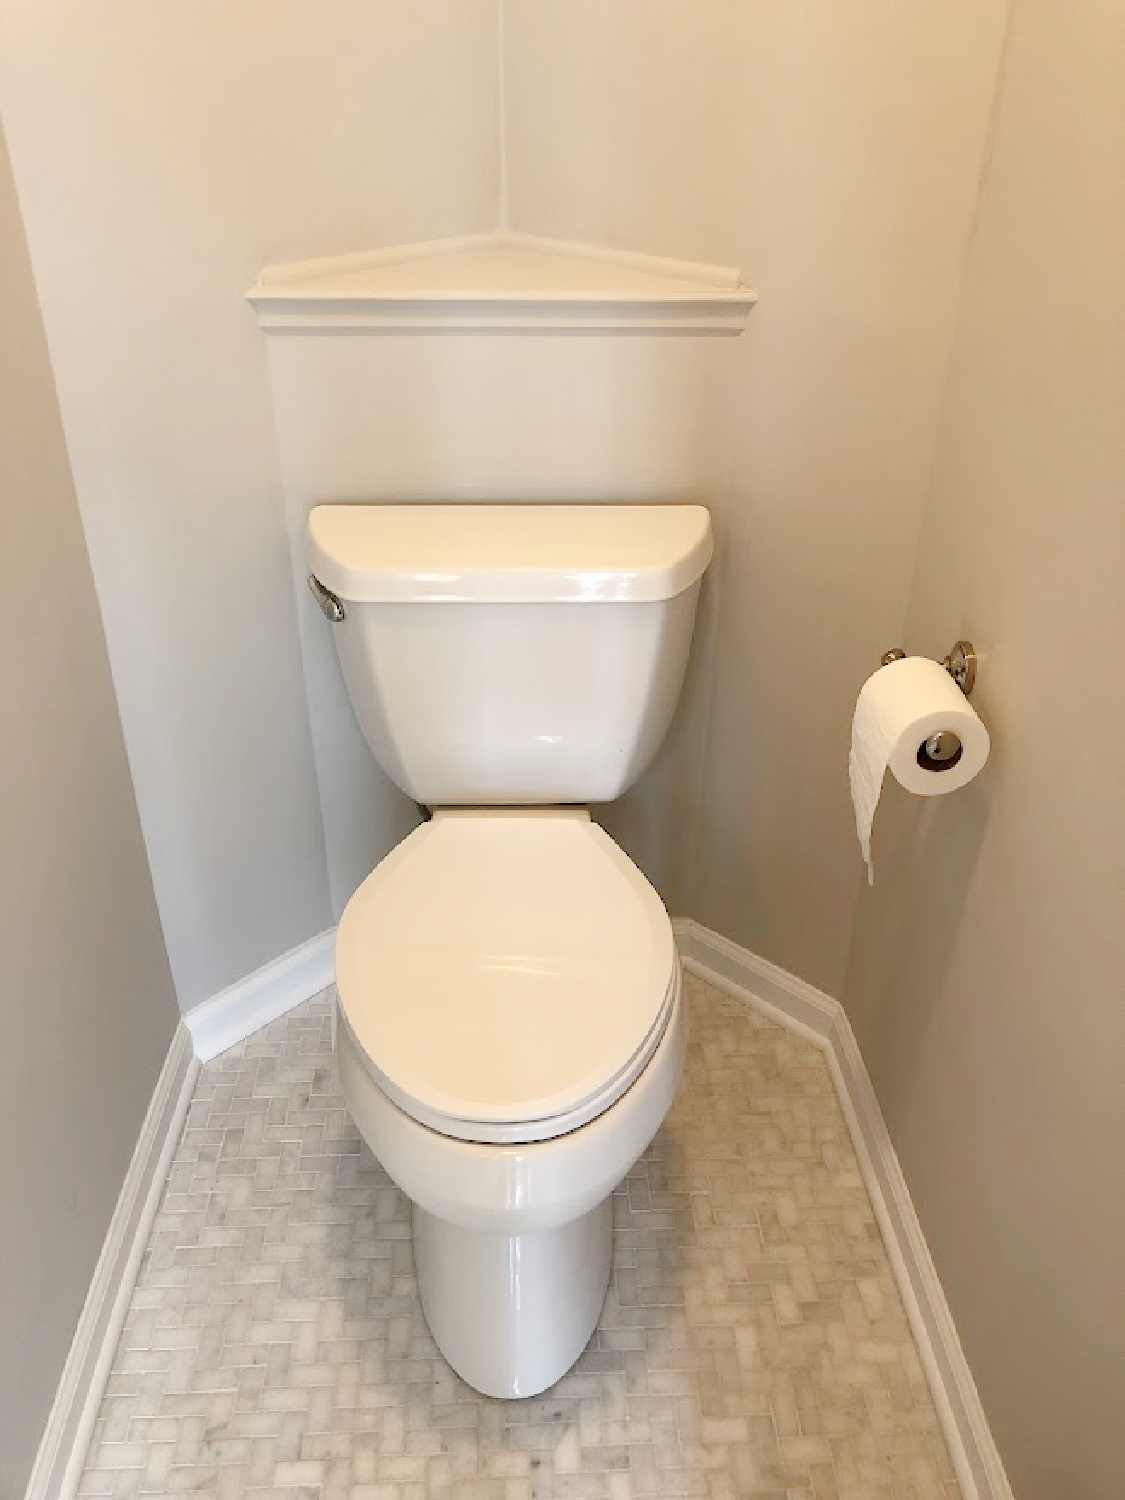
The herringbone marble mosaic tiled floor was the big splurge item for the bath, and it’s even better than we imagined. I can’t say enough about how it adds age, luxury, beauty, interest, and modern French allure.
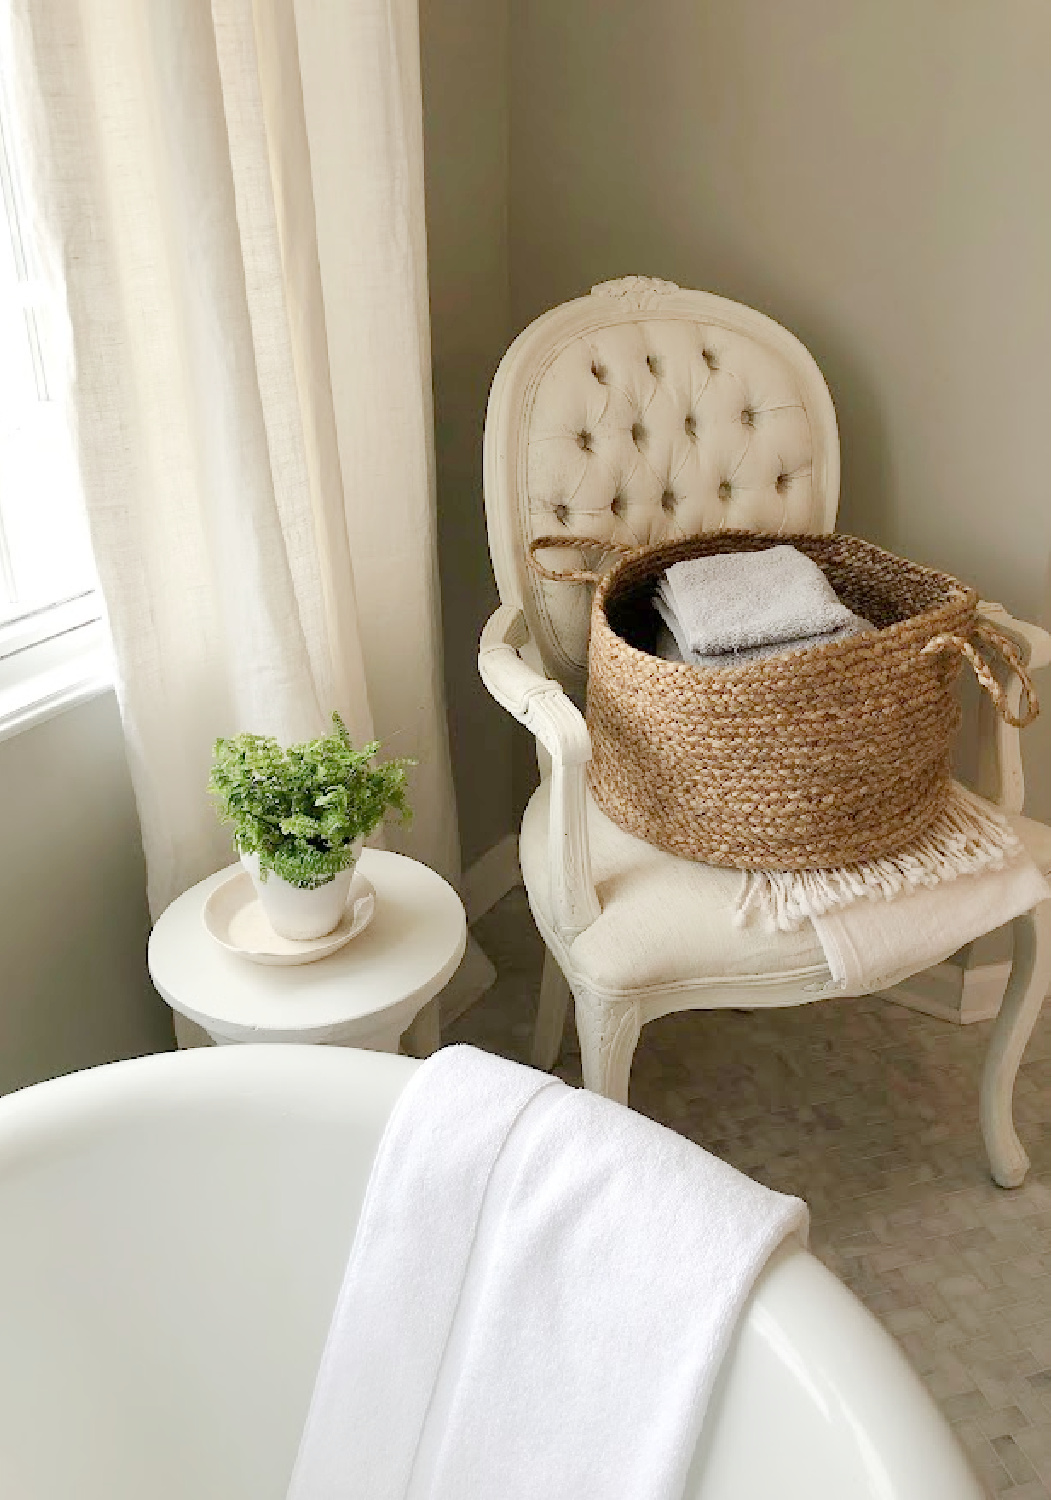
We kept the same tile consistent for the shower floor and shower niche, and even though this image seems to suggest the tile is grey, it has a very blue-grey look to it in natural light that we adore.
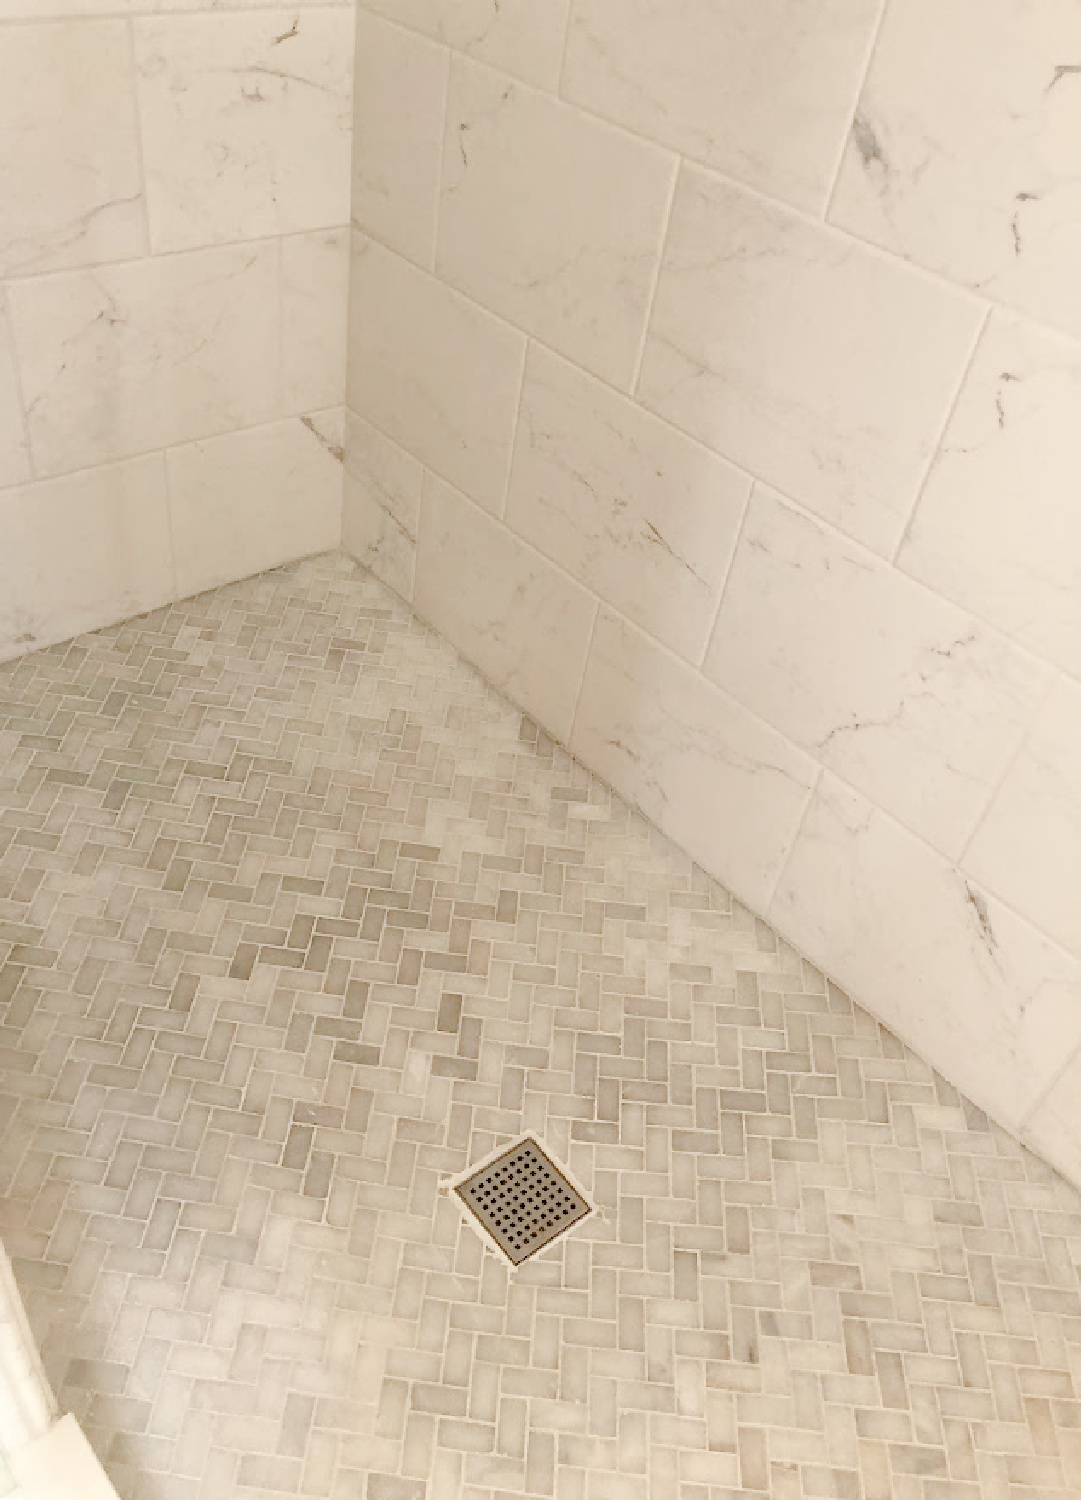
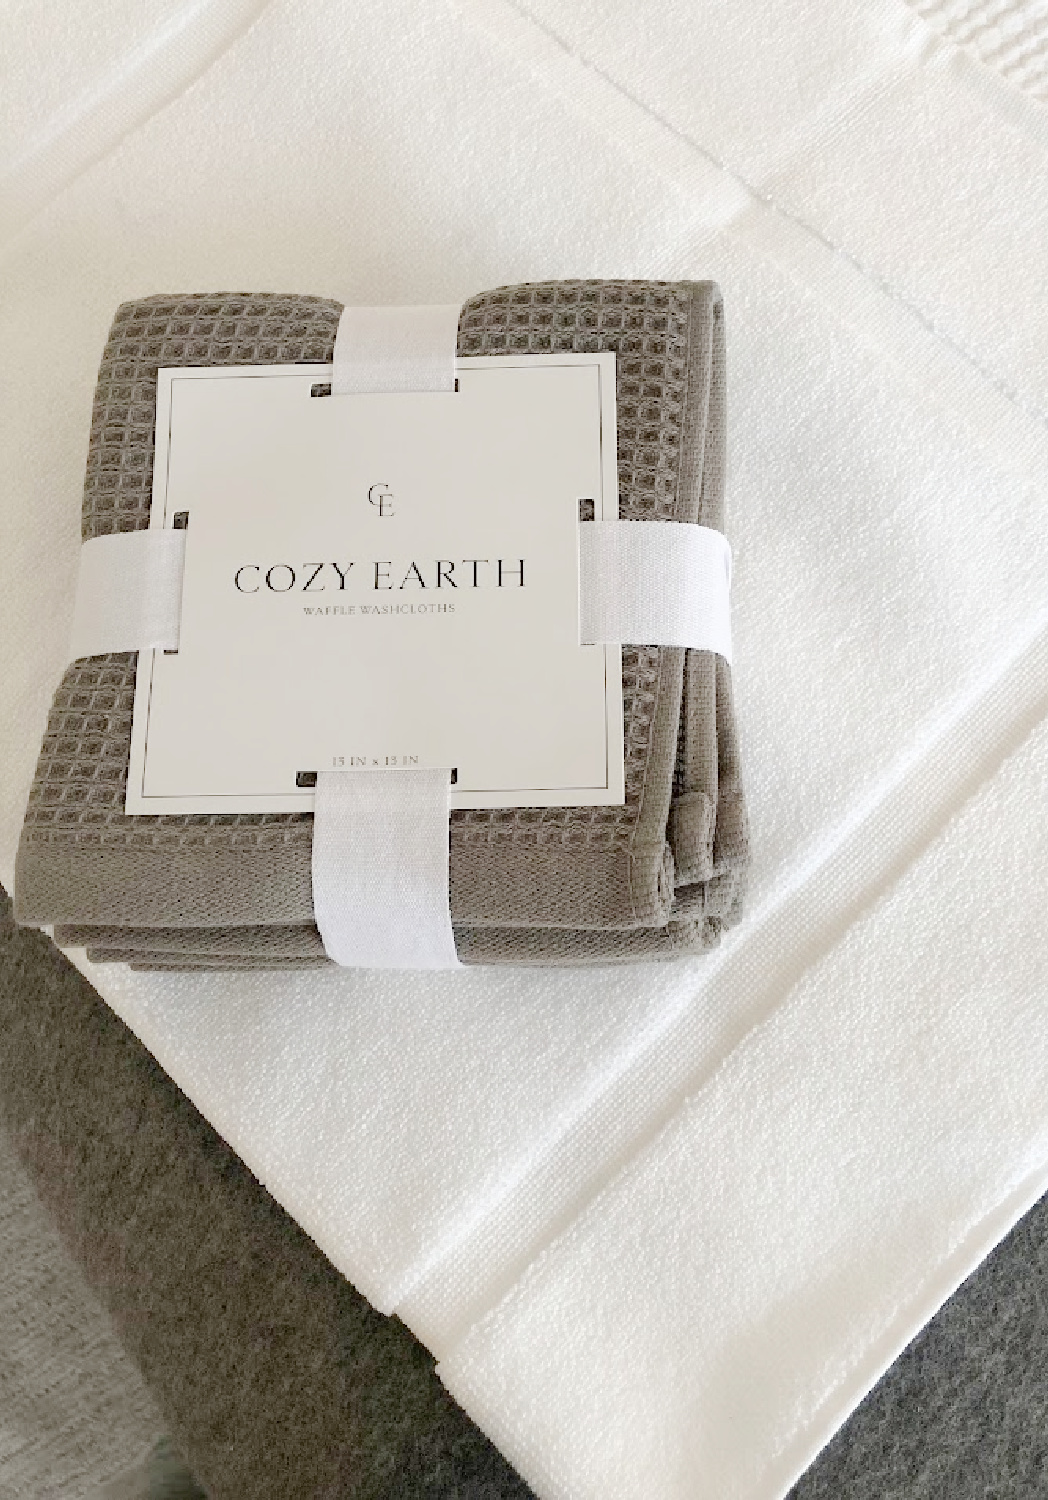
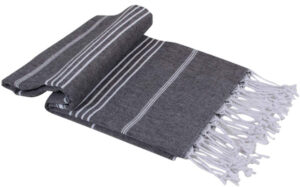
New bath mats and towels were in order with all of the new, and I’m so crazy about the offerings from Cozy Earth.
I had the hardest time finding the most basic, quality, cushiony bath mat, and finally I landed on this one from Cozy Earth:
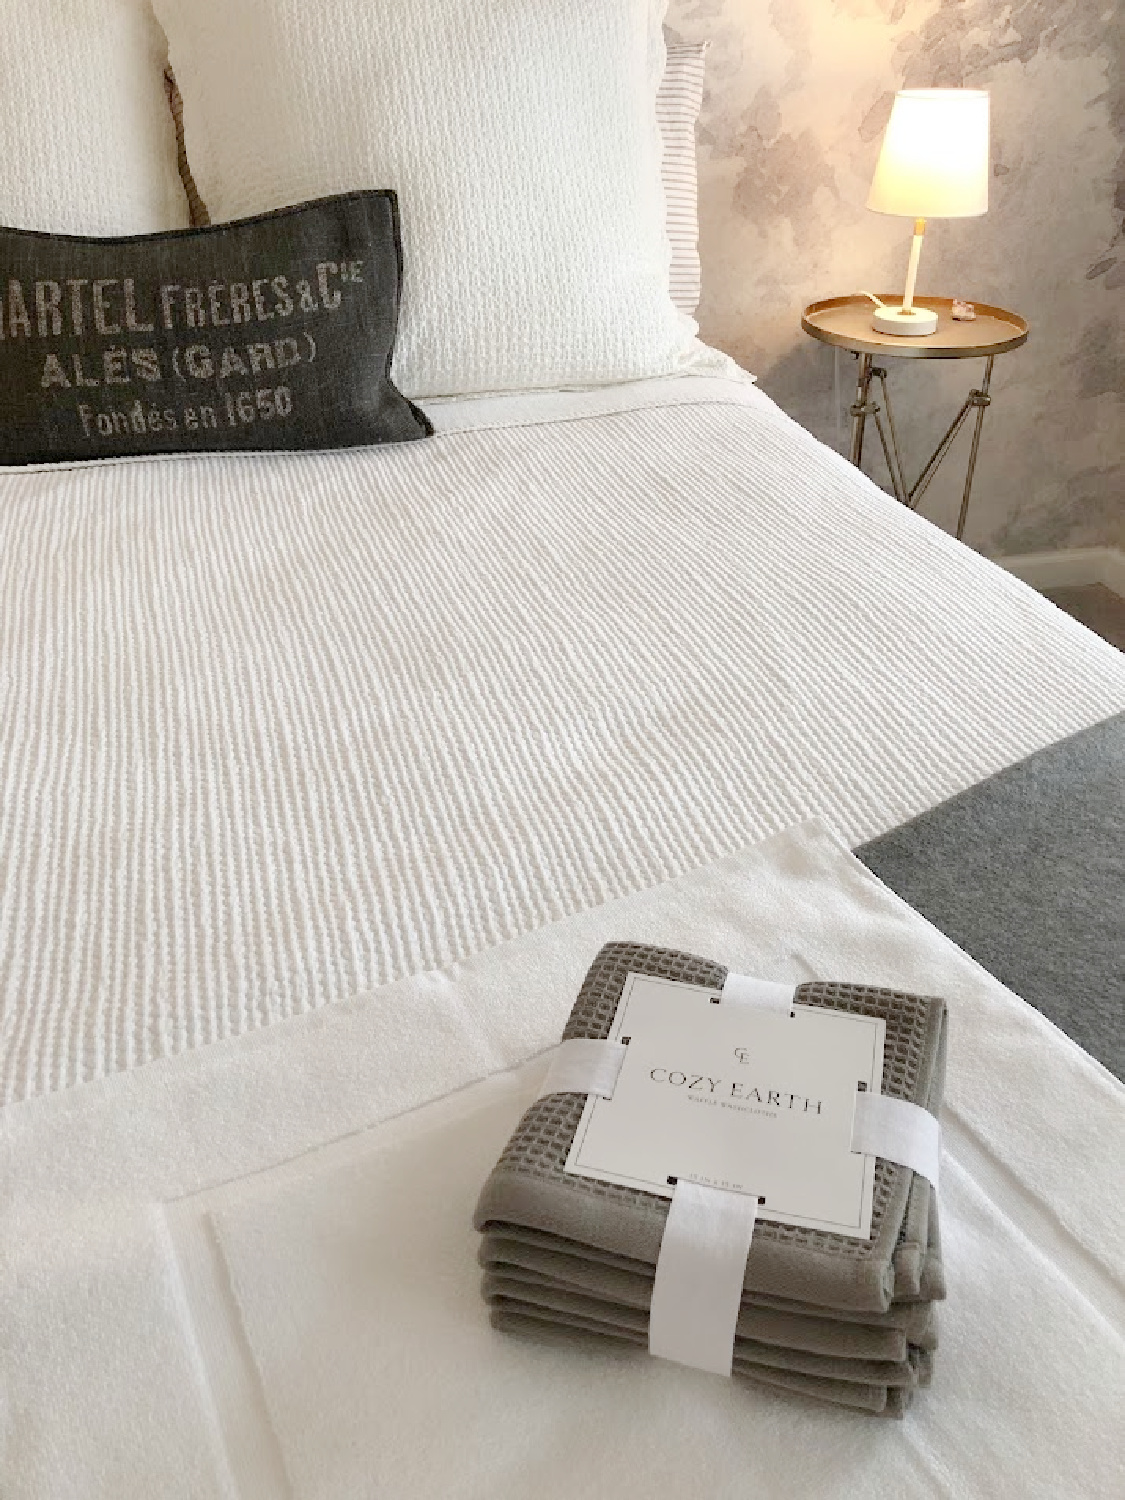
Definitely check them out if you aren’t familiar with the brand.
Here’s a glimpse of the bath from just outside the pocket door, and it truly is a dramatic change in spite of the fact that we left the fixtures in their original places. We did have to modify the plumbing a bit to line up properly with the vanities and tub.
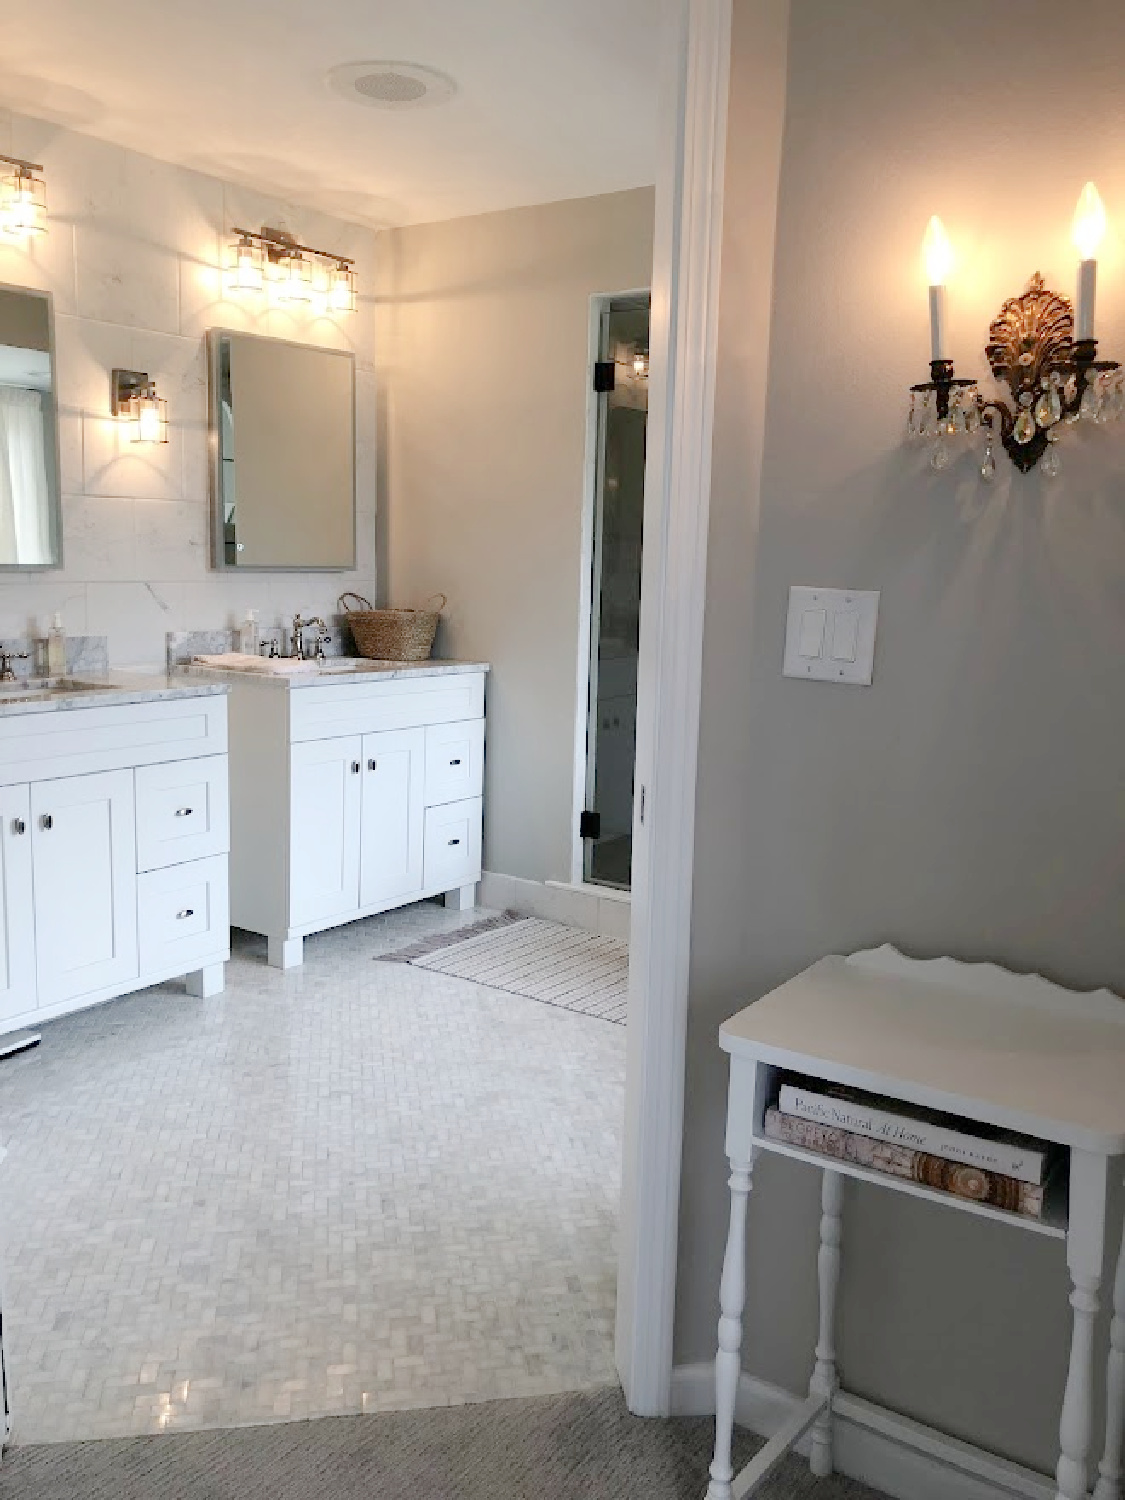
Here’s another in process shot before vanities were in place or the door to the WC was painted.
So happy to be living with carrera marble again after more than a year here with dark counters.
Here’s a before shot where you can see the soffit over the tub area to which I referred. It’s not my favorite, but it’s one of those compromises you make when there are so many changes to make.

Another compromise was the lighting. I prefer a chandelier in the center of the bath along with wall sconces flanking mirrors over the vanities. However, a ceiling speaker in the center of the ceiling was something my husband wanted to remain, and we didn’t have enough space to accommodate sconces flanking the medicine cabinets.
But even with the compromises, we didn’t have to compromise on function which guided the whole design. You can see the view from the bath toward the sitting room door below:
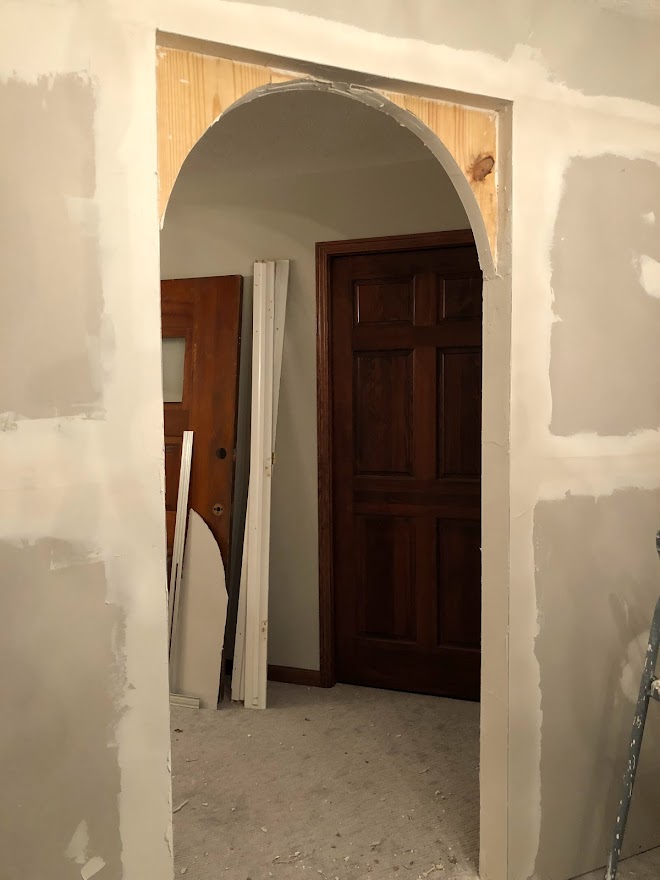
And here’s an in process shot from inside the sitting room toward the pocket door to the bath:
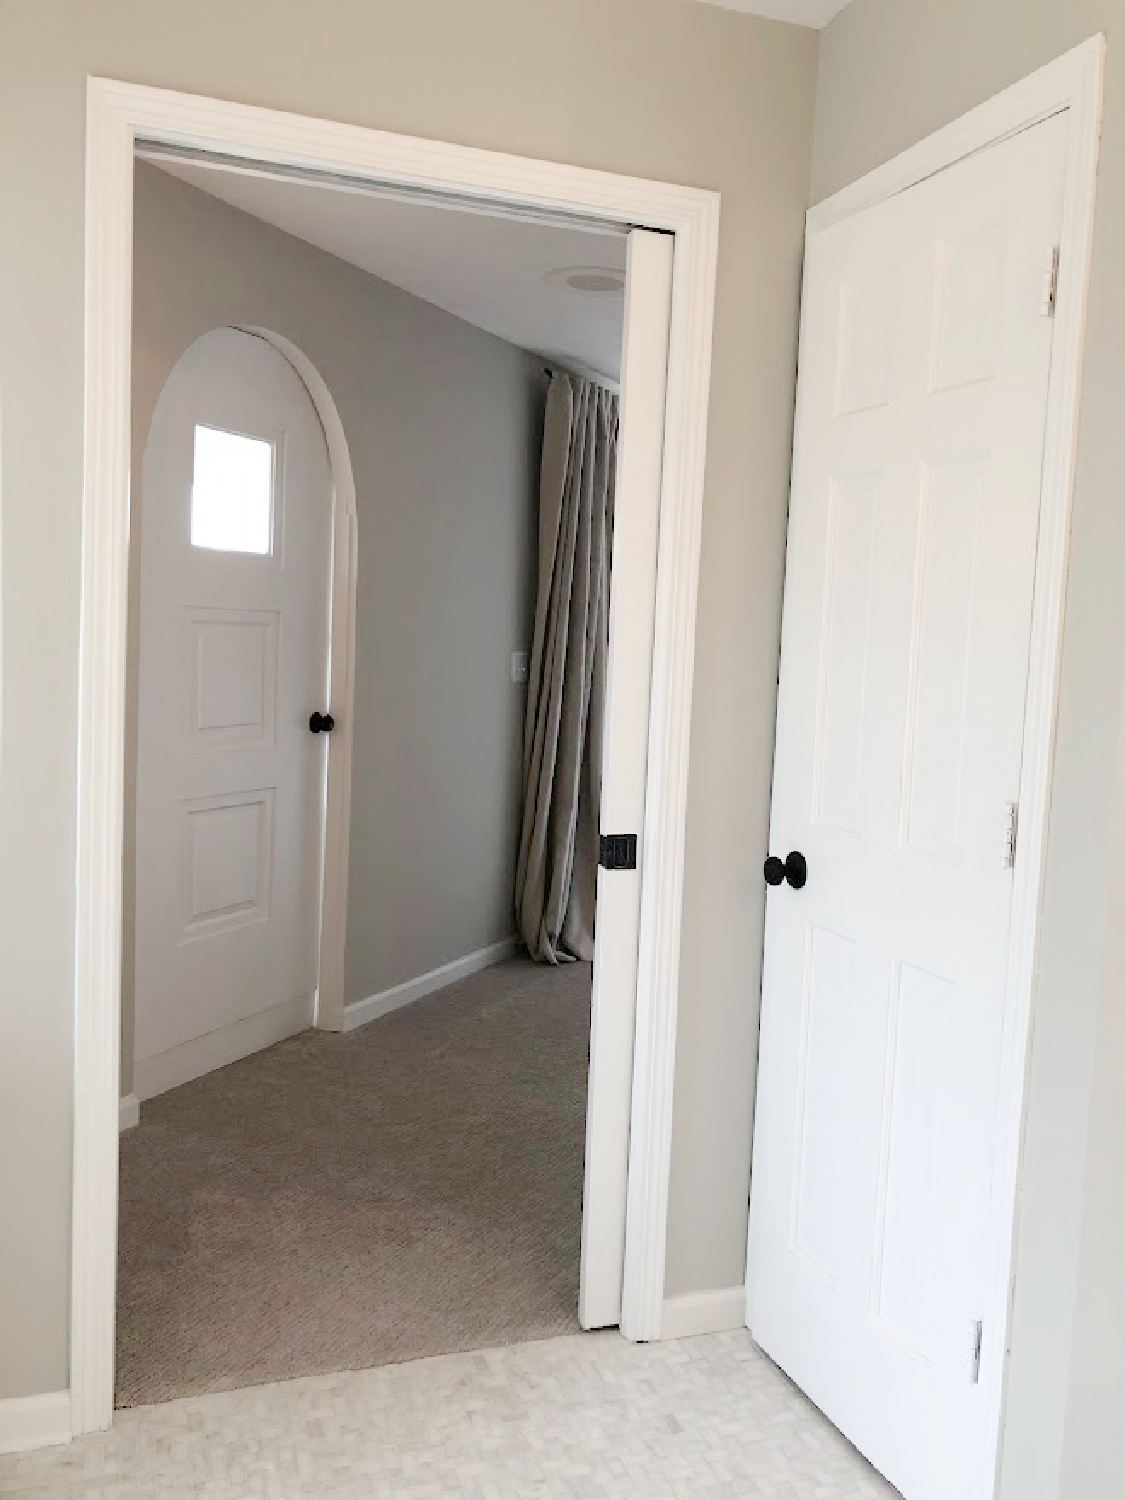
Below, you can see the door to the WC on the right:
So much storage in this bath compared to our last home!
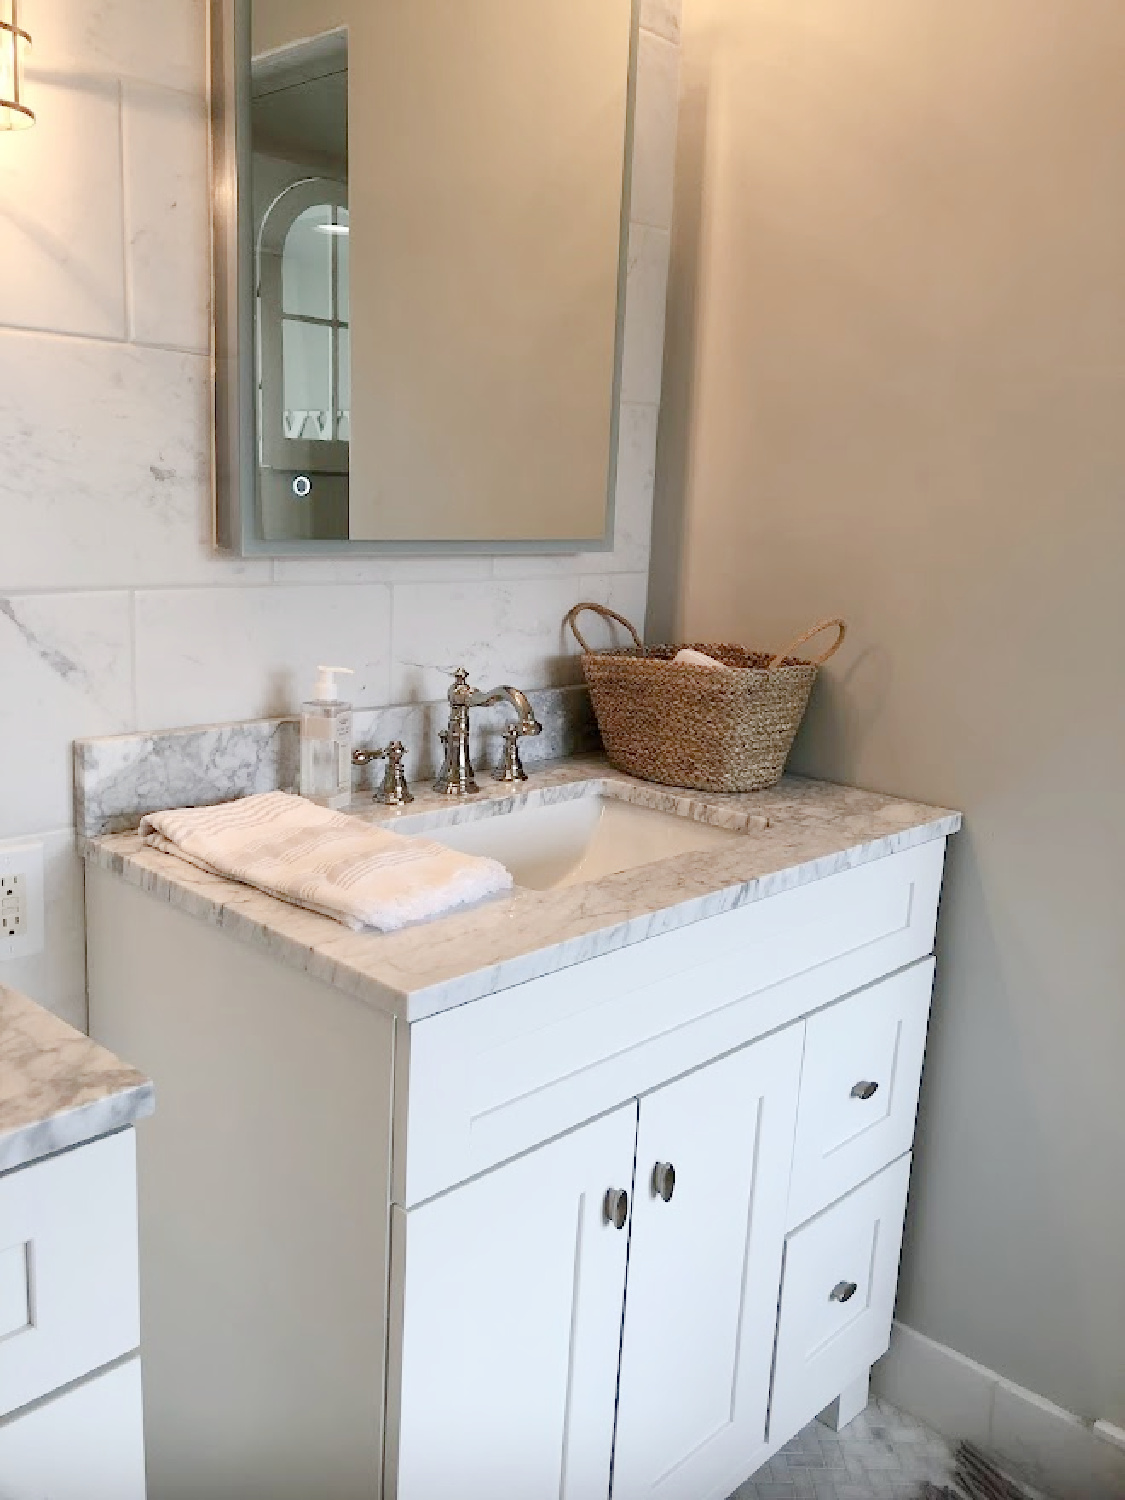
And I love how the polished nickel faucets are similar to the Perrin & Rowe kitchen faucet we chose for the farm sink. You can see detail of it here:
The toughest material to source for this bath renovation? Wall tile. I can’t tell you how many tile samples we brought into the space before landing on this one from our local Menard’s store. The color, veining, and soft marshmallow-like finish is lovely.
More angles in the WC because 1992 I guess!
What I love about the old window in here is not just that the natural light streams in from the windows beyond it, but how much easier it is to keep clean and looking good. A crusty old window with its original glass doesn’t need to look perfect. It adds such character!
The white linen curtains are lined Belgian linen from RH, and the towels from Zig Zag Zurich are top notch. Again, I haven’t finished decorating or styling in here.
New bath linens are such an easy way to refresh!
I’ll share a final reveal post soon, and if you haven’t seen our progress in the bedroom, see THIS.
We are hoping to address the walk-in closet in the next month so stay tuned!
Peace to you right where you are.
-michele
I independently selected products in this post—if you buy from one of my links, I may earn a commission.
Thanks for shopping RIGHT HERE to keep decor inspiration flowing on Hello Lovely!
Hello Lovely is a participant in the Amazon Services LLC Associates Program, an affiliate advertising program designed to provide a means for sites to earn fees by linking to Amazon.com and affiliated sites.















This bath is amazing! I can’t believe all of the work. It made me exhausted just looking at it! In glad you somehow found the energy to take out that bath. All I can say is Bless your Hearts!
Author
Hahaha – this house is taking us so long since we need breaks from the work and are trying to have somewhat of a life aside from DIY. Thanks for the blessing!
What a beautiful redo!
Author
Thanks for the kind words and peeking at our progress! It is feeling so much more like home. 🙂
I can’t even tell you how much I love everything you’ve done! So gorgeous!
Author
I’m so glad! Of course you have to come over soon, Jenny! 🙂
Oh, my goodness, your former bath design was identical to the main bath in the home I owned and sold 5 years ago, after updating. Even the same vanity lights which were hung so low over 2 small framed mirrors (with double dark cherry vanity with black granite counter), when facing them… all I could see was my chin and I’m only 5’3″! The Jacuzzi tub was dangerous to enter and exit due to wide expanse of dark brown tile surround, then made slippery by the humidity created by simply taking a warm bath. What a lovely transformation you two accomplished! And the charming window added to the shower! Adore the new-to-you-tub. So pretty- enjoy, Michele!
Author
Thanks so much for the kind words. The window sort of makes the shower feel like a separate sanctuary, almost chapel-like. You had this bath too! Wow! It must have been a typical look for the time, and the mirror placement for you must have driven you nuts. While we could have simply swapped out fixtures, there was no way we could ever love the expanse of brown everything or get used to it. Thank goodness the old is gone and the new is so uplifting.
The previous owners updated the whole bath in 2005 and I coined it “Tuscan Crypt” motif- which of course I did not say to them at closing 😉 The house was built around 2000 and was not Italian style architecture. At our ages, eyes begin to refract light differently and a light-filled bath is imperative. I agree about your shower window- it feels like a serene sanctuary.
Author
I would caution anyone about using dark brown so boldly in a bath – there are obvious unsavory connotations but it’s also a serious, formal, non-reflective choice. Lighting has been so critical to correct in this whole house DIY project, and so many folks underestimate how it transforms spaces. Years ago, our realtor at the time showed us a house for which we had strong interest, and there was no light inside or anywhere near the shower. We knew very well how much work would be required to correct and demo the shower ceiling and wall tile, and our realtor suggested the bath really didn’t need to be corrected since I would look better in that low lighting situation. *WishSheWasJoking Not the response I was expecting from the professional representing us and not the seller. Hahahaha. We have a different agent now. 🙂
Love it so much!! Y’all do amazing work…the hubs and you!!
Author
Thanks, Amy. I am more of a visionary and am so fortunate to have a talented craftsman on my team. 🙂
Hi’ do you have a link to the herringbone marble?? It’s lovely
Author
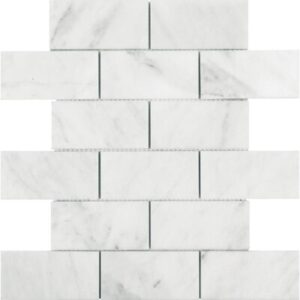
We used this Greecian white: https://rstyle.me/+gUyC0hS-4Rnqn0iTy5NRJg (and don’t get confused if the description says “marble like.” No idea why Home Depot does this so often when it’s natural stone!).