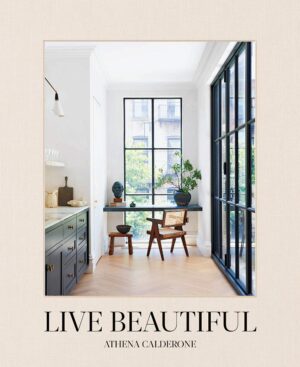
Although I shared this fixer upper makeover with you years ago, I updated the links and photos in hopes it will help! Hello Lovely Master Bedroom Renovation shares photos and sources for this soothing pale French country style retreat incorporating a bunch of my favorite things.
Hello Lovely Master Bedroom Renovation
For this room, we had help from sponsors who provided product in exchange for my honest opinion.

Pacific Entries (alder doors and hardware) and Stikwood (reclaimed wood statement wall)
Hello Lovely’s Fixer Upper
Post from Winter 2017: Things have been nutty in fixer upper land. I flew home from Arizona on the red eye this morning, having been there for weeks supporting my parents, both of whom are ill.
Relieved to report both are making strides!

Things grew dark, and truly we’re still longing for more light and more grace as surgeries, biopsies, scans, procedures, and test results keep rolling in. But like the restoration of this fixer upper: * hope springs eternal *.
Amen??
Even now, beauty’s mysteries shimmer within brokenness.
And if you’ve been low, then you know what I know.

Renovations are a Process!
Before something new gets born, for a time, sorrow may cast a shadow.

I couldn’t even make it home to the fixer upper this morning without high drama in the sky. The plane ride for me and my sister tossed us so violently for so long, air sickness bags, tears and fears were in service from 3:30 a.m. til 4-something…and we were just so grateful to have a hand to hold.

Hand Holding
I think this hand holding when the strong winds blow is maybe quite possibly everything, friends. My husband and I are standing here hand in hand in the homestretch, and look at me pouring on the drama in a stream of consciousness post about a silly bedroom formerly cursed with mediocrity and peculiar inhabitants! (Forgive me for the drama! Forgive. It’s been a rough Valentine’s Day.)

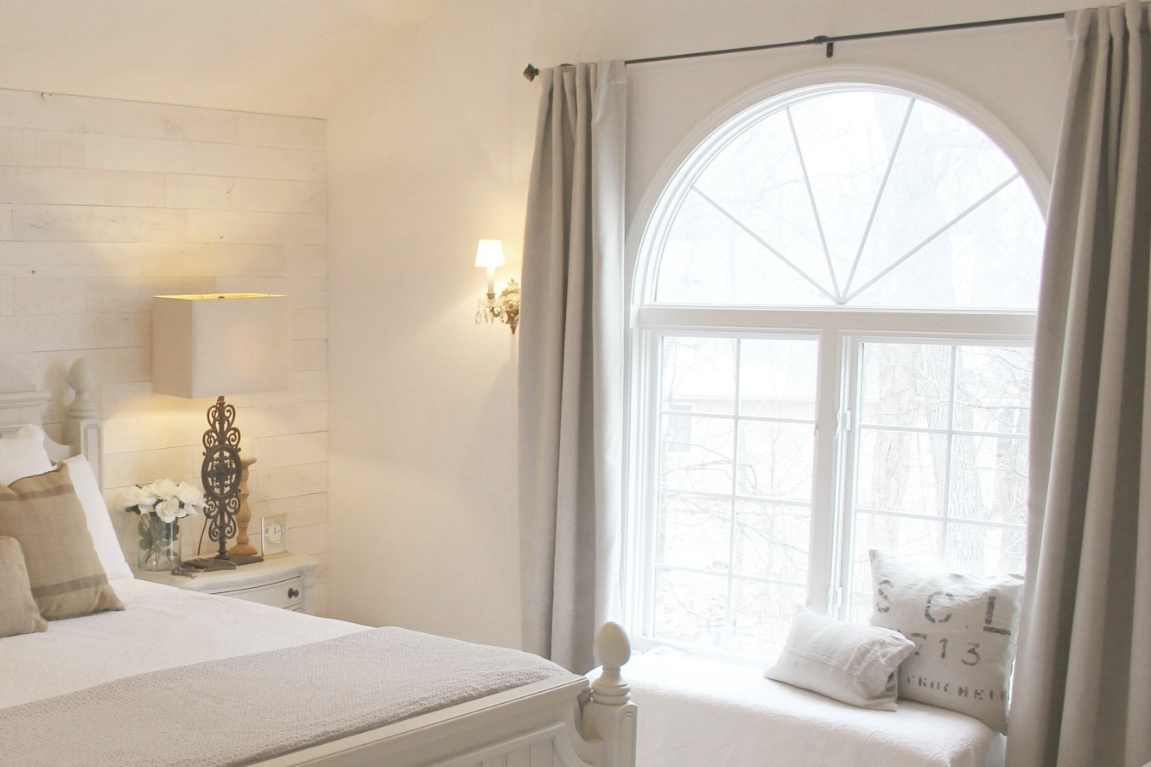
So happy to finally reveal progress shots of the master bedroom.
Projects to Come
This room may never truly be ‘done’ but is done enough for now…still to do:
-figure out how to make the big TV above dresser look less austere in the otherwise pretty space,
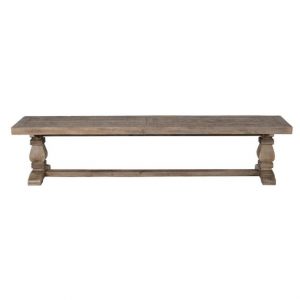
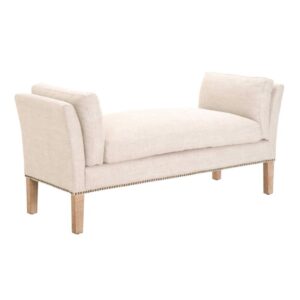
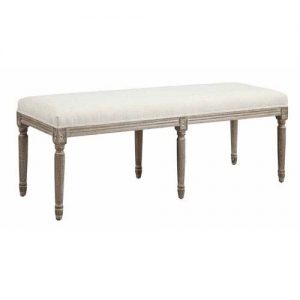
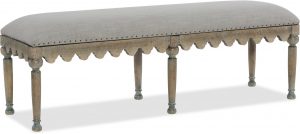
-re-upholster the benches at the foot of the bed and at the window (at the moment I have simply draped them with a vintage Matelasse coverlet I sliced in half (lazy slipcovers the French might deem acceptable in their effortlessness and practicality),
-shop for vintage accessories,
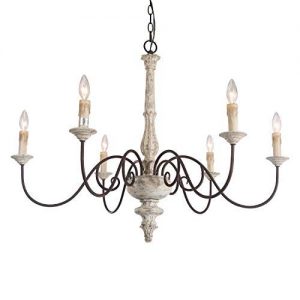
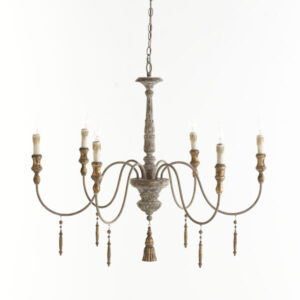
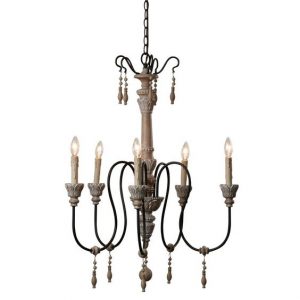
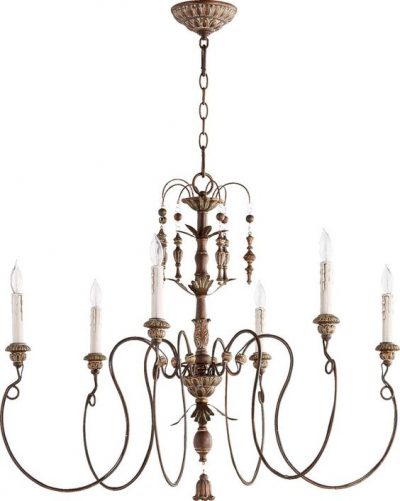
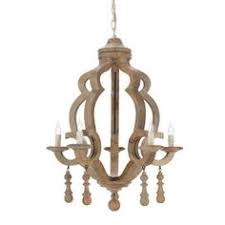
-and replace the ceiling fan with a beautiful chandelier.
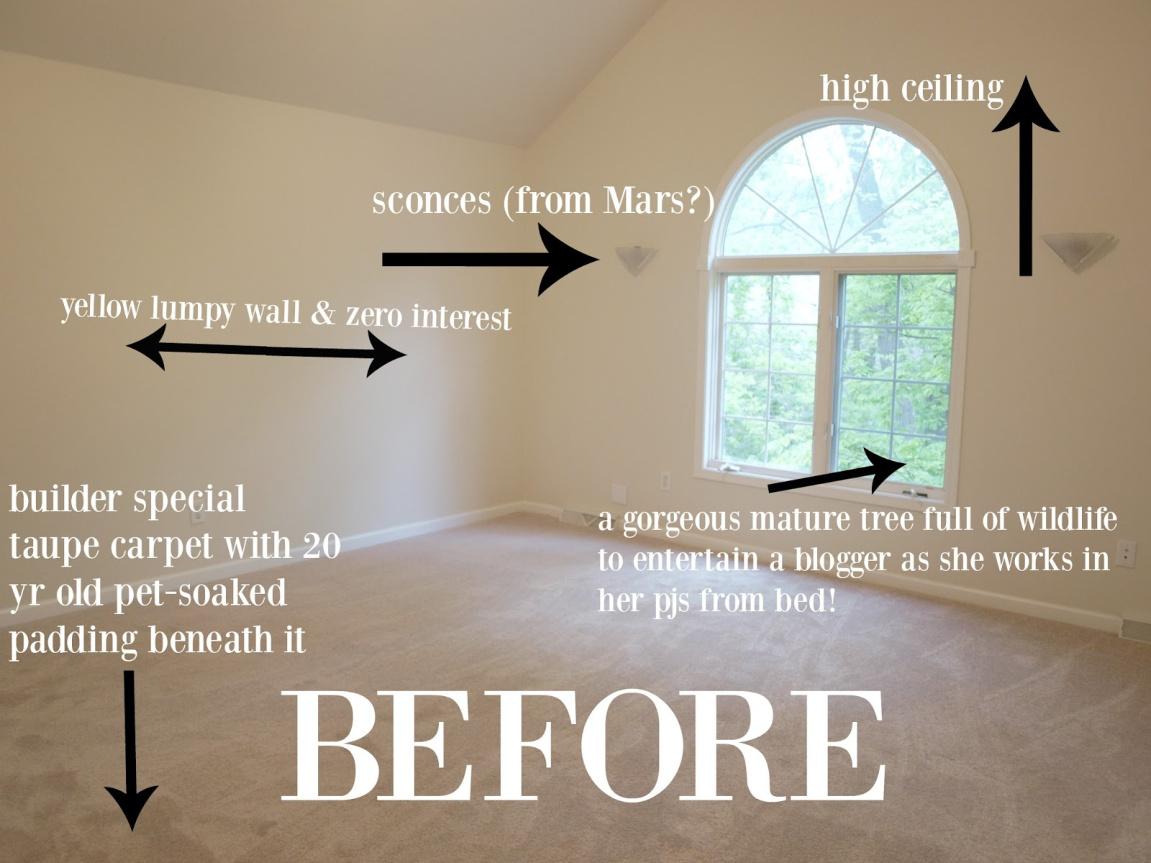
How the Bedroom Began
Let’s take a walk down memory lane to recall where we began in June of 2015 when we bought the 1 1/2 story cottage as a foreclosure after real estate deals for 4 other fixers fell through.
We had sold our ‘done’ big house and sought something half the size and price.
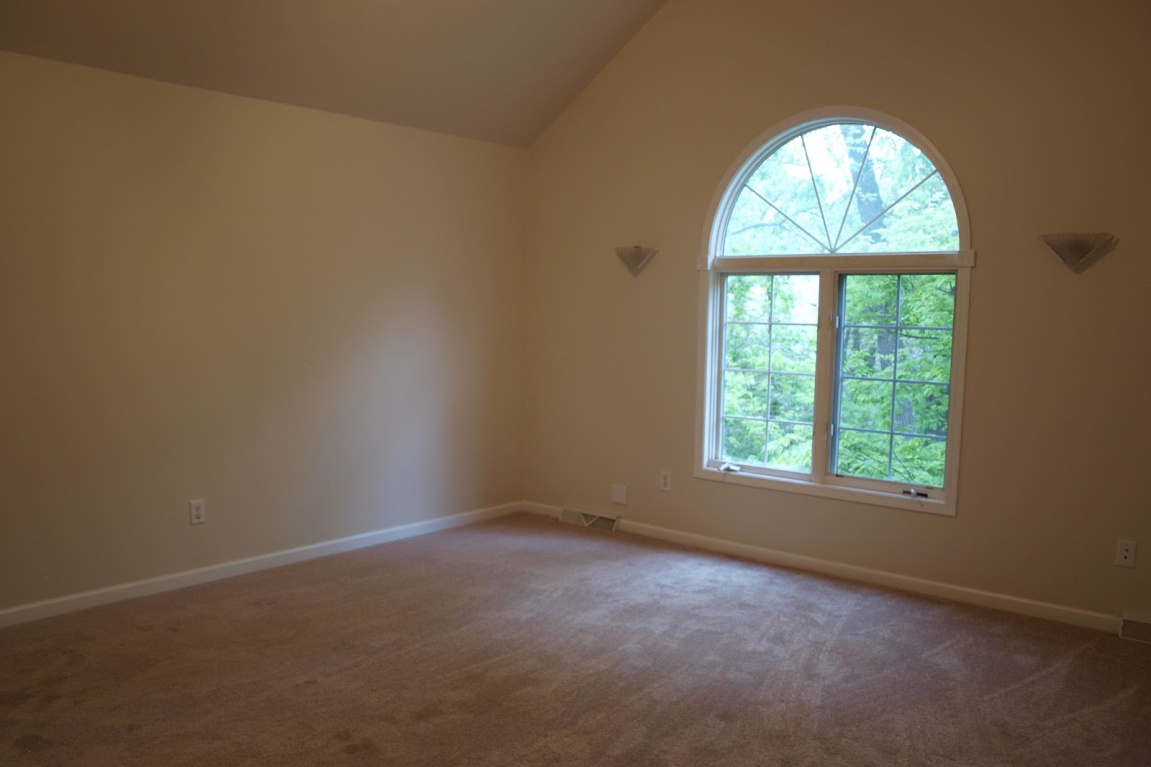
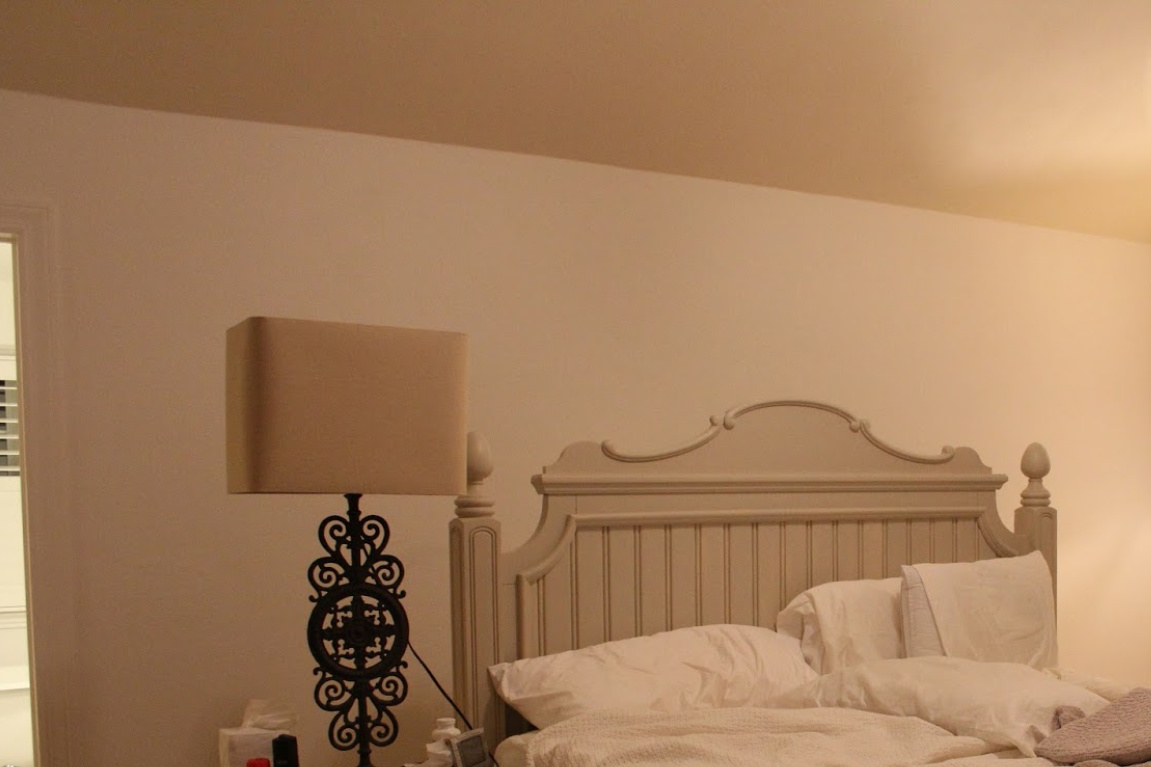
The master bedroom came with a few promising features including its decent size, vaulted ceiling, and a beautiful tree soaring next to the window.
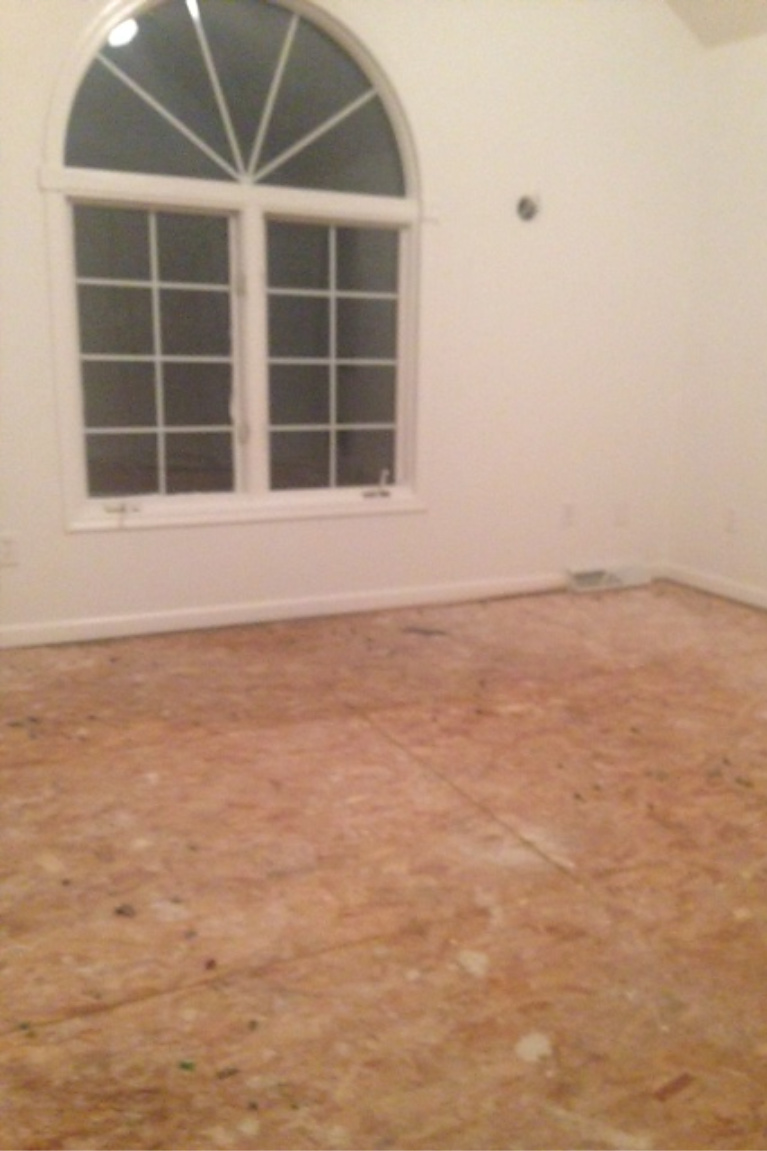
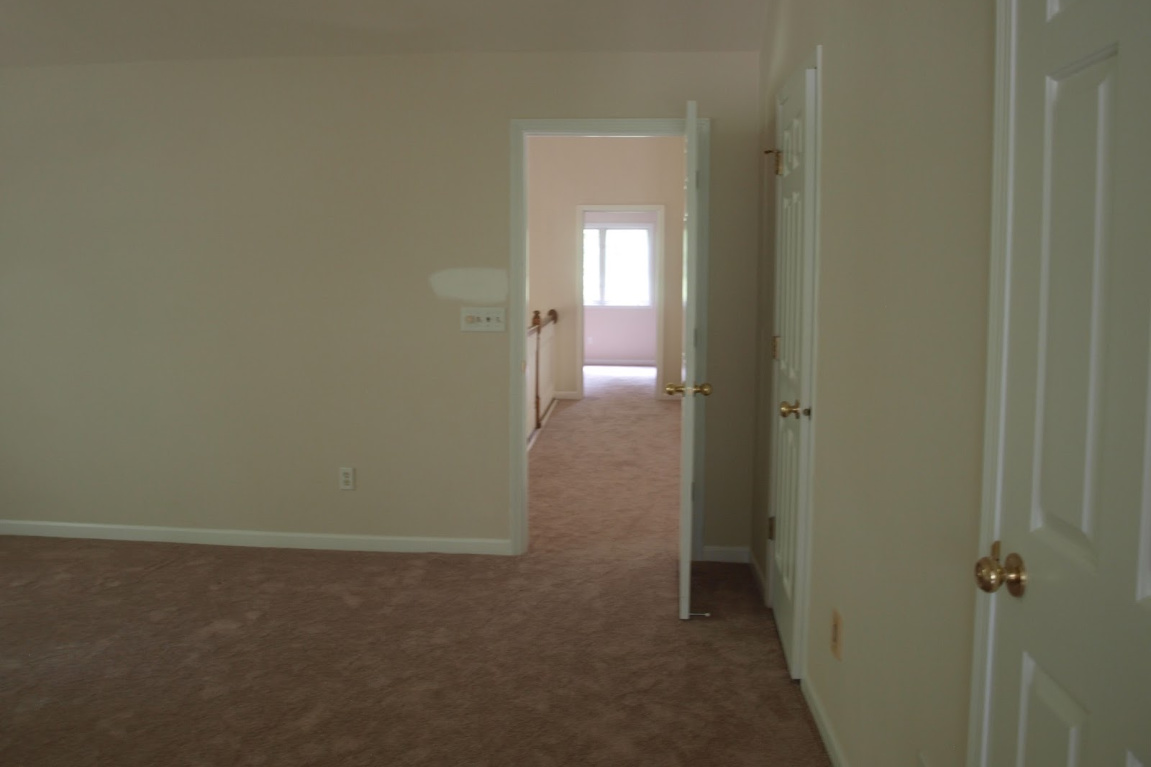
What didn’t work?
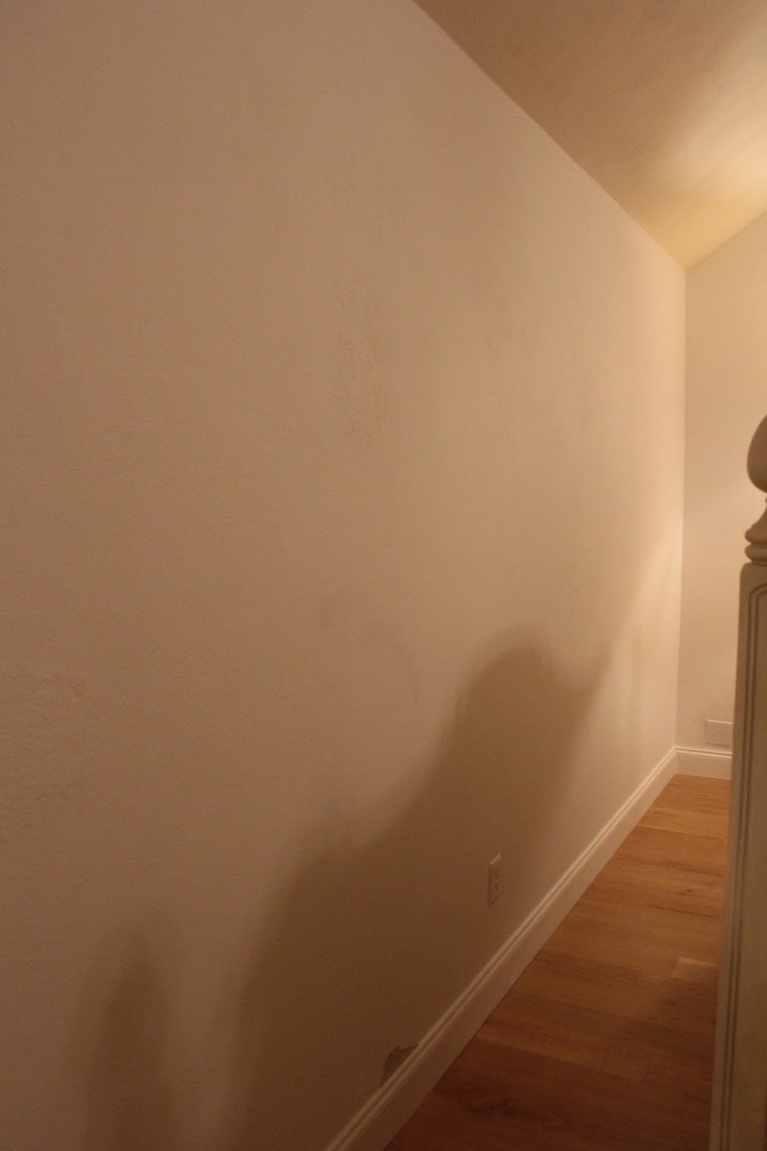
*pet-soiled padding under cheap taupe carpet the seller installed right over top
*large marred areas on the textured walls from poor repairs creating lots of ugly
*Ill-fitting, papery-thin hollow core doors
*the worst door hardware we have seen
*crazy electrical configurations including a wall with the light switches for the bathroom!
*2 small his and her closets, and the “hers” was more of a panic room with absolutely nothing in it beyond a laundry chute and a lock on the door
*Art Deco sconces
*Walls painted the color of how the carpet pad smelled (with me?)
*destroyed and undersized baseboard trim
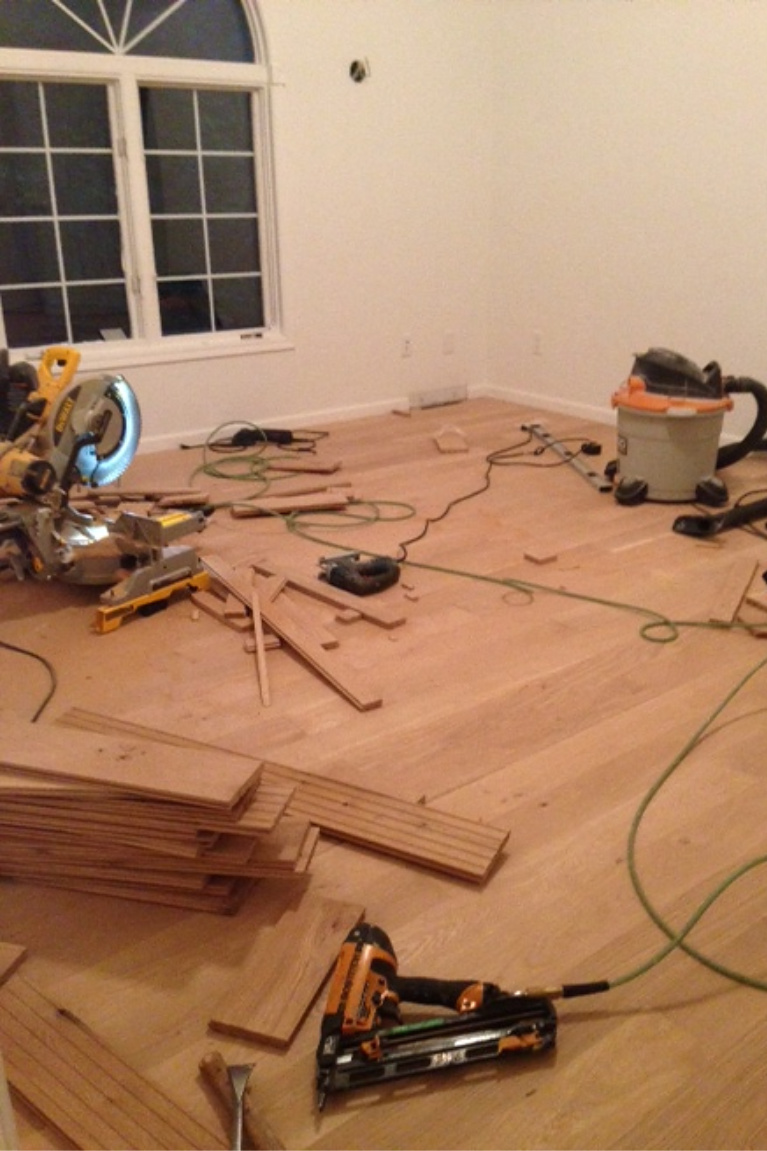
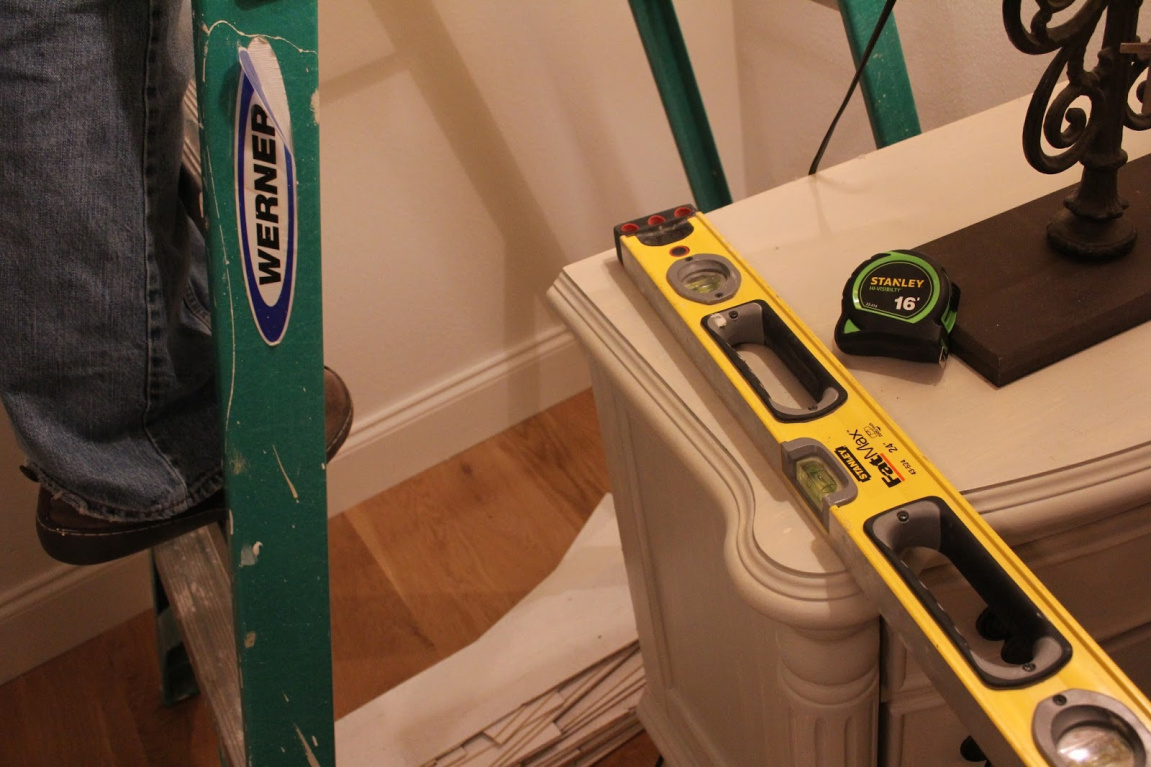
Renovation Steps
Here is how we tackled this master bedroom from the ground up…we:
tore up carpeting and 2 layers of padding
spent hours removing nails from several pads
removed all baseboard trim
upgraded all the electrical outlets
installed new sconces
painted the walls
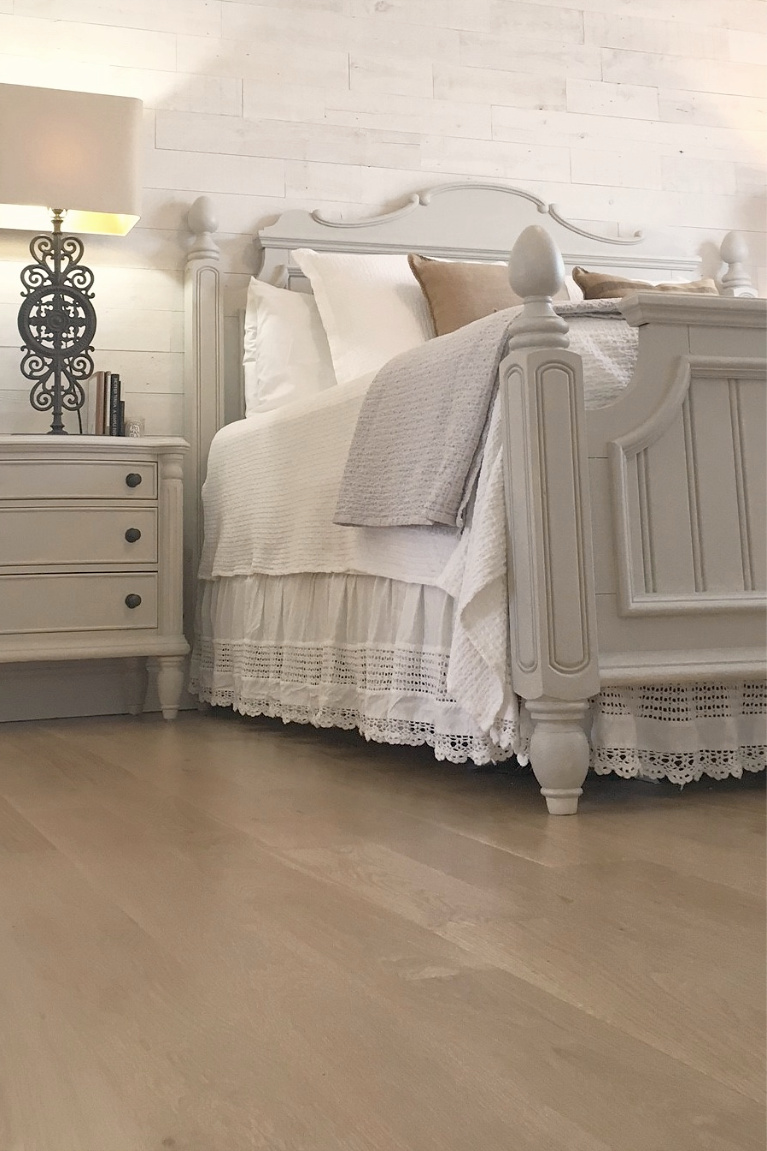
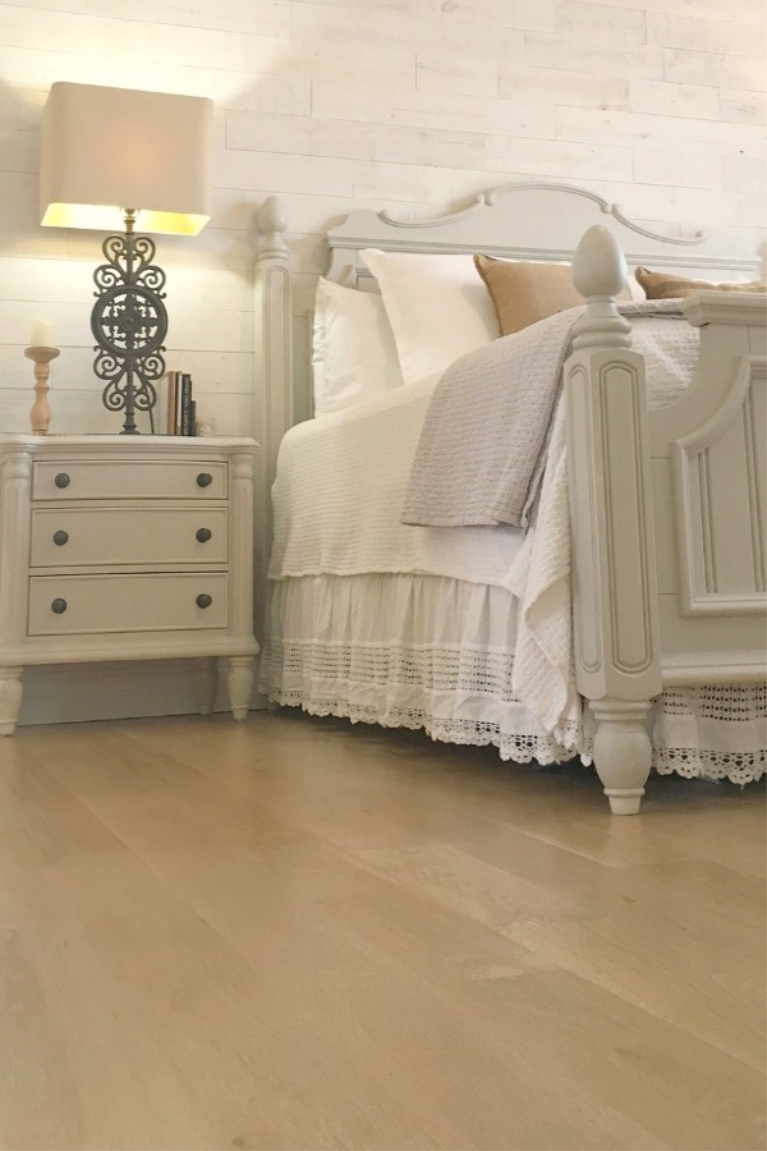
hired a master craftsman to install wide plank white oak hardwood flooring
installed new baseboards and painted them
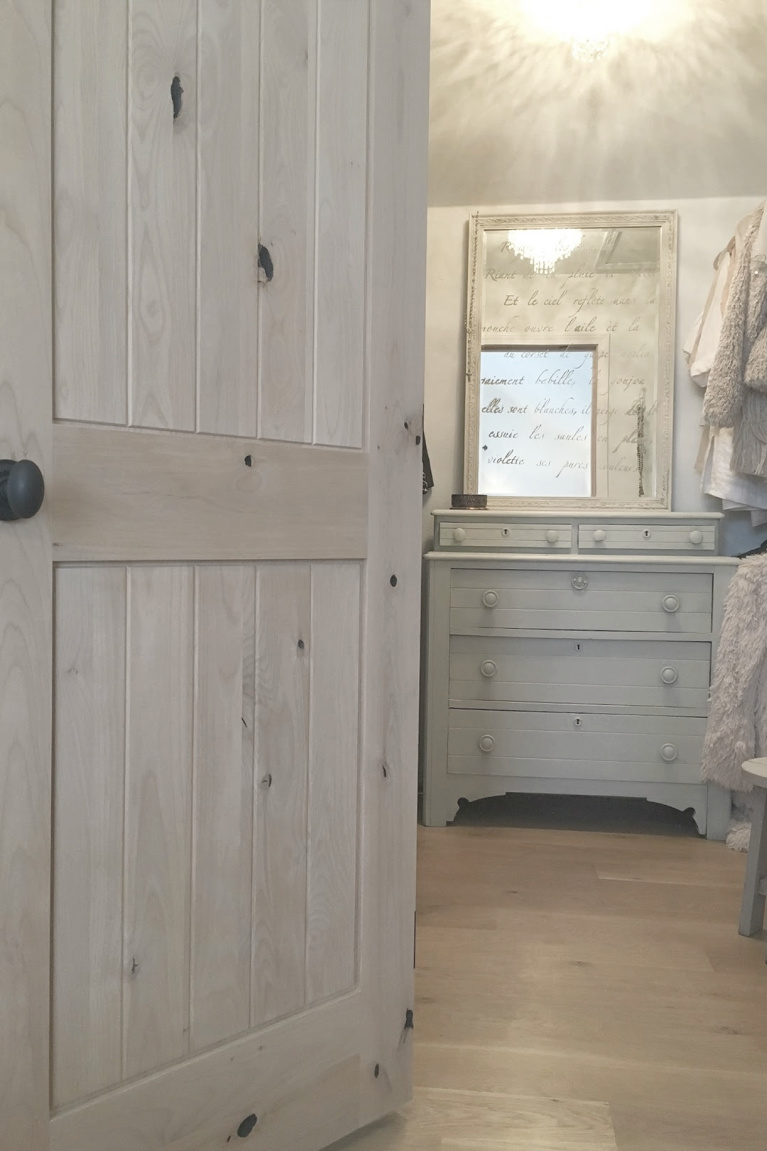
added a closet organizer in the ‘hers’ closet
installed electrical to the ‘hers’ closet
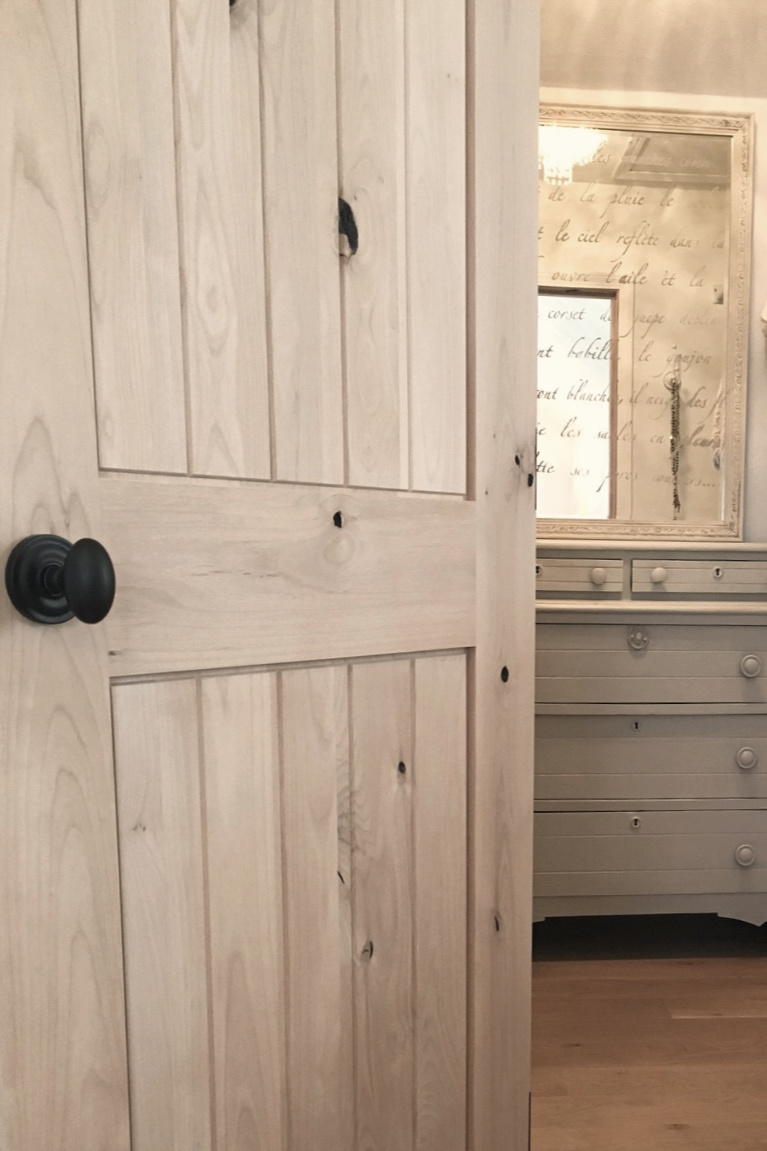
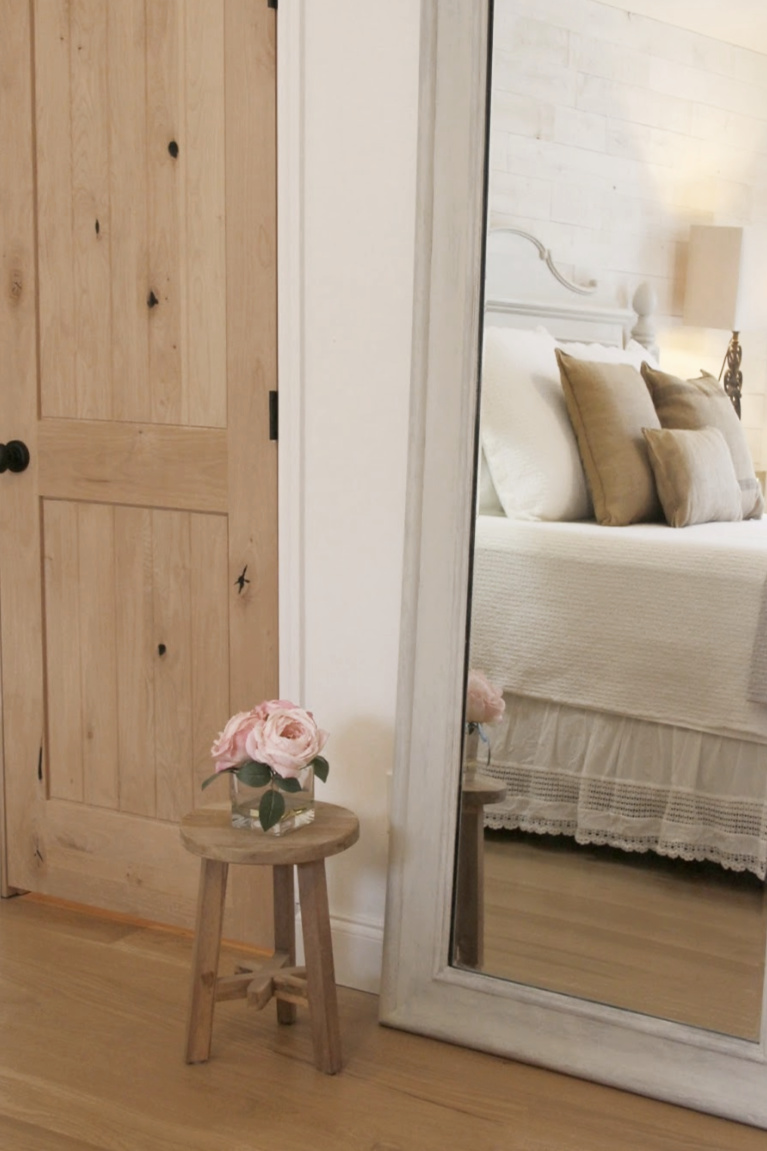
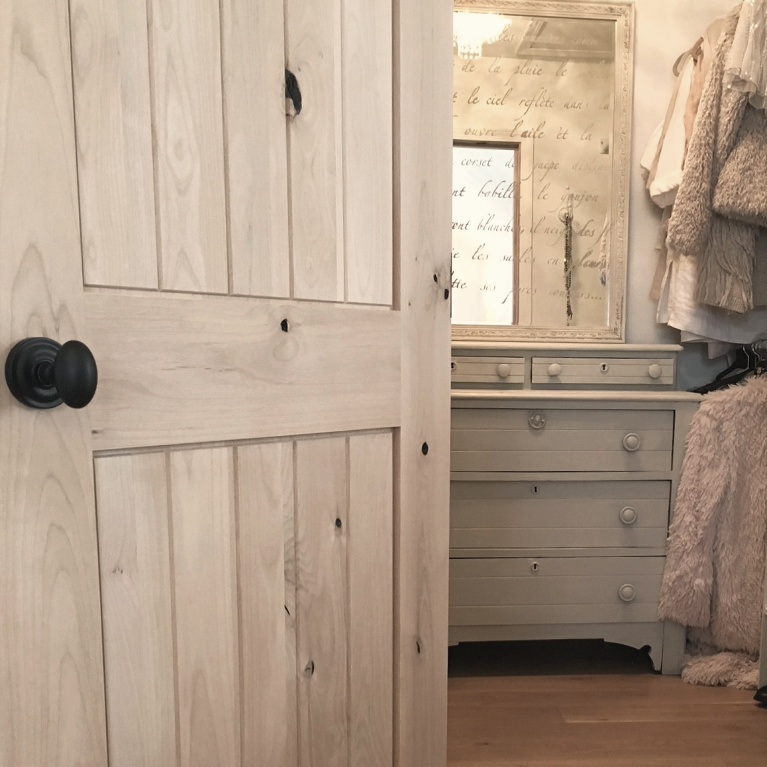
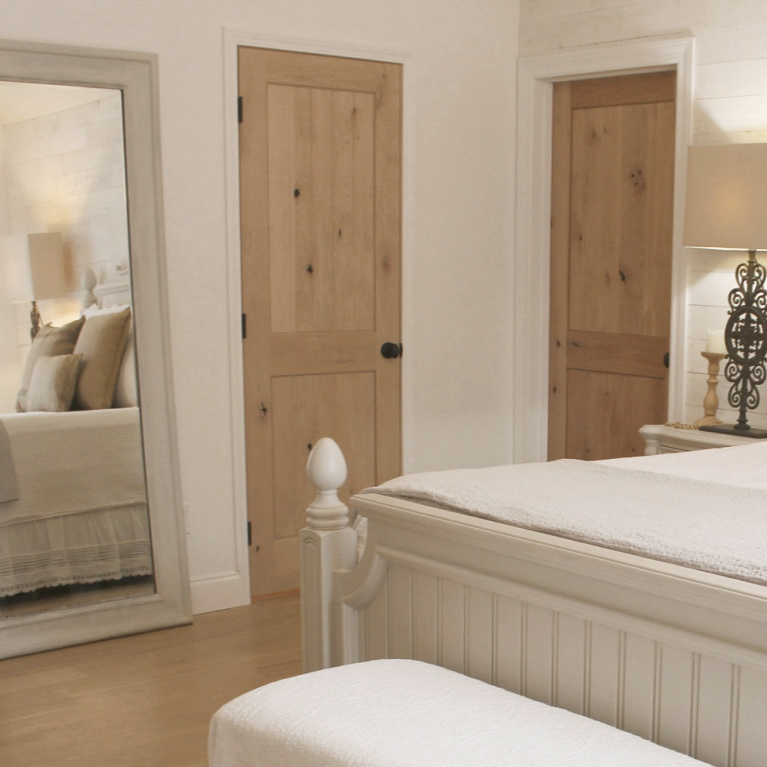
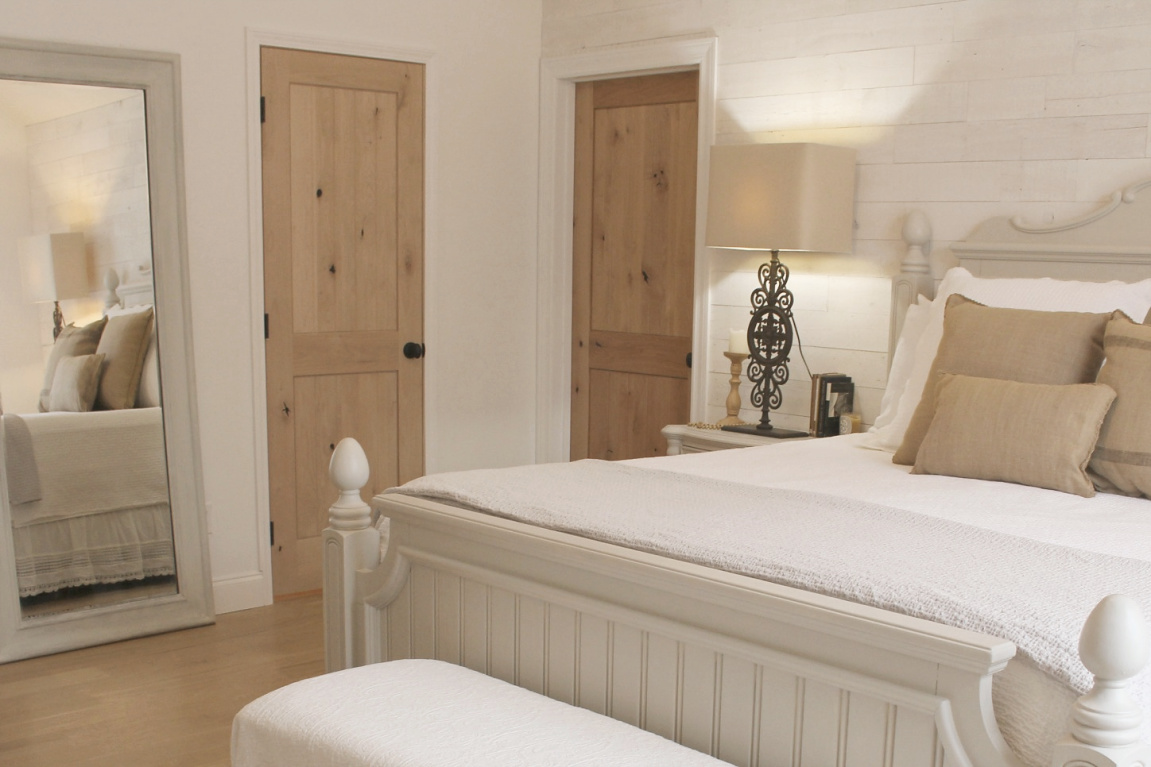
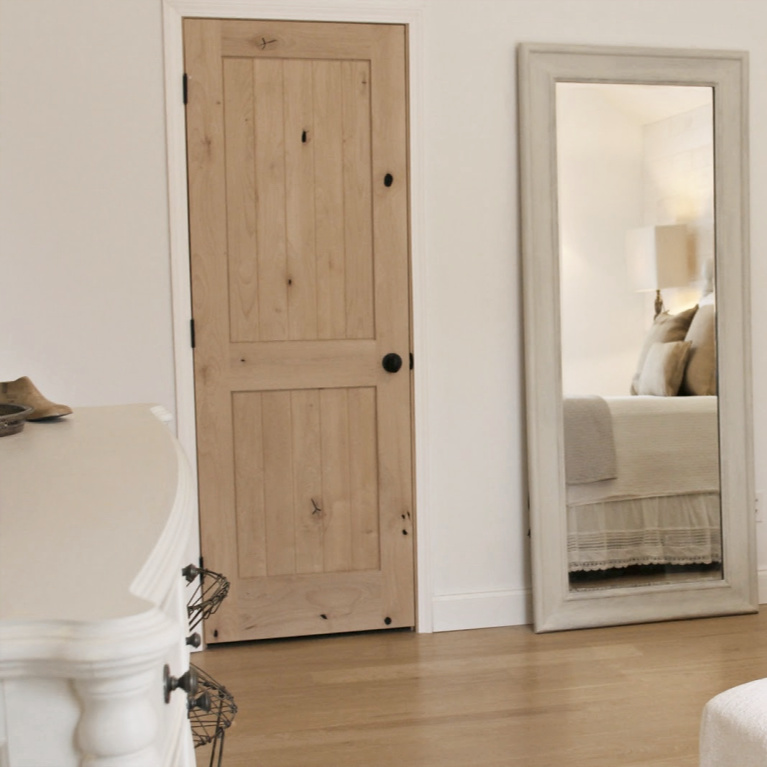
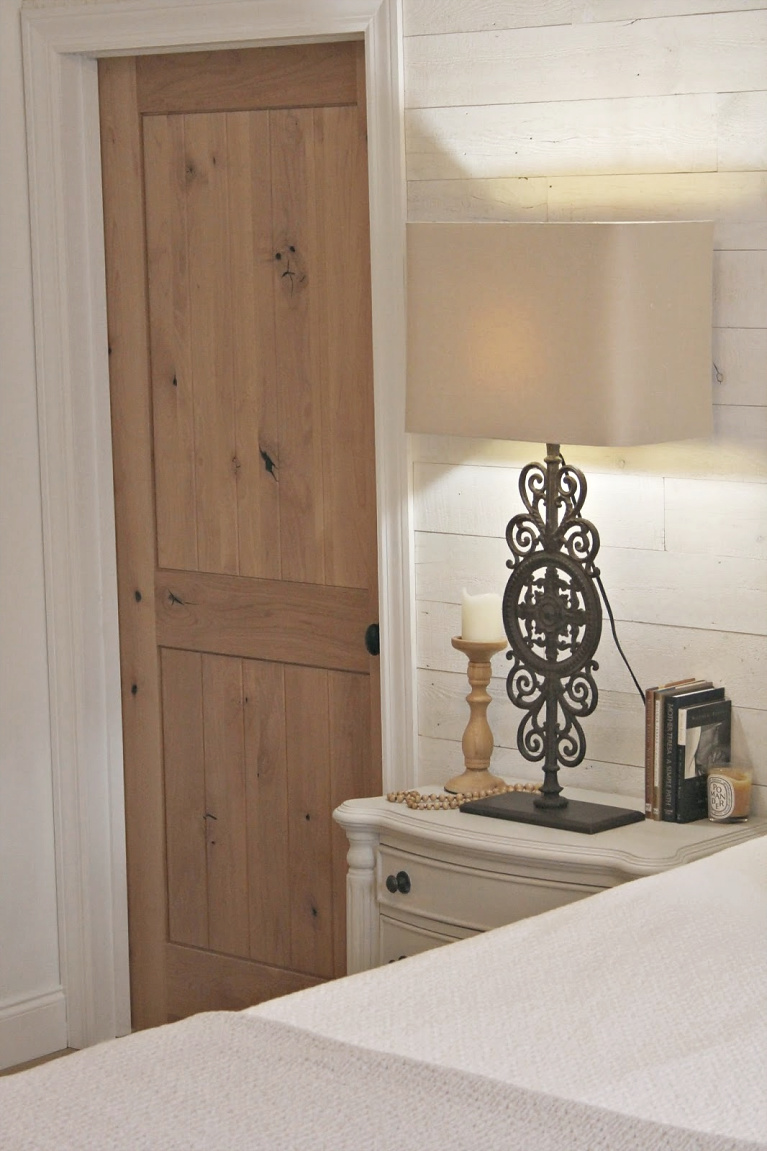
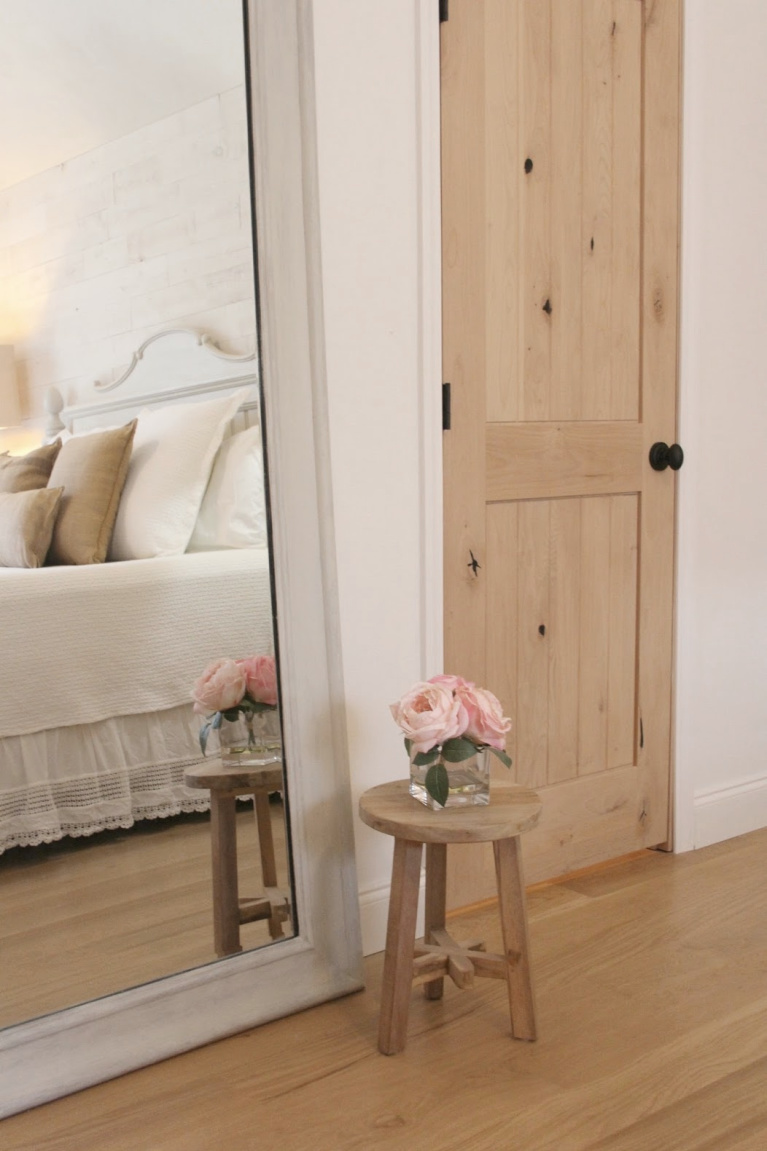
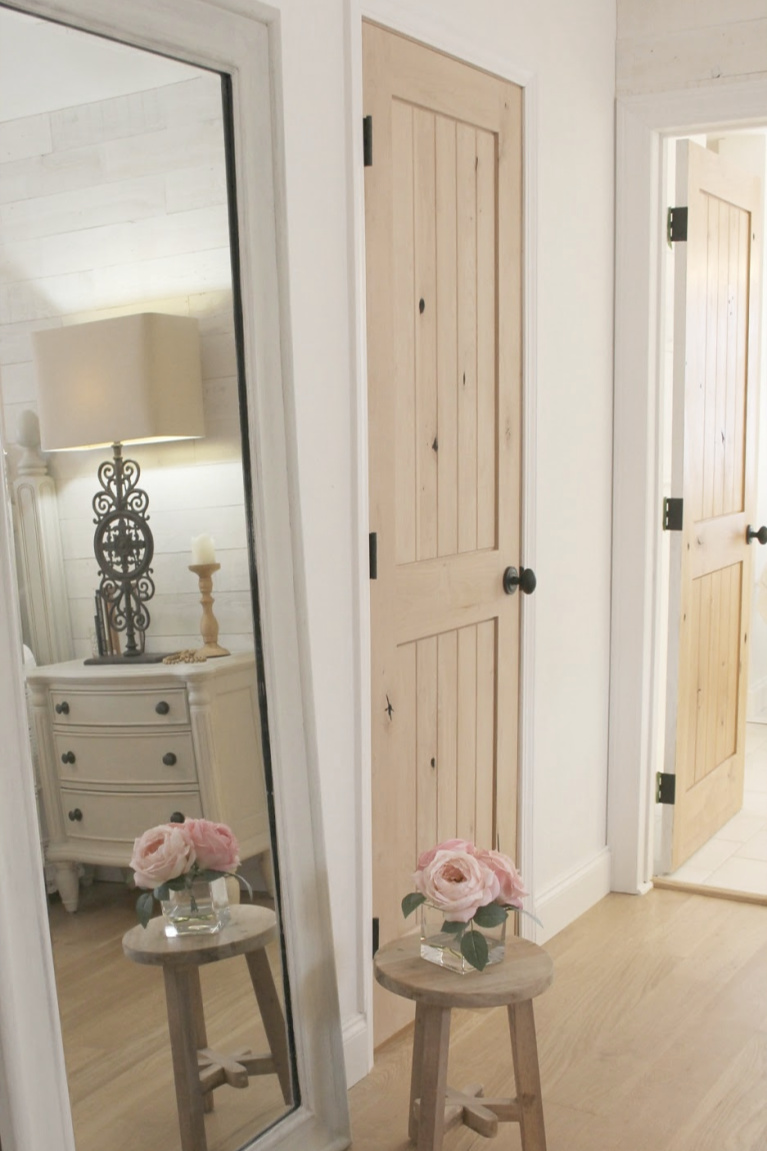
added 4 new knotty alder doors and jambs
installed new white door trim
applied a water based flat finish on doors
installed new oil rubbed bronze door hardware
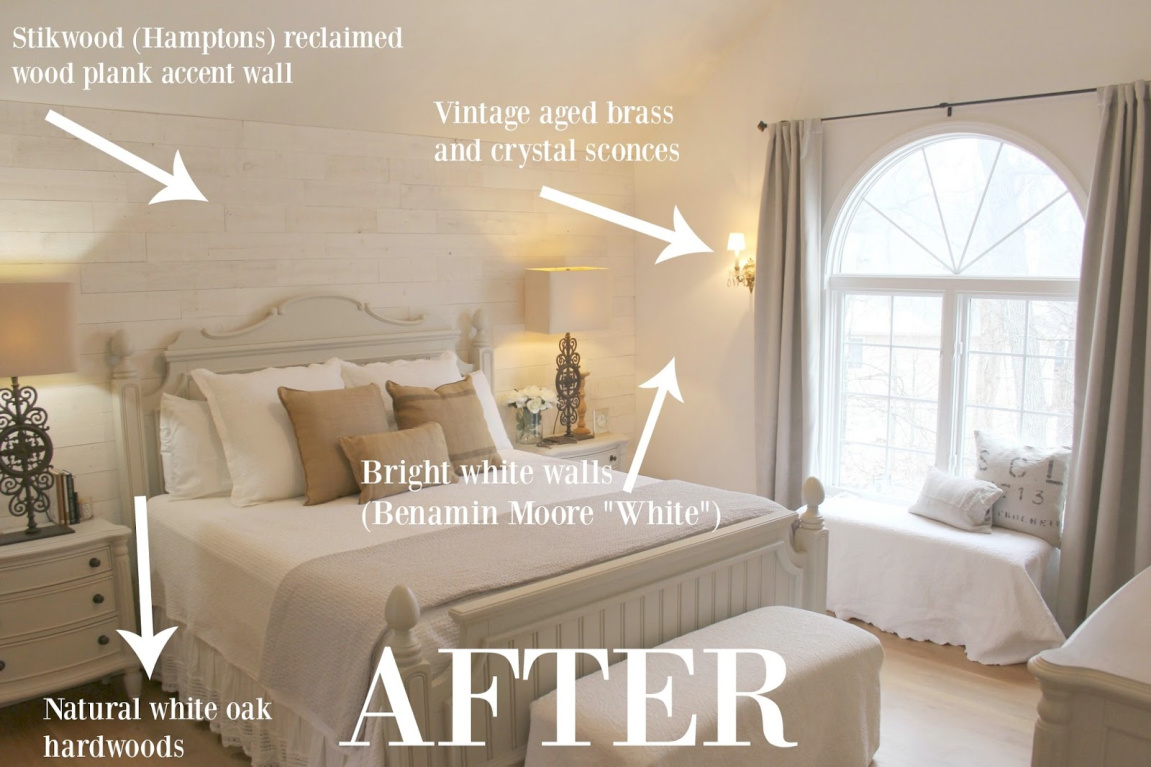
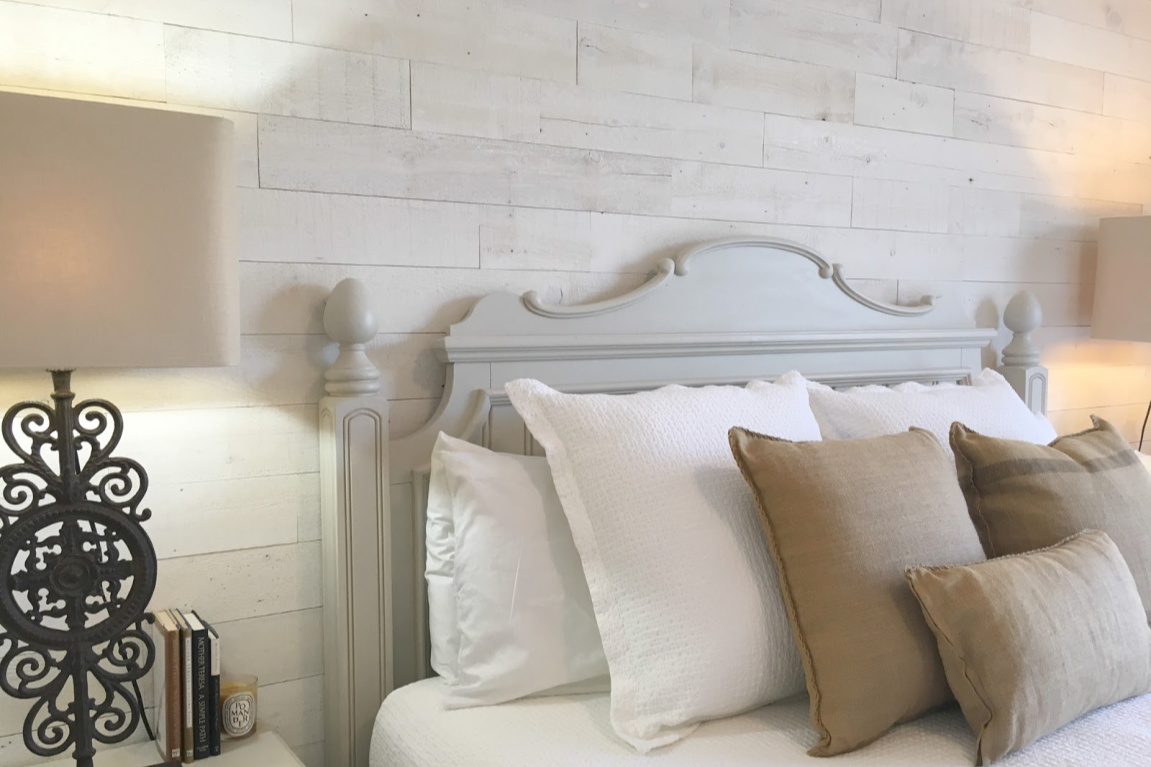
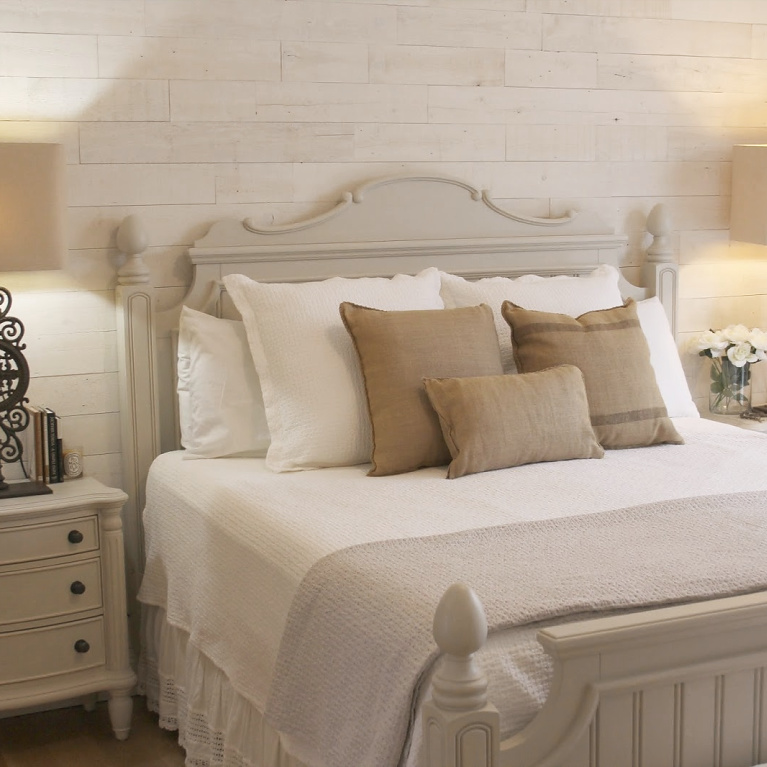
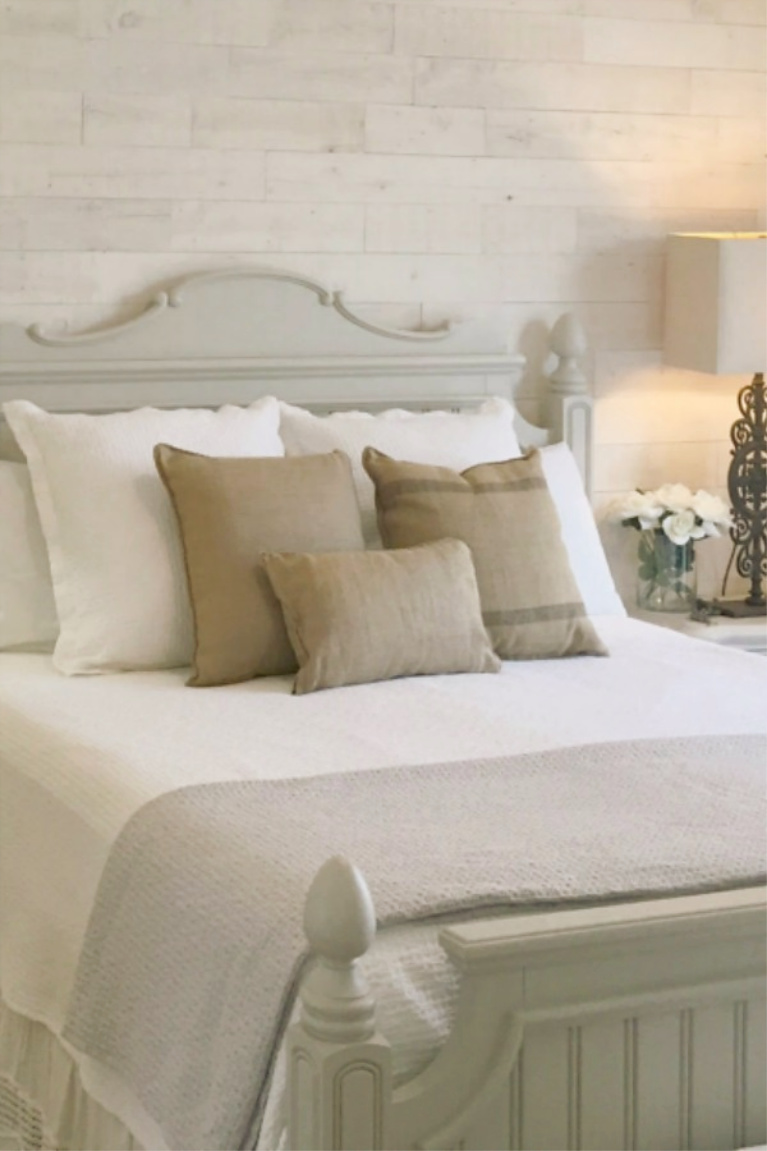
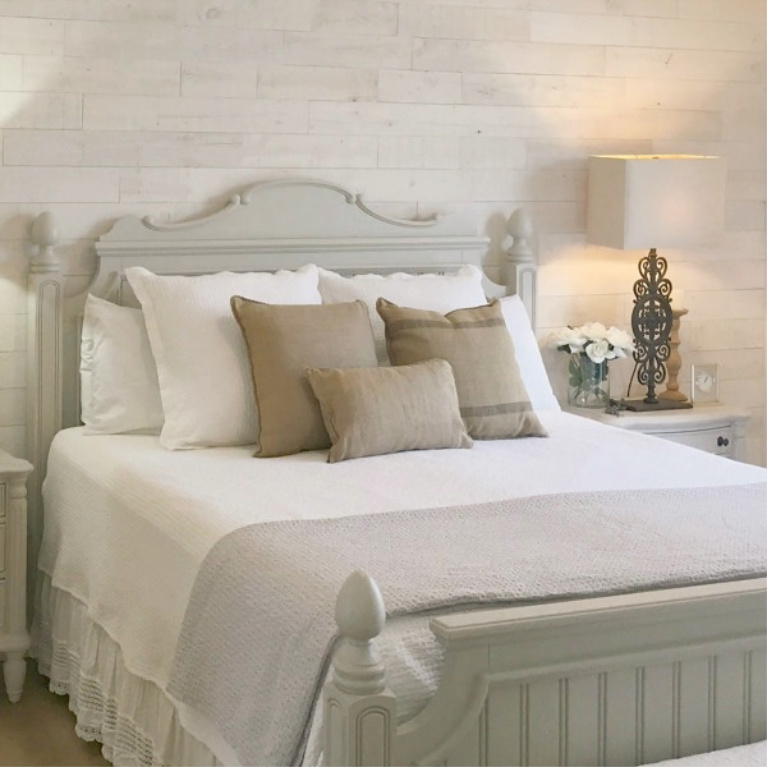
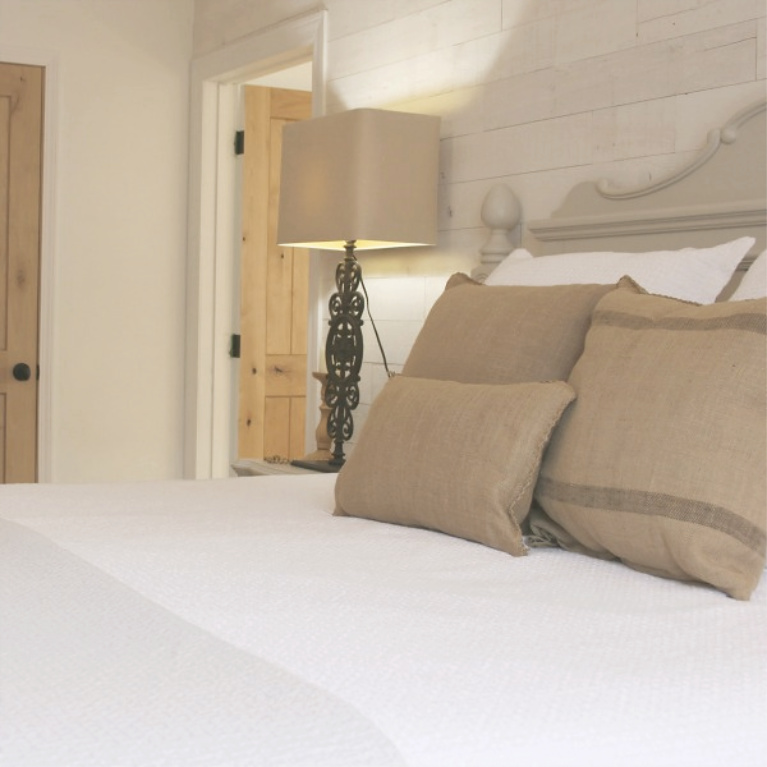
created a reclaimed wood statement wall
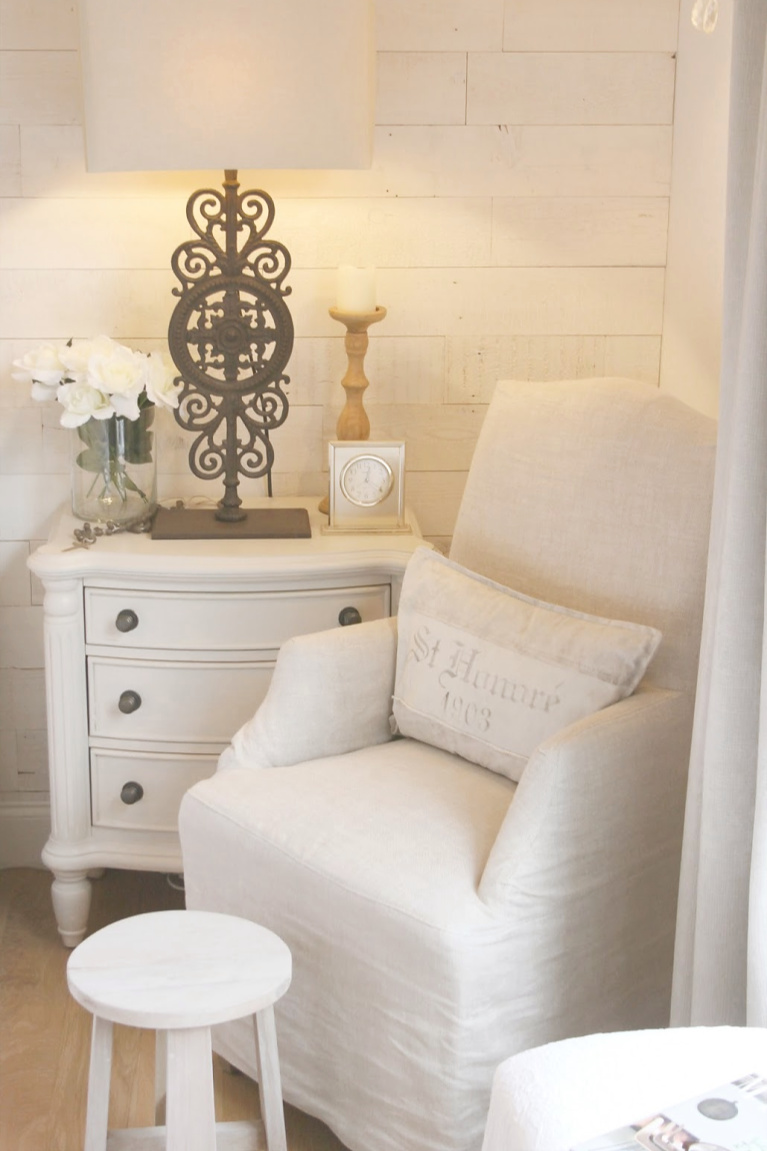
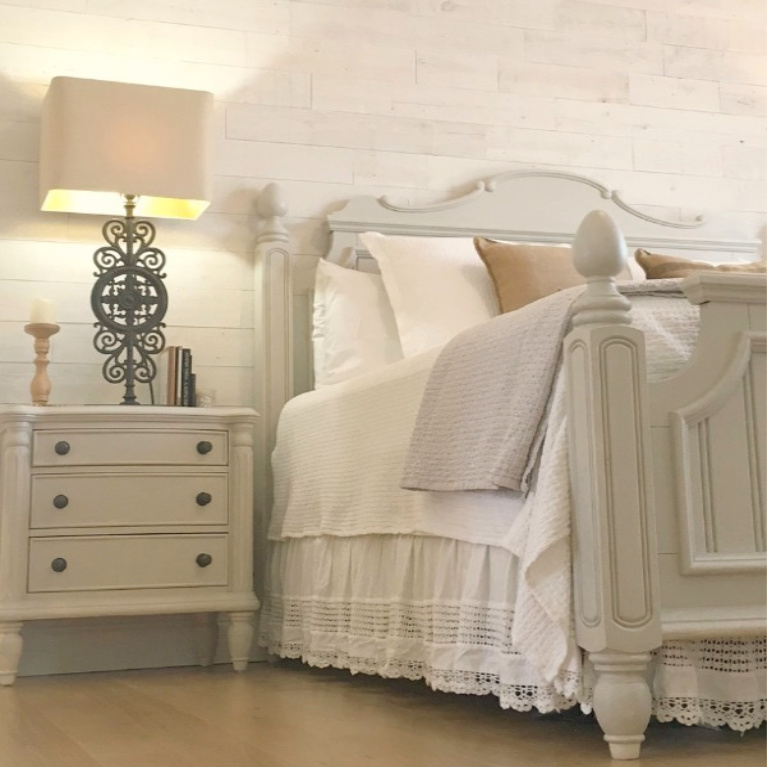
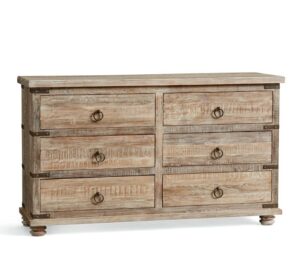
glazed our existing antique white furniture with Benjamin Moore’s ‘Revere Pewter’
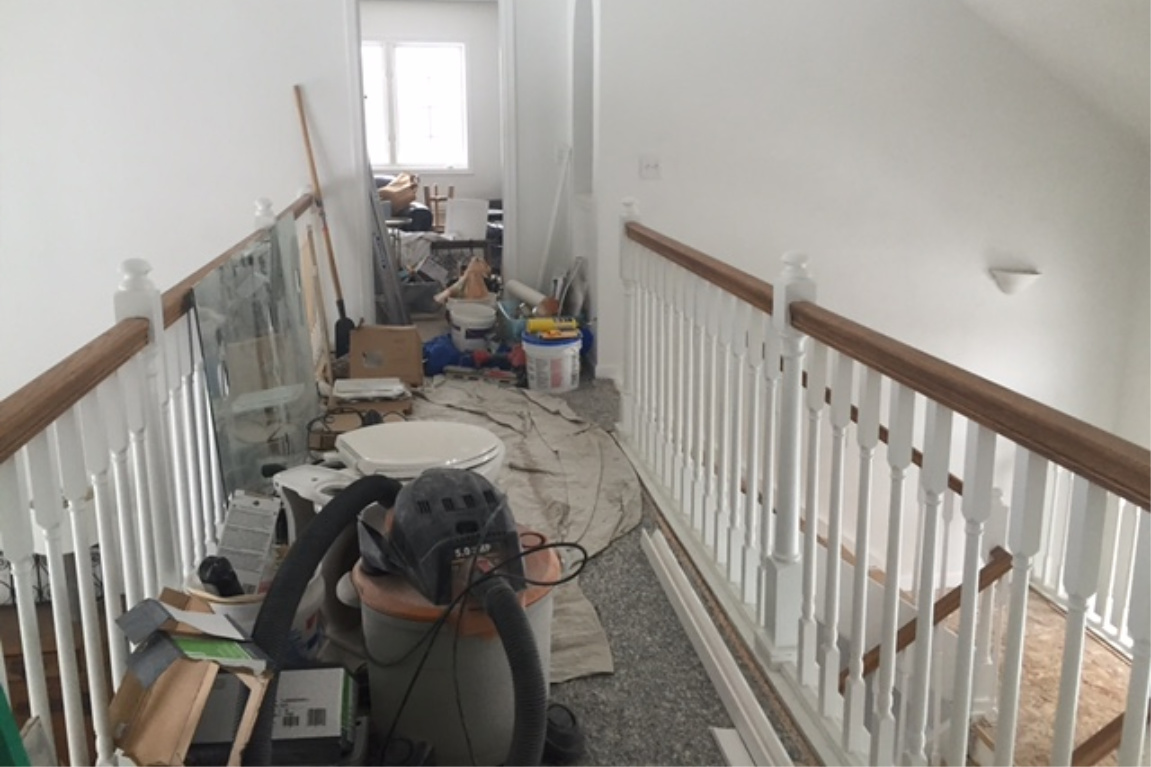
Photos of Before & During Reno

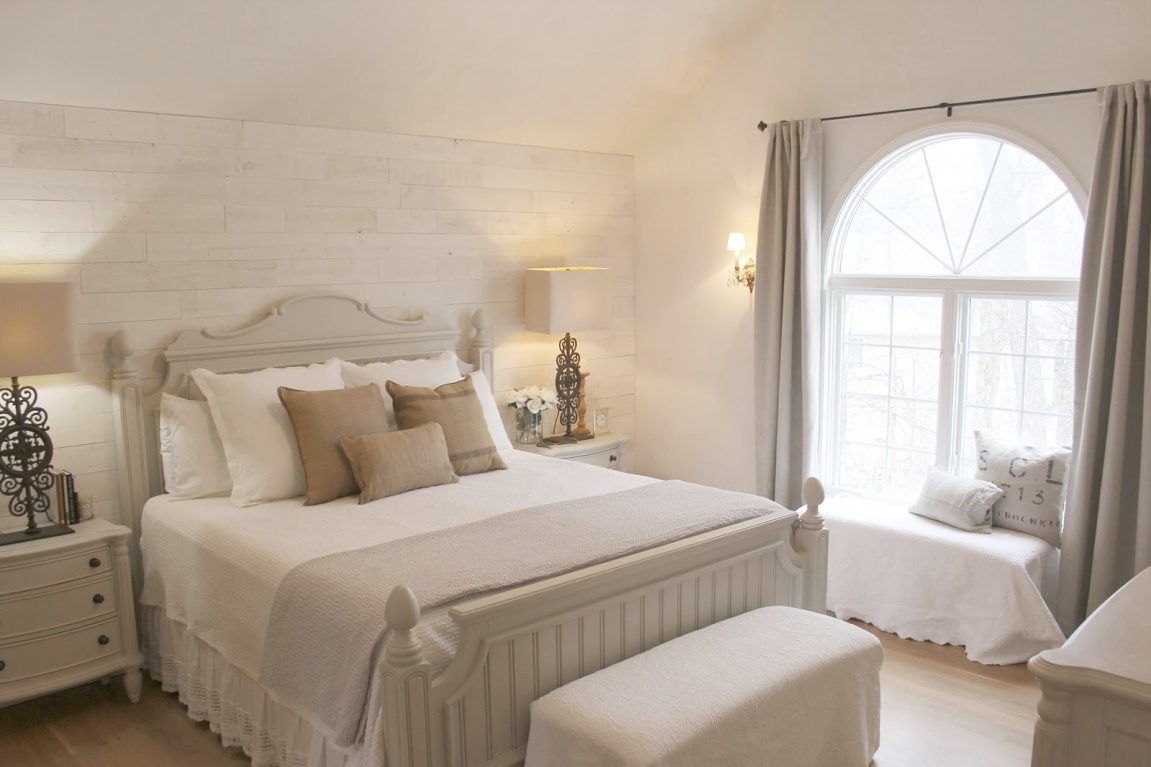
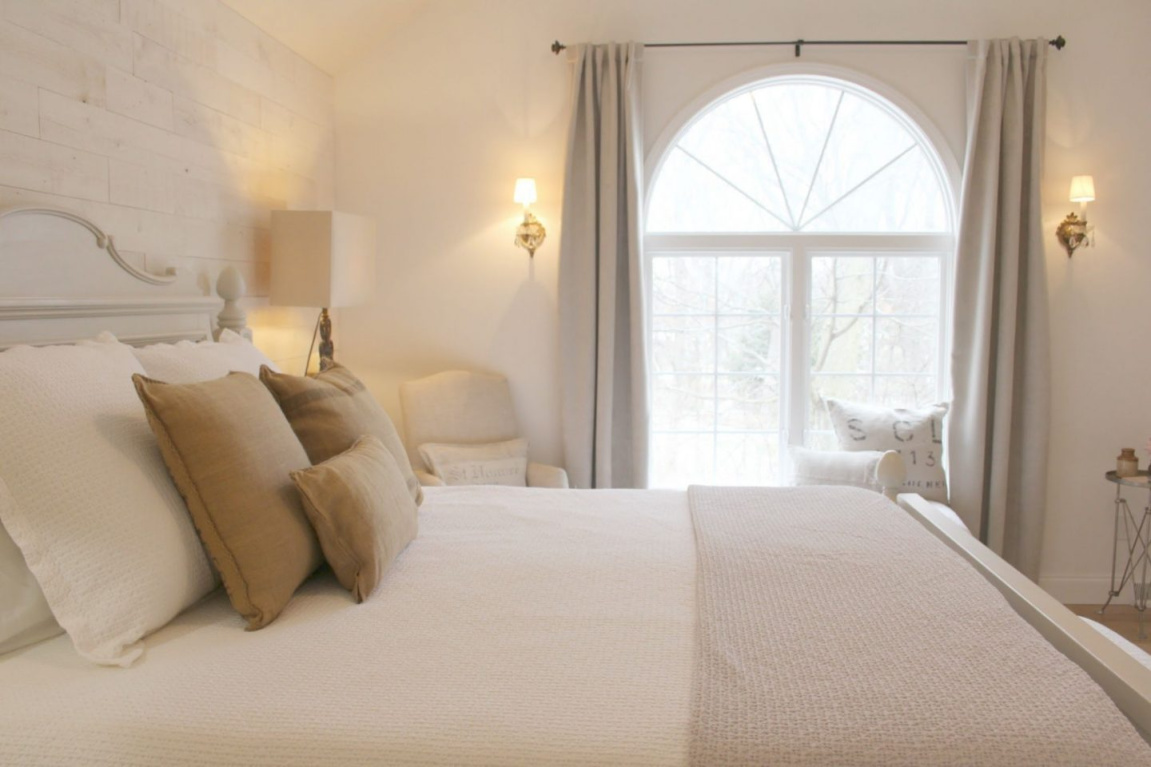
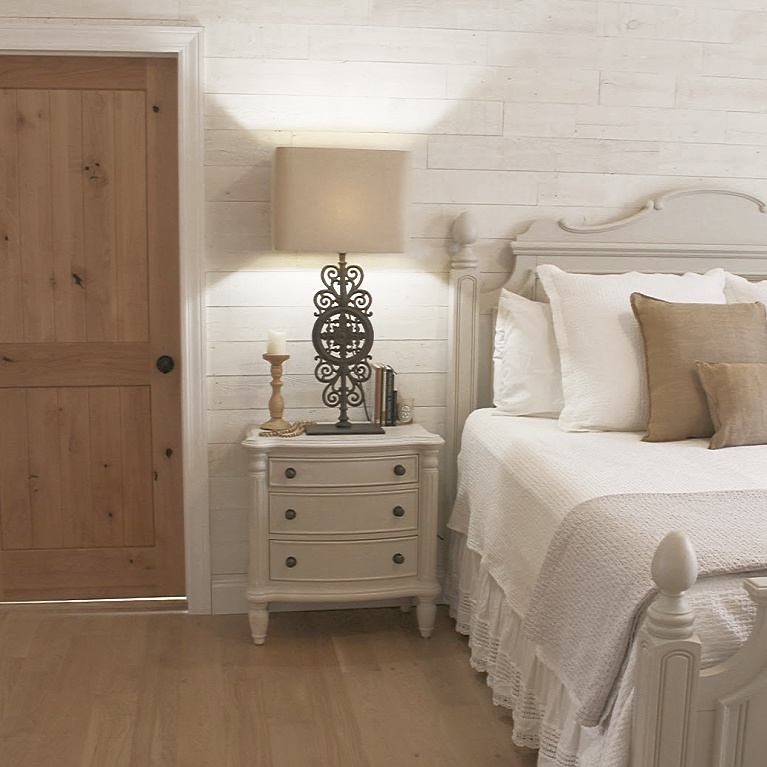
New Alder Doors Make a Big Difference
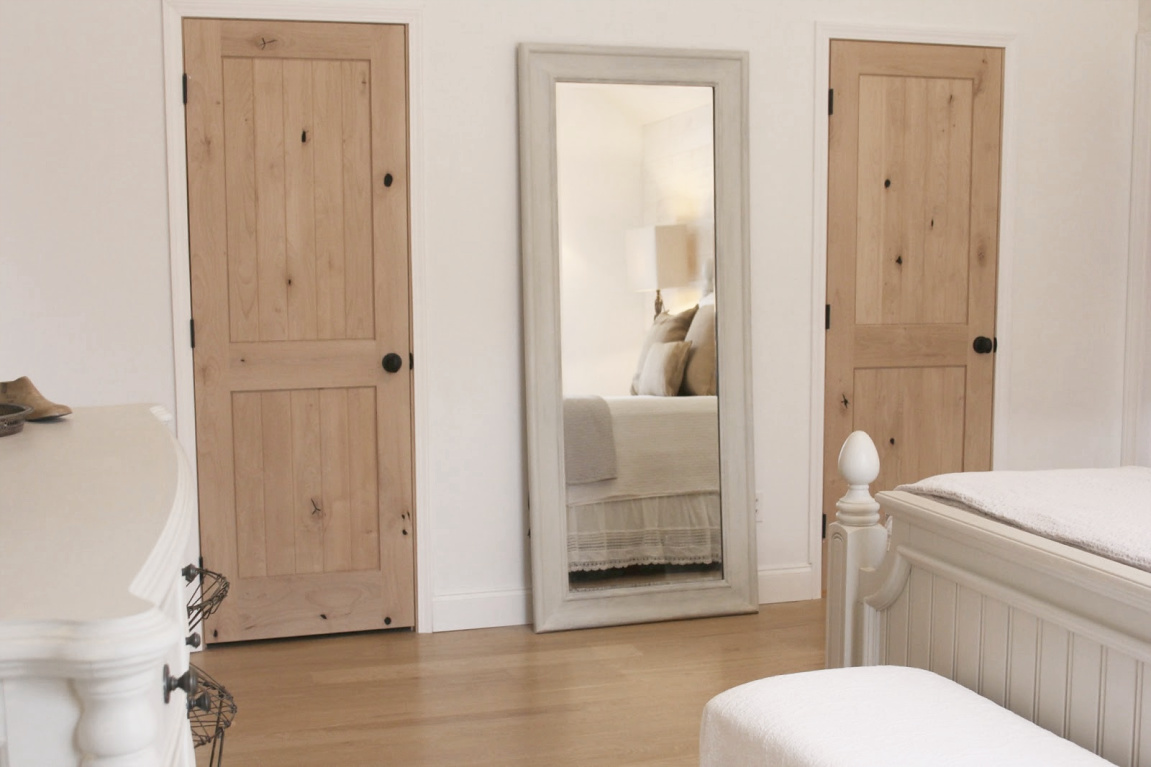
Read about how we installed these knotty alder doors right here.
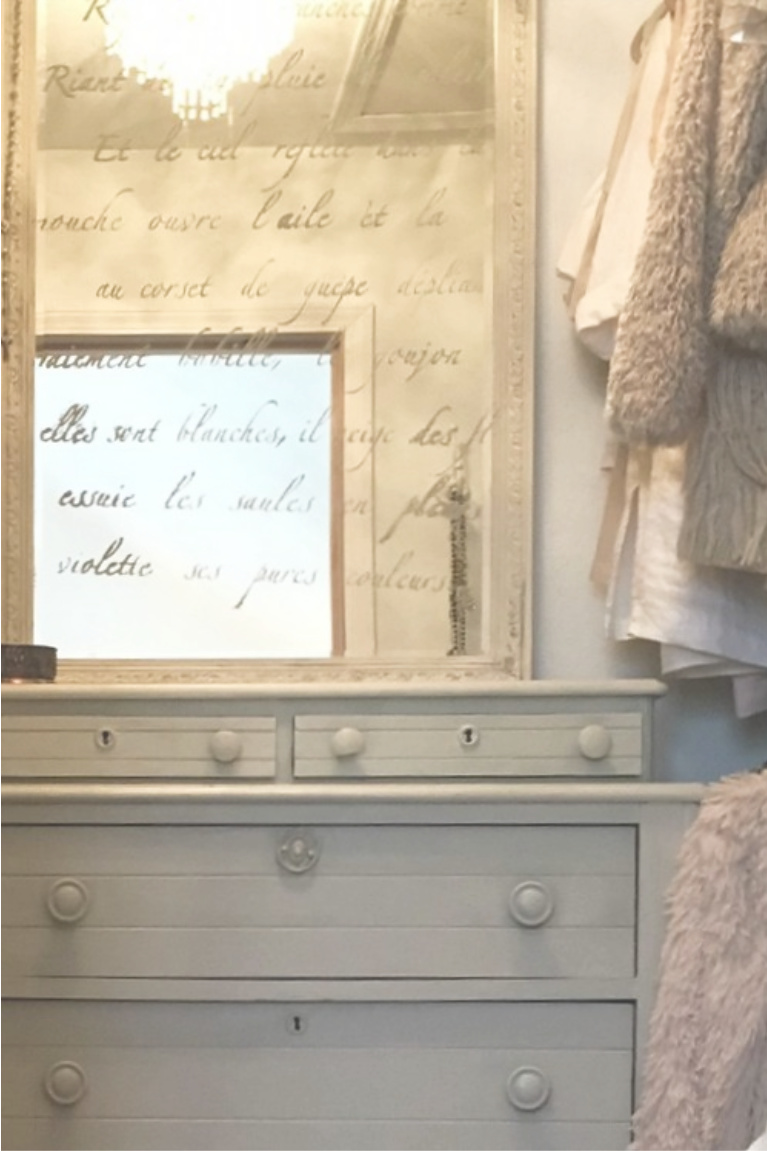
all bedroom mirrors should be designed this way.
with a vintage dresser I painted, an old mirror I stenciled, and a beautiful new alder door.
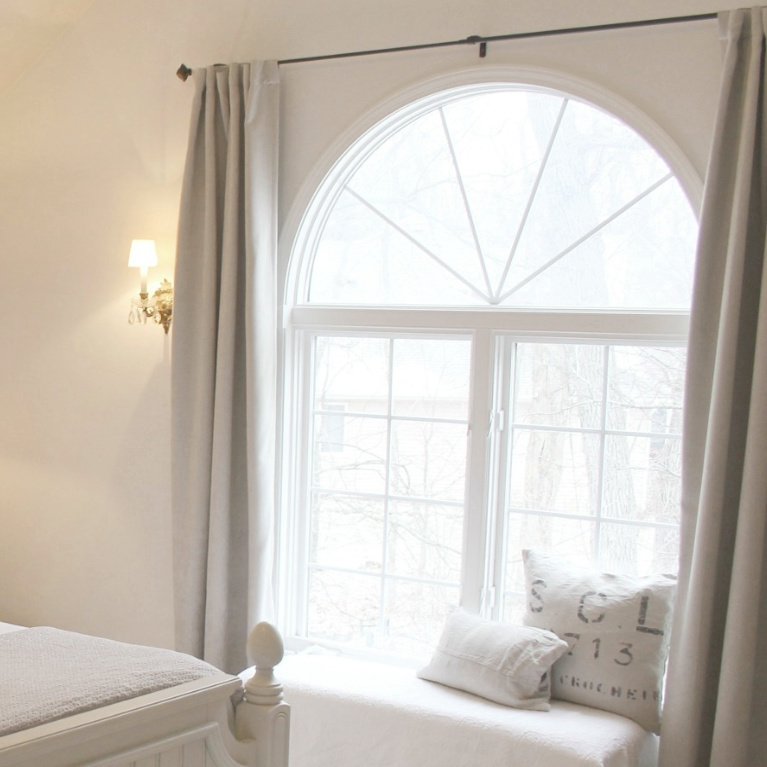
Before & After: French Country Bedroom
Once again, before:
And after.
You can get a better feel for scale in this video we made if you have time:
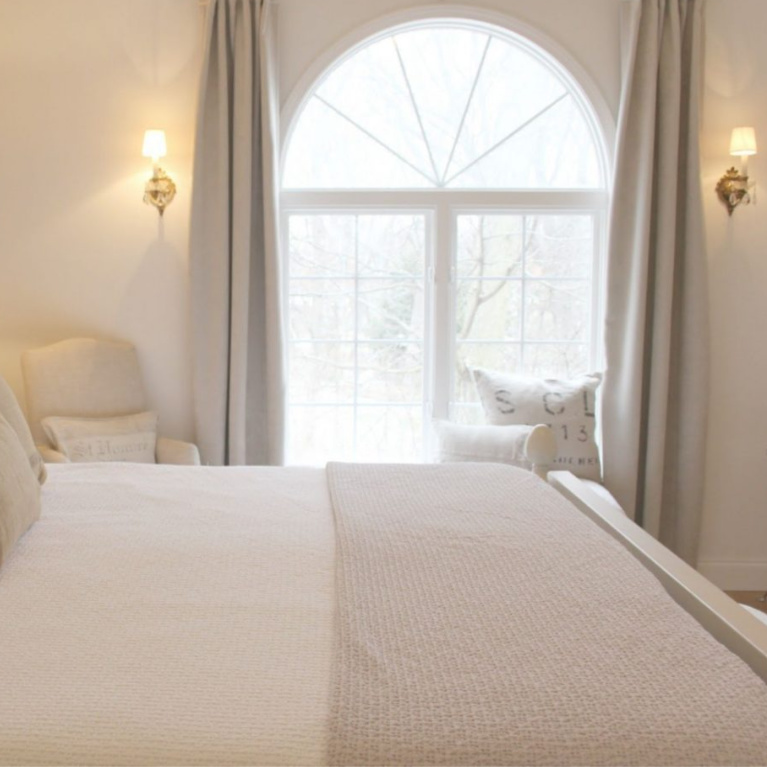
Wood Plank Statement Wall
FIND THE EXACT PRODUCT RIGHT HERE.
Read about how we executed this wood plank wall in just three hours.
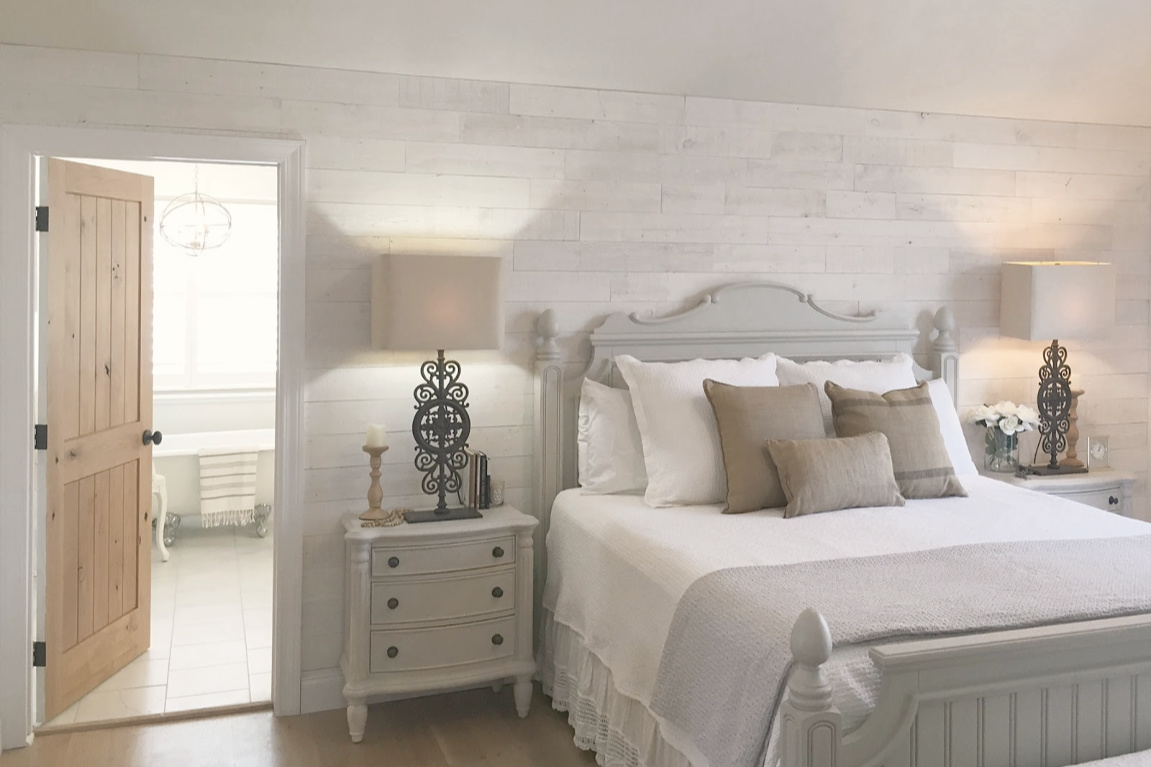
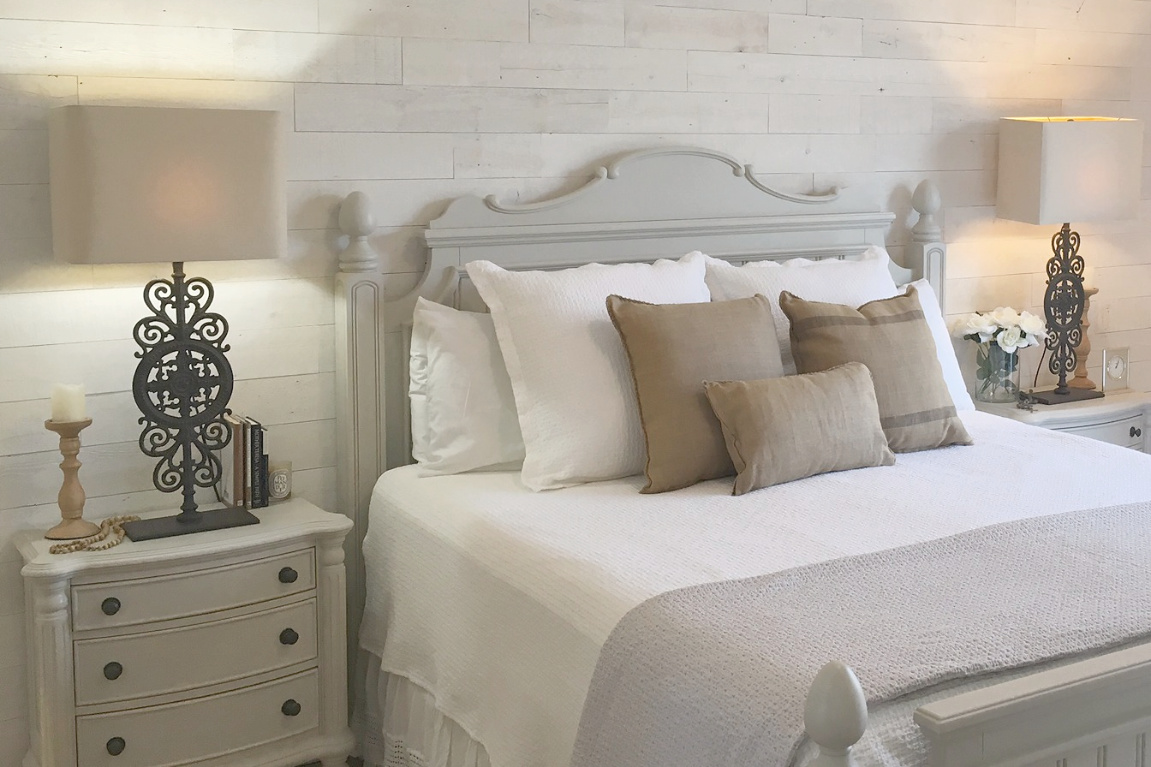
White Oak Hardwood Flooring
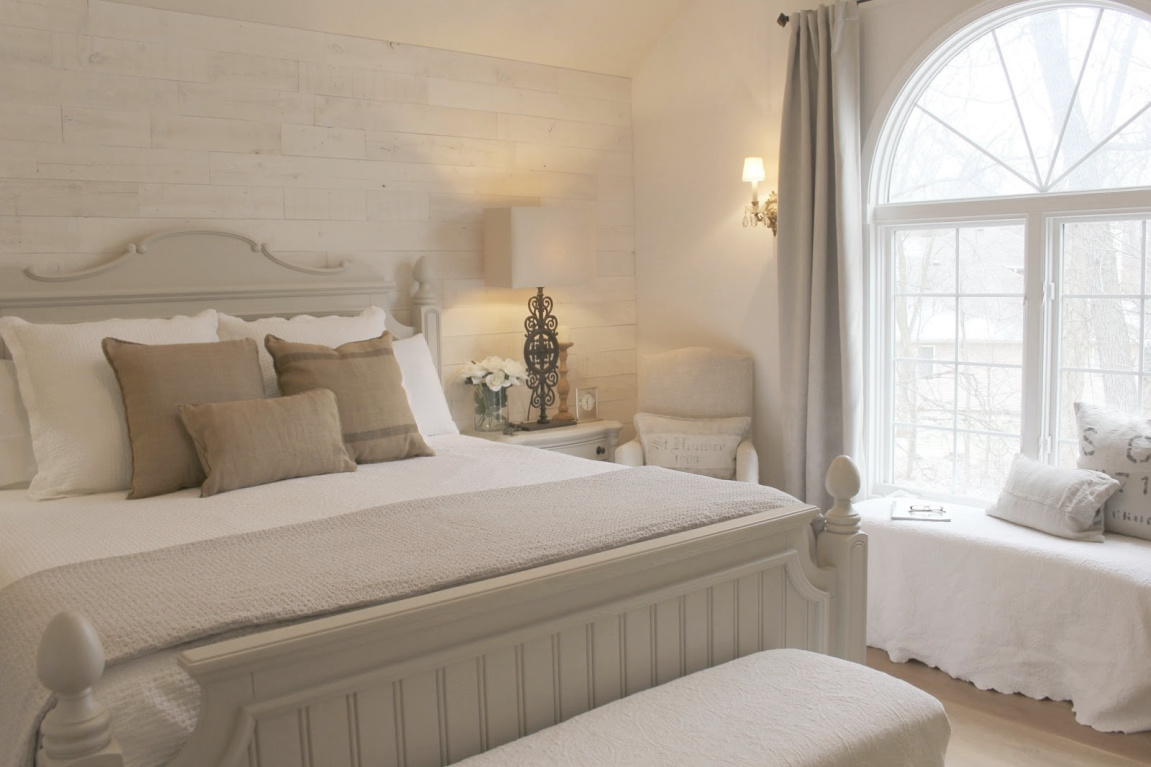
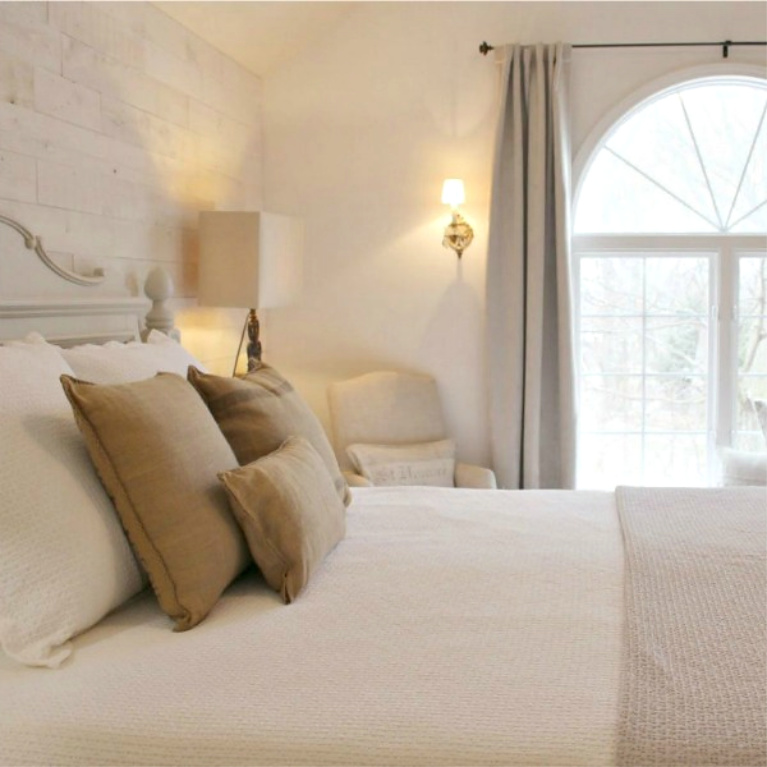
Light & Bright & Airy Serenity
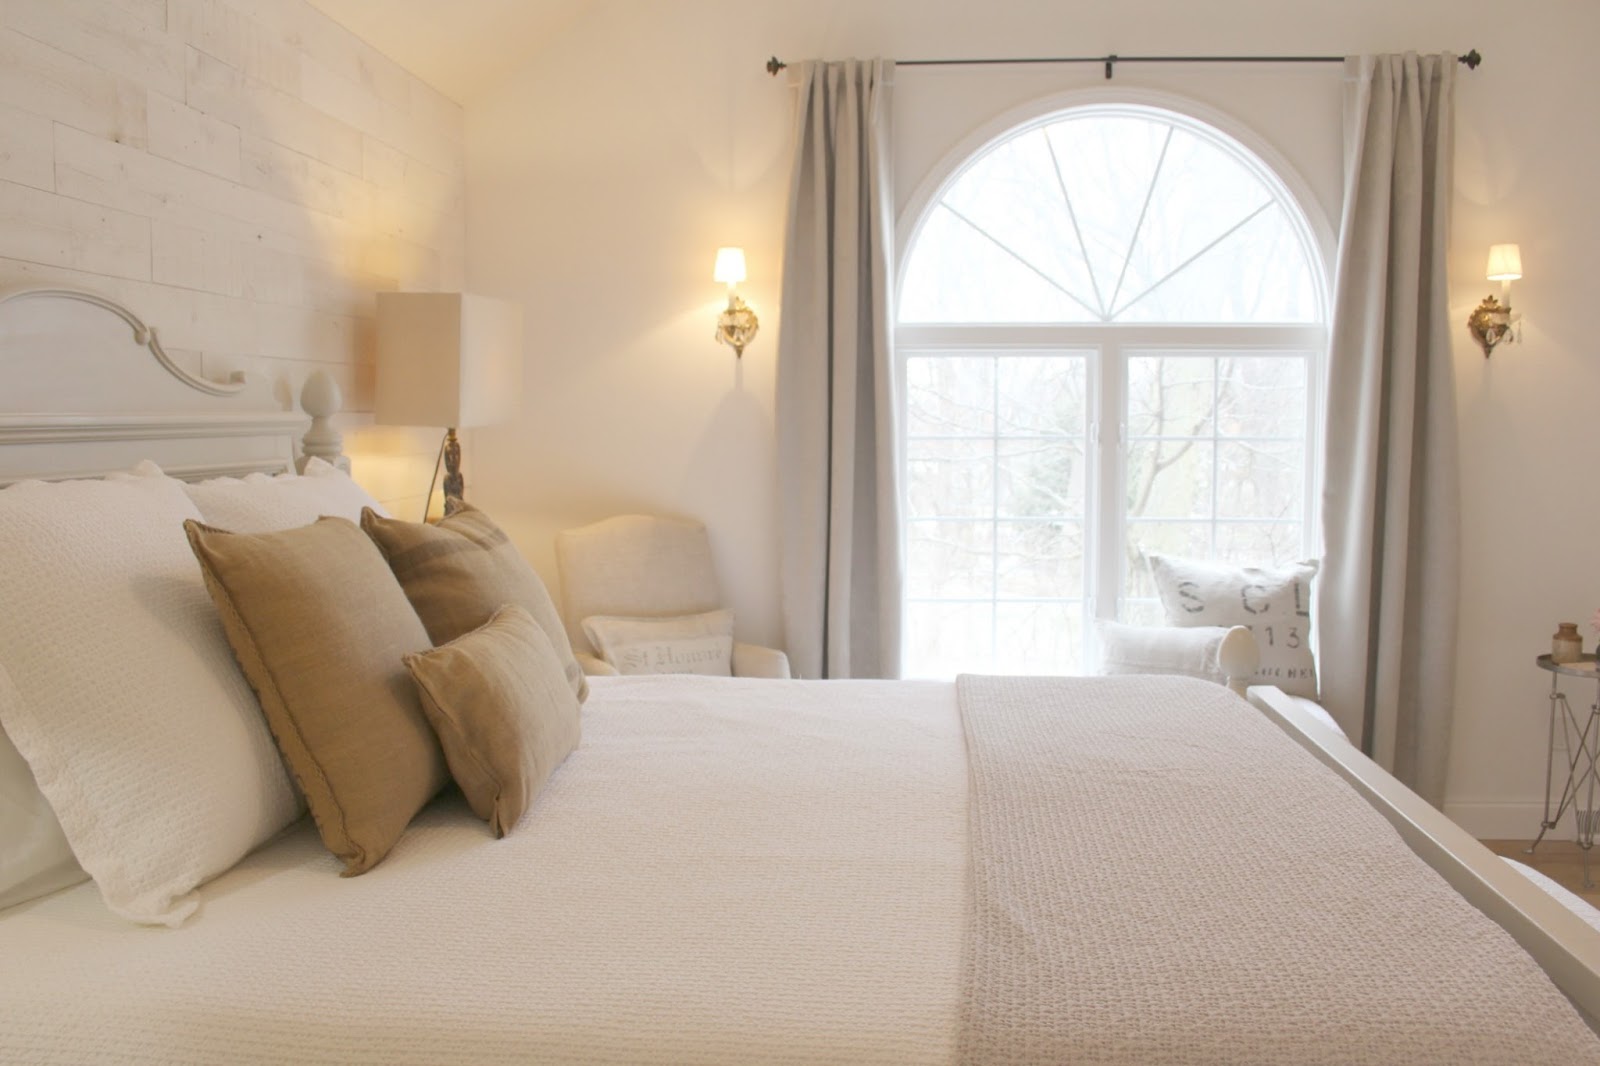
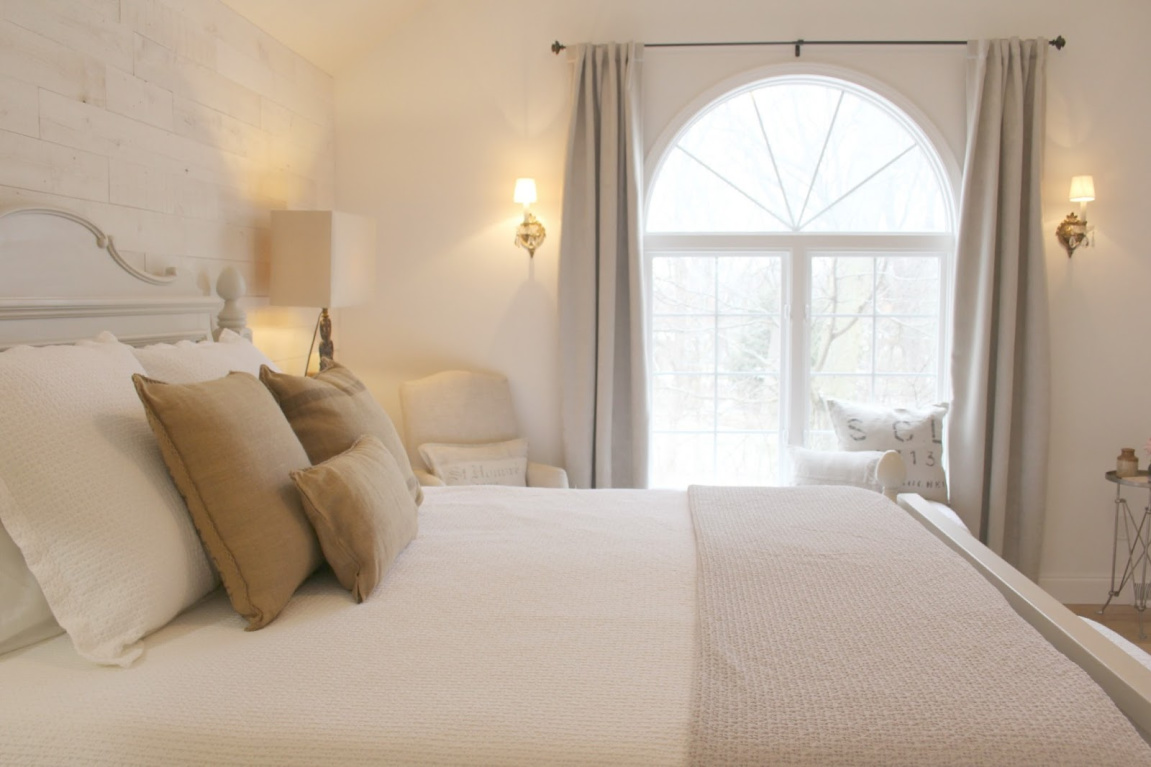
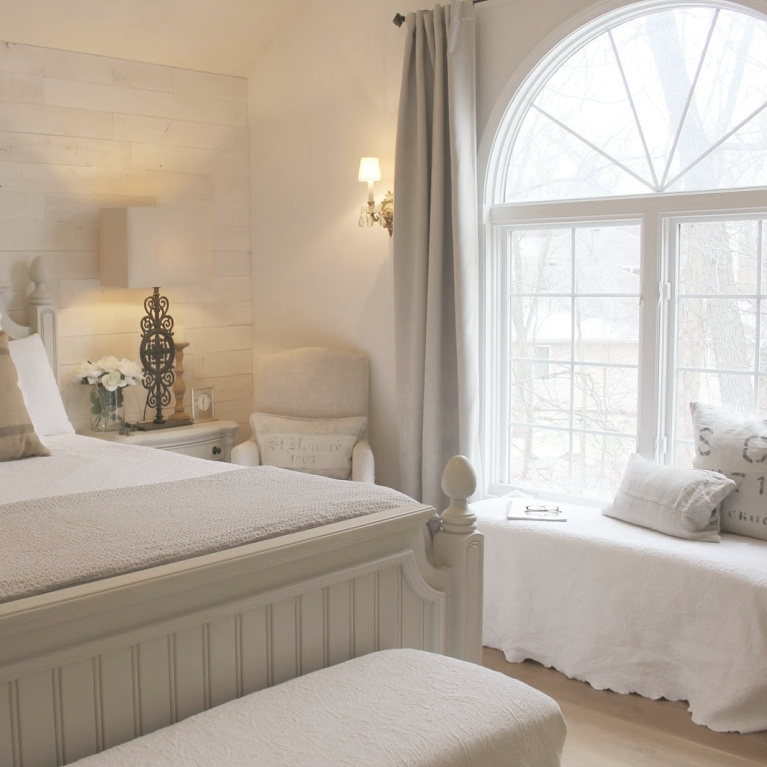
Rustic Yet Romantic Bedroom
I owe a heap of gratitude to my sister Jo, who assisted me with this photo shoot.I could not have managed without her!
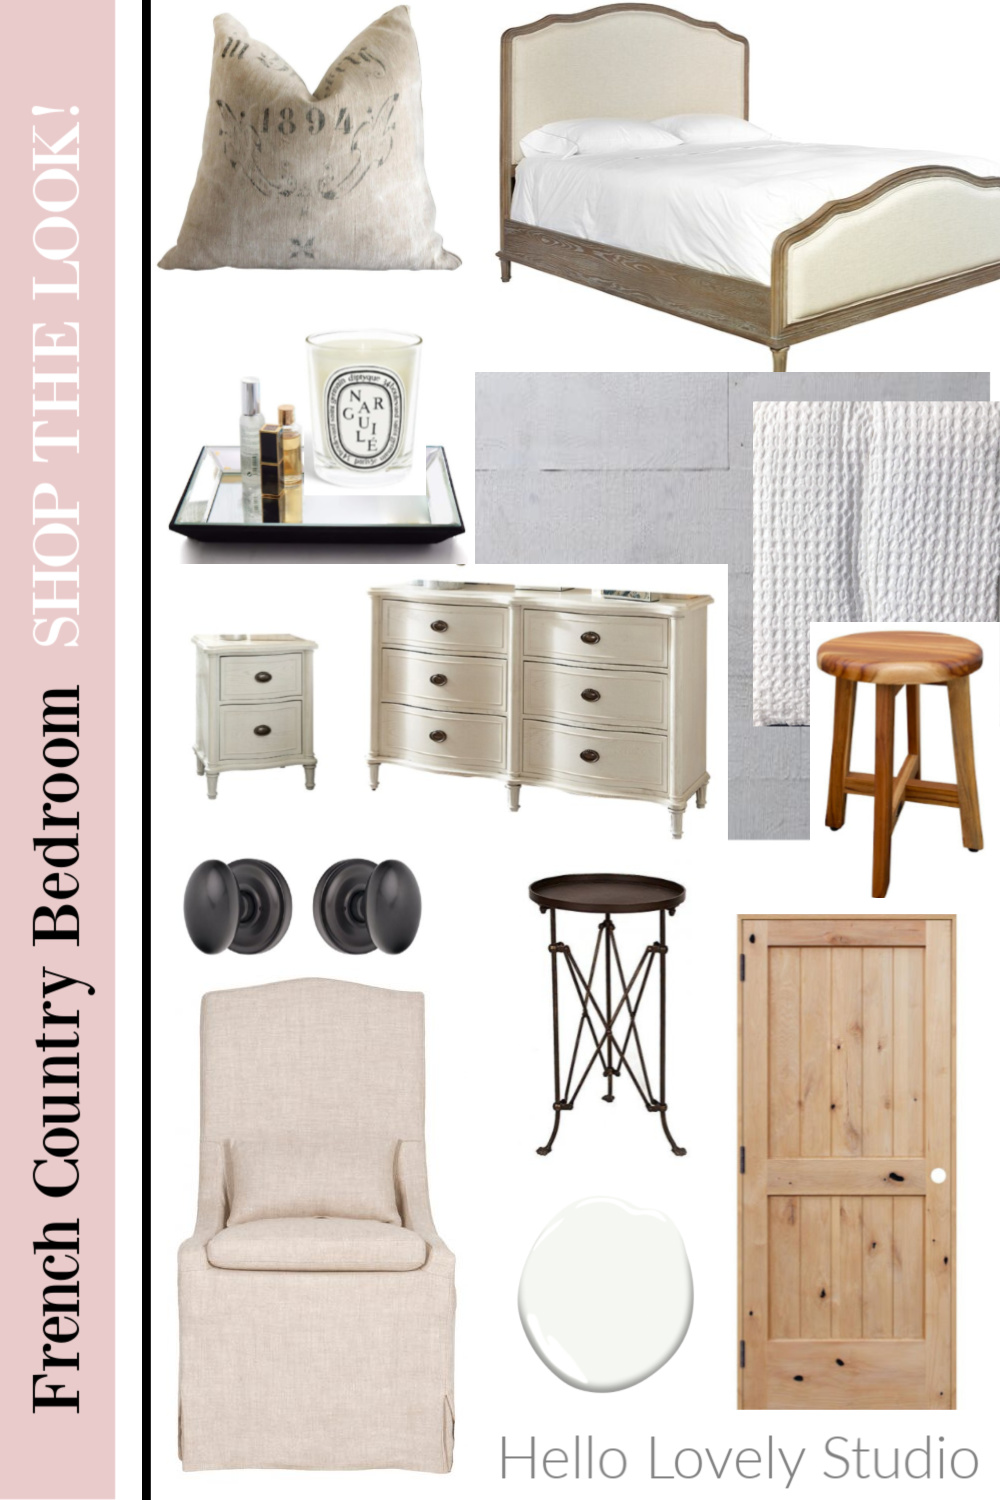
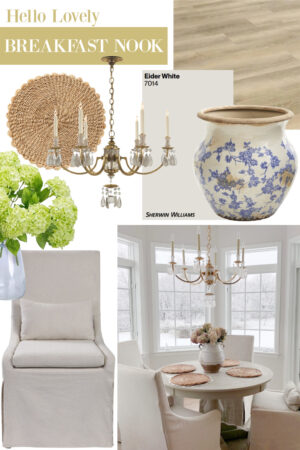
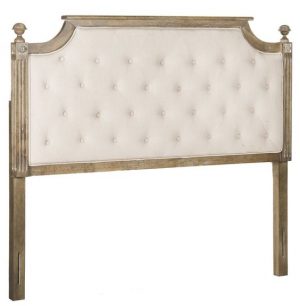
Master Bedroom Resources
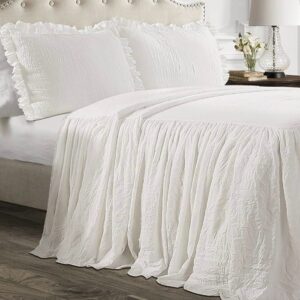
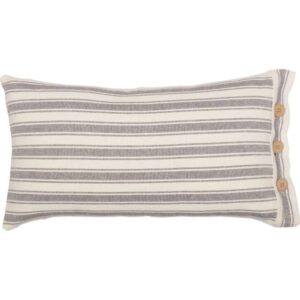
Quilted White Coverlet Piubelle
Knotty Alder Doors Pacific Entries
Oil Rubbed Bronze Door Hardware (Hemsley, Egg Knob Set) Pacific Entries
Reclaimed Wood Plank Wall (Hamptons) Stikwood
5″ Wide White Oak Hardwood Flooring (no stain – flat water based finish) Finished on site by Oak Street Flooring
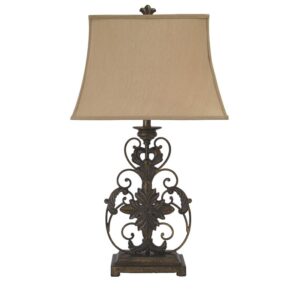
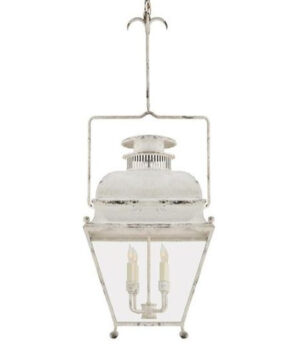
Antique Sconces & Swedish Chandelier in Closet Oddly Enough
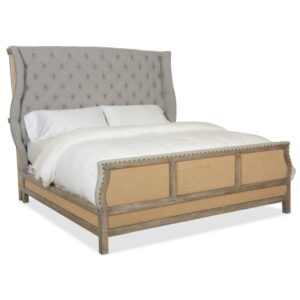
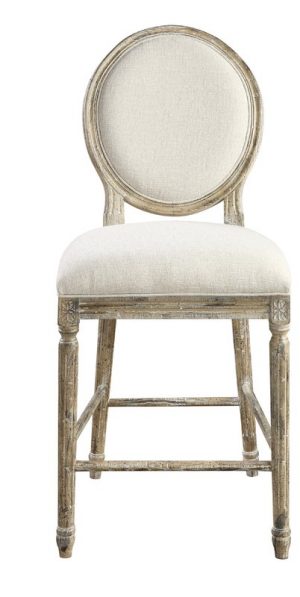
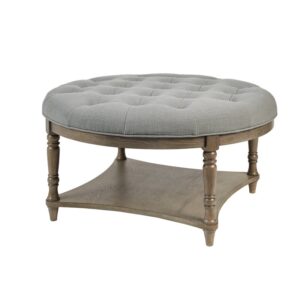
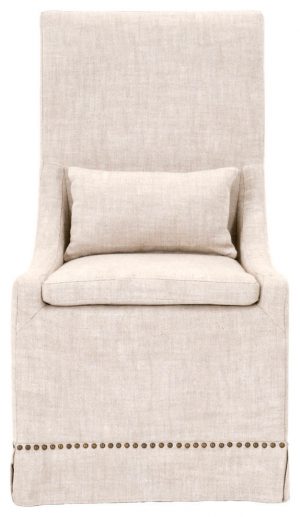
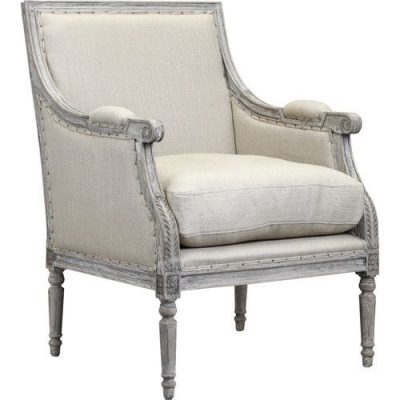
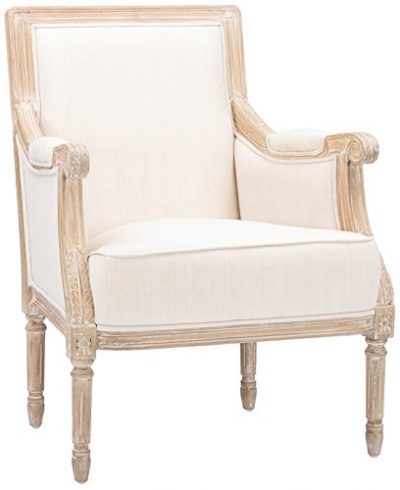
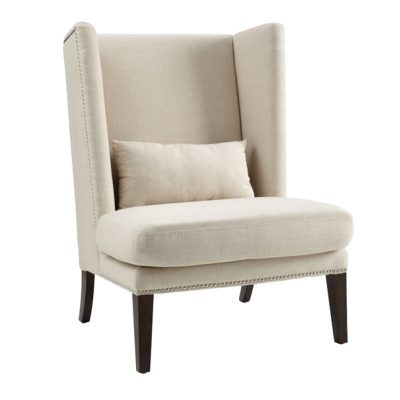
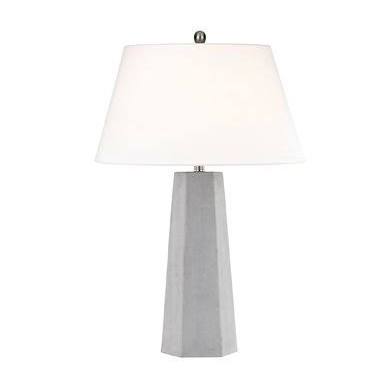
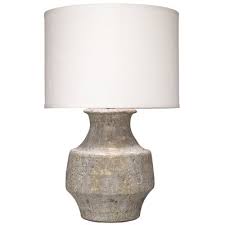
Belgian Linen Slipcovered Armchair, Parisian Gate Bronze Lamps, Cushions on Bed, Distressed Canvas Pillows on Bench Restoration Hardware
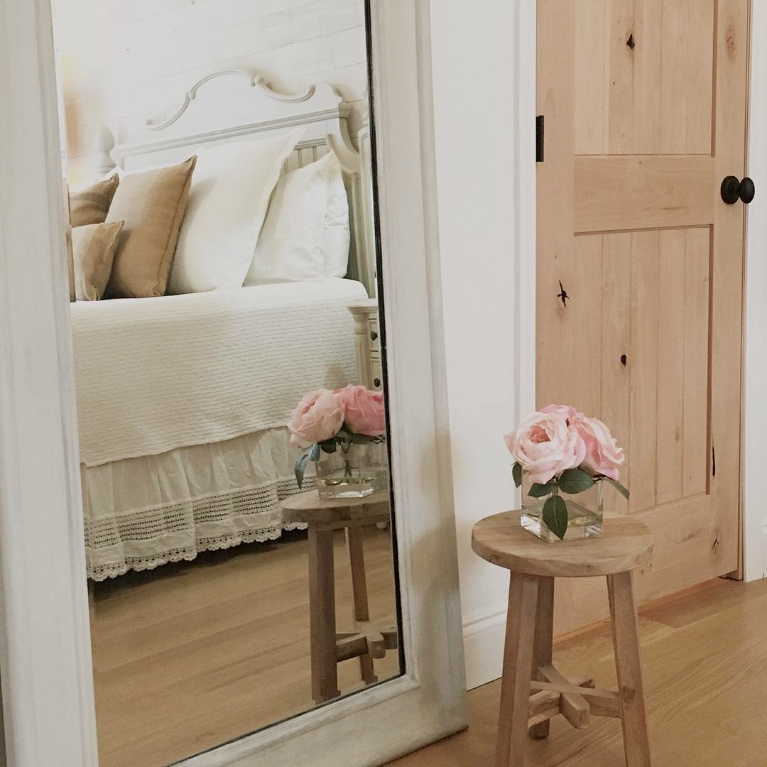
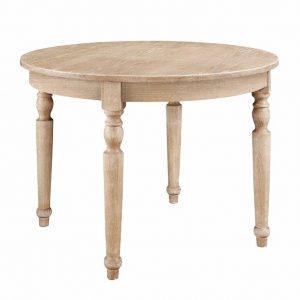
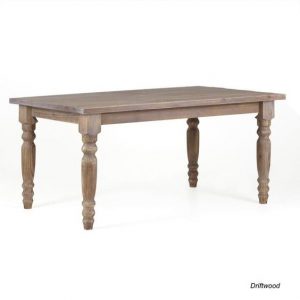
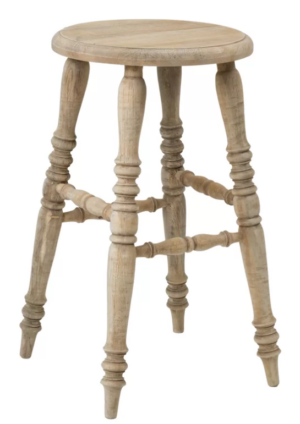
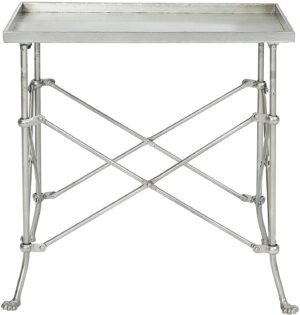
Campaign Table (find here), Teak 3-Legged Stool, Piu Belle Coverlet (find here), Shams, Donna Karan Lined Curtain Panels HomeGoods
More Shopping Resources
Decorative Oil Rubbed Bronze Curtain Hardware, Baseboards and Door Trim Lowe’s
Bed, Nightstands, Dresser: Vintage Chris Madden, which I painted Benjamin Moore Revere Pewter (satin) thinned with a little water
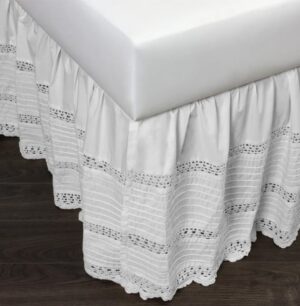
Lace Dust Ruffle Garnet Hill – gorgeous one RIGHT HERE
Leaning Floor Mirror find one here
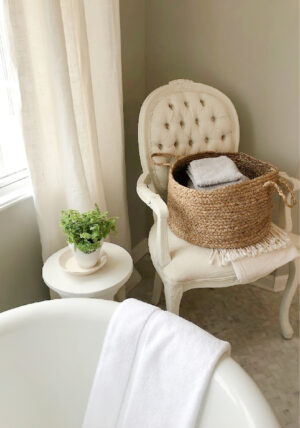
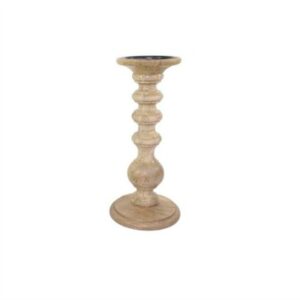
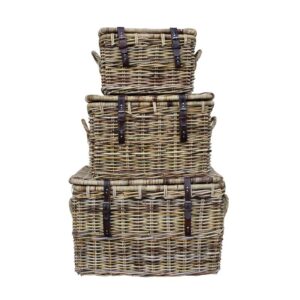
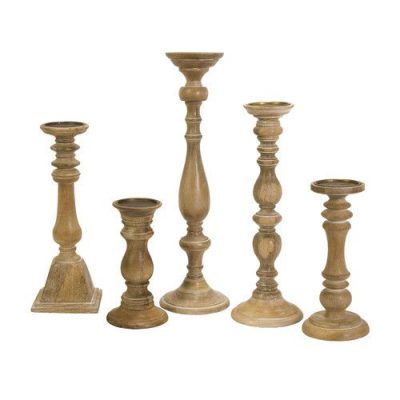
French Wire Laundry Basket, Matelasse Bench Covers, Upholstered Benches, Wood Candlesticks, Vintage Dresser in Closet Vintage
French Poem Stencil on Dresser Mirror Royal Designs
Wall Color: Benjamin Moore White OC-151 which is practically identical to BEHR ULTRA PURE WHITE
Thanks for the Encouragement!
If you are still reading…wow…so thankful you are on this journey with us toward completion–chronicling these adventures has energized us and kept us accountable.

Thank you. Really. Thanks for tuning in.
Care to see our master bath reveal?
Find all the fixer upper adventures right here.
Thanks so much Pacific Entries and Stikwood
for partnering with me on this before and after
and creating such gorgeous product.
I independently selected products in this post—if you buy from one of my links, I may earn a commission.
Peace to you right where you are.
-michele
Shop for items you already intended to buy on Amazon RIGHT HERE, and also find home decor here to keep decor inspiration flowing on Hello Lovely!
Hello Lovely is a participant in the Amazon Services LLC Associates Program, an affiliate advertising program designed to provide a means for sites to earn fees by linking to Amazon.com and affiliated sites.


So gorgeous- what a journey you are on. That room must make you sigh with calmness every time you walk into it. You are so talented- as a designer and a writer. My thoughts and prayers are with you,your family and your dear parents at this difficult time.
thanks so much, ali, for your kindness and your prayers. i covet them, and am so grateful. xox
The bedroom is so lovely and simple. I've Pinned the Stickwood wall…..such a brilliant product! Thanks for sharing!
thank you so much, toni. it's so fun to be joined on the journey! xox
Michele your room is understated elegance and simplicty. I could move right in and feel perfectly at home there. YOu did a beautiful job. I will pray for your Mom and Dad, so sad to here they are both having health issues, I know it is so very hard on everyone. xoxo
thanks so much for your continued kindness, kathysue. xox
Michele! It's so beautiful! I love the comment about the former sconces from mars… and the doors are insane. All of it… but that dust ruffle just adds that little piece that is irresistible. I've been so shut down on reading blogs, and reading this makes me miss you so much. I'm so glad I did. Glad you lived through that plane ride! Lord have mercy…
xoxox's
Cindy
i'm always happy to hear from you, friend. hahaha, there were sconces on the bathroom mirror from Jupiter too. (and i would read your blog twice a day if you decided to return) xox
Those doors! Love what you've done Michele and see?….you survived!
yep, you would know! and we're stronger now! xox
HELLO YOU ARE THE BEST AND WOW — SHIRLEY FROM THE WEST EAST NORTH OR SOUTH THERE ARE LOTS OF YOU BY THAT NAME YEAH MONTANA
thanks! and love the energy! xox
An excellent article very well designed besides bringing great inspirations to our personal projects.
https://www.qualyartpinturas.com.br
Love this room! Does the stikwood product lay flat? I have the sample pieces and notice that they are curving….so wonder about your experience. Thanks
Hi Linda! They do lay flat. Of course the wall needs to be flat too! There was only one plank in the whole kaboodle I recall having to remove (in process) which wasn't curvy but just seemed to have a little more thickness and projection than the others, and as soon as we noted it, we peeled it off and placed another.
I am in love with the bedroom makeover!! It is heroic, as all the work, but how romantic it turned out. My favorite thing might be those alder wood doors. I love alder wood. Going to look at your door link now.
thanks, friend! it feels very romantic. the doors bring a taste of honey! did you see the room in my lil video? it's here: https://www.youtube.com/watch?v=up8-iYWsr5A and i'll add it to this post because you get a much better sense of scale when you see it on vid. xox
This bedroom is so dreamy! From the door to the furniture. And yes, the lamp in your wall is so lovely. Anyone will surely be in love with this bedroom make over. Very elegant and absolutely amazing.
thanks for the kindness, friend! 🙂
Beautiful!! I would love details on how you glazed your bedroom furniture!
Water/ paint ratio and what was your technique? Any other information would be appreciated.
Your bedroom is so inviting and peaceful.
Thank you!
Author
Thanks so much. While I didn’t measure, it was likely 2 parts paint (Benjamin Moore Revere Pewter) to one part water. I used a small paintbrush for trim and lightly applied so I could layer it and not apply too much paint since one can always add more. I worked quickly and did not aim for perfection since I wanted it to appear aged.The antique white (very yellowish) glows through the grey. I finished it with a cream wax from Home Depot which is often the second step for chalk paint projects. Hope this helps. 🙂
That’s a big help – Thank you!
I do have a couple more questions 😏
– What was the paint finish? Satin?
– Did you brush the paint on and leave it? Or did you wipe off or dry brush off like a glaze?
-Any special type of brush needed?
I Do appreciate your help!
Thank you for sharing your gorgeous home with us. You are such an inspiration!
Author
You bet! Yes – satin finish. I brushed it on with very little paint, a little more than a “dry brush” technique. I highly recommend testing this on the back side of a headboard or on a piece of wood. I used a 2″ Wooster shortcut brush. I need to do another project and snap photo of the process like the good bloggers do. This is how I usually roll: at 2 pm : “I think I’ll paint all the furniture in our room.” 2:15 pm : Search for paint and brush. 2:30 pm Start painting! All of those other steps of documenting never occur! Hope this helps!
Again – my thanks for this info! It will be a huge project since I first have to sand, prime and paint my set that is now 1980’s pine with lots of knots!
I hope to start on this project this weekend!!
Who knows – I may end up with a new bedroom set if I mess this up! 😉
Author
I hear you about the knots – I did not do such great prep before painting our oak beadboard in the main bath – oy! Happy painting this weekend, friend, and great attitude to cover all the bases! 🙂
I love the natural look of the wood. Are they unstained? How did you finish them? We’ve bought alder doors and I’d like to keep a raw wood look, maybe with wax…? Also, your black egg knobs inspired me to buy the same style for our doors! Thanks so much!
Author
Yes – we didn’t stain the doors. They’re finished with a matte sealer only. We would have liked a less amber look, but now that we have lived with them, I love the warmth and they don’t seem out of place. I’m so glad you like the knobs – we still love the hand feel and the vintage look. Thanks so much for your kind words.
This beautiful post showed up while looking for ideas on painting my bedroom furniture. Did you strip first? Your room is beautiful! I’m inspired to strip my alderwood kitchen cabinets of their dark walnut stain!
Author
Hi Jackie! So happy to have you here. No stripping or much thinking at all – it was sort of an impulsive project. I thinned BM Revere Pewter with water and brushed on a light coat so the antique white (a very yellow color) glowed through a little. I still love it. I think I still would have loved it too if I had just painted it solidly since I hated the yellowy color. Let me know if you decide to strip your cabinets – big fan here of rustic alder!
Hello, What stain color are the doors? Did you finish them yourself?
Looks so good! We are in the process of building a house. So many decisions!!
Author
Hi there. We didn’t stain them – just a coat or two of clear poly. We like the natural look, and years later we still love these doors!
Love it! So peaceful and calm.
I’m not sure I saw anywhere in the blog the mention of your bedroom lamps. Thx
Author
Thanks so much! They are Parisian Iron Gate lamps from RH, discontinued. I topped them with rectangular linen shades lined in gold so they impart a nice golden glow. 🙂
wowww!! The care they took with every detail of the room is impressive! painting with calm colors and perfect decoration! Nice projetc, congratulations!
Author
🙂