Timeless and tranquil interior design is my favorite and the primary focus of this blog, but it takes a whole lotta noise, labor, dust, and even chaos at times to arrive at those peaceful interiors that bring comfort to the everyday. Peaceful Interiors: DIY Essential Tools is a look at some of the goodness in our toolbox.

“Wish that sugarplum fairy would put more POWER TOOLS and tips for DUST BUSTING on her sweet little blog.”
– said no follower of Hello Lovely in the history of visually driven decor inspiration blogs.
Stories about hand sanders and grime removers are a tough sell ’round these parts.
But today’s post is grounded in reality, folks.
Peaceful Interiors: DIY Essential Tools
Renovation tools simply cannot usher us into more peaceful realms of grace the way a white wabi sabi tranquil salon in the English countryside can.
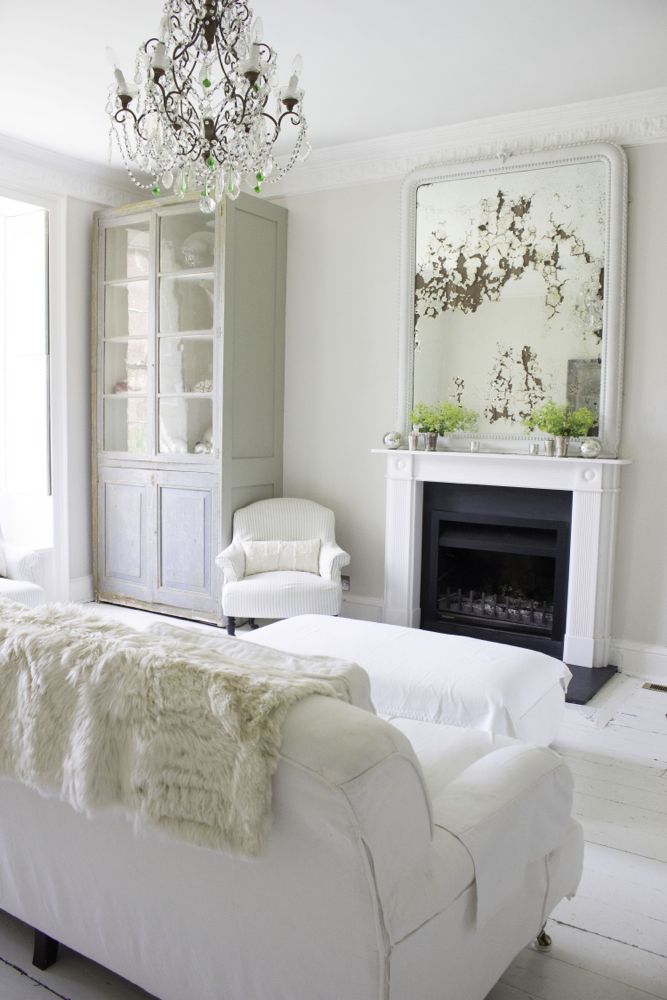
Or can they?
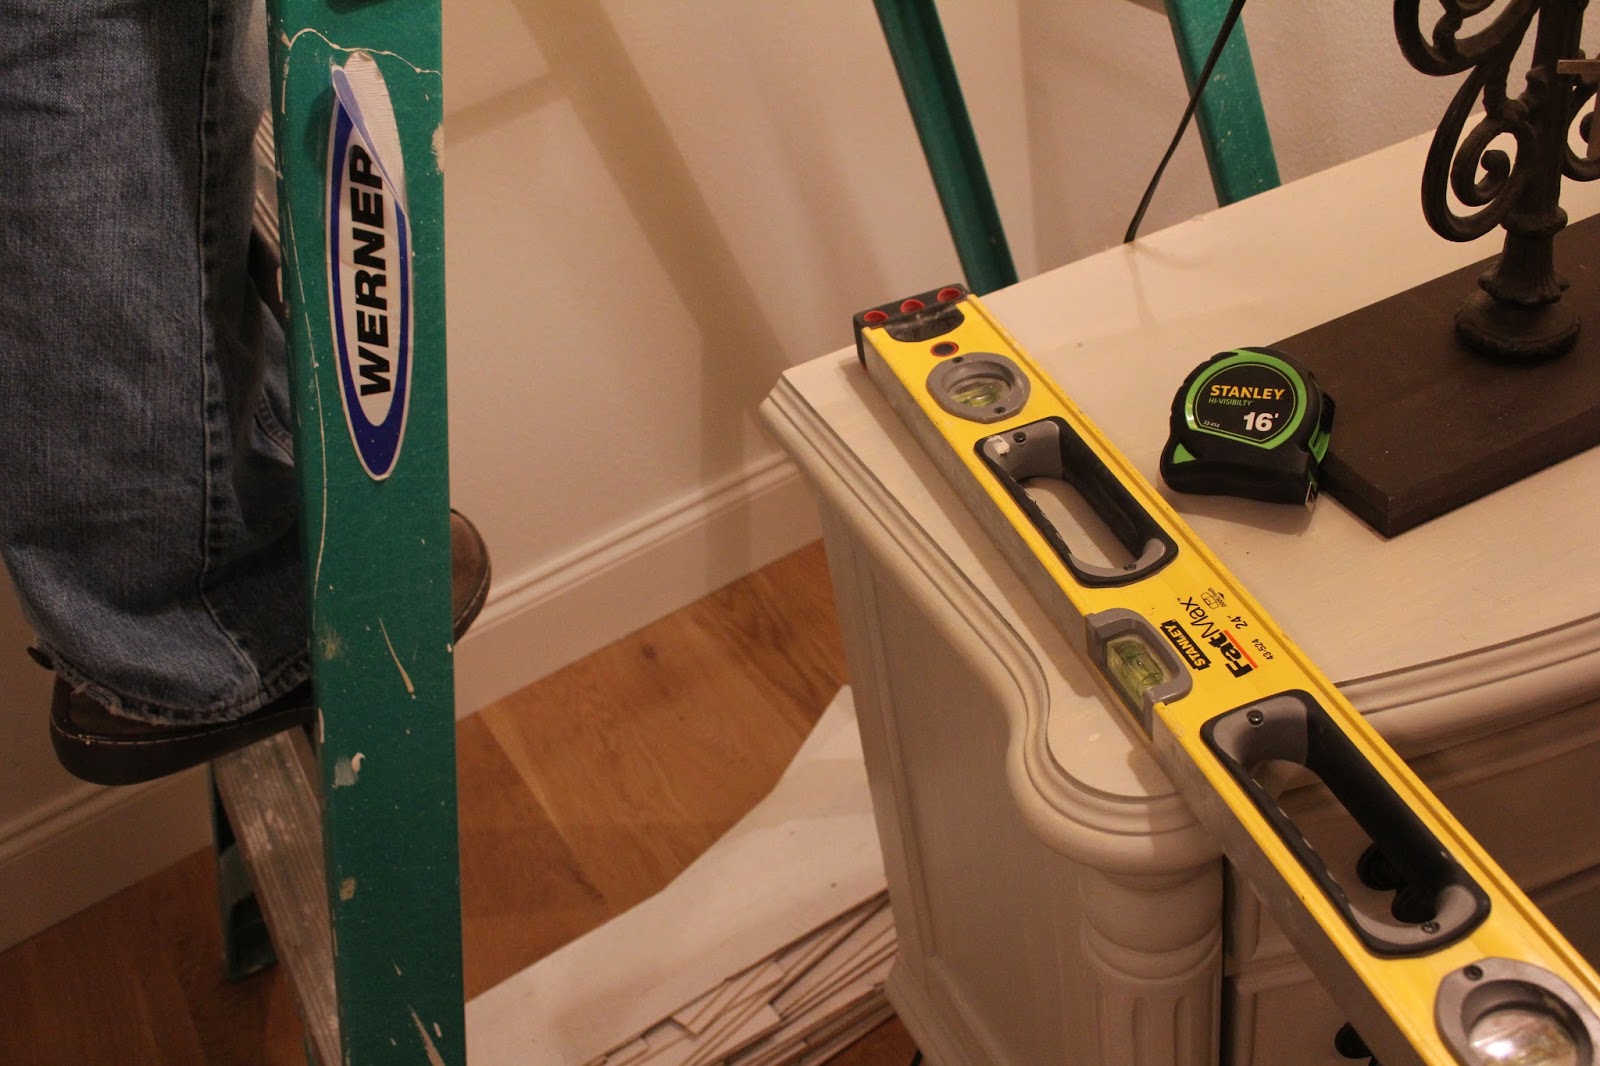
With a dash of creativity and a pretty little pivot, perhaps our divine imaginations may be provoked to see the lovely not merely beyond the noise, but within its music.
And should you be a new kid on the block here, questioning what sort of cuckoo site weaves spiritual metaphors into ‘tools you may need for renovation’ stories, may I just say: welcome, ma cherie.
YOU HAVE ARRIVED.
*giggle and peace fingers*
Welcome to ONE-OFF-WONDERLAND…sprinkled in renovation fairy dust and unexpected LOVELY.
Tools of the trade for this real life renovator? Well, there is one particular standout that gets plugged in but remains quiet.
I need it to shop, for inspiration, how-to’s, video tutorials, and everything Googlewonderful.
I’m a participant in the Amazon Services LLC Associates Program, an affiliate advertising program designed to provide a means for me to earn fees by linking to Amazon.com and affiliated sites.

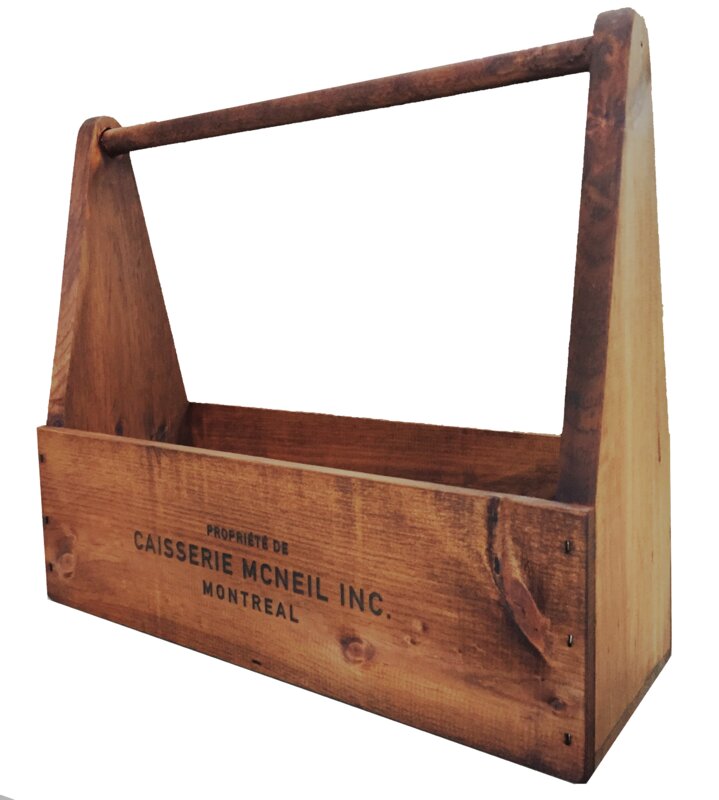
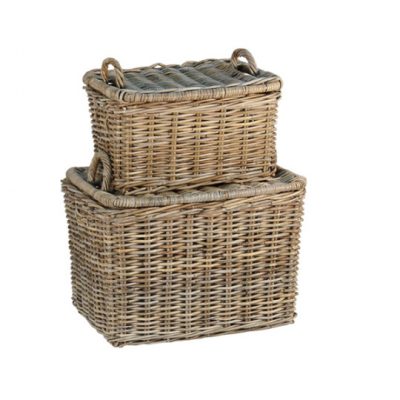
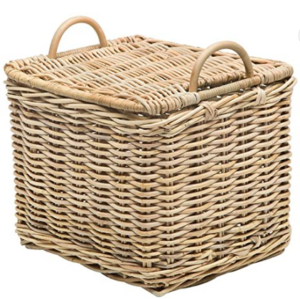
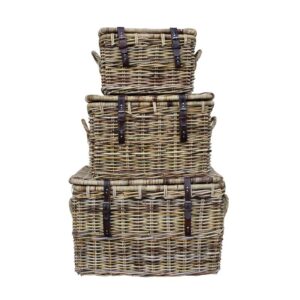
Of course we need a receptacle for tools. How about a new one that looks old…oui?
Let’s explore a few hardworking renovator essentials, whether your poison is a power saw, paint roller, or something pink and pretty.
Pink and pretty? Hmmmm. I approve.
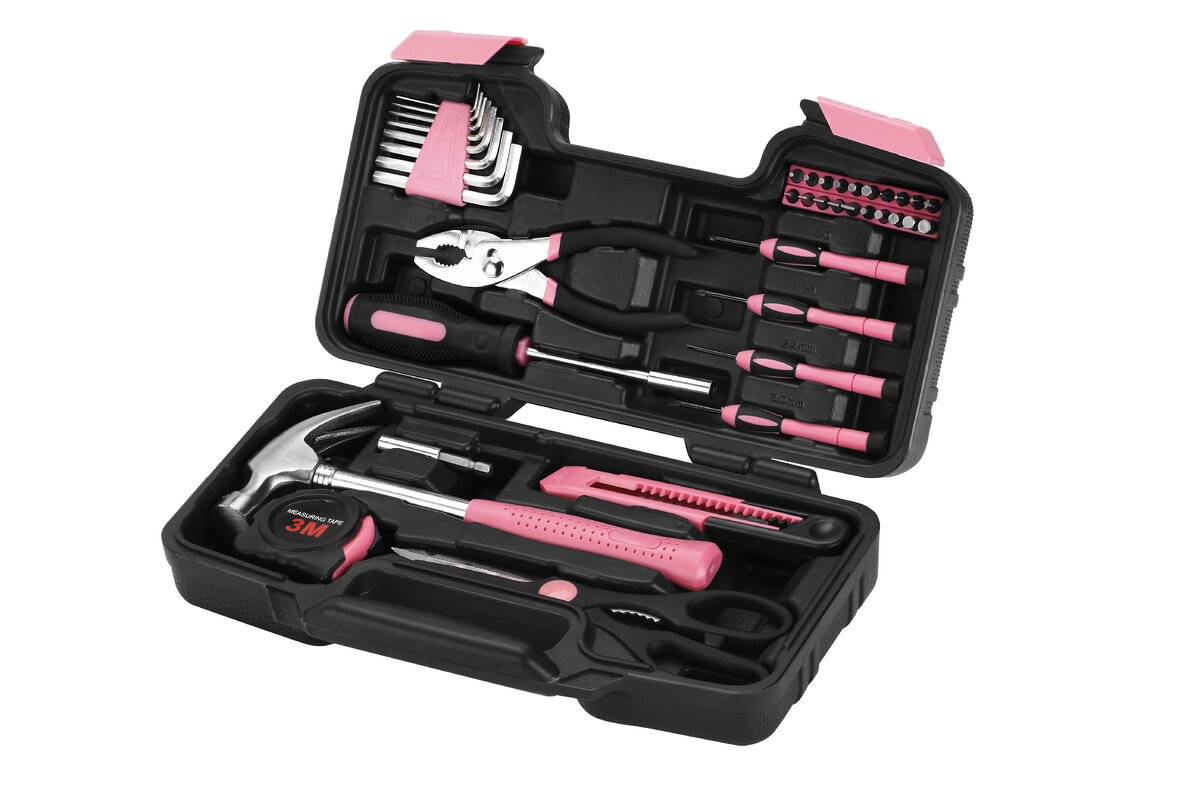
What’s in our toolbox?
1. The usual suspects.
In my own toolbox, you’ll find: a handsome vintage hammer with amazing patina worthy of a devoted blog post, finishing nails, paint color decks, trowels, paint brushes, tape measures, and emergency xanax. But my #1 favorite tool costs about $6 and helps me transform everything…
I LOVE THIS PAINT BRUSH and have been buying them for years. For me, it is inexpensive enough to use even for projects that wreck the bristles by the end. For example, I just painted old wood shutters last week – getting into the louvers and so many rough edges caused the paintbrush to take a beating. However, spray painting these just would not have delivered the look I wanted. You’ll see the painted shutters soon if ever I finish the guest bedrooms here!

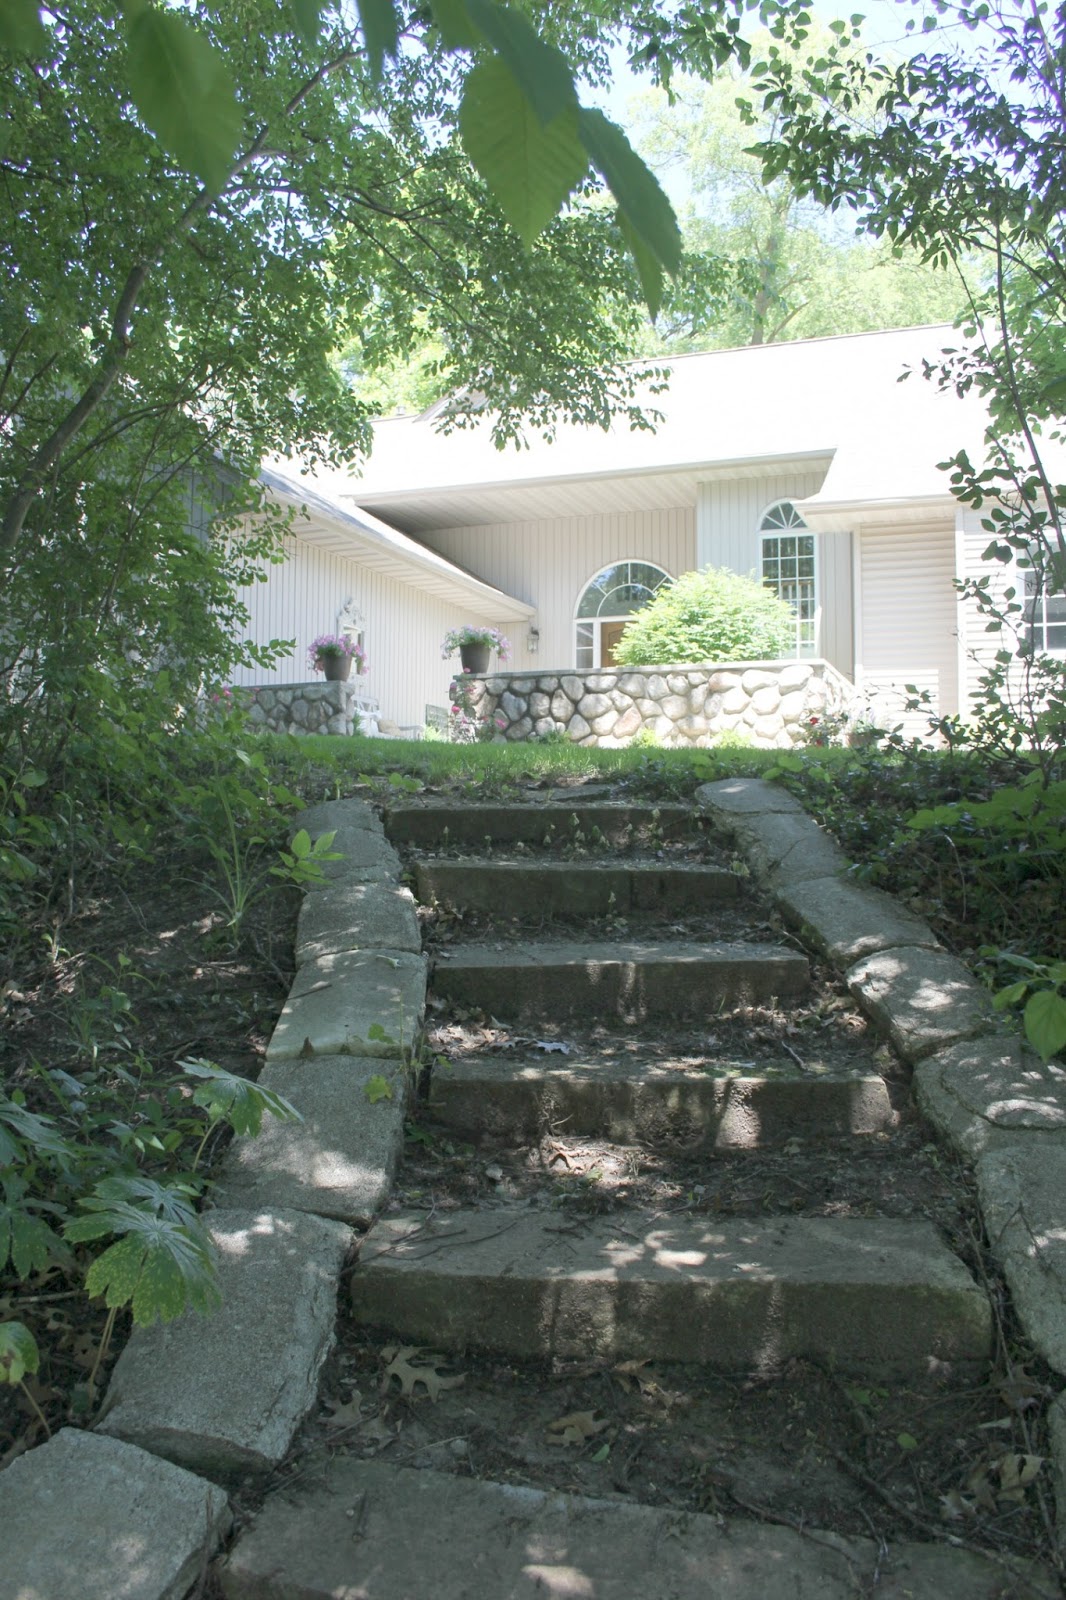
The heavy lifting and most demo is executed by my better half, whose imagination was ignited by our fixer upper which we began tackling in 2015.
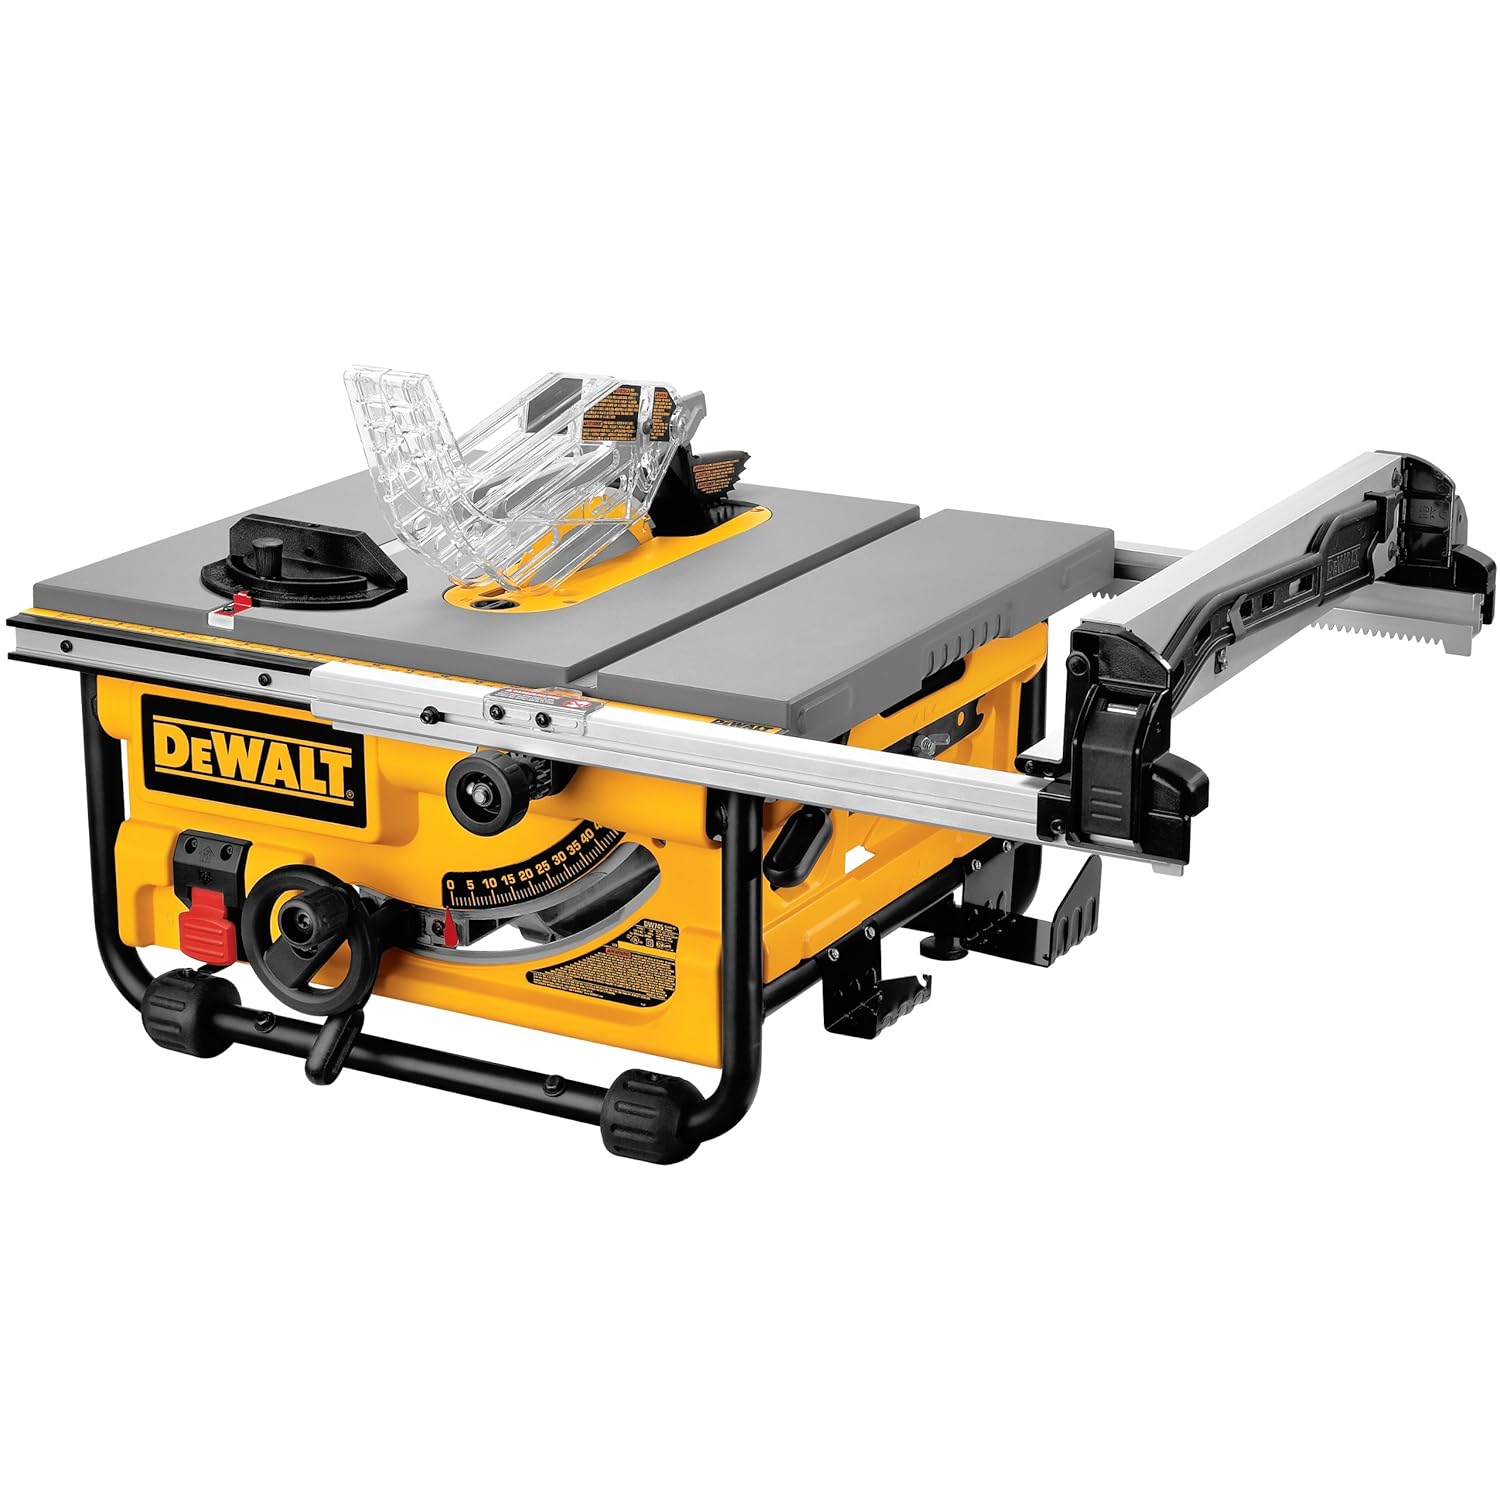
2. DIY Home Essential.
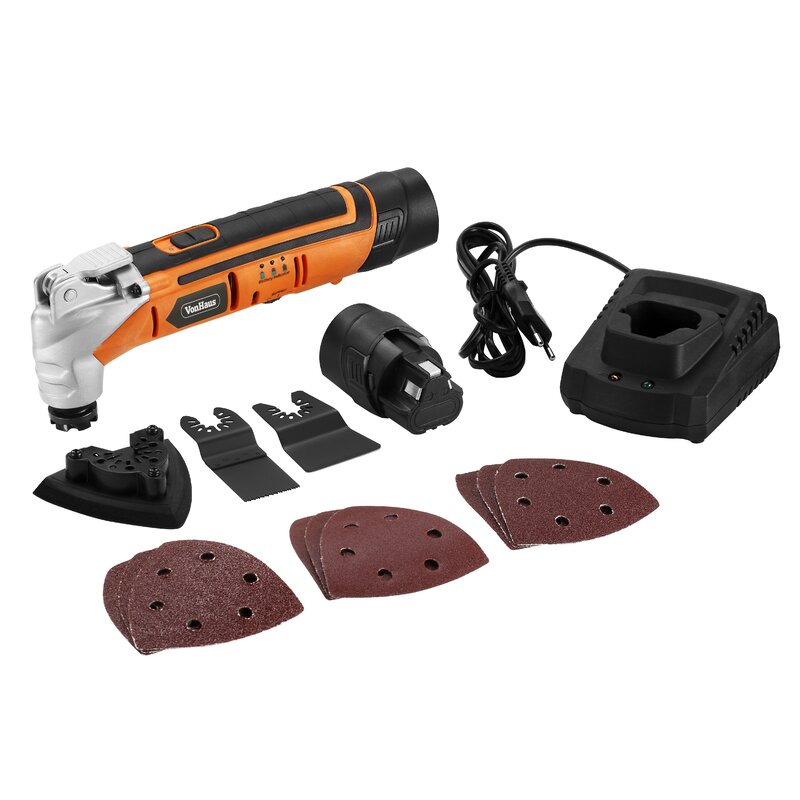
If you need something portable and powerful for ripping and roaring into home improvement, this may cut the mustard.
3. Crew of Housekeepers.
With a whole house DIY renovation, there has been more clean up on aisle three than I can say. Dude. I can’t live without my Dyson and wet/dry vac.


4. Because the right tools save time, sanity, and sore musucles.
The most important tool my husband has turned to for our whole house DIY renovation? Well, a NAIL GUN is key. Here are some other essentials, and if you care to learn about renovation mistakes to avoid, see THIS.


5. Painting Supplies
A paint sprayer saved us so much time when we painted ceilings, garage doors, and a bunch of outdoor furniture. Canvas dropcloths have saved my floors from my clumsy DIY adventuring more times than I can count!


Before & After
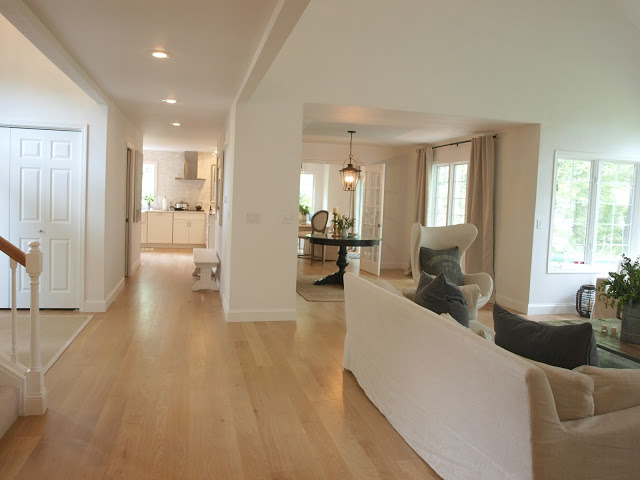
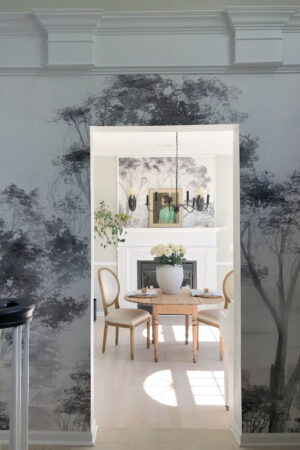
Have a look at what determination, labor, and hardworking tools can bring back to life.
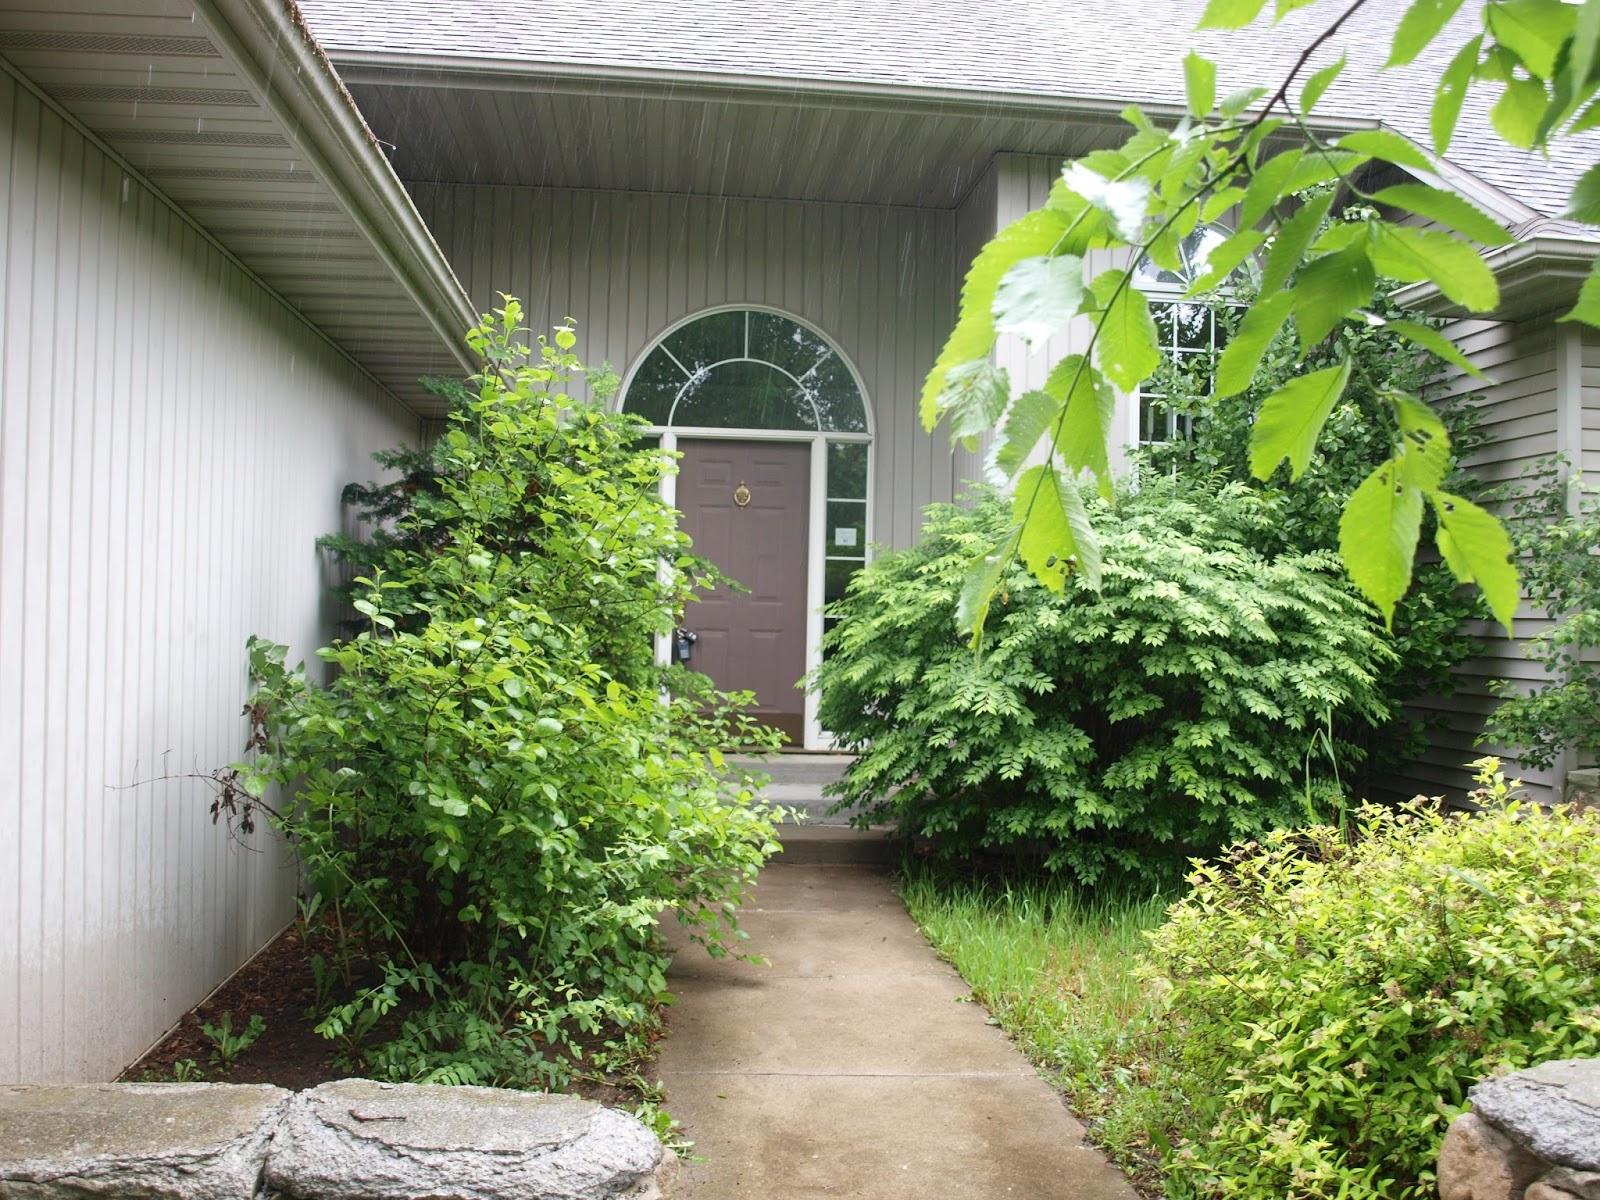
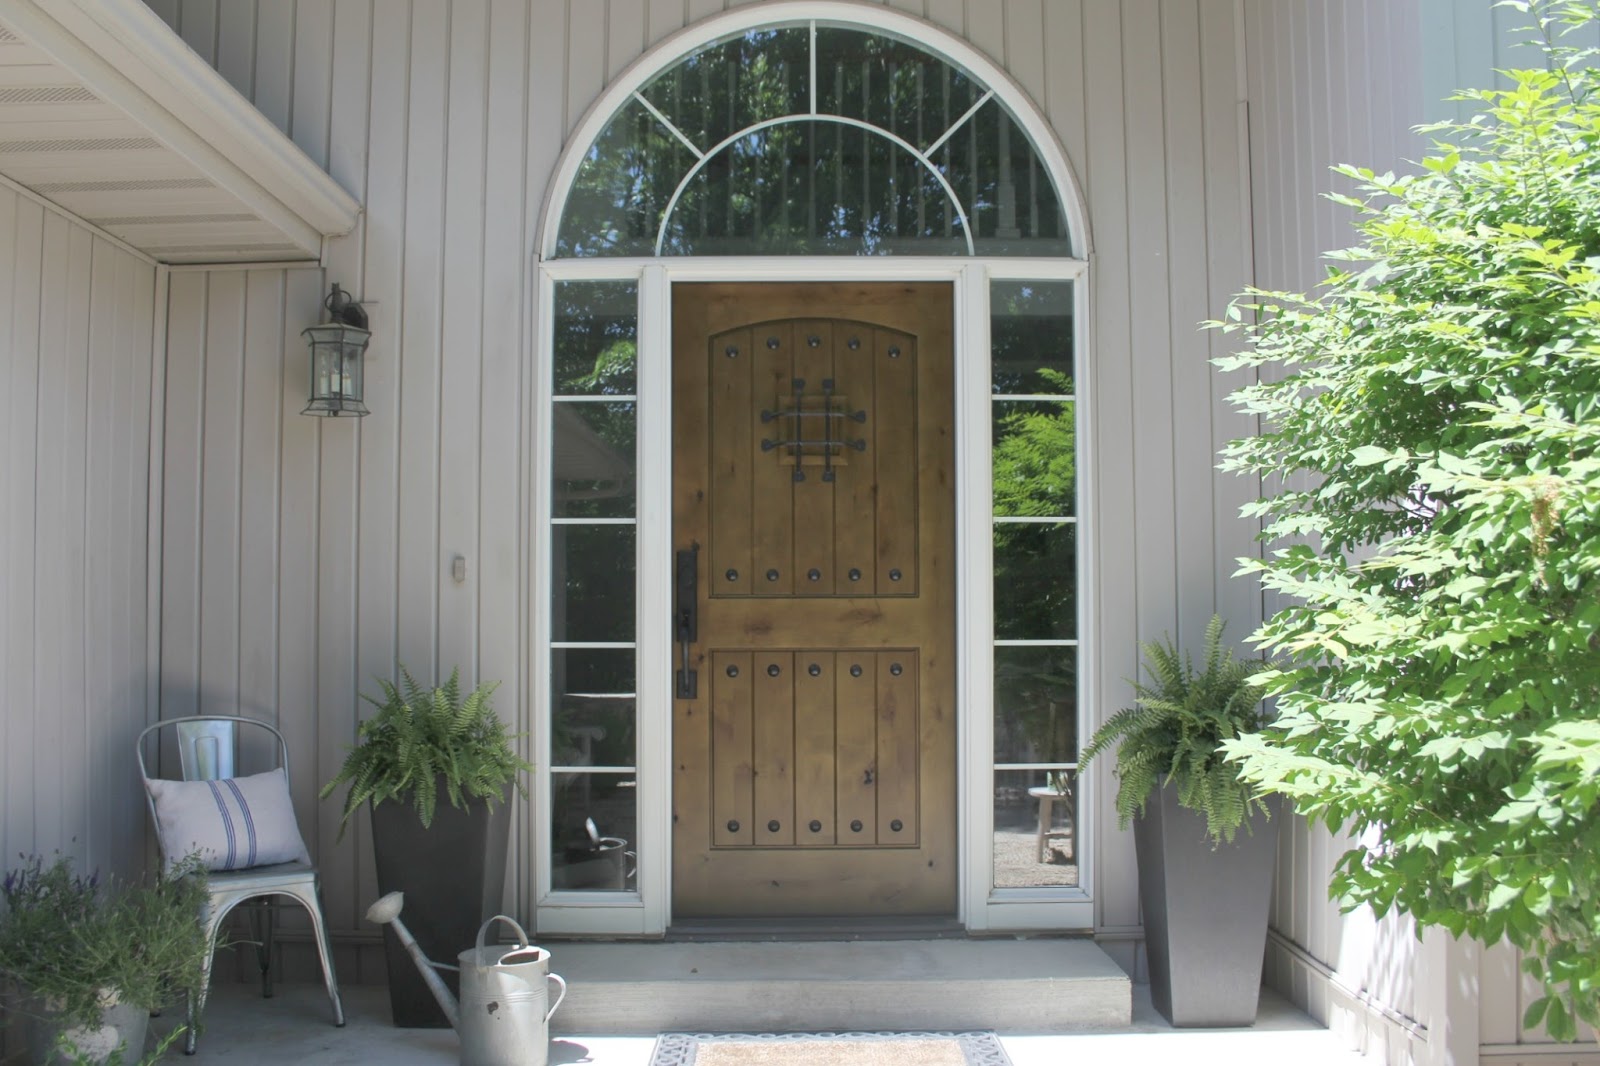
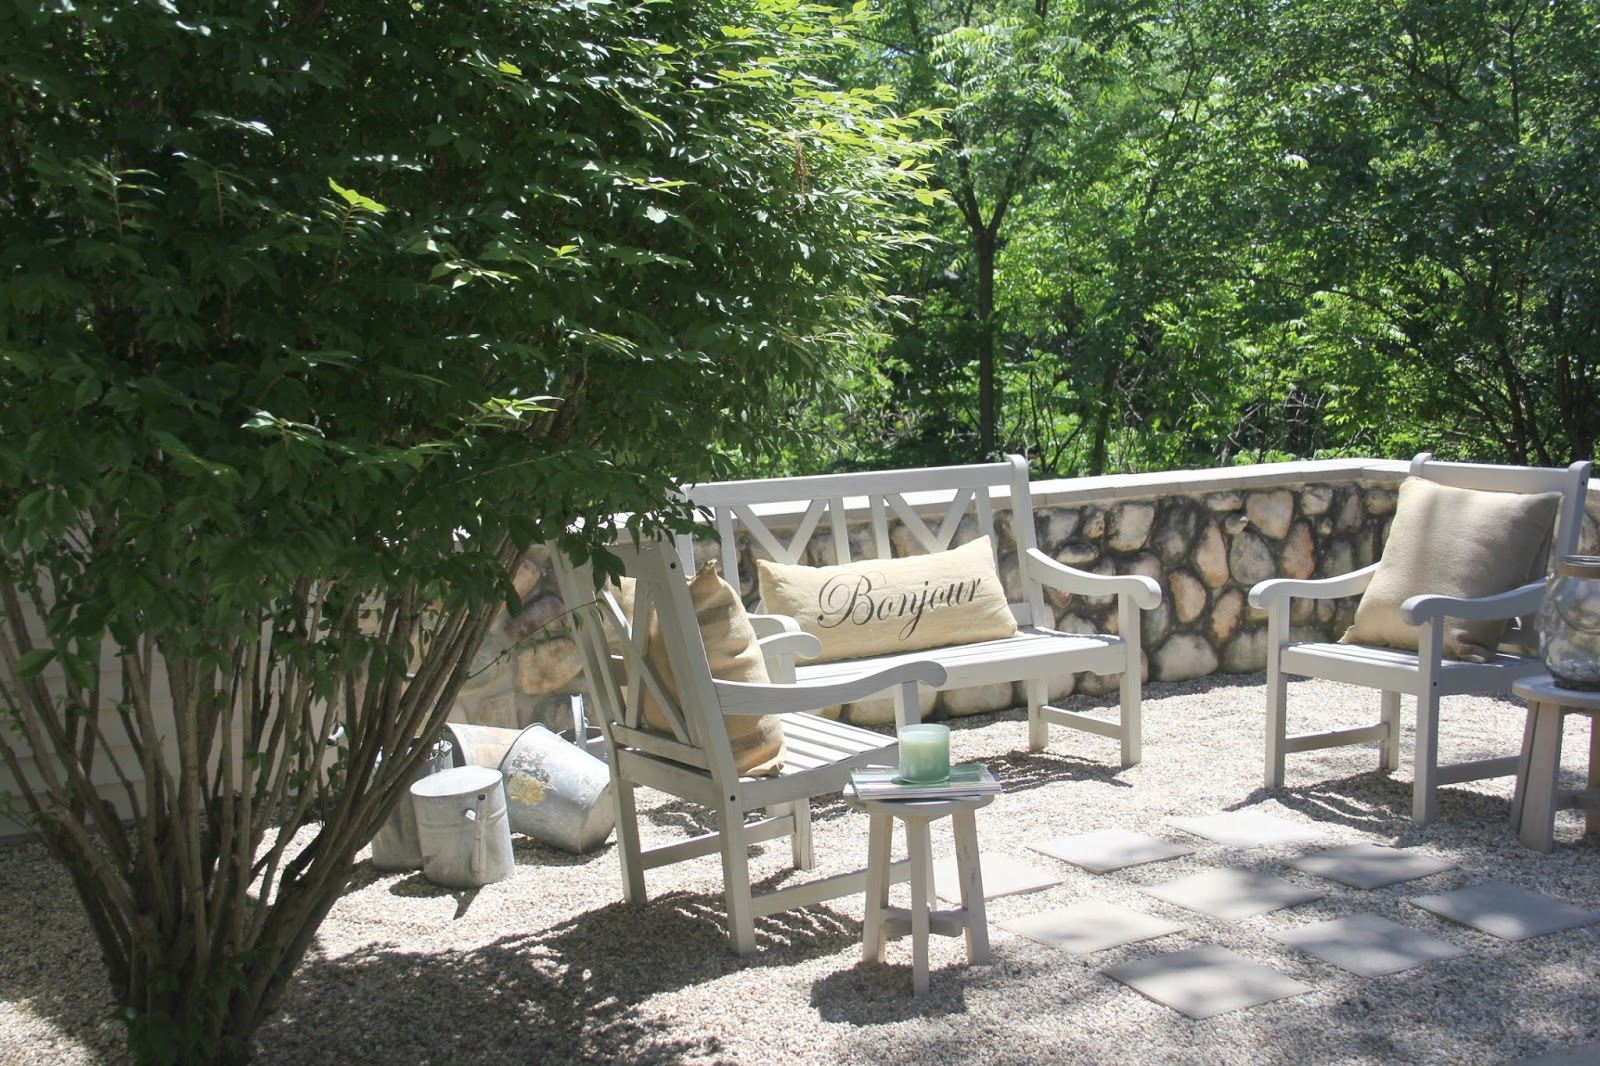
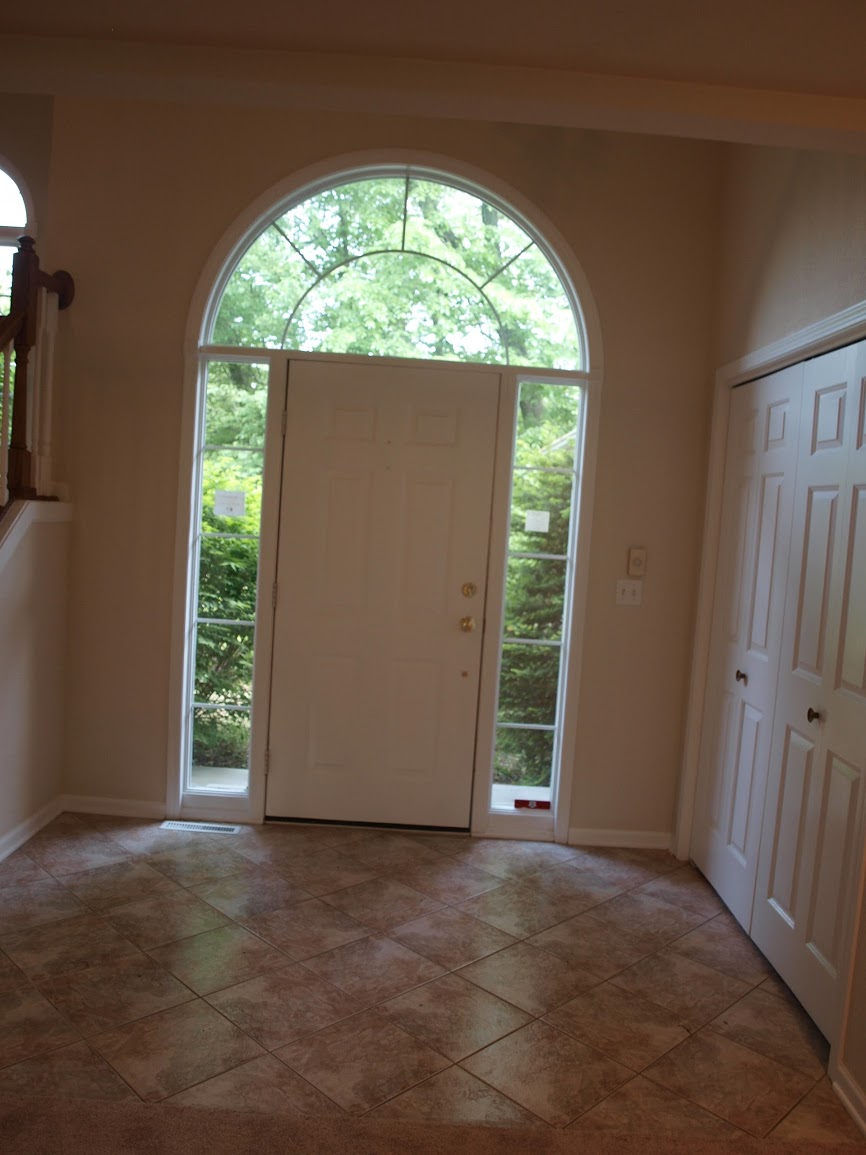

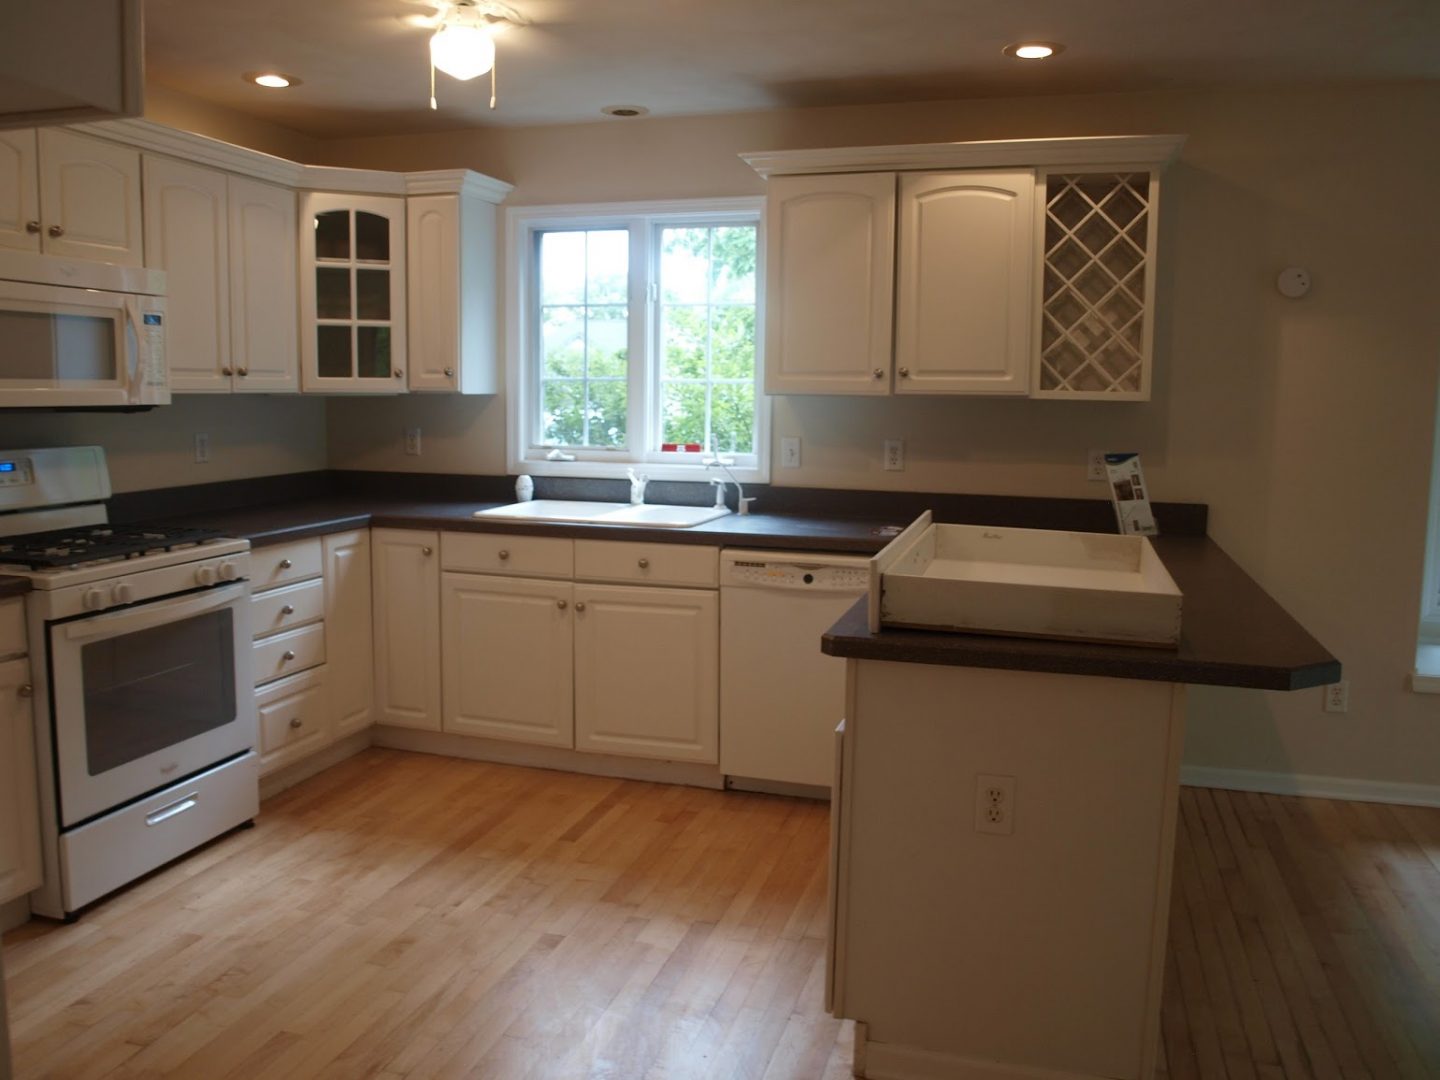
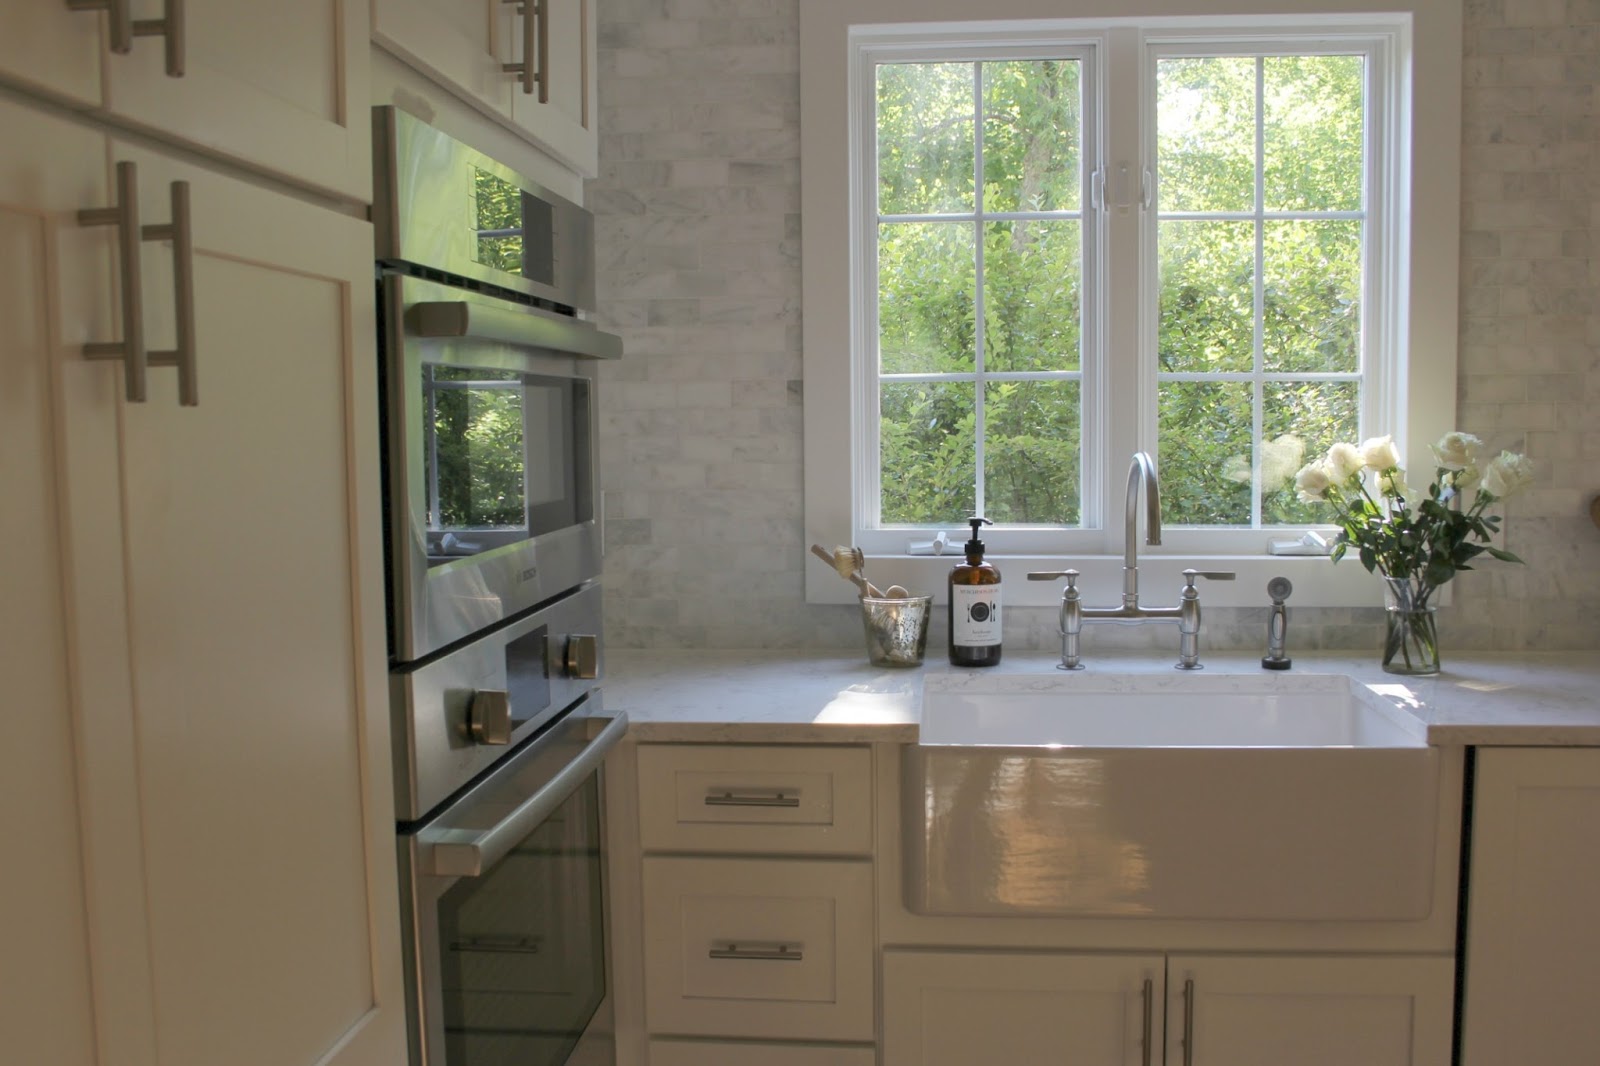
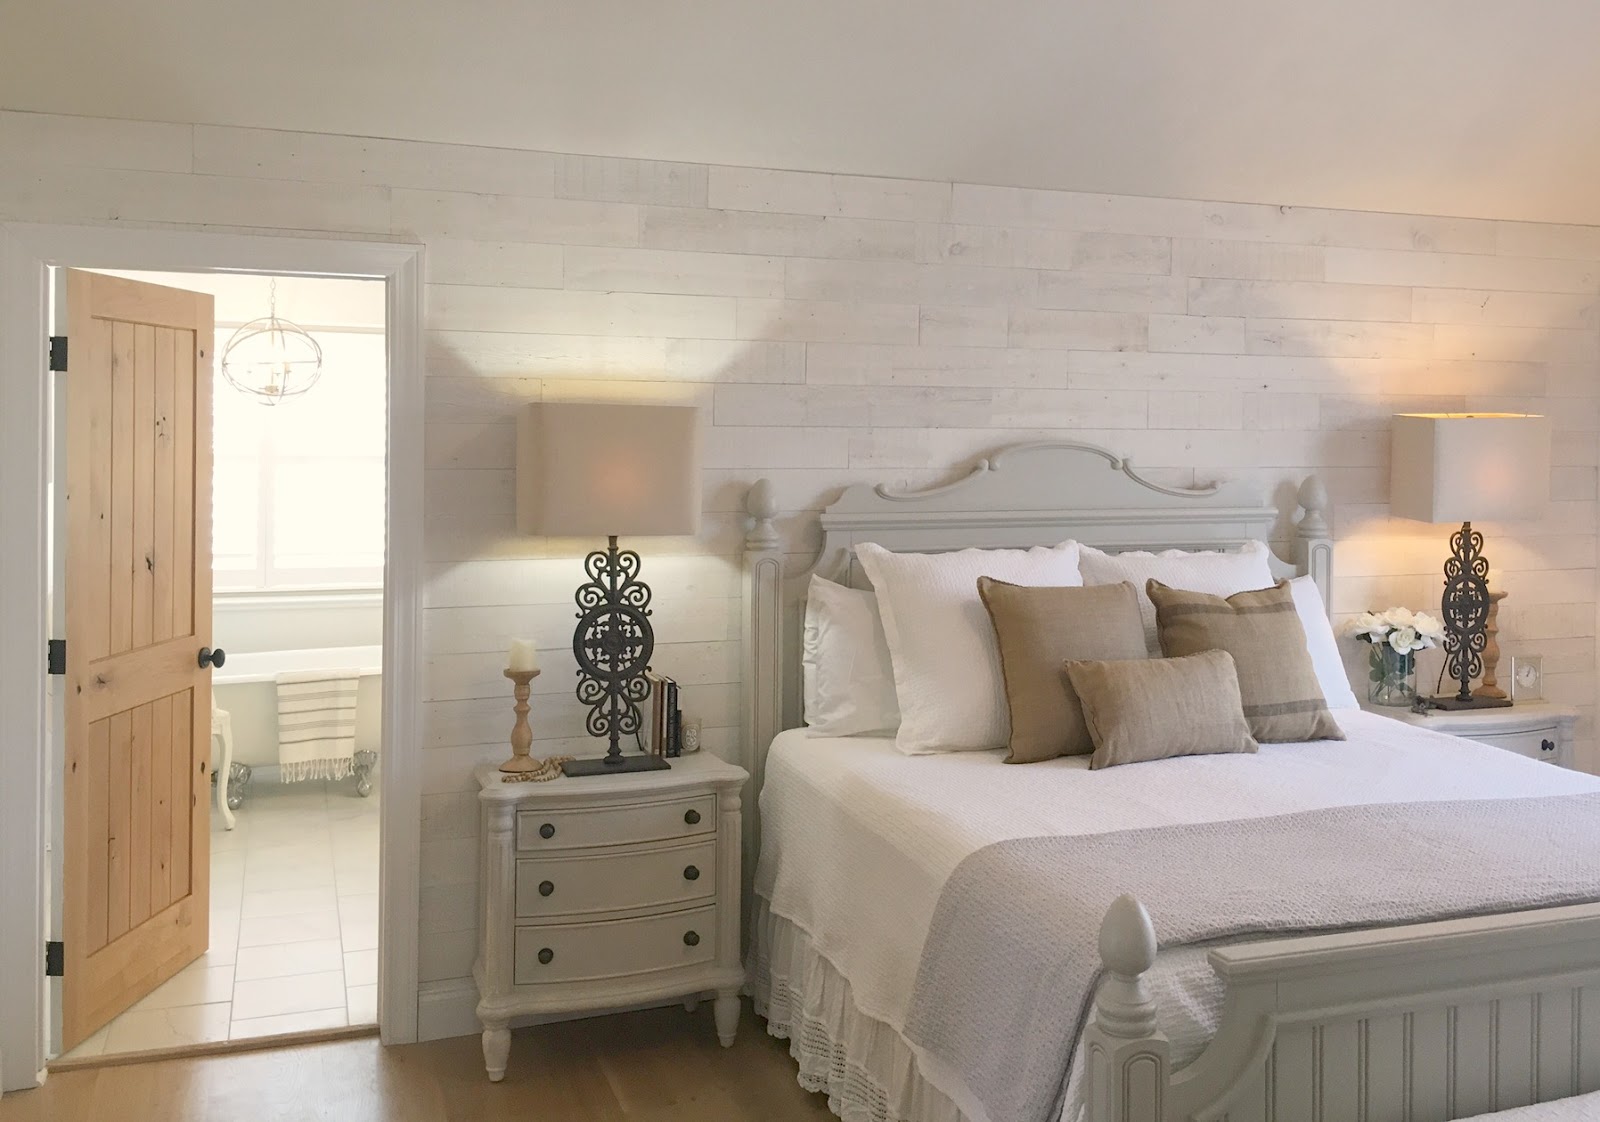
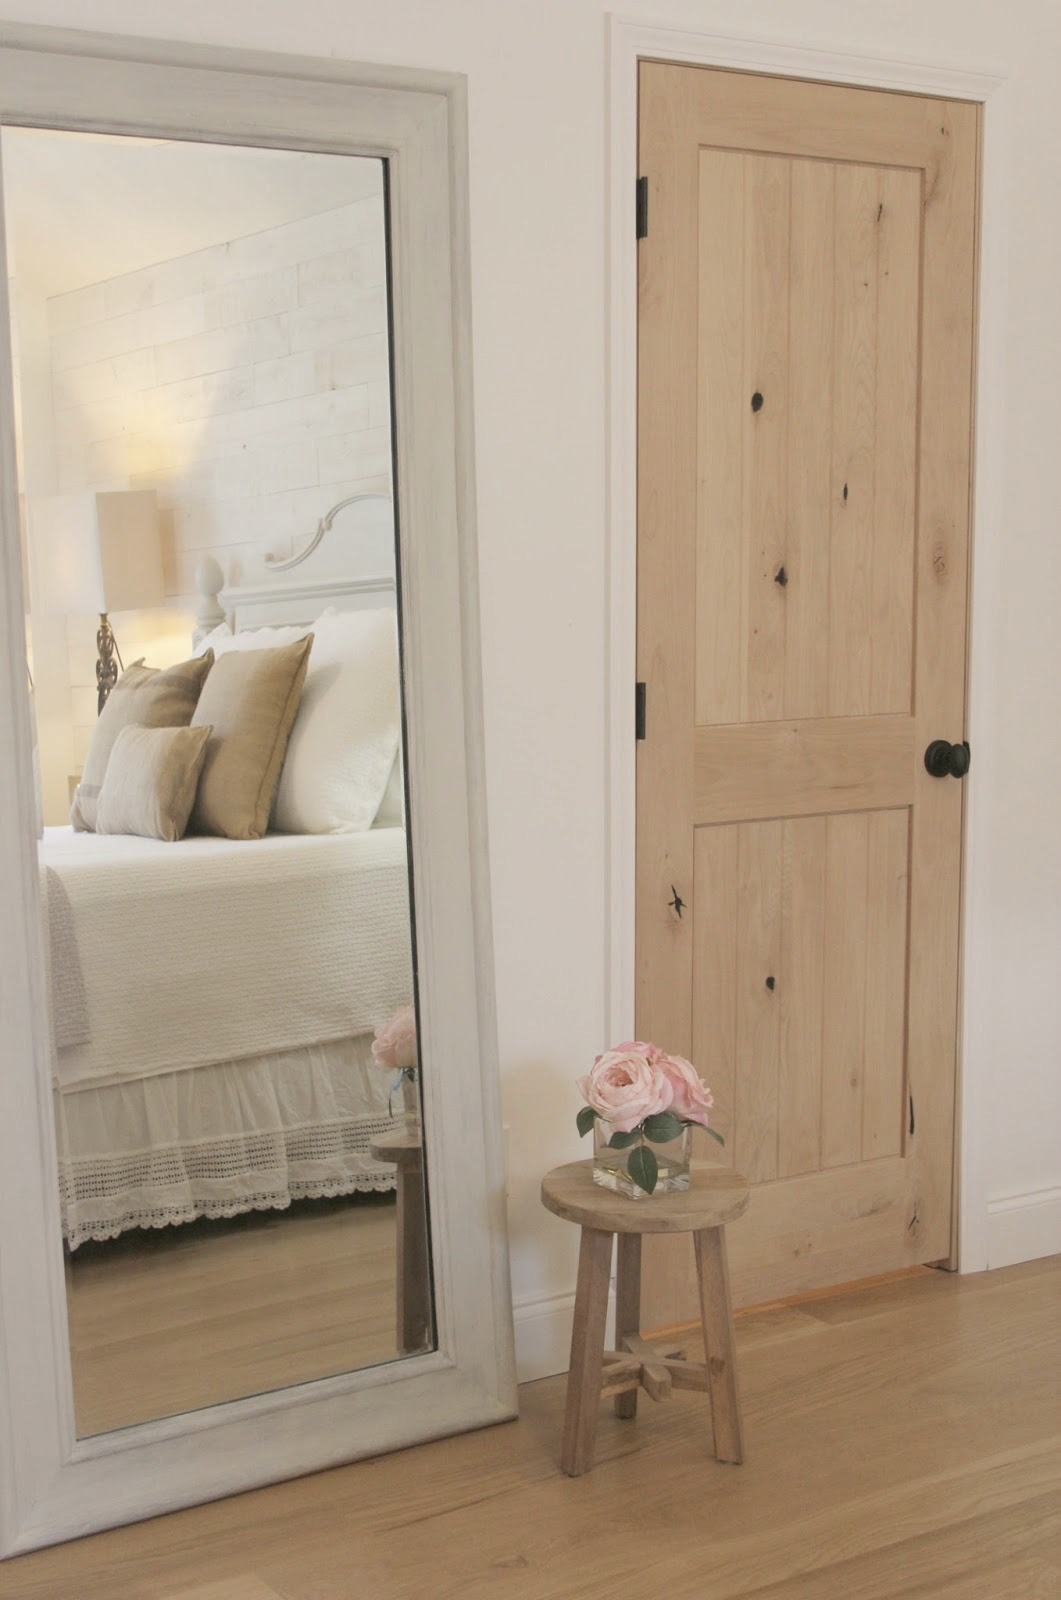
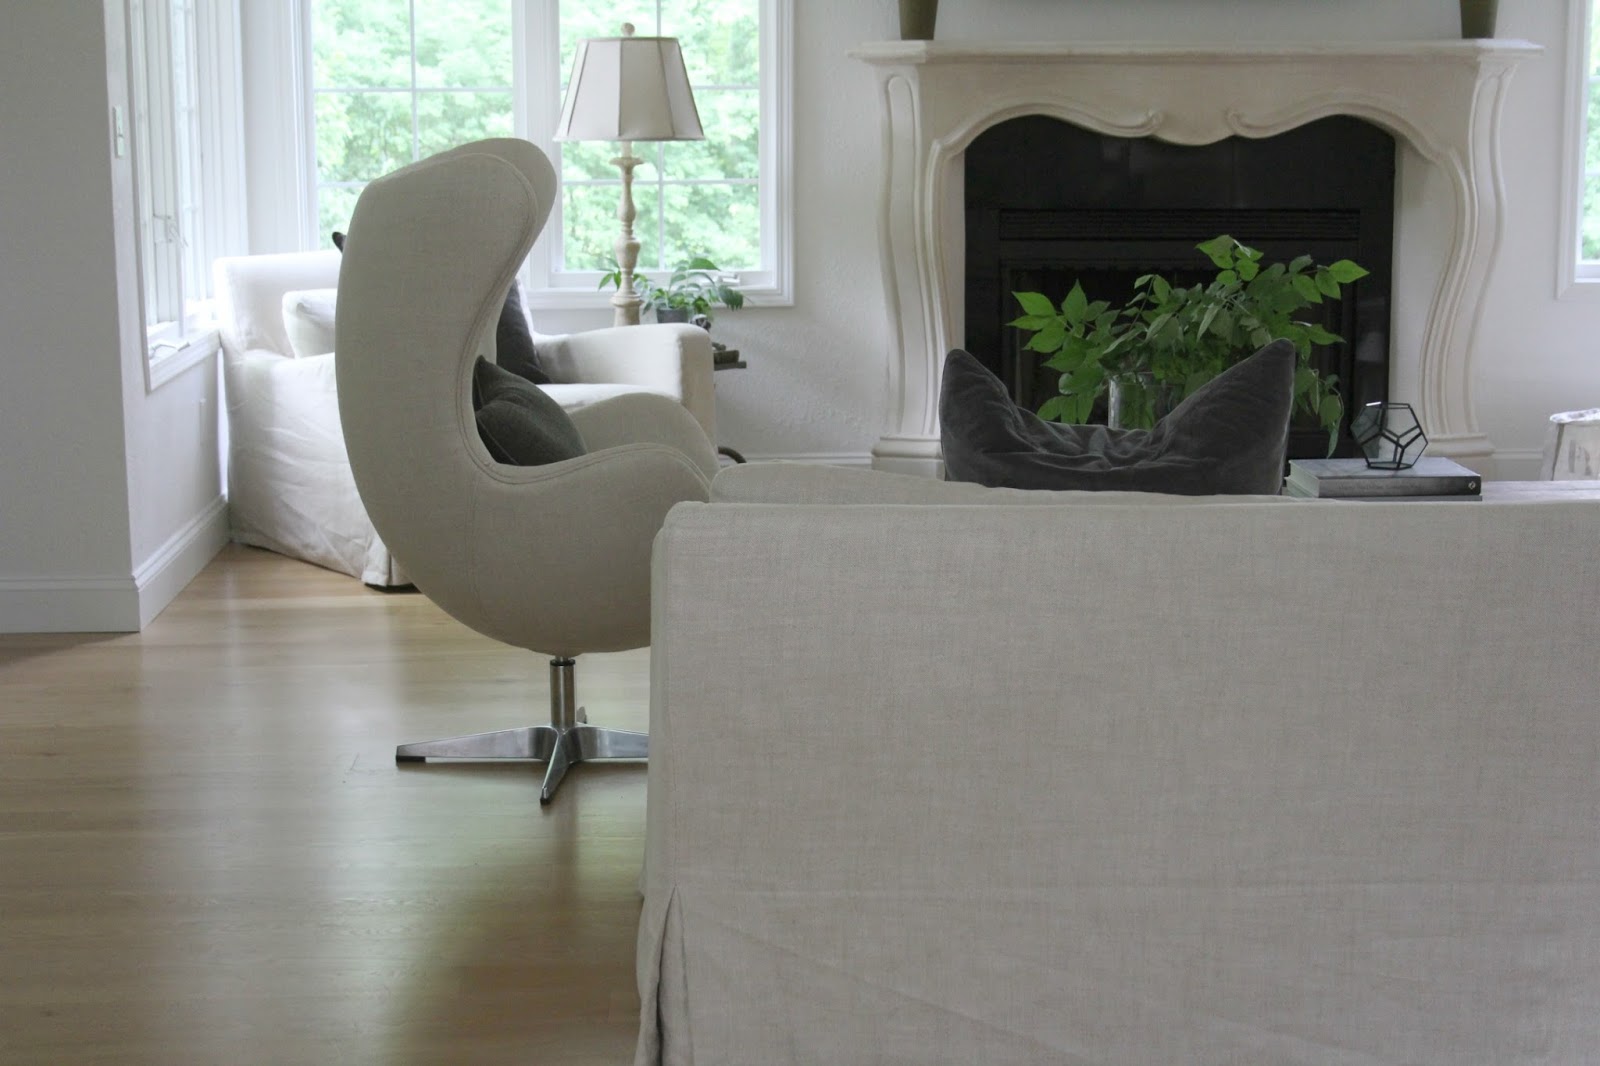
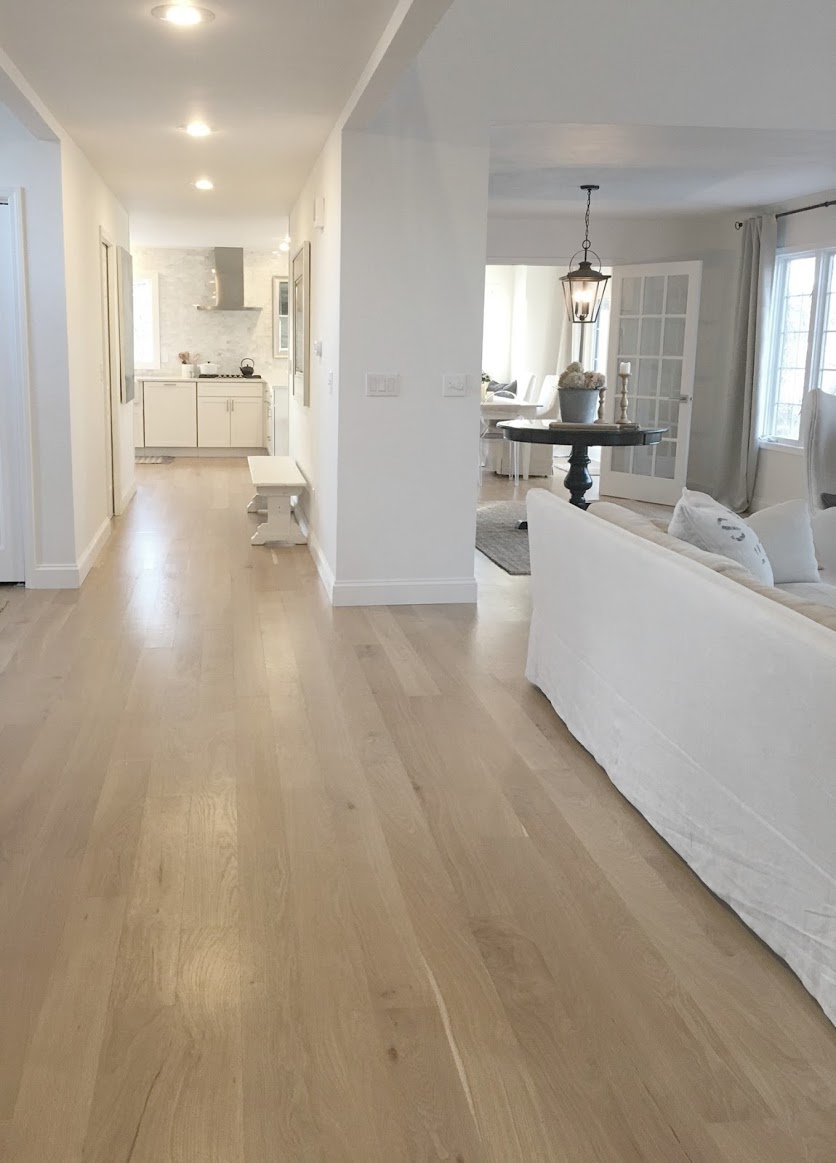
I love looking back at the “before” to remember how far we have come with this place!
HAVE A FAVORITE TOOL ESSENTIAL IN YOUR ARSENAL OF TRICKS??????
See more of our home right here.
I independently selected products in this post—if you buy from one of my links, I may earn a commission.
Peace to you right where you are.
-michele
Shop for items you already intended to buy on Amazon RIGHT HERE, and also find home decor here to keep decor inspiration flowing on Hello Lovely!
Hello Lovely is a participant in the Amazon Services LLC Associates Program, an affiliate advertising program designed to provide a means for sites to earn fees by linking to Amazon.com and affiliated sites.









Hello Michele,
We are in the final stages of our new build.
I’ve learned so much from your Blog.
I have especially enjoyed the techniques you passed on used by Brooke Giannetti.
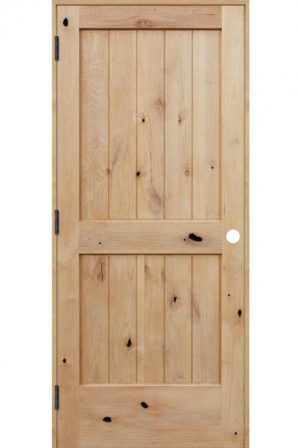
We took your suggestions of using Alder doors to add warmth and character to the interior.
We copied a design from an Antique French Door and used them throughout. The result is stunning! Currently they are in an unfinished state. Could you suggest a finish to protect them without much change to their appearance?
Thank you,
Caroline McCleod
Author
Wow! I am completely intrigued! How exciting to be building! I will have to check with my better half about the finish we used for our own alder doors. It was a painstaking process trying to choose, and I bought all sorts of products and experimented on natural alder wood pieces. What we wanted was to avoid the ambering which you get from any sort of finish. We used a clear, matte finish after deciding that bleaching/greying/whitewashing would be difficult and time consuming as we wanted them all to be uniform. The other factor was how they looked with the existing natural white oak hardwoods. One suggestion I found online but never did try was using a flat clear paint base to which pigments are added to. Apparently, a designer who used such a product was able to get the natural wood finish she desired without a darkened or ambered effect. I’ll circle back when I have the name of the product – but it was probably right off the shelf and a popular brand. 🙂
I would be interested n that product, as well.
Author
Okay! 🙂
Great advice Michele! You have created such a peaceful and inviting sanctuary in your home. Hats off to you!
Author
Thanks so much, Holly. My husband should be taking the reins on posts like these, but I muddle through and try to share some practical info since it is all the stuff hidden under the pretty that demands so much work and thought! 🙂
Oh my gosh, THANK YOU for being a blogger with the guts to show the warts of a remodel/renovation. It’s a messy, unattractive, insane period of time. No one in “Blogland” every shows the glamour of doing the dishes in the bathroom sink for a week while the new kitchen goes in…Blessings to you for being authentic and brave!!!
-Elizabeth
Author
Ha! I don’t know if it’s brave or naive (both taking on a whole house DIY reno and blogging about it!). Thank you for this lovely encouragement – I so appreciate it. xox