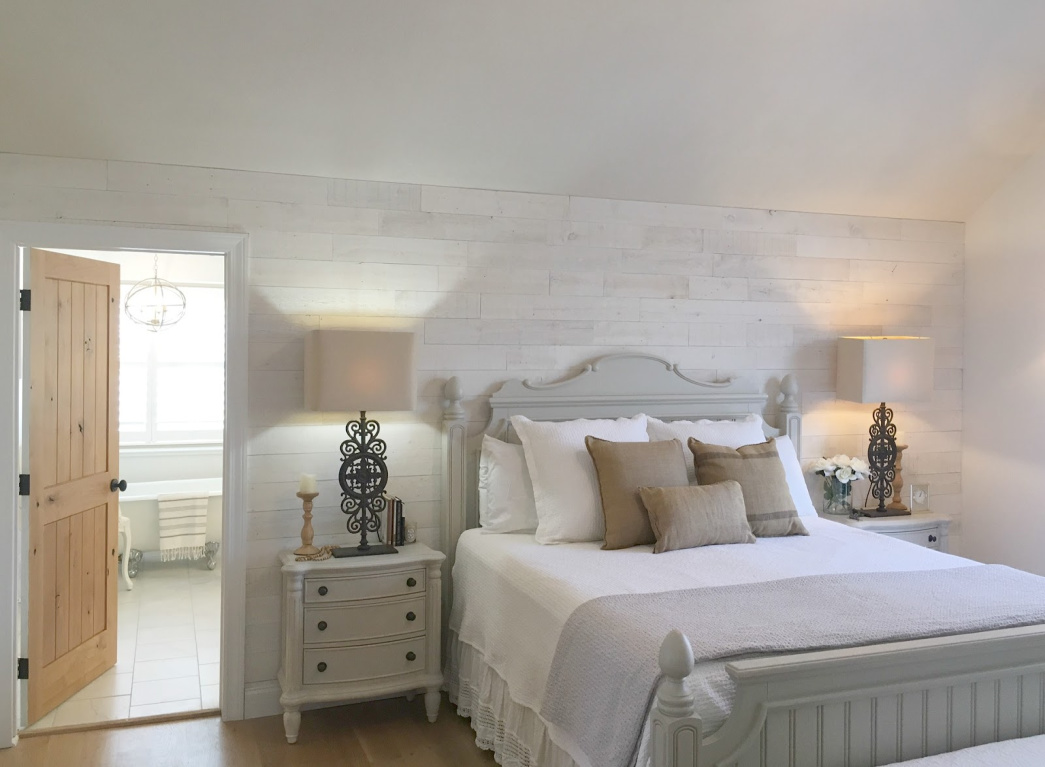
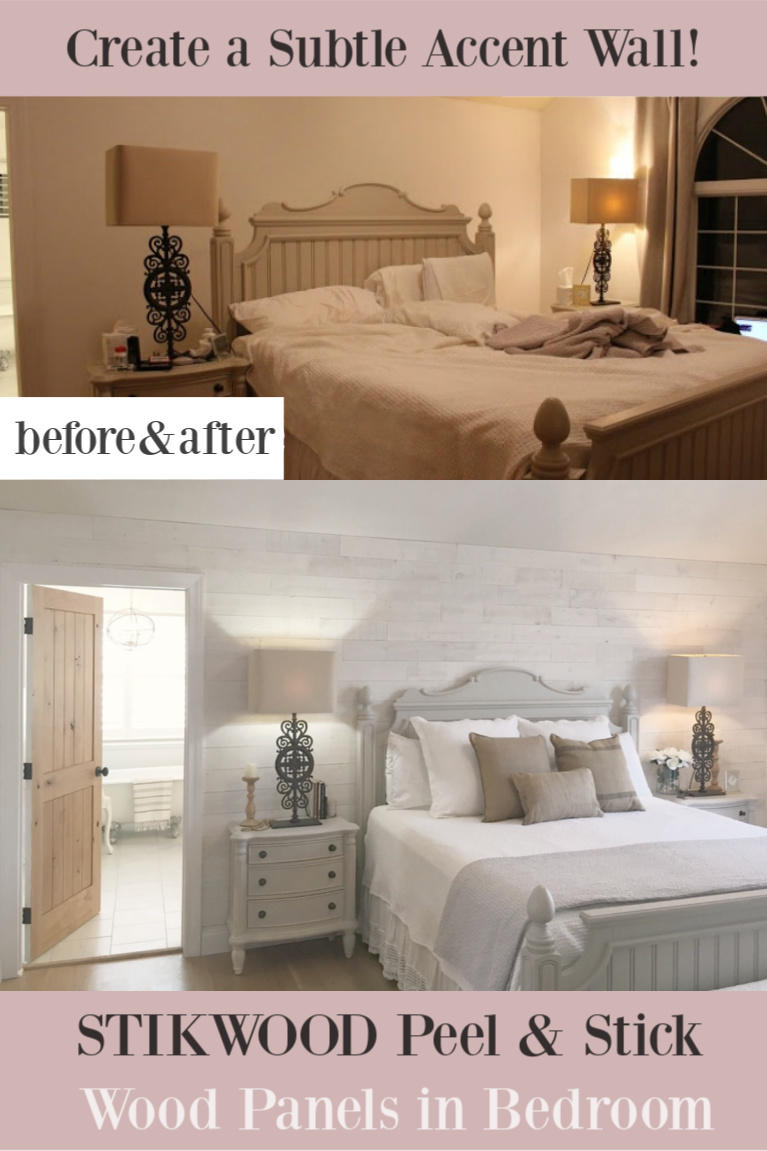
There are before and after decor projects that deliver BIG dramatic “afters,” and then others which bring room-changing, mood-changing more subtle results. This DIY project helped me with two objectives: (1) create tonal texture and (2) cover one hello ugly textured wall. Stikwood Bedroom Wall DIY: Super Easy & Fast illustrates how peel and stick reclaimed wood can transform a rustic elegant bedroom.
I independently selected products in this post—if you buy from one of my links, I may earn a commission.
Stikwood Bedroom Wall DIY: Super Easy & Fast!
Peel and Stick Wood Product Used
Here’s the reclaimed plank peel and stick wood we used for the project: Stikwood Hamptons.
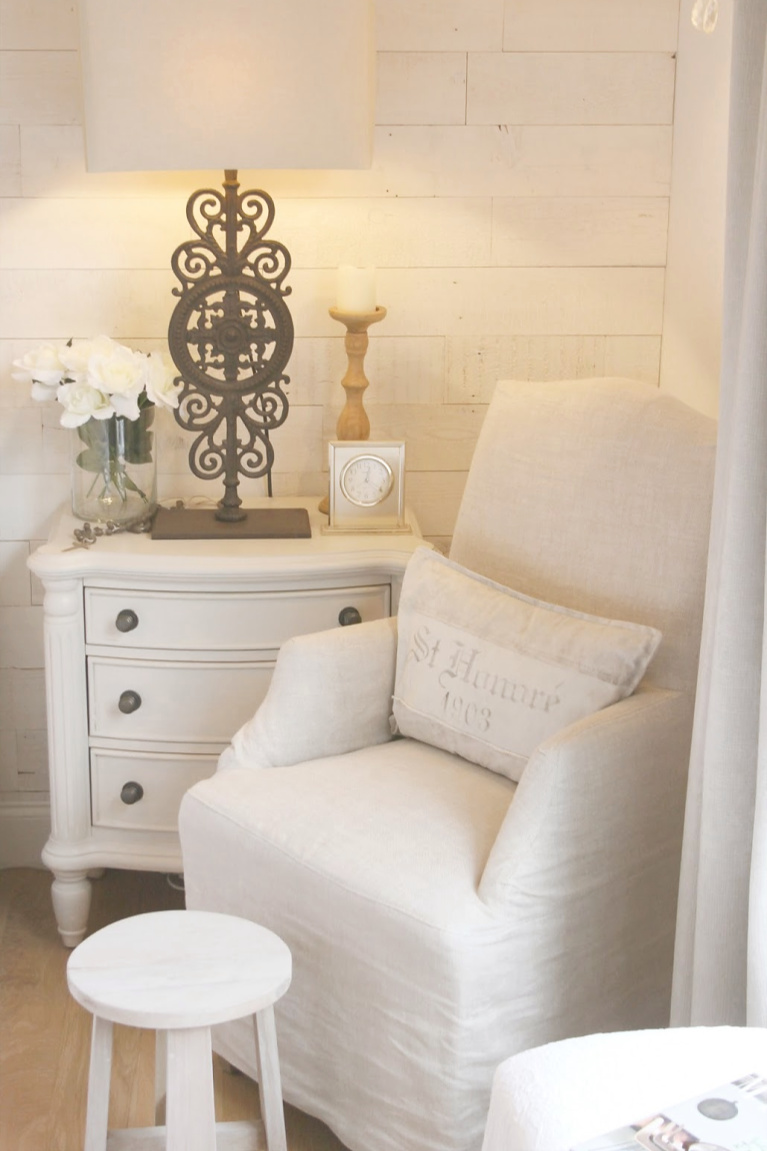
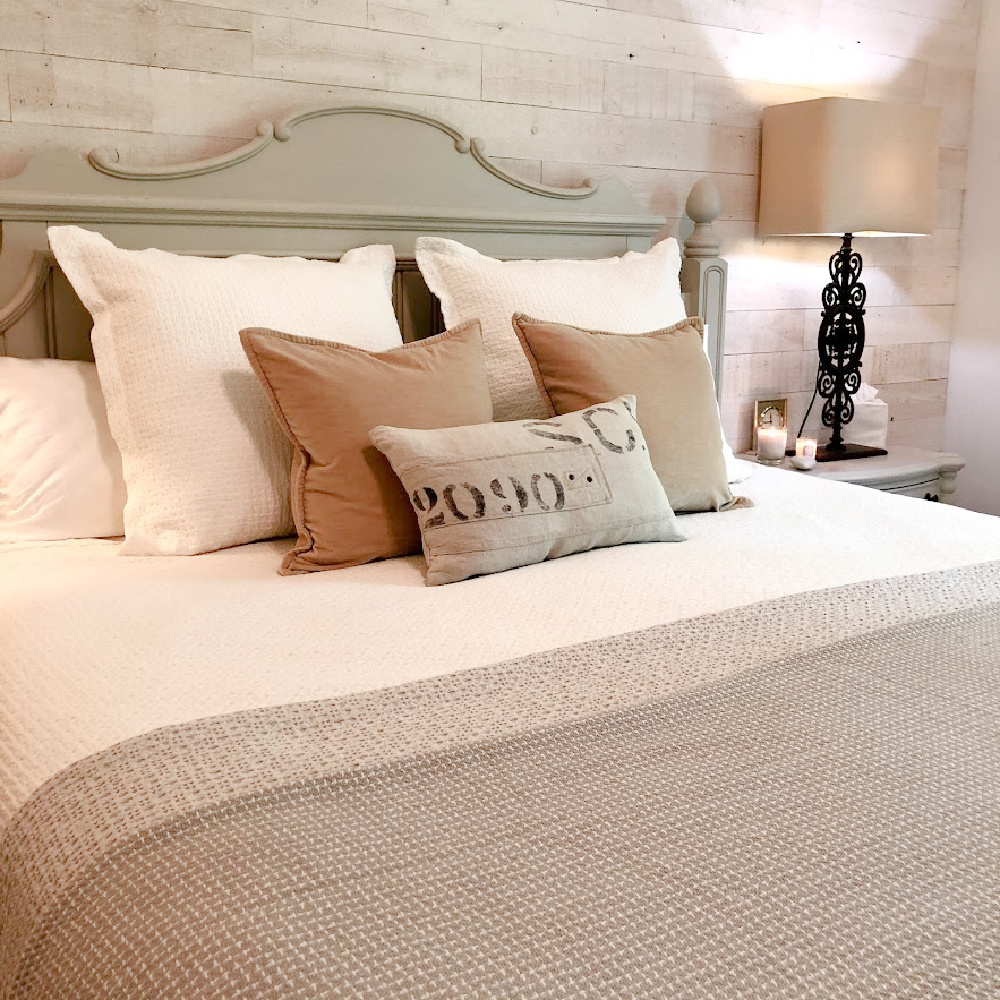
Photos of Stikwood Hamptons Installed
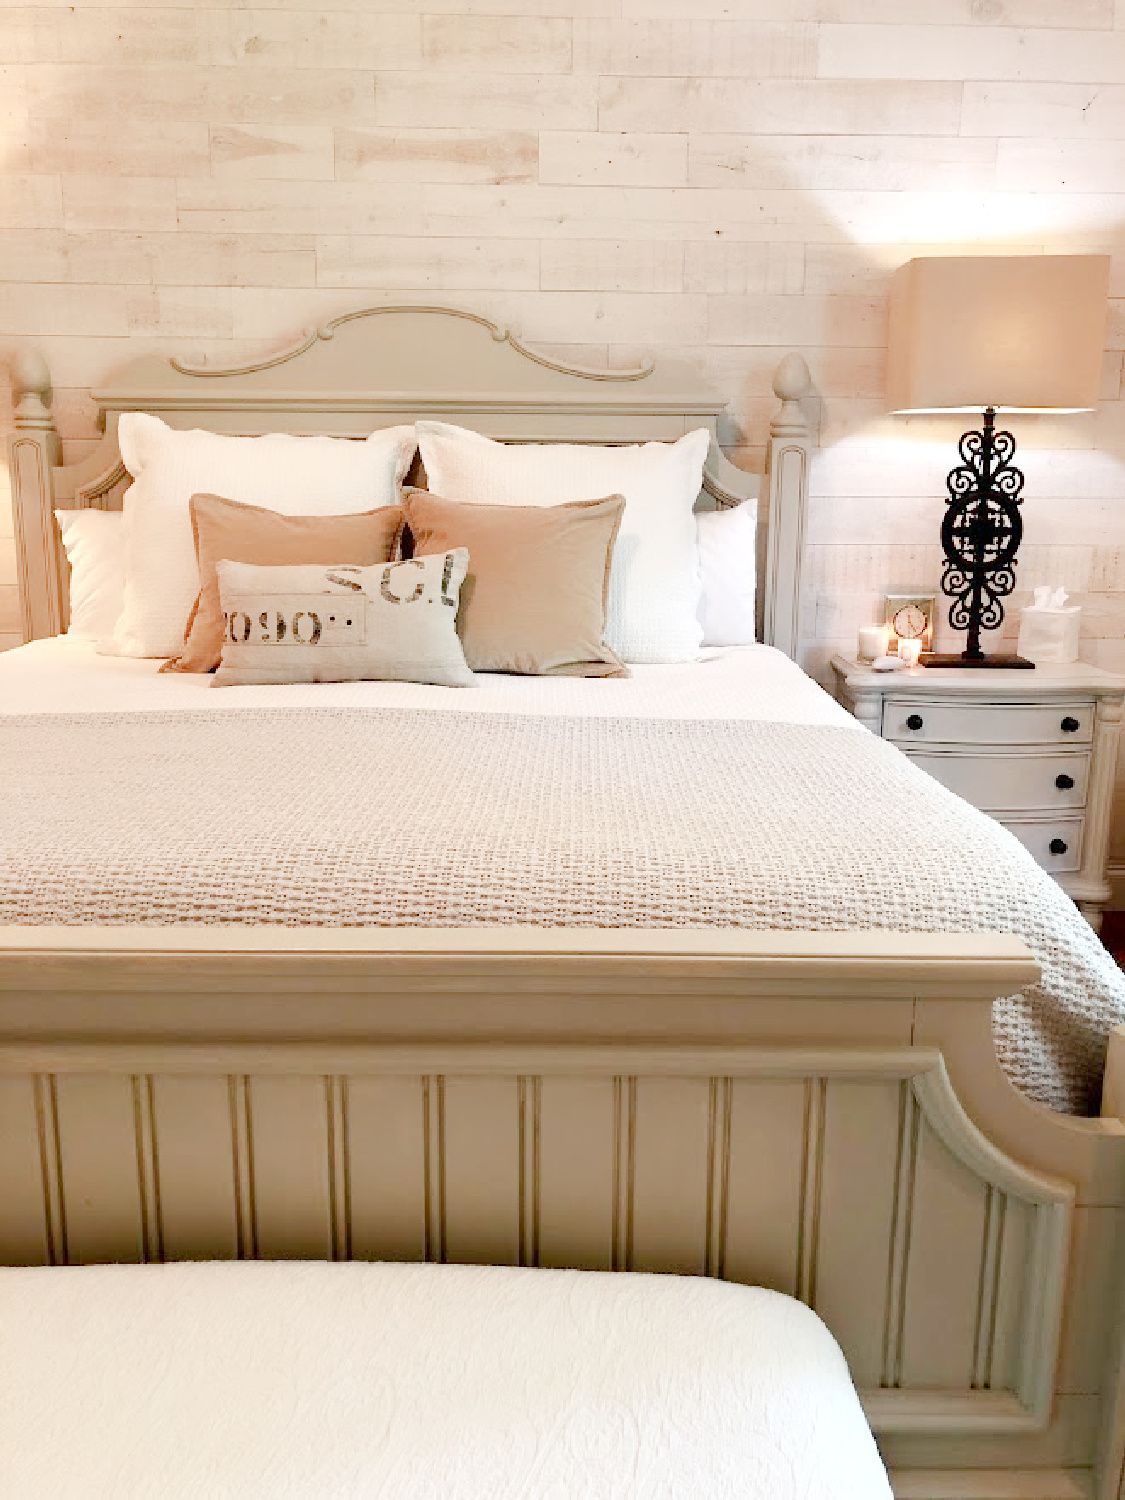
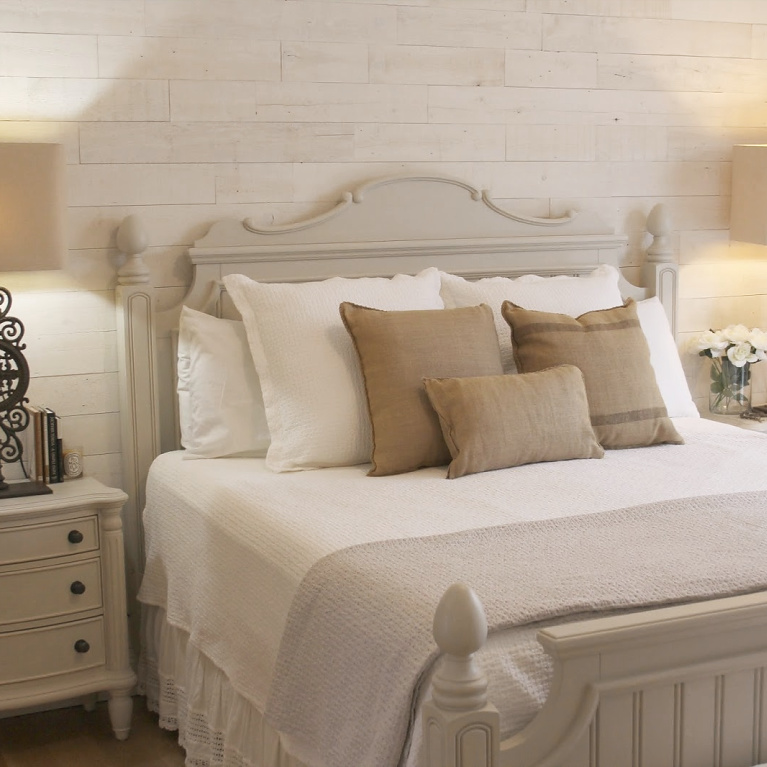
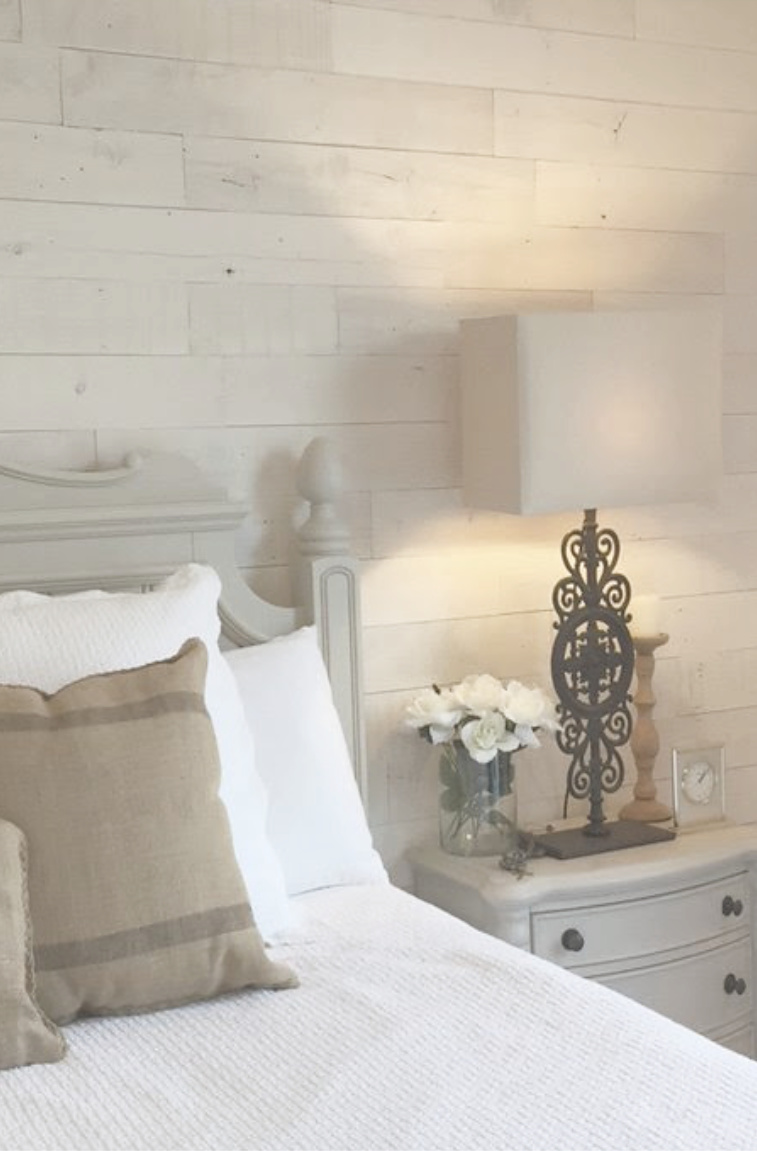
Why We Chose Stikwood for This Statement Wall in the Bedroom
I loved the subtle color of Hamptons and knew I needed serious coverage with shiplap or wood planks or plaster to cover this awful wall. If you have been following this blog, we bought a neglected fixer upper and renovated the whole thing DIY style, entirely ourselves.
Stikwood to the rescue, who provided HAMPTONS (inspired by white sandy beaches) that I knew would be perfect since it imparts a peaceful, quiet, aged-to-perfection lovely.
Hamptons makes a more subtle statement than other wood plank options with its cashmere-y sandy white, understated whispery vibe.
What is Stikwood?
Peel and stick reclaimed wood planks from responsibly managed forests. The product is: made in the USA, lightweight and thin, nearly waste-free, and easy to install. There are gorgeous options for wood finishes, and here’s what you receive when you request samples in the mail.
Why Plank a Statement Wall?
Statement walls are a dreamy solution when you want to add interest or additional architectural interest to a room, but they are also the smart solution when you have a great big ugly wall like ours.
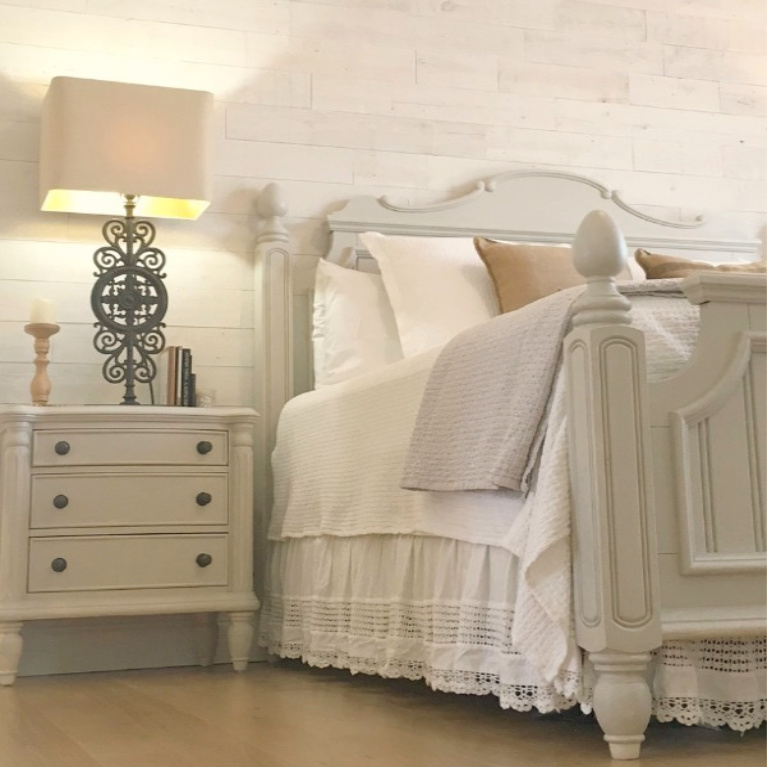
What do you mean the wall was ugly?
The textured walls had big ugly expanses where they had been poorly repaired. We know some of the large holes were probably a result of stereo speakers installed since this home had them EVERYWHERE including woofers and tweeters in our master bath’s ceiling when we bought the place.
I’m not kidding. 4-foot diameter speakers in some of our ceilings.
Here’s the texture of the walls even without any damage:

Stikwood Covers A Variety of Sins
Also, there were wall repairs from the removal of light switch plates. (Because light switches for the bathroom were installed…where else? In the bedroom.
What all the backstory adds up to is, there were giant craters everywhere which got poorly repaired and could not be easily camouflaged since walls here have a stucco-texture finish.
With me?
Lumpy, poorly repaired, eyesore patchy, annoying forlorn wall in the master bedroom.
Before Photos of Master Bedroom
Let’s revisit the room.

The above doesn’t look half bad, and it’s how the room looked before we got to work. But as with so many neglected fixer uppers, there were hidden defects and yuck to remedy.
Phase 1: Demo of Bedroom
We began by: removing the sconces, pulling up the (brand new) carpet, throwing away 20 yr old carpet pad (soiled from assorted un-pottytrained pets and left beneath new cheap carpet), bleaching floors, and painting walls.
Then it was time to install wide white oak hardwood flooring.
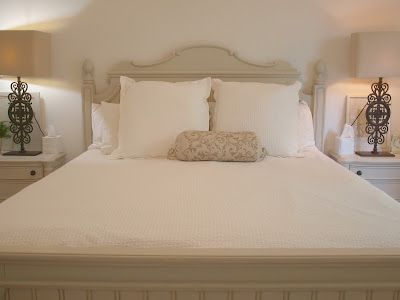
Things began to look a lot better, but what you cannot see in the next photo are the flaws all over this wall, some of which I masked with art work on the nightstands to tolerate it.
Moving on to the Finishing Touches
But tolerating is overrated…Stikwood lovely to the rescue!
The cost runs around $12 per square foot, and in addition to a quality product, you are paying for the peel and stick innovation and ease of installation because time is money, and who needs labor intensive statement walls!?!

DIY Install of Stikwood Statement Wall
We weren’t sure what to expect for the installation of this peel and stick reclaimed wood product, since it was our first go, but guess what?
Easy!
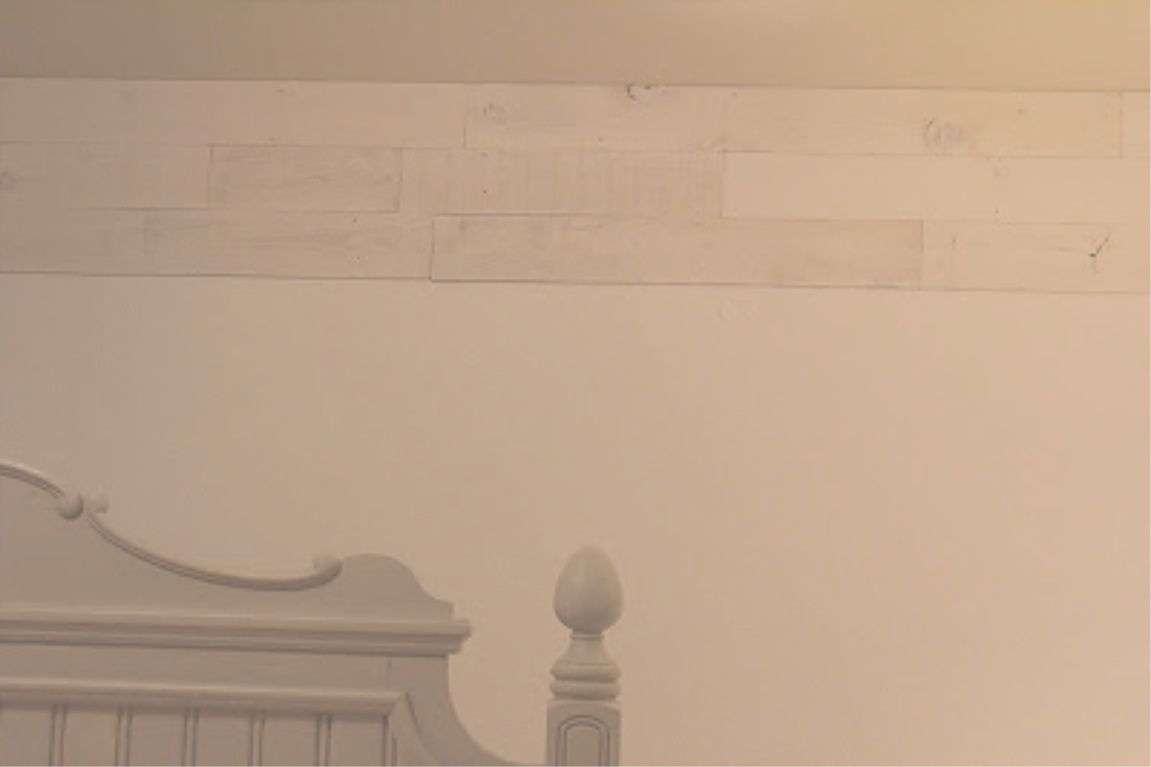
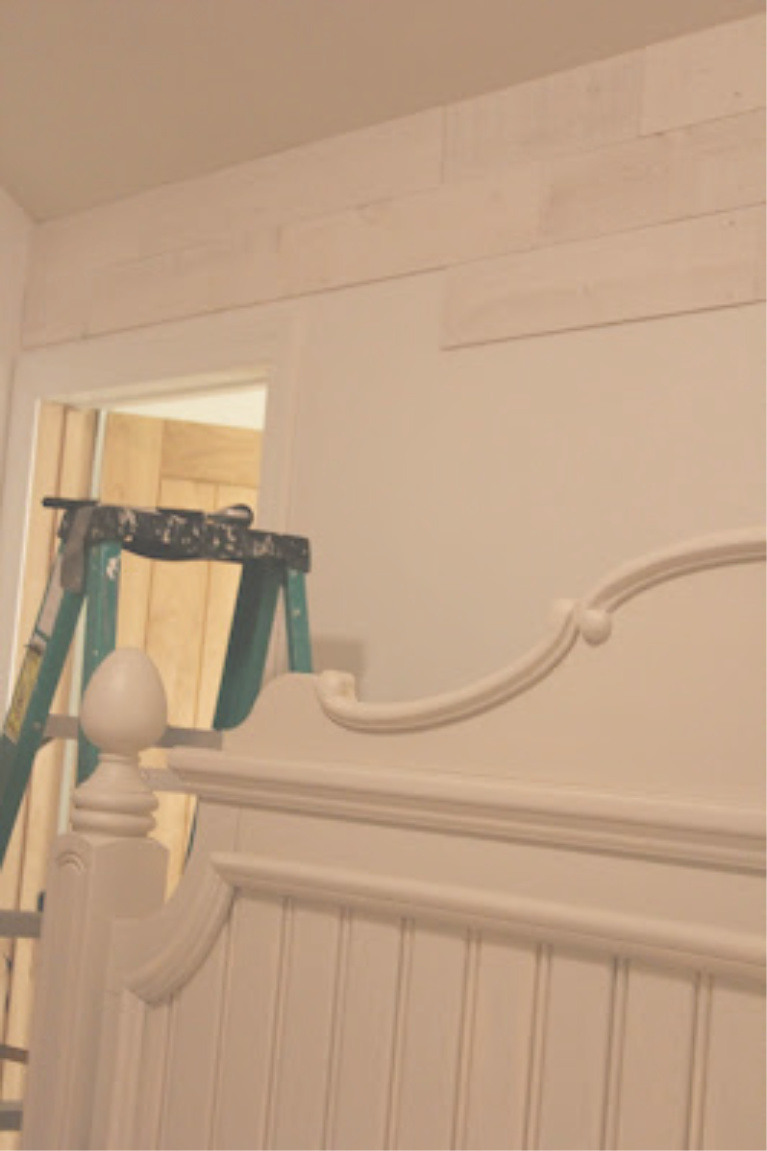
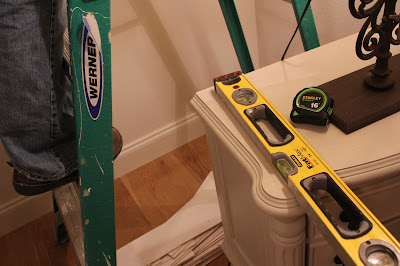
Not many tools involved beyond a ladder, tape measure, level, Stikwood roller, and saw.
Once we got into a rhythm of working together…
…it went up beautifully and quickly.
Stikwood Peel and Stick Wood Goes Up FAST!
How quickly?
Guys, this wall is around 16 feet wide. From start to finish, the Stikwood huge accent wall came together in 3 hours, with one person cutting, and the other assisting and peeling the backing off thin planks.
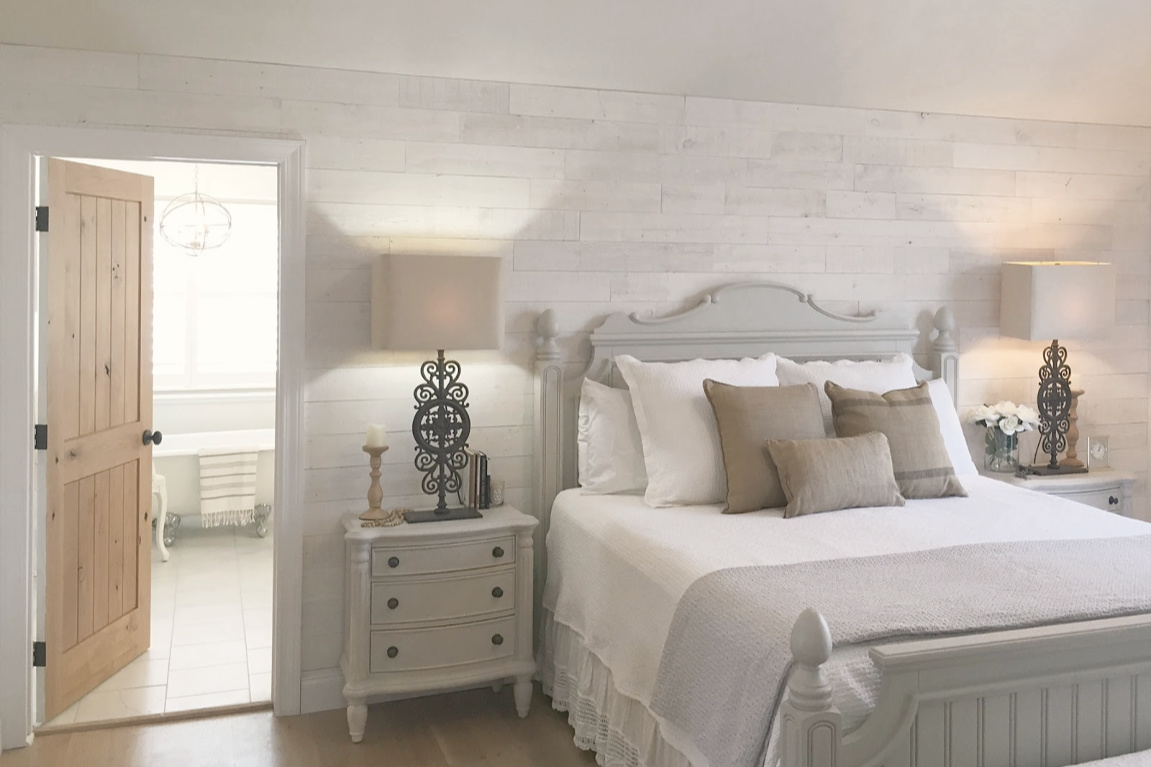
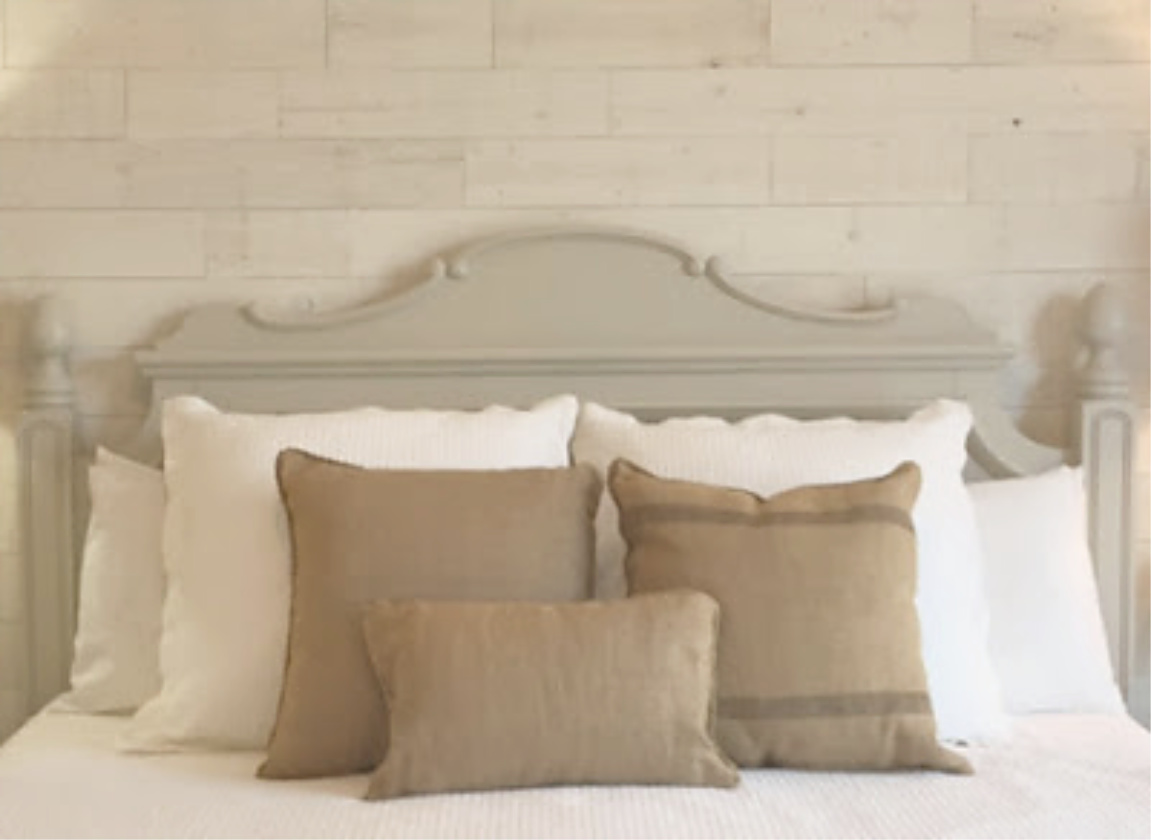
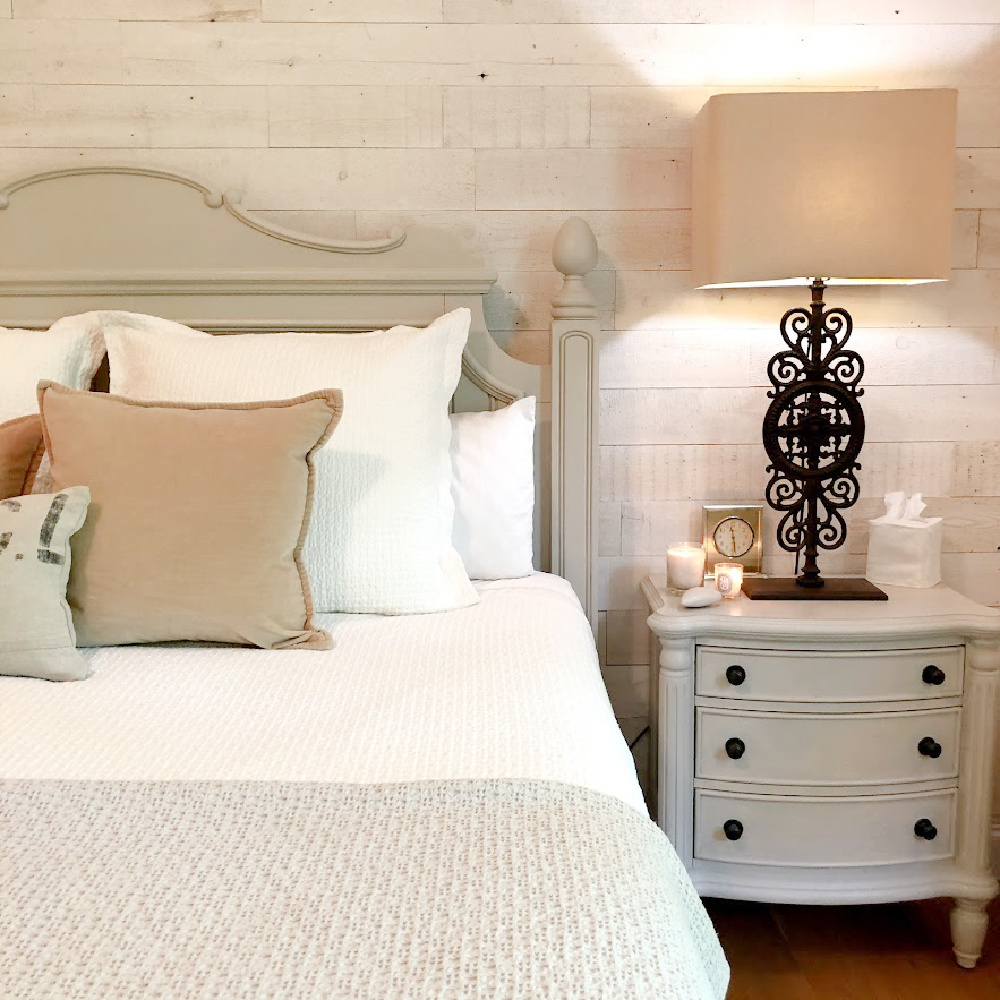
Let’s view the results of the ugly wall makeover from orange peely, lumpy, forlorn to white sandy Hamptons lovely Stikwood.
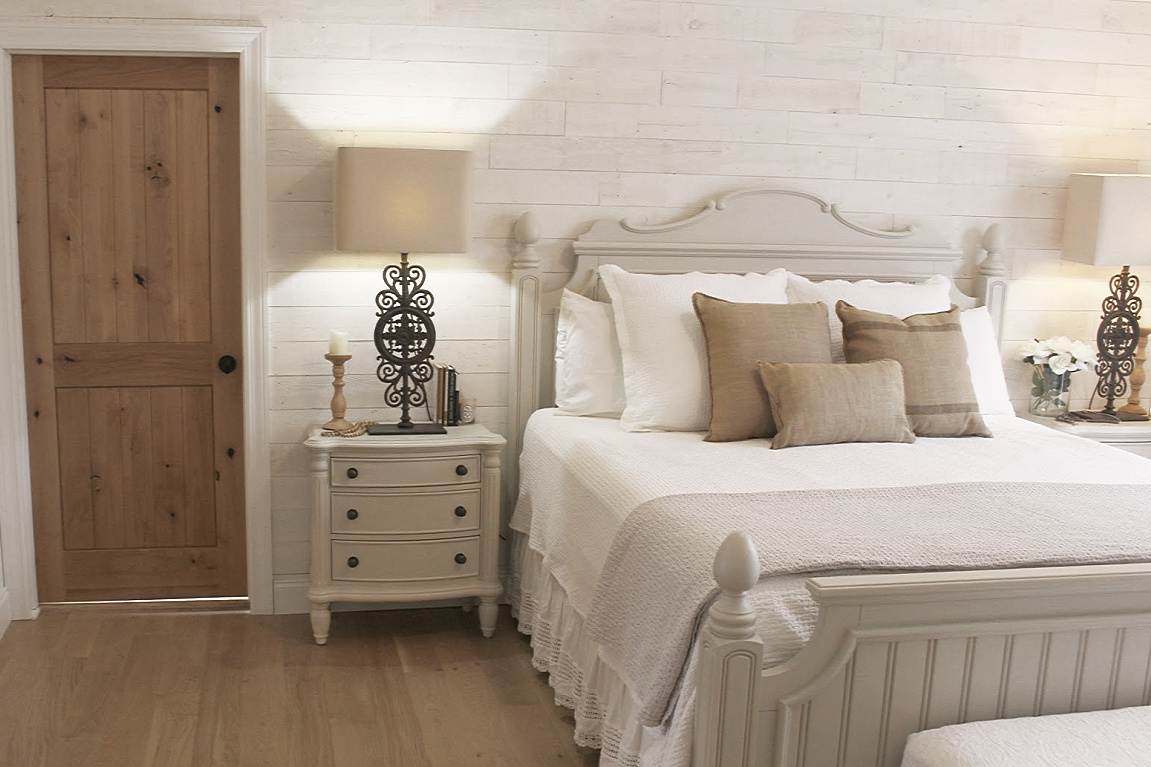
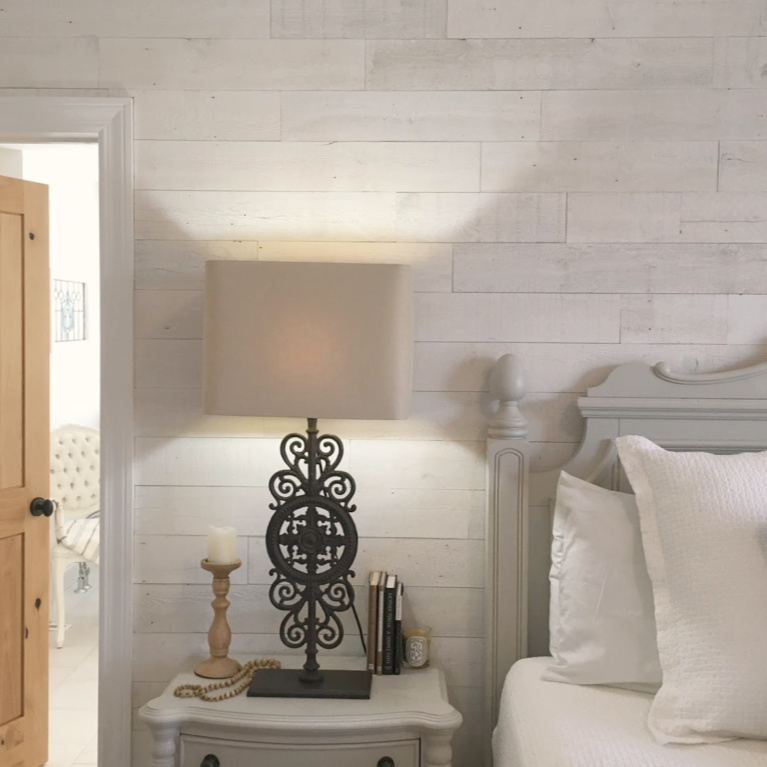
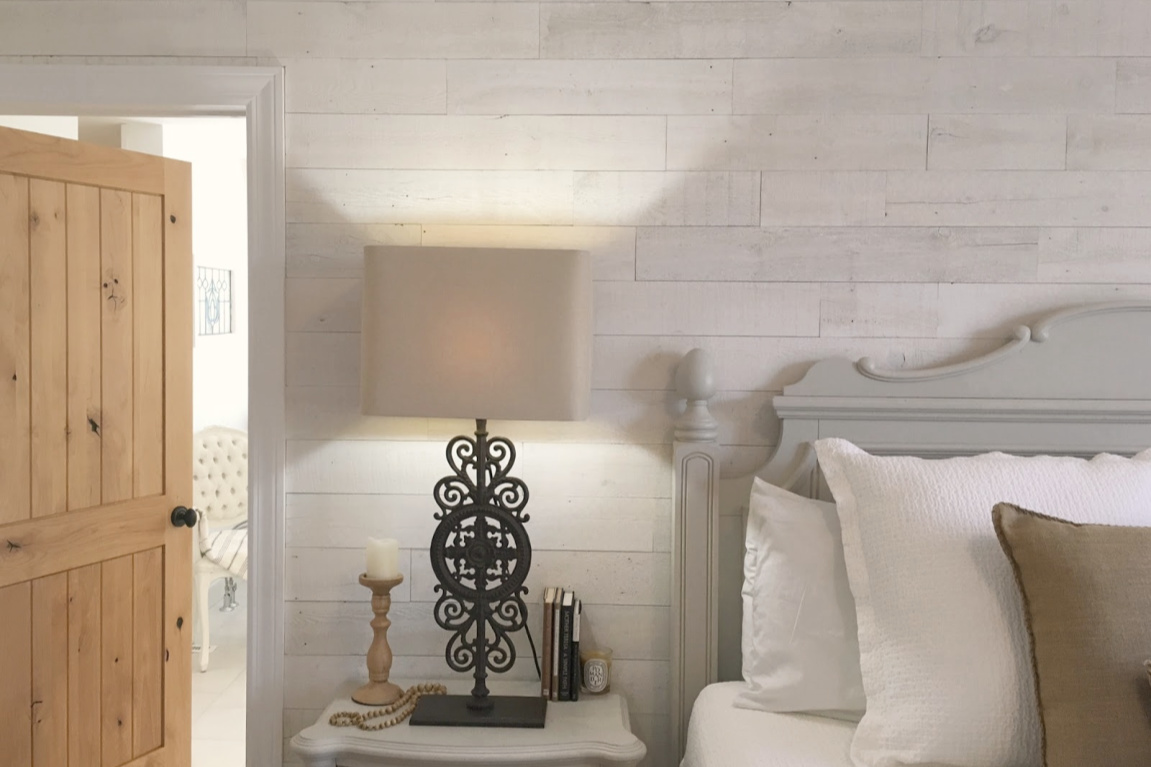
Ahhhhhhhhh!
Much needed texture, and the PROPER texture!
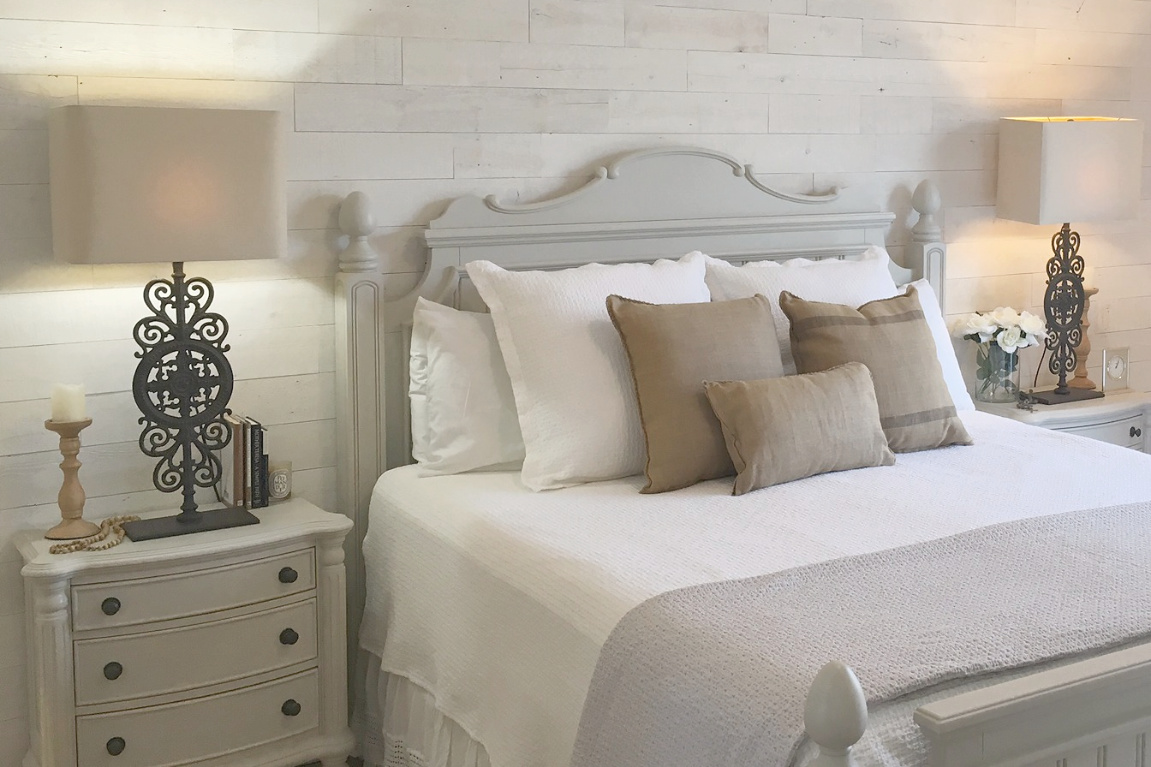
What I Love About Hamptons
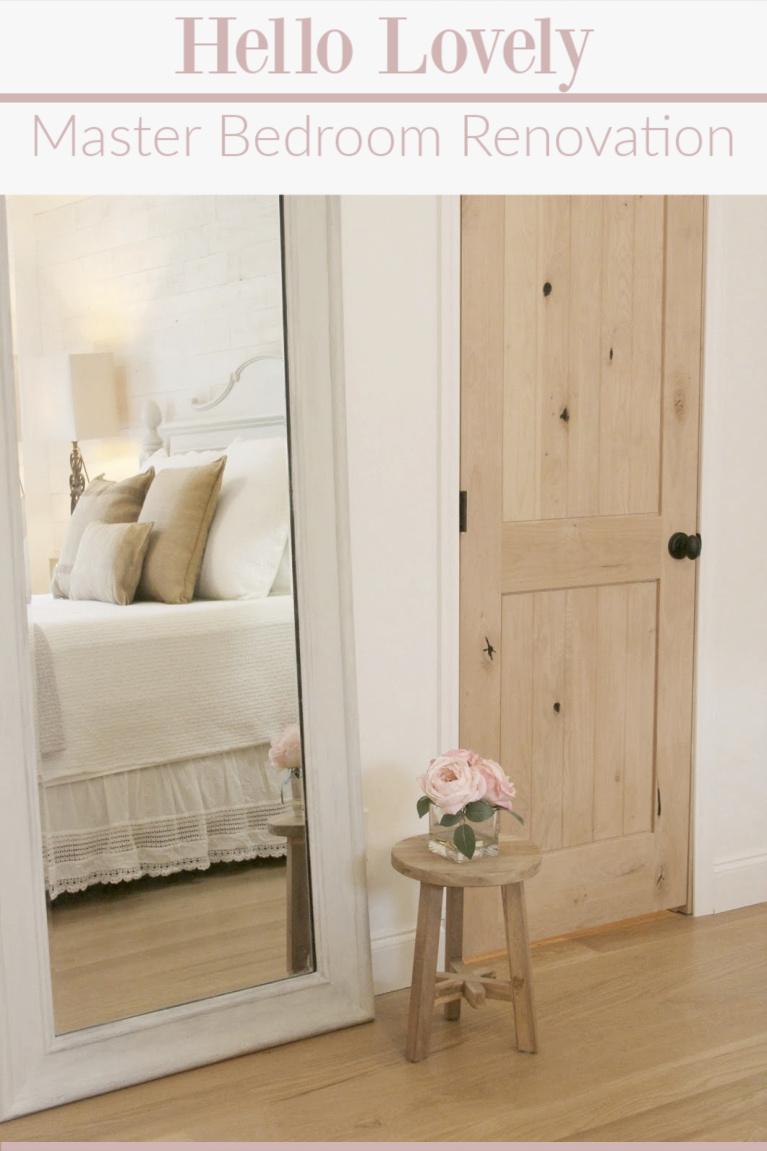
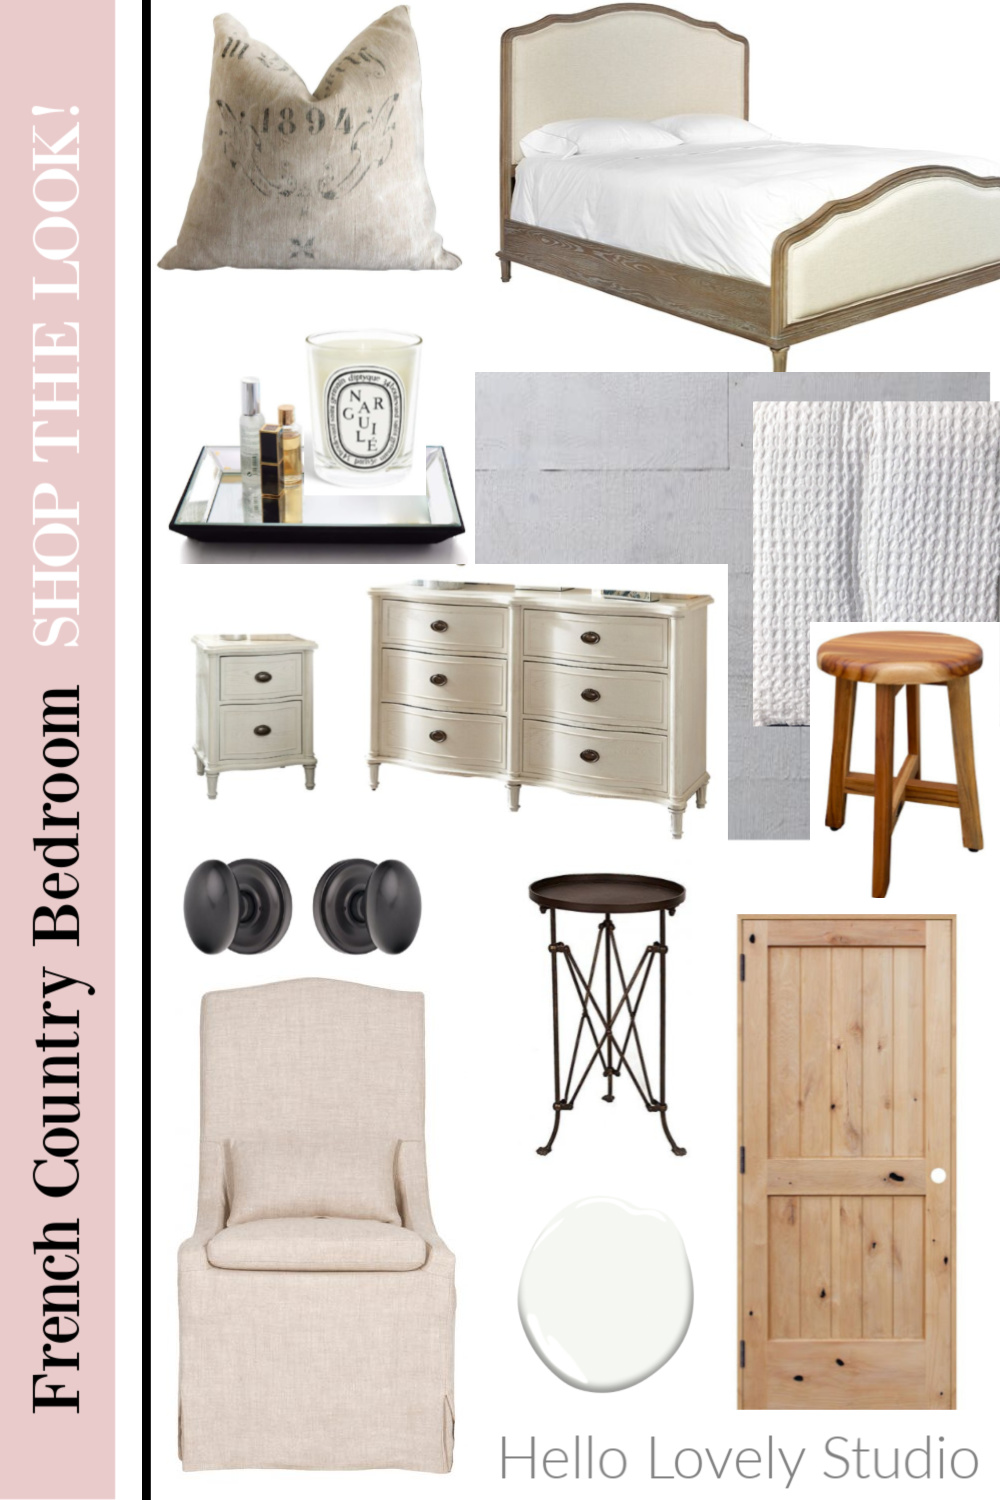
A natural brown wood finish would have been okay too; however, with the addition of four rustic alder doors, white oak flooring, and foregoing an area rug, there is plenty of warm wood glowing.
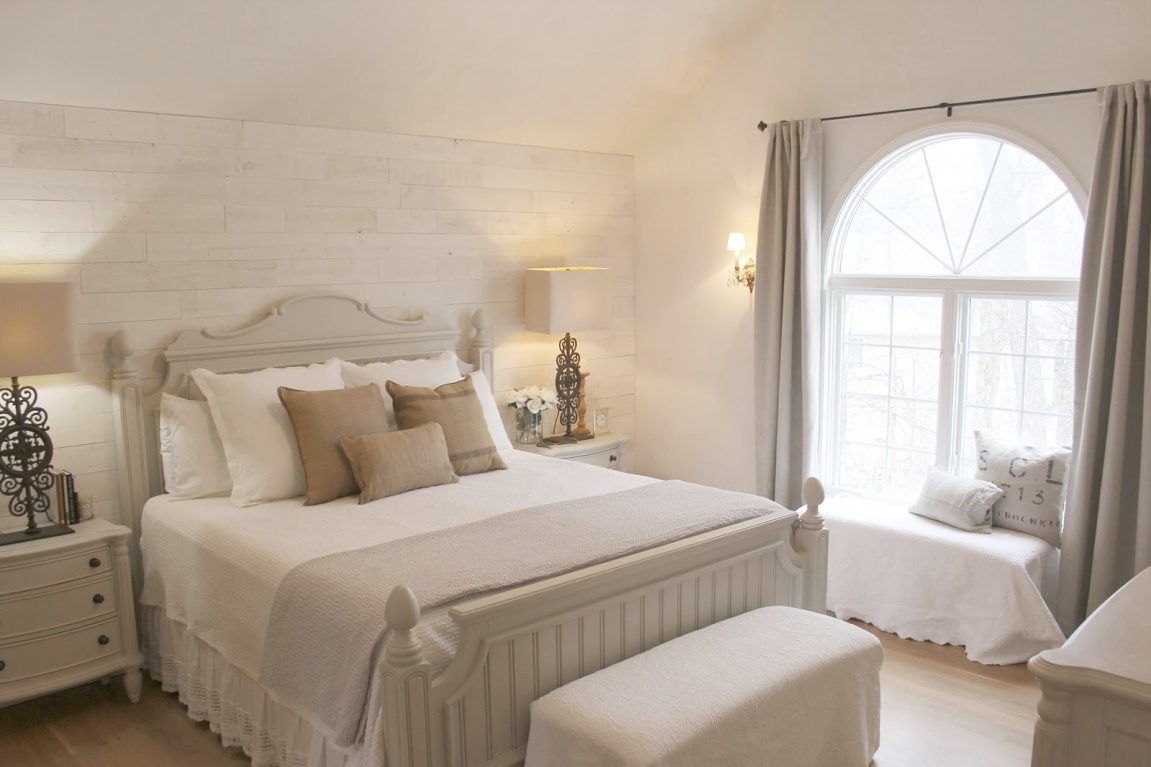
I can’t tell you how much “cleaner” the new accent wall feels. An old dirty barn feel was NOT what we were after in our tranquil retreat. If you have an ugly wall, consider the peel and stick possibilities.
After Photos of Stikwood Wall in Bedroom
From moon craters and orange peely walls, to peel-and-stick lovely.
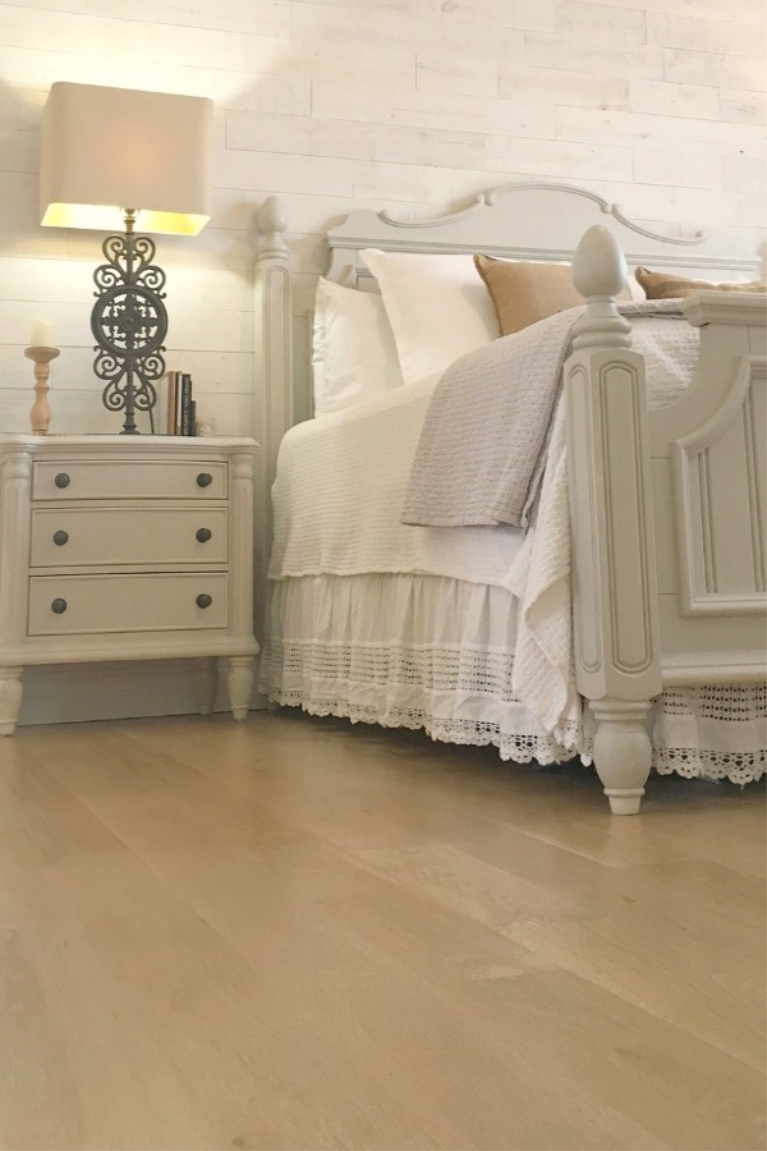
To see the full master bedroom reveal, find it here.

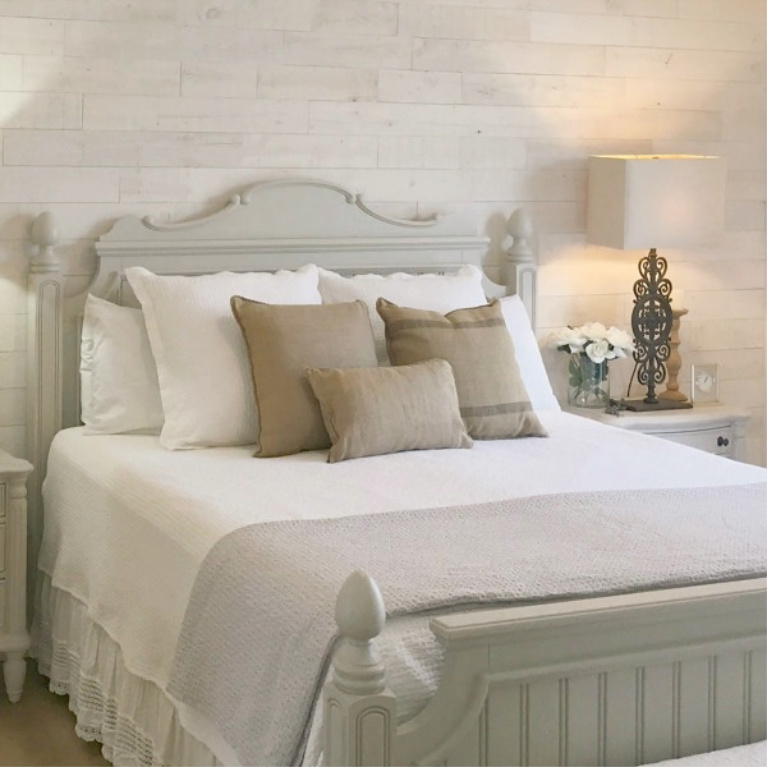
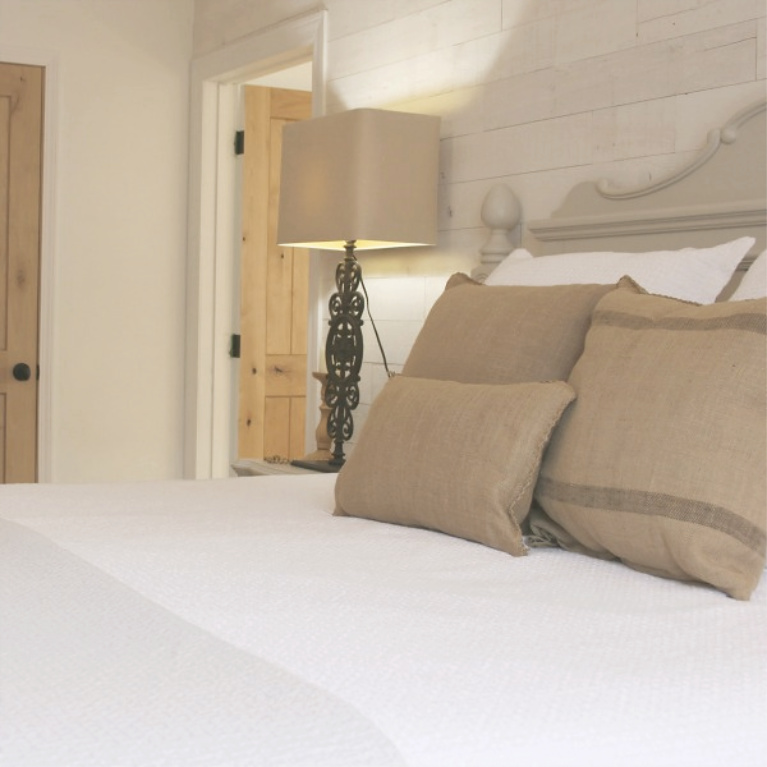

Other Rooms With Stikwood Statement Walls
Let’s peek at more inspiring statement walls you can make happen with Stikwood and a day of DIY.


Are you imagining the possibilities?
Would We Do it Again?
Stikwood Hamptons, I’m stuck on you and think I need more of you in my life as there are more ugly walls ’round these parts, and mama is short on time.
If you like the doors I chose for this bedroom and the rest of our fixer, see this story about our alder doors.
Thanks so much, Stikwood, for the opportunity to partner with you on this fixer upper and discover the beauty of lightweight, easy to install, peel and stick wood thin planks.
I independently selected products in this post—if you buy from one of my links, I may earn a commission.
Peace to you right where you are.
-michele
Shop for items you already intended to buy on Amazon RIGHT HERE, and also find home decor here to keep decor inspiration flowing on Hello Lovely!
Hello Lovely is a participant in the Amazon Services LLC Associates Program, an affiliate advertising program designed to provide a means for sites to earn fees by linking to Amazon.com and affiliated sites.









Wow! looks so good. I liked the color you chose also because it adds interest without screaming LOOK AT ME. I would love to know the stain color of the wide oak flooring you used, its pretty darn perfect. (I select color now after painting my stairs black) by can it camouflage dust? ;-D
thank you so much! exactly. for me, the wall dramatic, yet for others it may seem like a subtle accent wall! No stain on the white oak floors. It's natural with very little character and doesn't show anything…how's that for simplicity? same with our alder doors…no stain. hope this helps.
What a cool idea and a beautiful touch to your master bedroom! Love the wood that you chose too. That fixer upper looks like it's finished to me!
thx! this "hamptons" color is a brand new finish and has this cashmere-y white sand look i love. i wish it was done! let it be done, please! xox
LOVE it!
merci, marcia! xox
I love it Michele! ..and YESSSSSSSSS I do believe you when you tell us the time requirement for such a project. xo
thanks, leslie. xox
Wow! This is really something. Hubby and I just did a statement wall in our bedroom with shiplap. Certainly did not do it in 3 hrs! 🙂 We cut it, primed, sanded, and painted it all. We finished it in a week, of course not working all the time. I love it, but am amazed at how nice this looks! Thanks for sharing with SYC.
hugs,
Jann
you guys are champions, jann! we were short on time but it turned out just fine! thanks for reading. xox
Would you please share where you got those gorgeous lamps on the nightstands???? PLEASE!!! I am swooning! The wall looks amazing and I may just have to get some of this for one of our rooms. Thanks. I came over from Marty's. Please e-mail me the source for the lamps. [email protected]
of course, beautiful pinky! they are Paris Gate lamps from Restoration Hardware. We bought them 8 years ago. The wall is even better than we hoped since it has all the subtle texture we wanted without feeling like a dirty barn…clean is good! xox
Would you please share where you got those gorgeous lamps on the nightstands???? PLEASE!!! I am swooning! The wall looks amazing and I may just have to get some of this for one of our rooms. Thanks. I came over from Marty's. Please e-mail me the source for the lamps. [email protected]
Restoration Hardware! I think they are called Paris Gate lamps. 🙂
Love your accent wall! Did you have any issues with the Stikwood sticking to the wall with the "orange peel" texture? Do you think it would stick to popcorn walls? Thanks!
No problems with it sticking to our textured walls. I'm not familiar with how it works on popcorn walls, but I'd definitely try to remove that texture first by scraping and if you're sure you'll be covering it, I would think you wouldn't have to be as careful since the wood will cover all the uglies…yes?
I've been eyeing stikwood for a while..and even gave it consideration when installing our DIY shiplap-inspired headboard in the spring. I reeeaaally wanted to use it, but realized it just wasn't the aesthetic I was going for. Someday I hope to use it, though. Thanks for sharing your experience!
I would love it if you would share this at The Happy Now Link Up, which goes live every Tuesday through Sunday!
hi leslie! I totally get it. sometimes traditional, clean and less rustic shiplap makes more sense. what we really appreciated about these planks was the ease…3 hours of labor only! when you're short on time, it makes a lot of sense!
Beautiful! Did you buy the bedroom furniture in that color or paint it? If so would you mind sharing what color you used? Thank you!
Author
I watered down Benjamin Moore Revere Pewter and used it as a wash on top of the yellowy-white original finish. The warmth of the original color comes through like candlelight, and it’s a gorgeous warm/linen-y shade of grey on top. Thanks!
Thank you for sharing! I love revere pewter too and this furniture is Absolutely beautiful!
Author
My pleasure!
LOVE this room! Where did you get your bed frame?
Author
Thanks, Inas! It is old and designed by Chris Madden so probably not too easy to source. 🙂
What color stikwood is used on the wall in the photo with the grey couch and picture on the wall?
Author
Hi Jesse. It looks like reclaimed weathered wood gray to me.