It seems that as soon as the air begins to cool around here, I get a FEVAH. The good kind! A surge of energetic passion to tackle projects around the house…including painting the interiors. Believe it or not, I have been painting walls and cabinets in recent months (at our son’s condo!). While I haven’t had high energy (we all know painting can be a workout) and could only work a couple hours at a time, the desire led to FINISHED WORK. I will keep reminding you of this ’til the cows come home: we can do hard things IN SMALL BURSTS. We can! Please do PIN this post Paint Walls Like a Pro: DIY Help in order to help folks who may be first-timers at the whole DIY thing.
I independently selected products in this post—if you buy from one of my links, I may earn a commission.
Paint Walls Like a Pro: DIY Help
Raise your paintbrush if you are the DIY type who climbs the ladder and rolls on paint yourself! 🙂 While I may not be the most skilled interior painter around, I do enjoy the meditative and embodied aspects to it. It gets me out of my head and more heartful. My muscles are engaged in a most productive workout while I may also savor the satisfaction of transforming a space with a little time and money.

As a serial mover, my husband and I tackled our fair share of home improvement projects, and since I truly can hardly be trusted with power tools, painting frequently is within my domain. Dozens of homes for us over the years added up to hundreds of walls to paint…so, yep this fairy has some experience.
Pro or DIY?
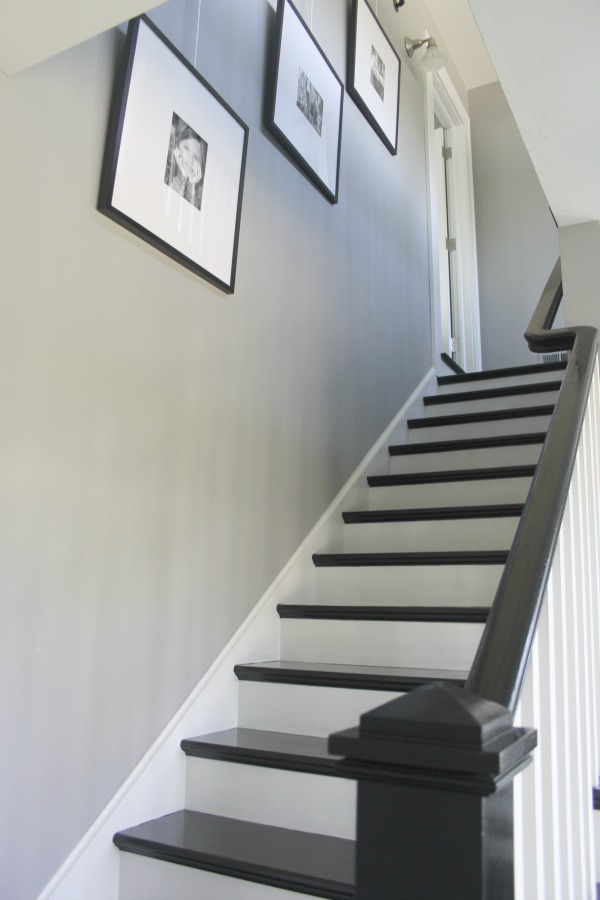
We also hire professionals from time to time, and there are many occasions where it is wise to leave the job to them.

One of the 3,000 frustrating things about our current fixer upper when we bought it? The whole home came freshly painted one color…and it was all WRONG. (Unless you love an “I Can’t Believe It’s Not Butter” margarine shade!) The saving grace? It would have been much more work to cover a darker color.
Easiest way to see if a color is right? Order samples to be delivered to your door with Samplize (a peel and stick sheet of “paint” to stick on your wall and easily move around to other walls!).


Helpful Painting Tips
How about you? Do you enjoy doing the work of painting yourself or do you think it’s for the birds?
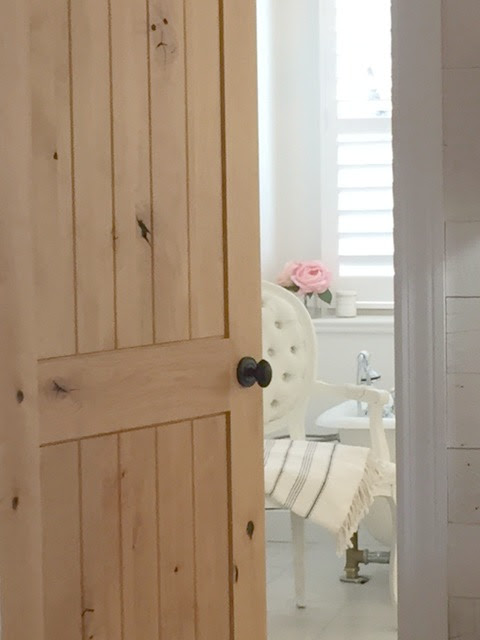
The white we used for all of our interiors: BENJAMIN MOORE White.
Paint Color Throughout Our Home
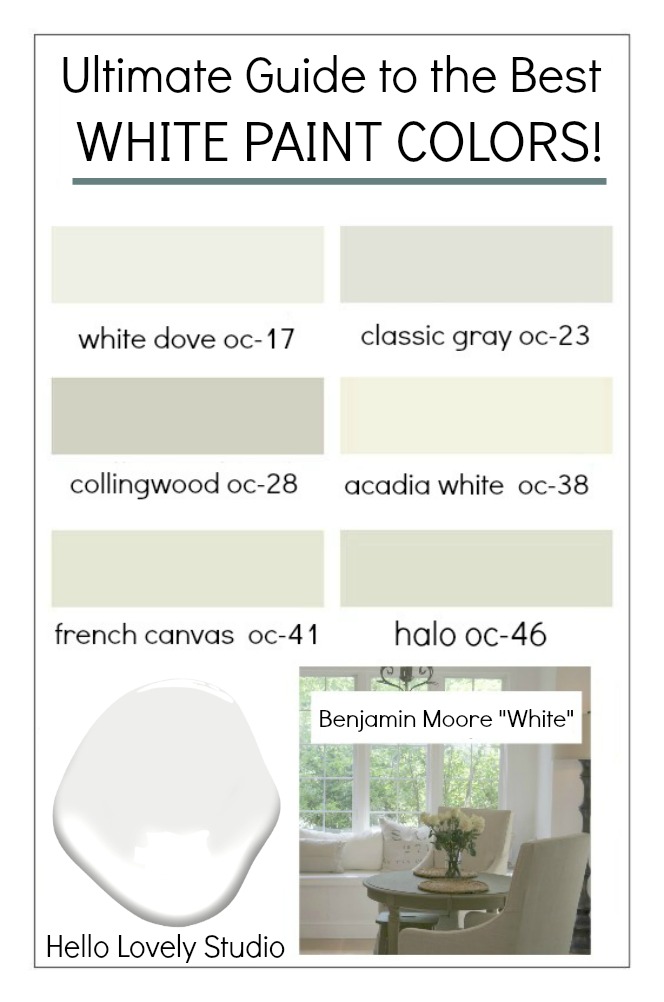
Yep. The color is White, and don’t let anyone at the paint counter try to talk you out of this plain Jane name. It is the base white that other colors are mixed with so it is a pure, very light and bright white.
Do You Have Time to Paint?
Time is Money. Will you have enough time to do it yourself? Hiring a professional may save you time, labor, and headache.
Let’s Avoid the ER…yes? Painting walls is a physical endeavor…do you have physical limitations, vertigo, shaky hands, or issues impacting your safety and health? Allowing someone else to climb the ladder is money well spent, and your joints will thank you.


When You Have High Ceilings
Scaffolding Woes. If you have high ceilings or a whole house of rooms which require paint, it’s likely a job to leave to a team of professionals with the proper equipment and expertise. When we built our prior French Country home, we left all of the interior painting to a team of professionals who used high tech sprayers and knocked out the job in no time.

Money Talks. Have a budget to pay for the the work to be done by professionals? Lucky you! Go pro, mama.
More White Paint Ideas
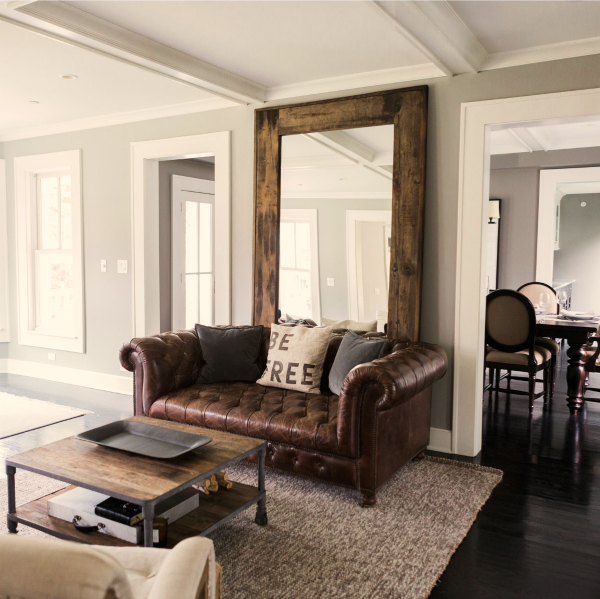
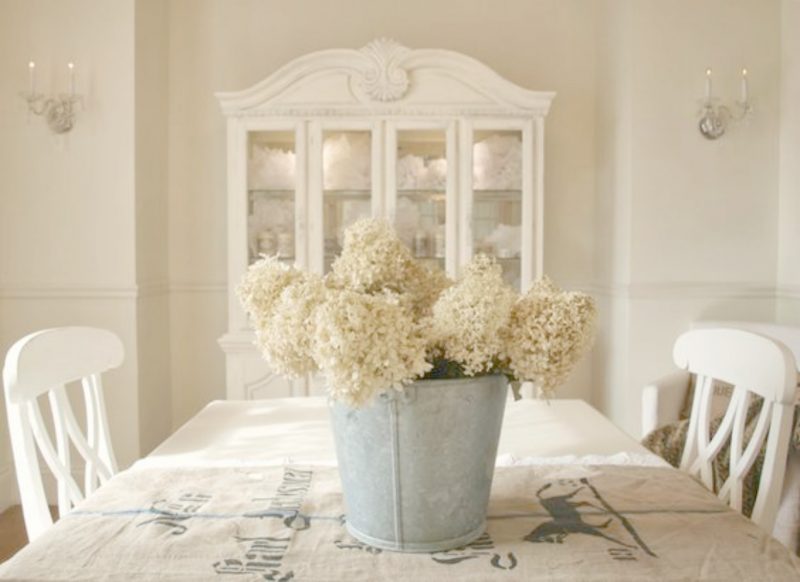
My go to whites: In our prior home, we had most of our walls painted Benjamin Moore White Sand, and here at the fixer upper, the bright white that worked best was Benjamin Moore White.


6 Painting Tips for DIYers
If painting an interior is a new adventure for you, I hope these 6 TIPS TO HELP will keep the stress level low and WOW factor high.
- Remove furniture, lamps, and objects from the room or move them away from walls. Remove outlet and light switch plates to save time and effort taping off those areas.
- Cover the floor with a dropcloth.
- Prep work is important when you want to execute it like the pros. Repair any wall damage, cracks, and holes with joint compound or spackle. Allow to dry completely, then sand and smooth. Remove any dust by wiping down and vacuuming wall surfaces.
- You will most likely need to mask off with painter’s tape those areas you don’t want painted (trim, light fixtures, etc).
- To cut in, use an angled 2 1/2″ or 3″ quality paintbrush, using light pressure and smooth strokes. Move around the room, along the edges, as fast as you feel comfortable, keeping a wet edge. First cut out the wall – ceiling, then corners, then around outlets, then windows, then vents, and then the wall – floor. When the room is cut in entirely, you’re ready to roll.
- For rolling, start at the top of the wall and work your way down. Load your roller with paint and roll it on the wall in a W pattern. Then, fill in the W area with paint. Work quickly and keep a wet edge moving along the wall. If you notice you missed a spot, let it dry, keep moving, and go back later for touch-ups.

I love learning smart new tips, so if you have any…lay ’em on me!
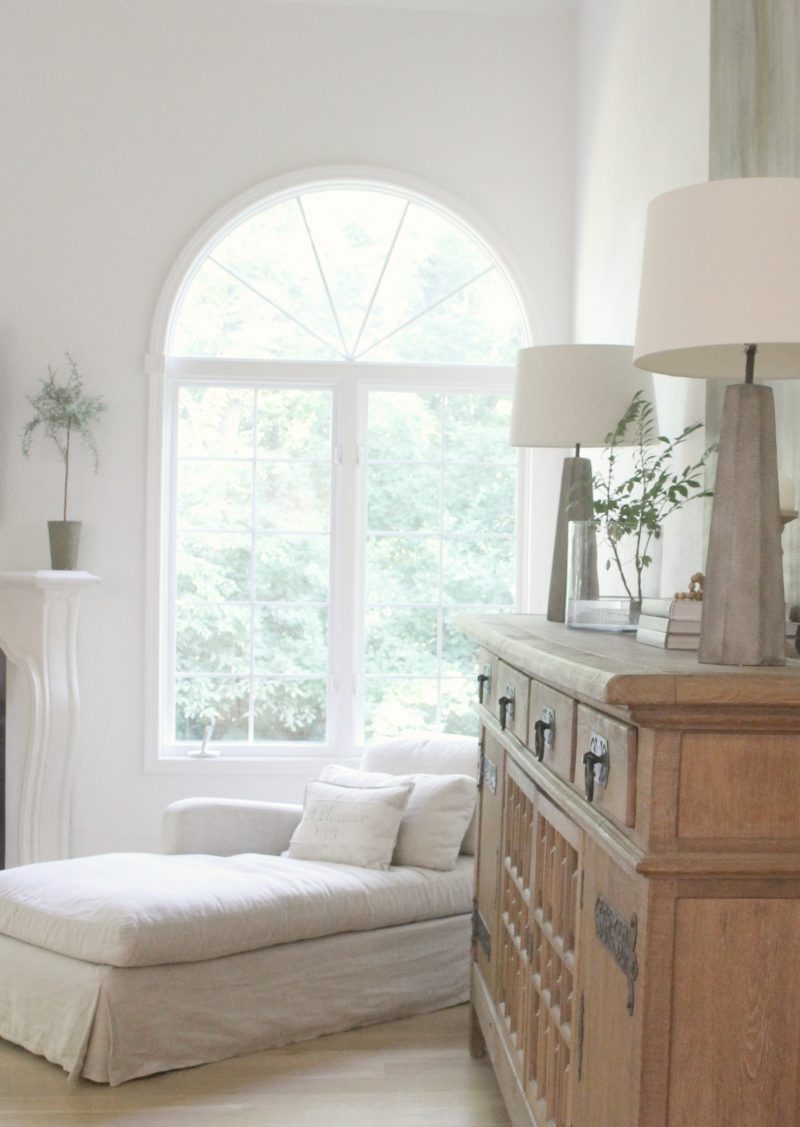
Bonus Painting Tips
Feeling extra geeky and game for a few BONUS painting hacks? Check out these brilliant ones…

This is Tres Tray Smart. (See what I did there?) Line your paint tray with a disposable insert, aluminum foil, or a plastic bag for easier clean-up and less paint down the sink drain.
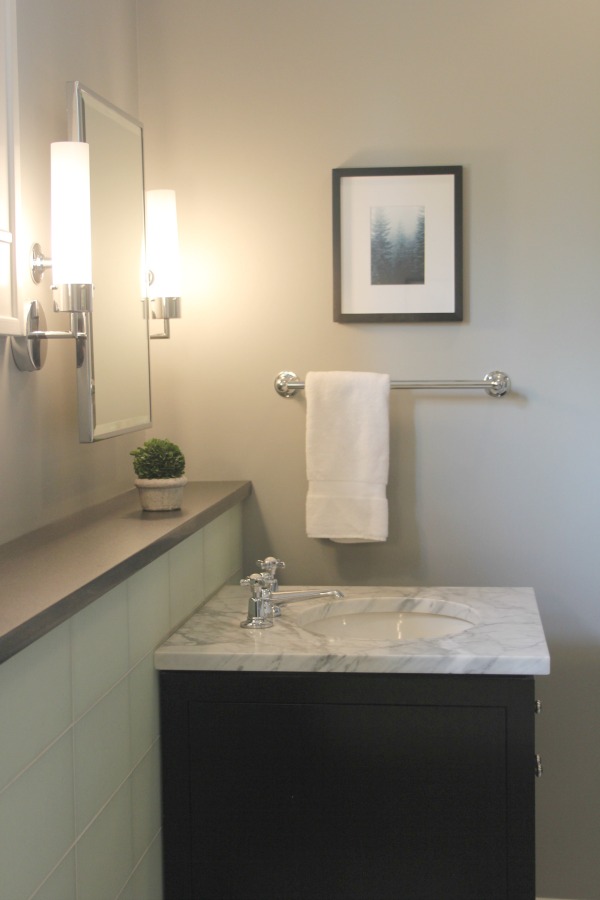
Glove Love. Consider wearing disposable gloves to avoid messy hands and to store paint brushes that you don’t want to dry out. And don’t forget a mask…your lungs will thank you.
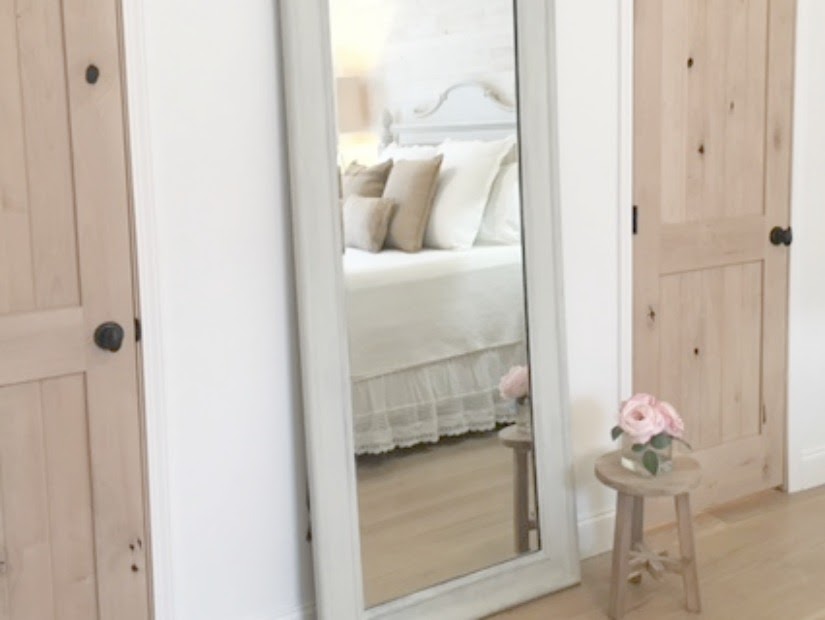
Not Just for Laundry. For easier paint brush cleanup, add fabric softener to the water in which you soak brushes to prevent dryness and hardening of the bristles.

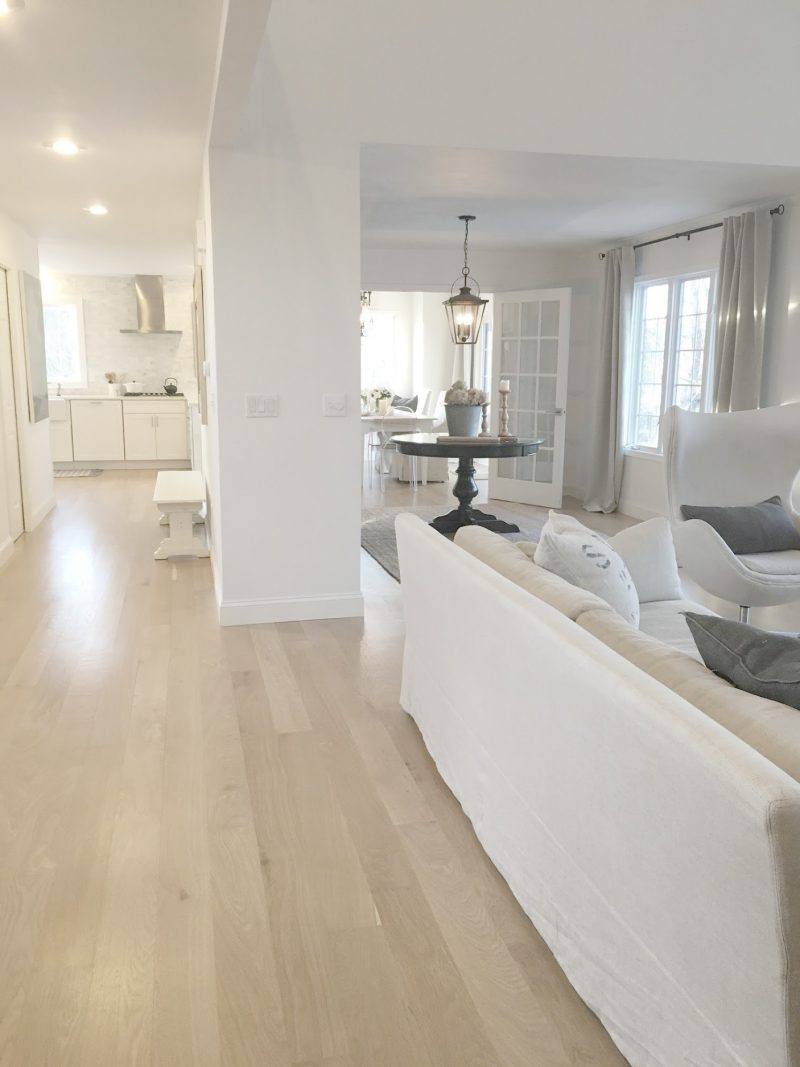
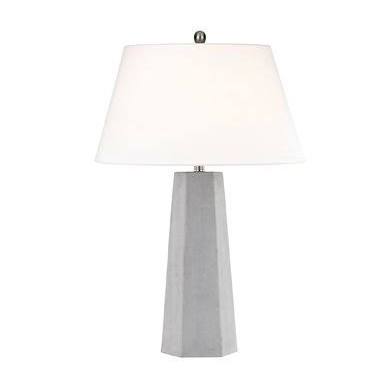
Find farmhouse lantern pendant light options HERE.
House Tour
Let’s tour Hilary Duff’s home! And wait til you see the bold tiles in her kitchen!

I once knocked over a gallon of paint and have never been soooooo glad that my drop cloth was one of those high quality more expensive ones! Not a drip of paint bled through to the creamy porcelain tile floor!
Any painting horror stories to share?
Peace to you right where you are.
-michele
Shop for items you already intended to buy on Amazon RIGHT HERE (not just items in posts), and also find home decor here to keep decor inspiration flowing on Hello Lovely!
Hello Lovely is a participant in the Amazon Services LLC Associates Program, an affiliate advertising program designed to provide a means for sites to earn fees by linking to Amazon.com and affiliated sites.




























































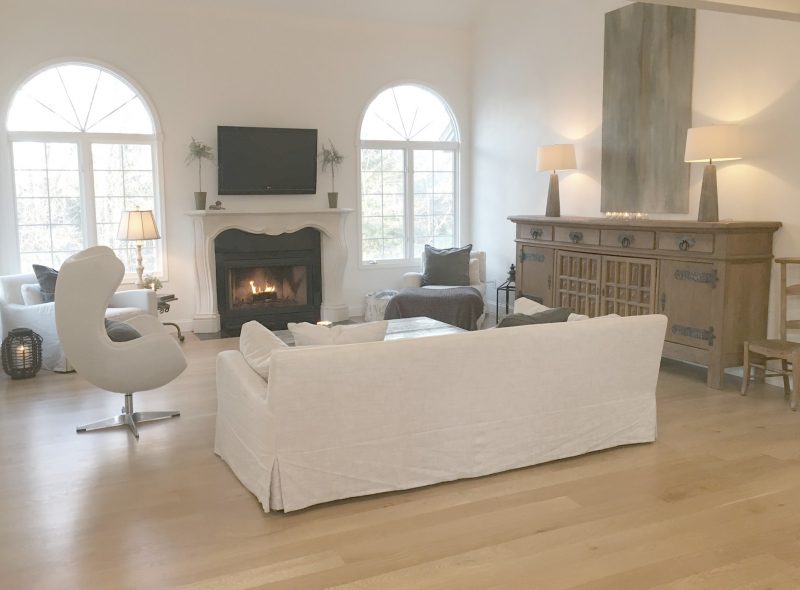
Hello, I love your white leather( I believe) chair in your living room. Can you tell me where you got it or where I can get one like it. Thank you.
Author
We don’t have a leather chair in there – they are all Belgian linen pieces from RH, and the egg chair one is their Copenhagen chair. There is a leather version here: https://amzn.to/2ByvV6Q, and we actually have a desk egg chair version that looks just like this with the hammered aluminum back in my husband’s study. I added the leather version to the post too and hope this helps. 🙂
Great tips. I paint often these work every time.
Author
Thanks for reading! 🙂
I love how you share so many products with us! I tried a candle that I love but have misplaced how to reorder. It is in a lidded mercury glass container and the scent is Capri blue. It is wonderful & I would appreciate any help you can give!
Author
I’m so glad! Here is the link for that candle which I learned about from my friend who lives in the modern farmhouse also featured in this post: https://amzn.to/2OXA71R Hope this helps – I have also added the product to the post in case you need to reference it. Thanks so much. 🙂
AWESOME tips and inspiration Michele! Perfect timing with my current kitchen refresh project!
Author
Yay! Just read your post this morning on my phone and will comment shortly. You have broken down the organization tasks beautifully so that I feel like I could do the same – and there is just nothing a room “makeunder” where it isn’t about demo and buying new, but beginning right where you are with what you have…and then subtracting! I love what you’re doing, and I can totally see your vision with using that space in your kitchen for photography! 🙂
OMGosh…..I have painted many of our “flips” over the years to save $……and had many mishaps including burning my skin with turpentine (when I was in the habit of using oil paint for trim) and spilling an entire gallon of paint on hardwood floors in the foyer (too impatient to put the drop cloth down!). When I tried to clean it up I slipped and fell in it not once but twice….😂
One home was built in 1910 and had exterior wood siding that I decided to burn all of the paint off in order to start fresh….I would do it at night when the kids were in bed and a neighbor finally came over and begged me to stop b/c he was afraid I would set the old wood siding on fire with the heat gun! I managed to do the entire rear of the home before I gave up.
Author
OMG – you are a real life renovator and warrior for sure and have the scars to prove it! I am so glad you have survived these adventures…I’d love to see the before and afters! 🙂