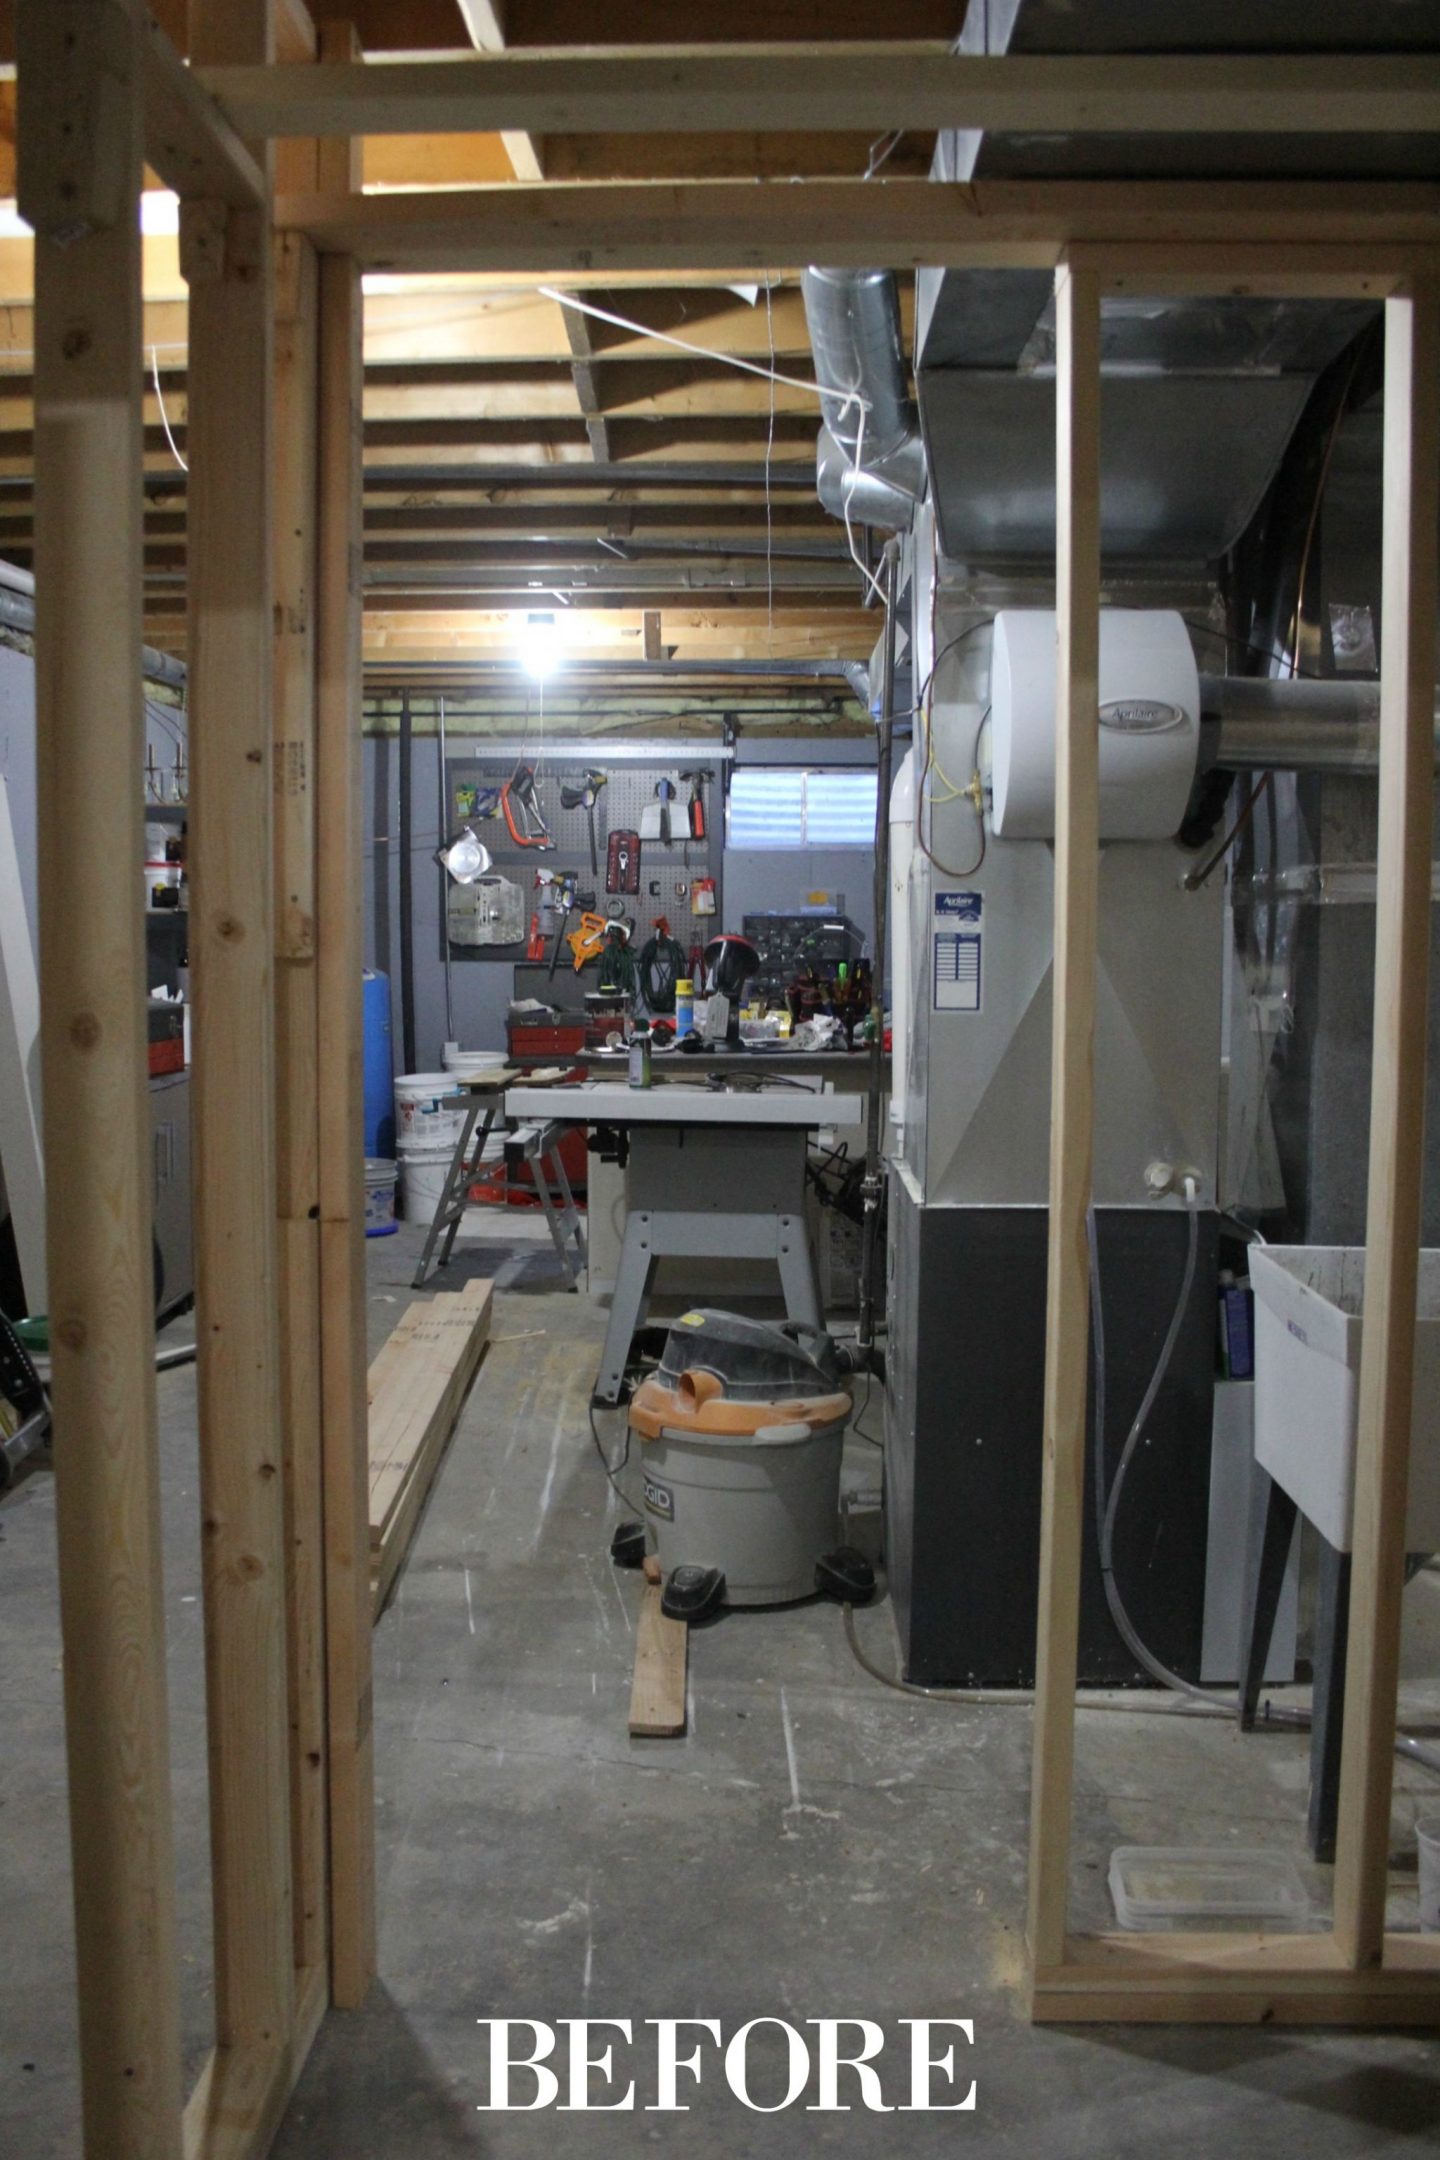
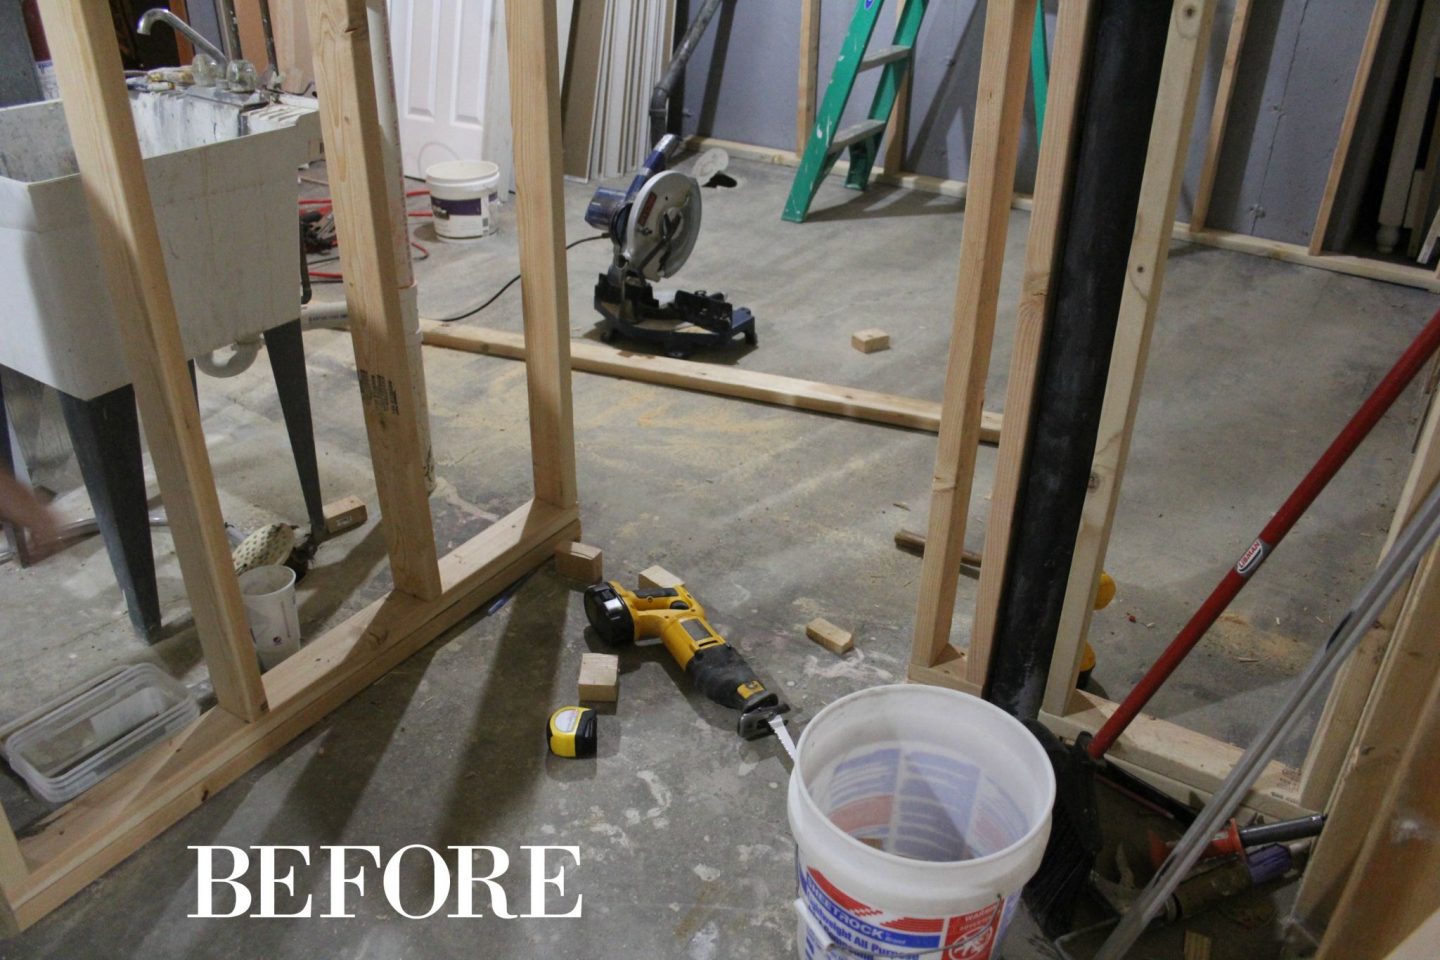
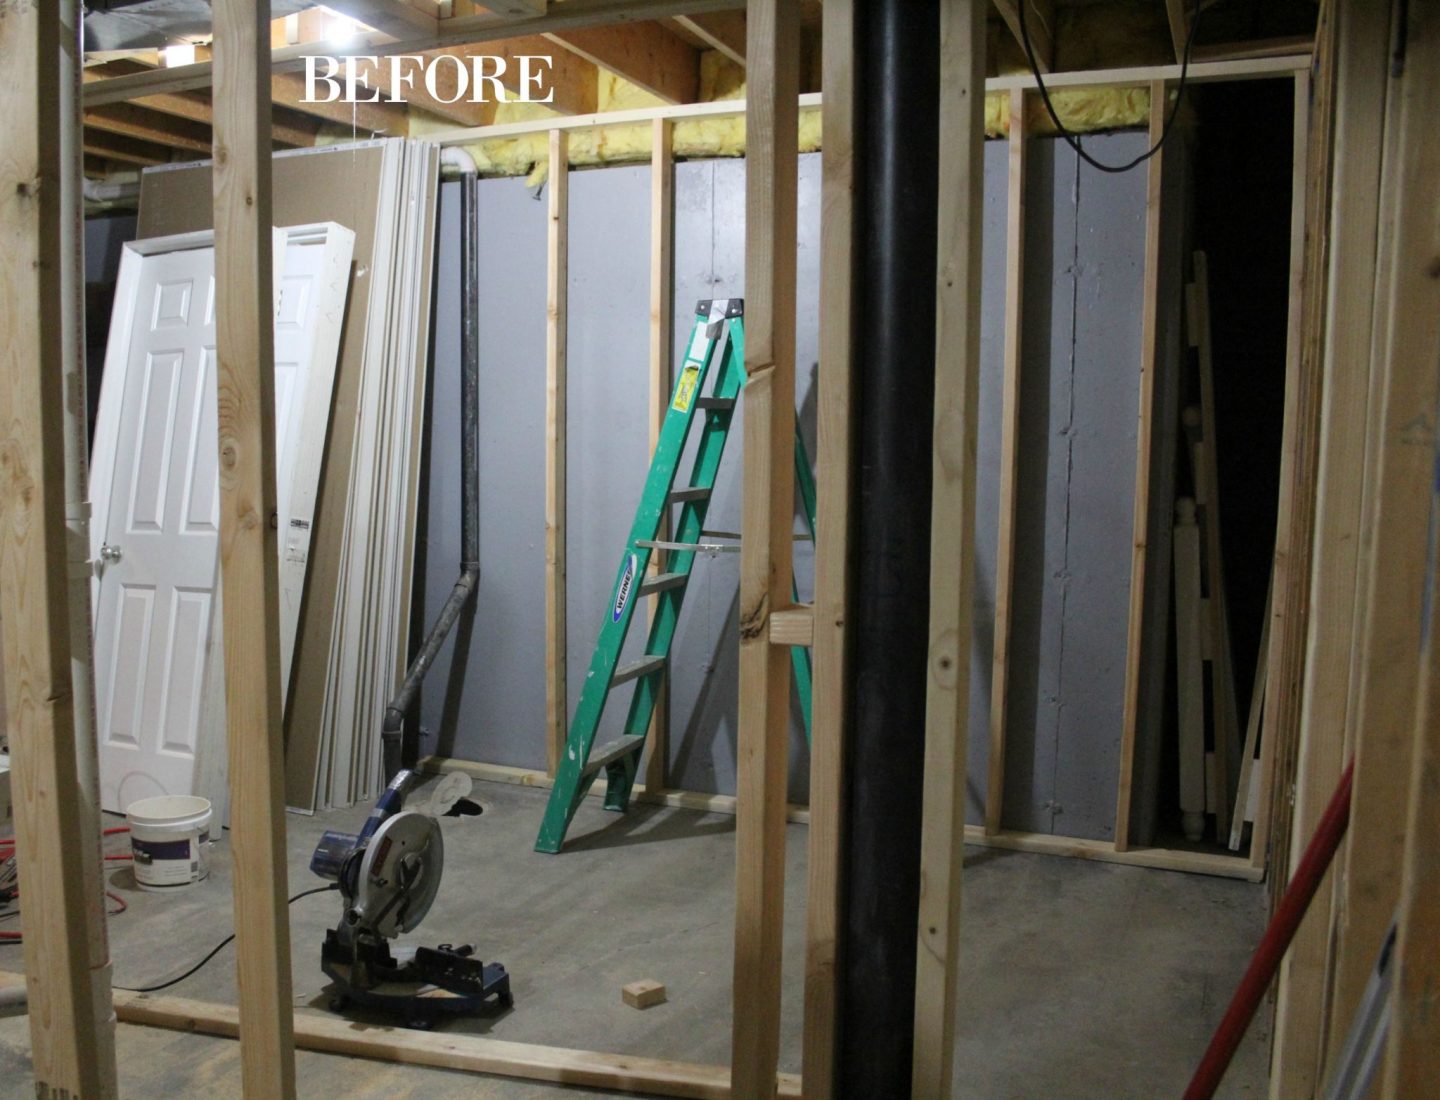
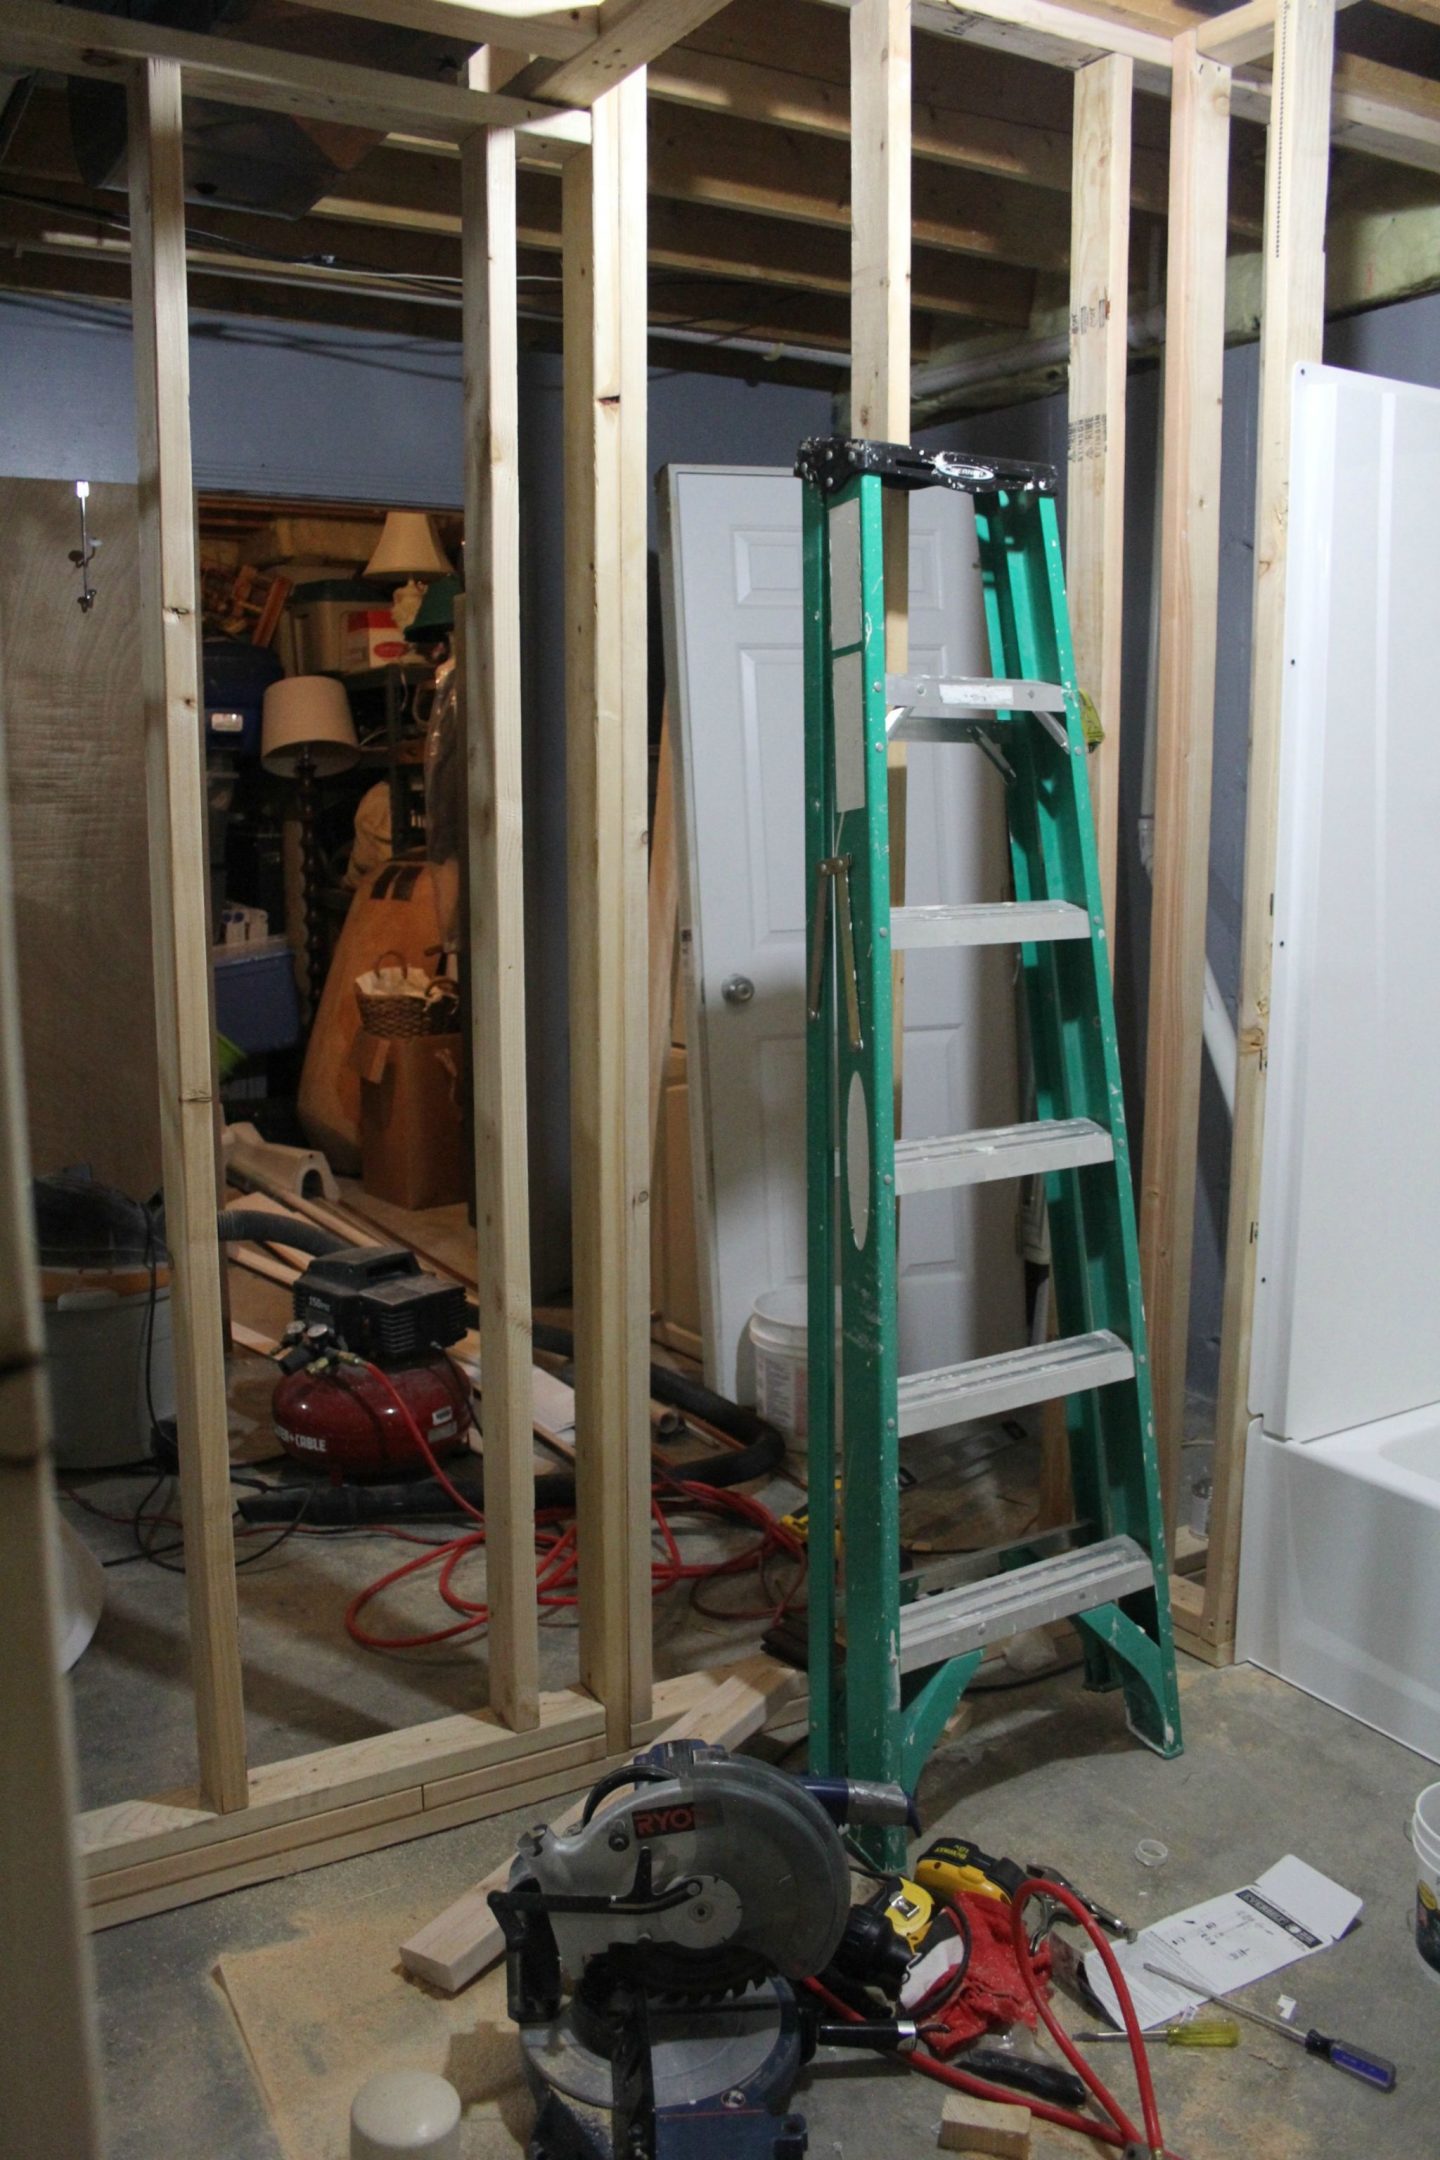
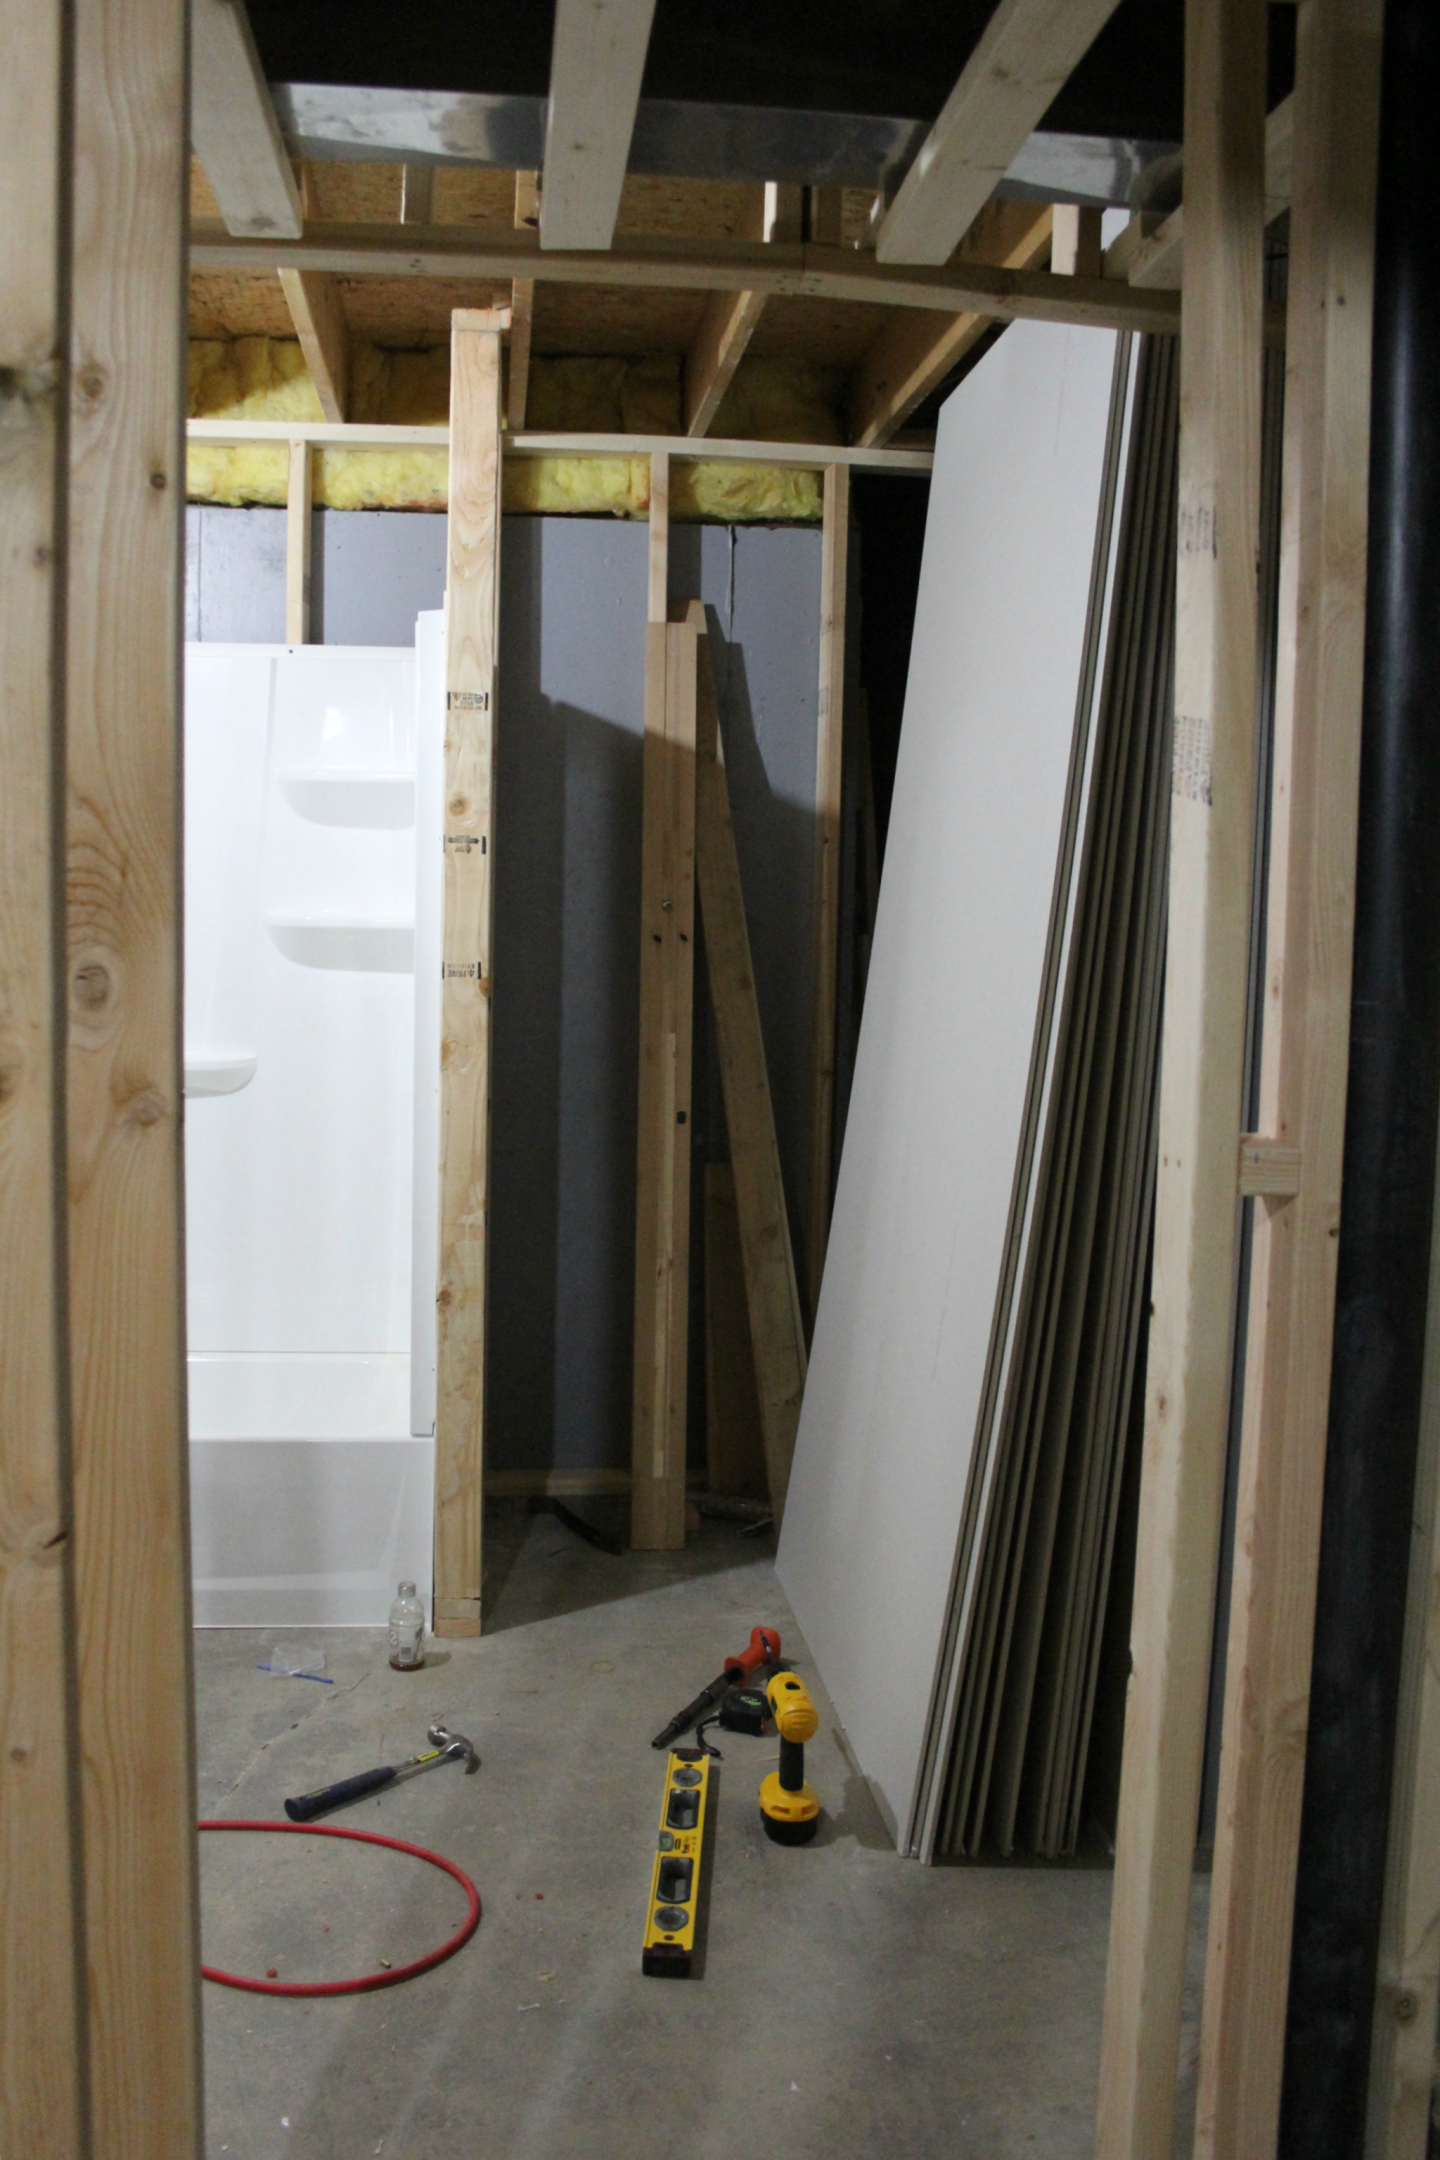
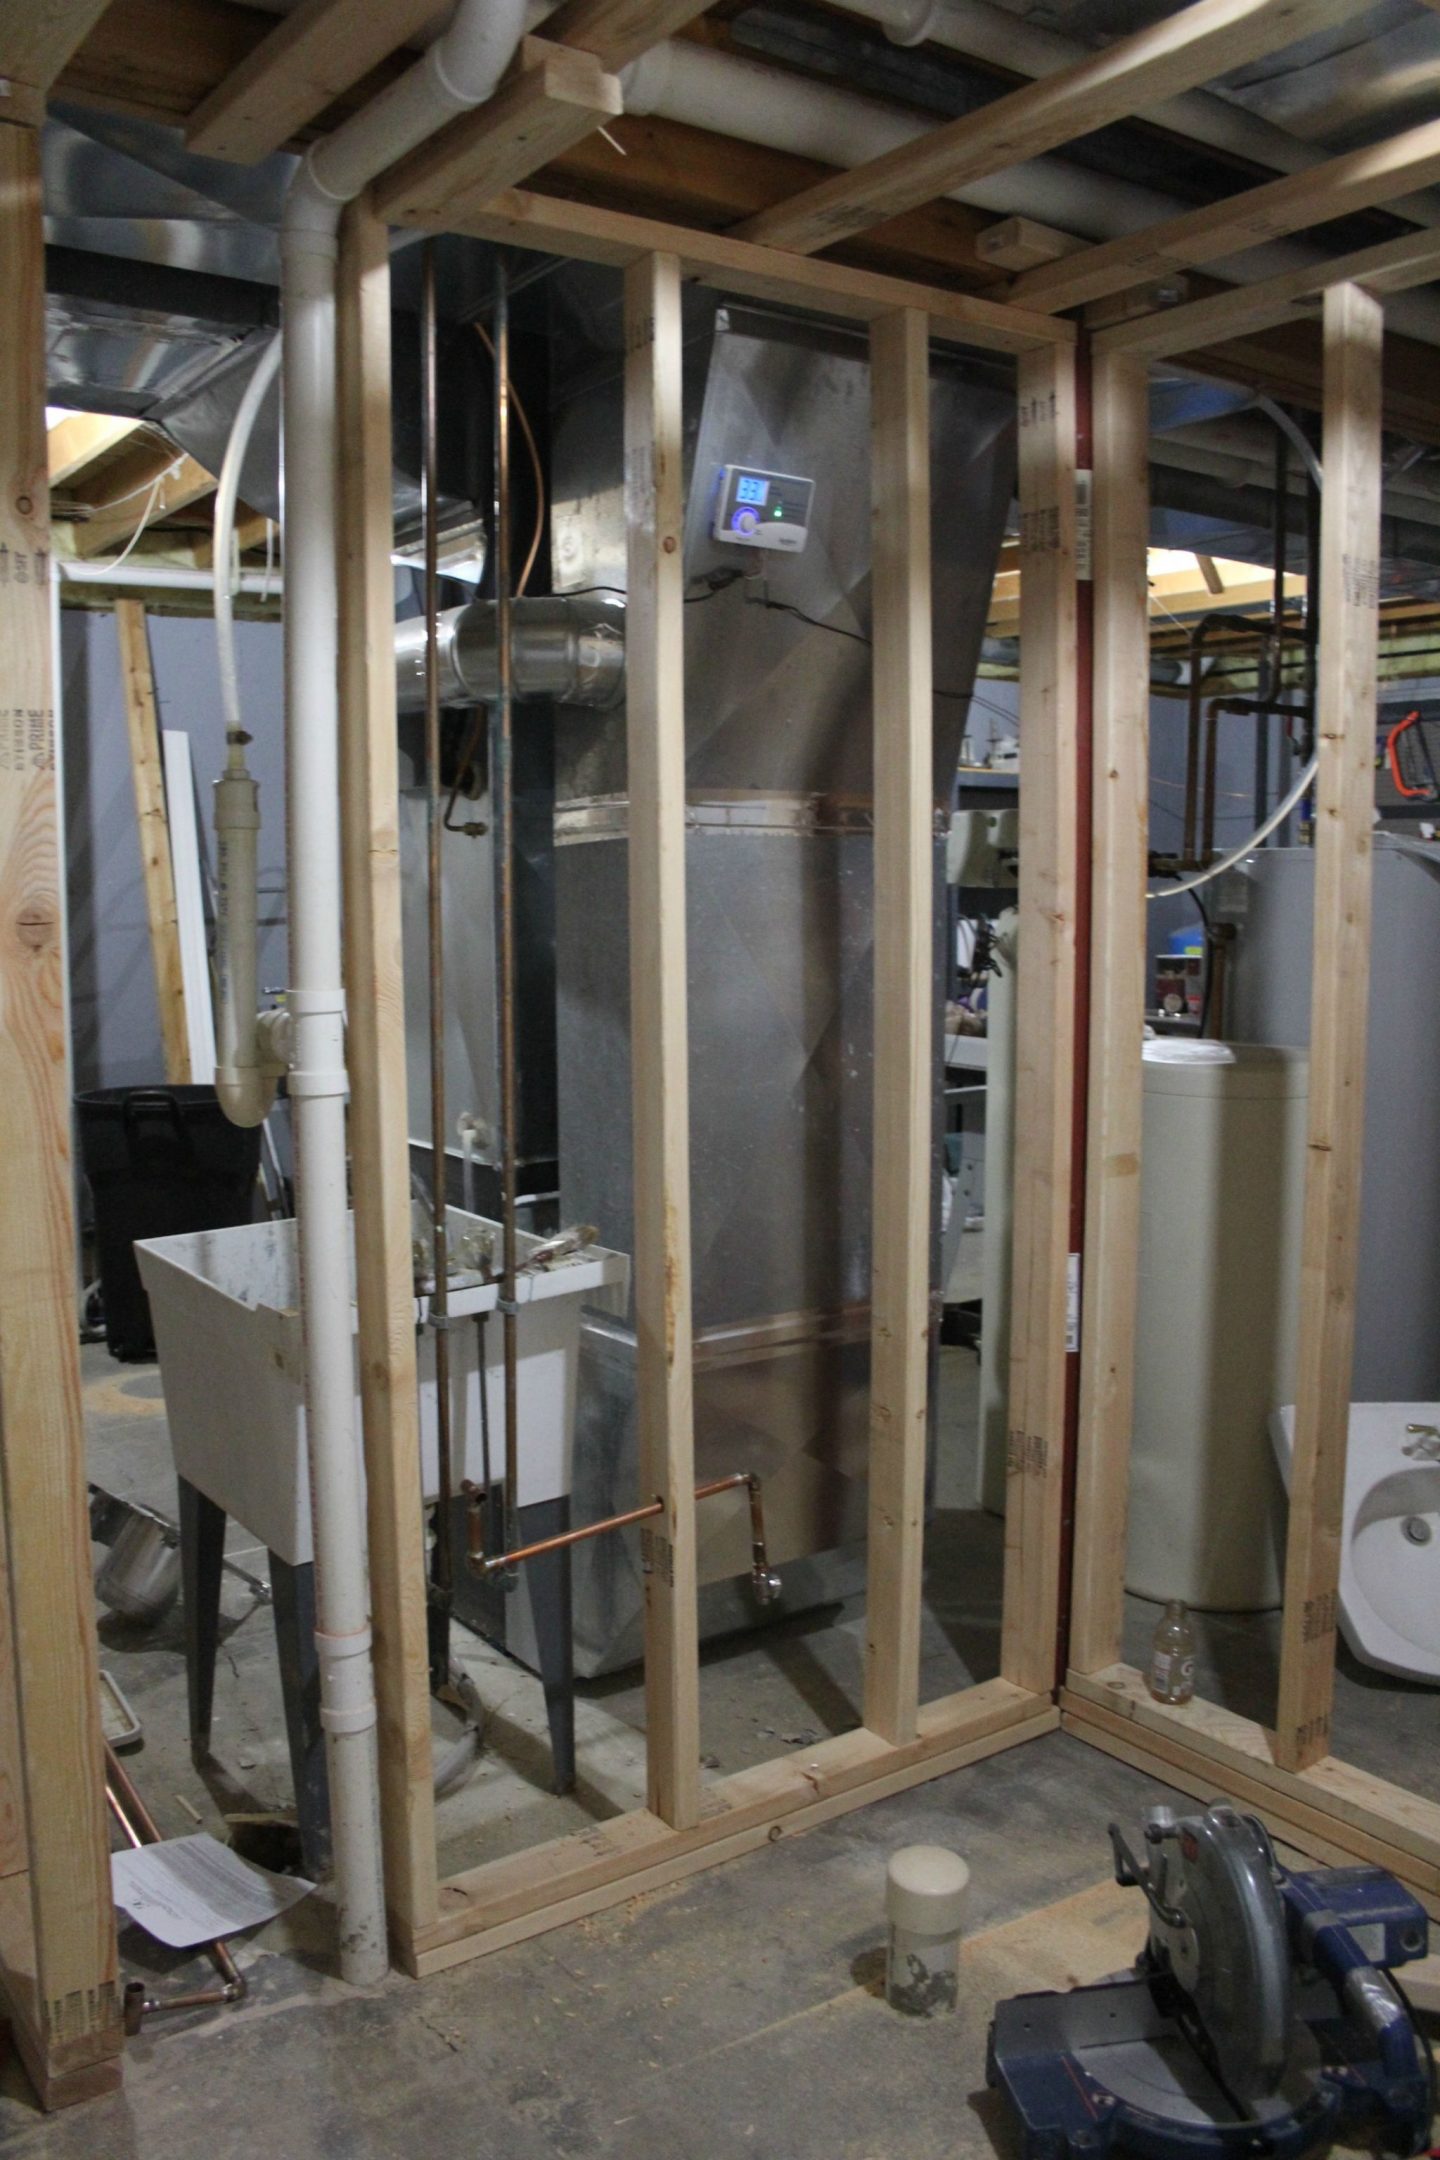
While I am excited to share with you the before and after transformation of our DIY new bathroom carved from a dark, raw, unpleasant storage room in the basement at the Chicagoland fixer upper, I’m also hesitant. I mean. “Please devour images of the ugliest dungeon-like corners within my home!” said no one ever.
We bought this fixer (a neglected Nordic style cottage on a Northern Illinois property with mature woods) in 2015, when we swiftly began a whole house DIY renovation. Since my husband (an attorney) and I (writer and blogger) work full time, we worked weekends and evenings for more than a year gutting, rebuilding and renovating the main and 2nd floors.
So instead of enjoying a solid break, we saw an investment opportunity and relaxing getaway in Arizona and bought a second home. Many projects later, we completed a DIY whole house cosmetic makeover and enjoyed the place for two years before selling it in early 2018. We’re down to one home again! Yay. But there’s more work here. Boo! Yay!
(Affiliate links follow and may earn me a small commission if used for purchases.)
Hungry for the next project, as soon as the Arizona home sold, we turned our attention to our lower level basement. (Here’s the resource guide for the materials and sources.)
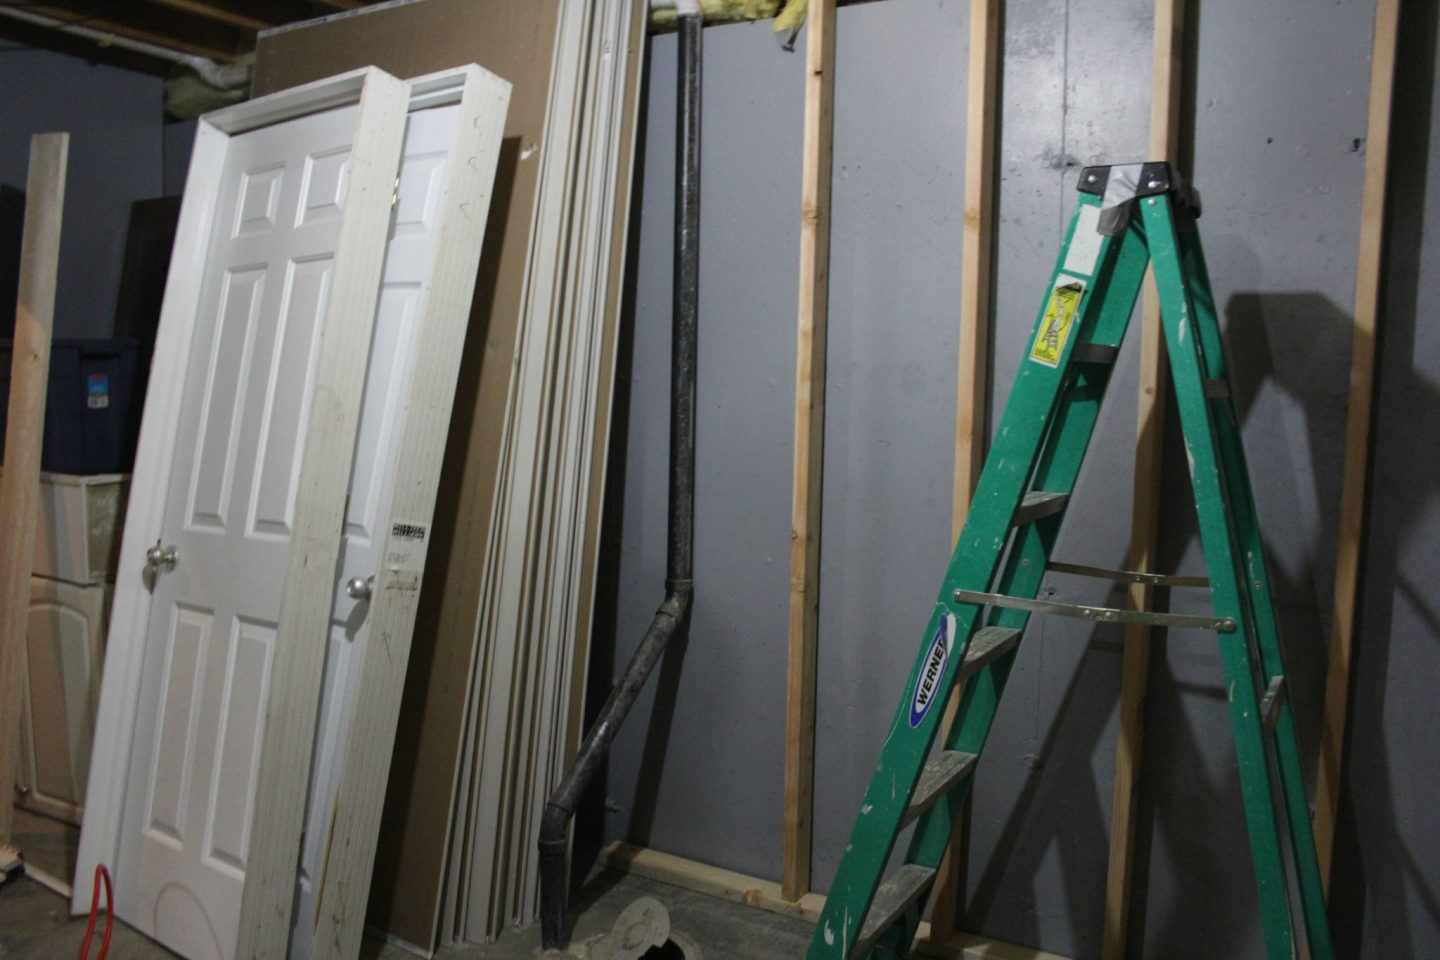
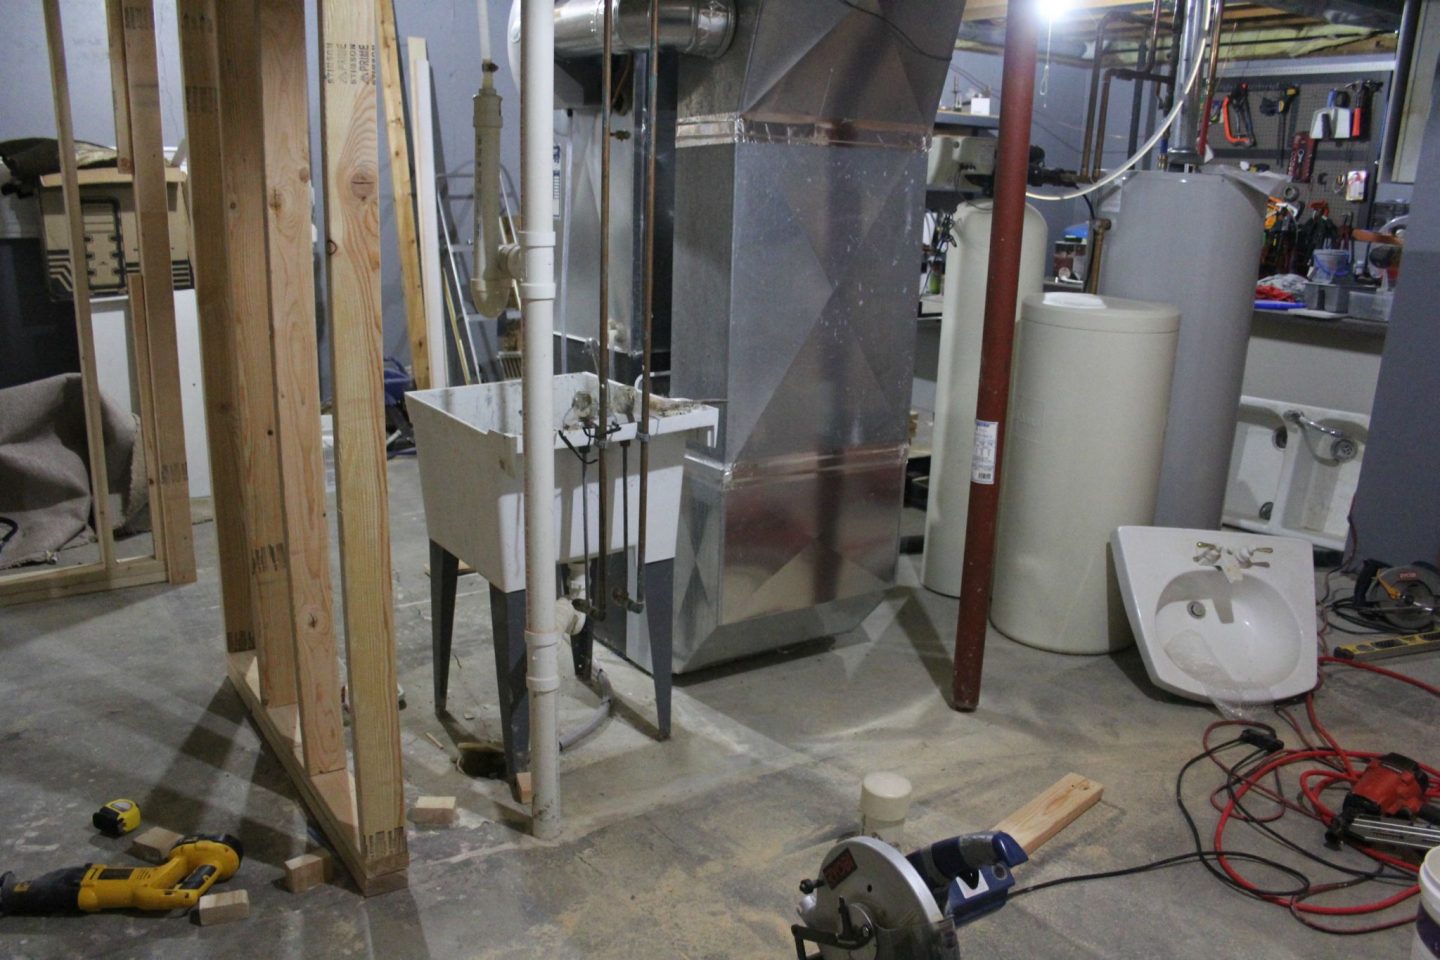
About the space…It’s not lovely, and it’s also too easy to ignore since we don’t spend time down there. The basement includes: a large media room, a spacious bedroom with huge but unfinished “walk-in closet with a checkered past,” an unfinished workshop, and unfinished storage spaces. First on the agenda was stealing raw, spare, storage space to create a brand new full bathroom and executing all the work ourselves (and by ourselves, I mean, my better half since I simply assist and point).
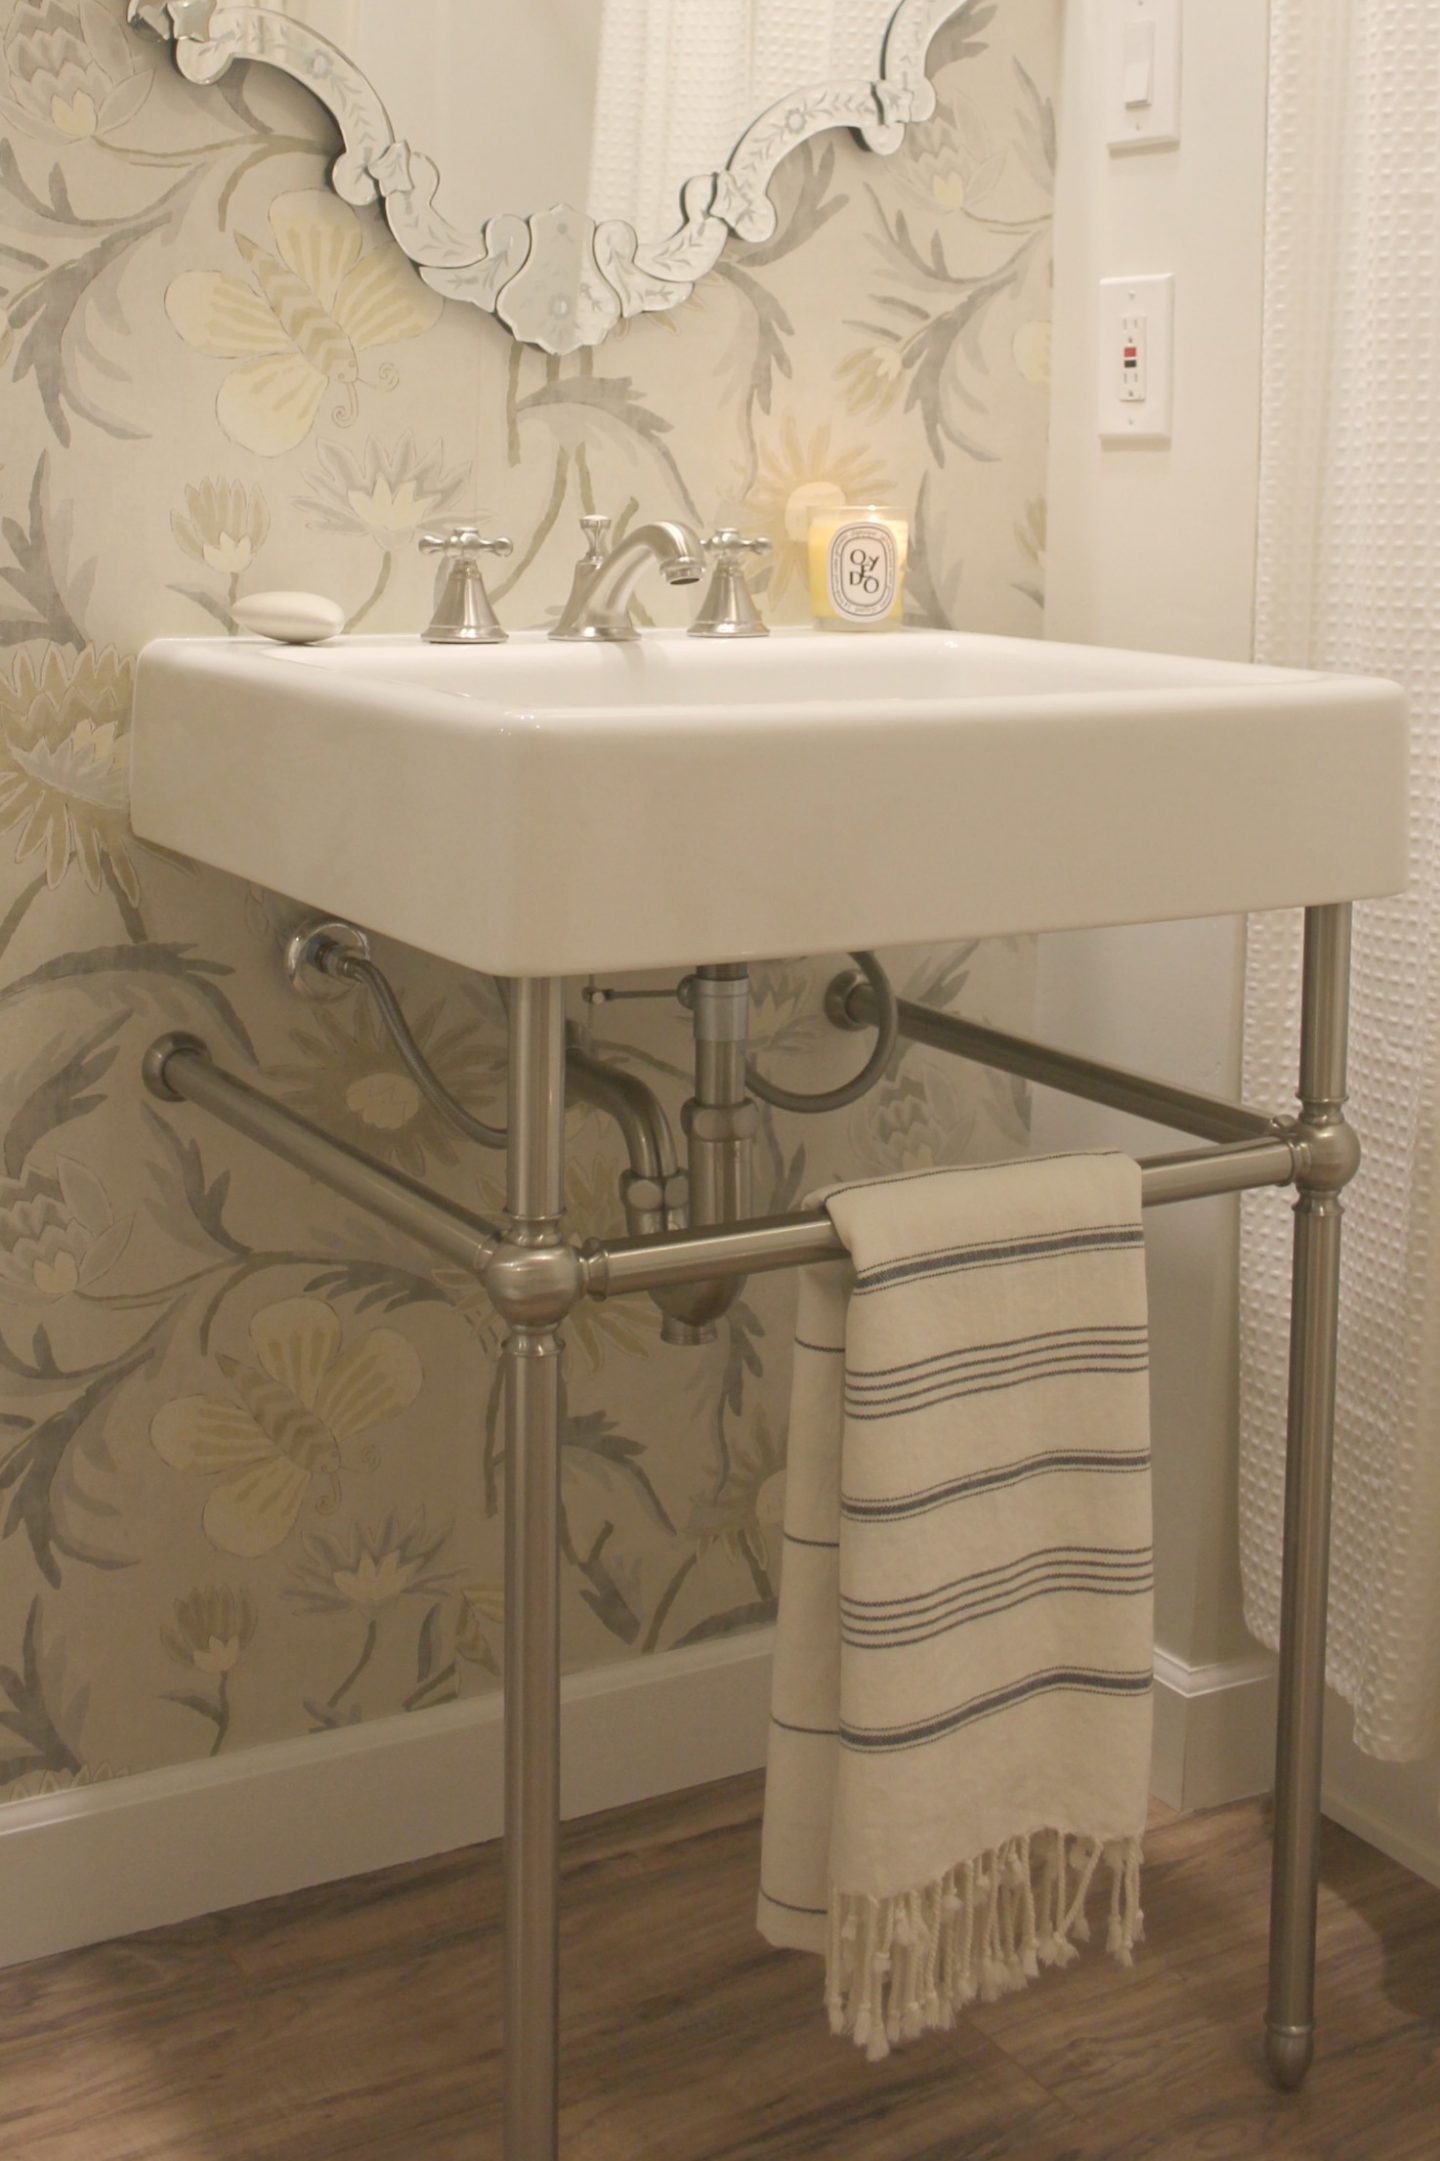
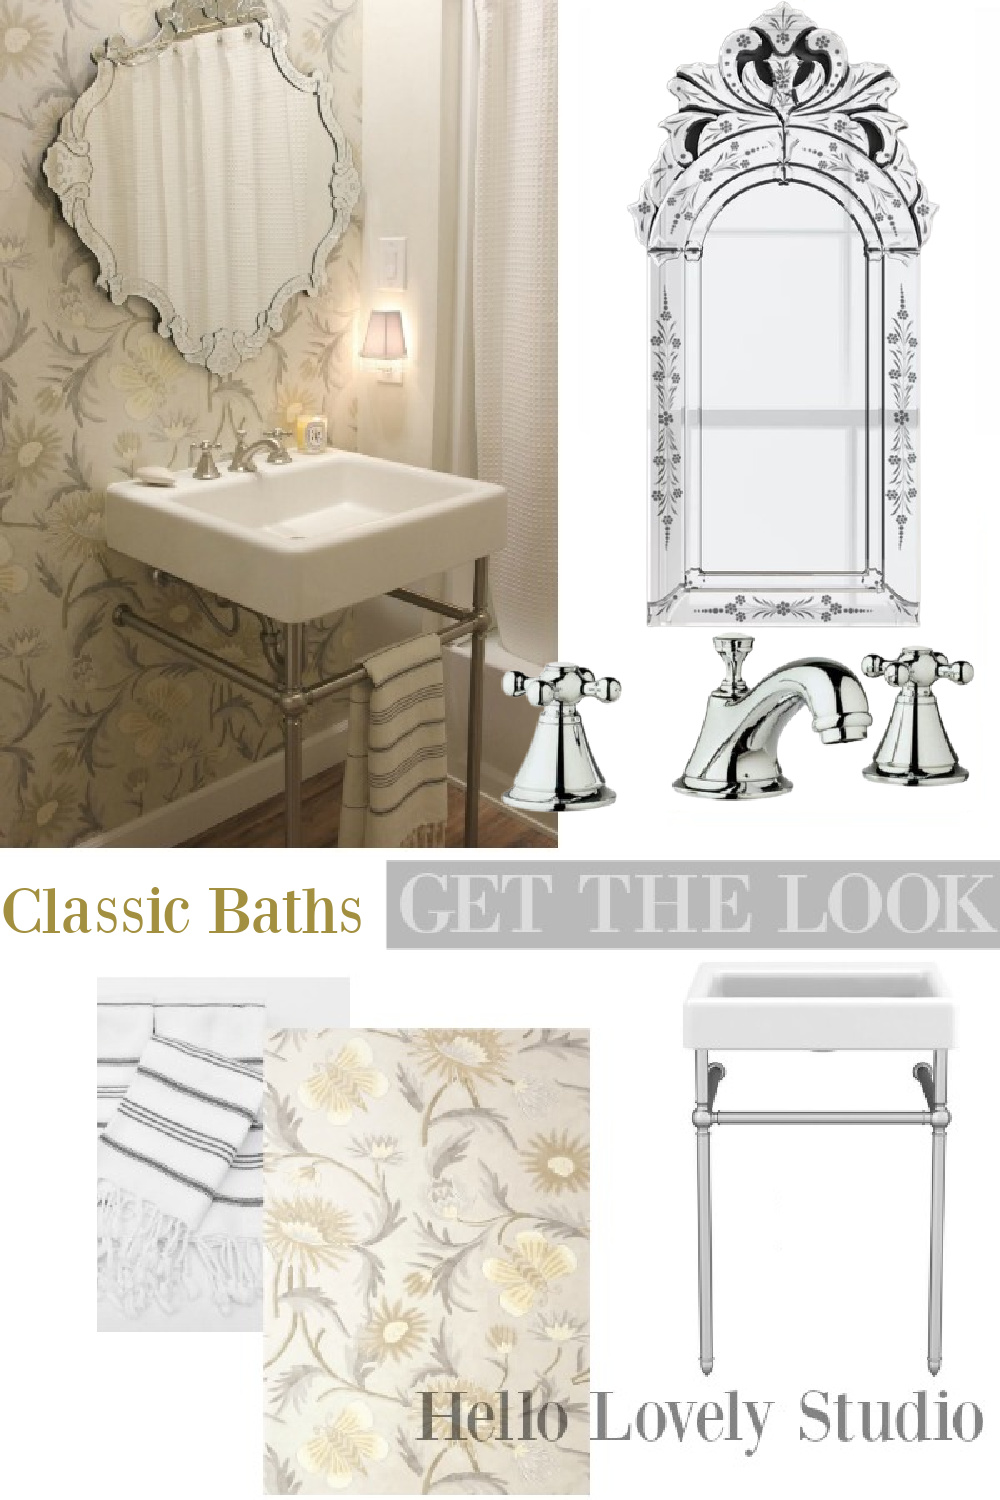
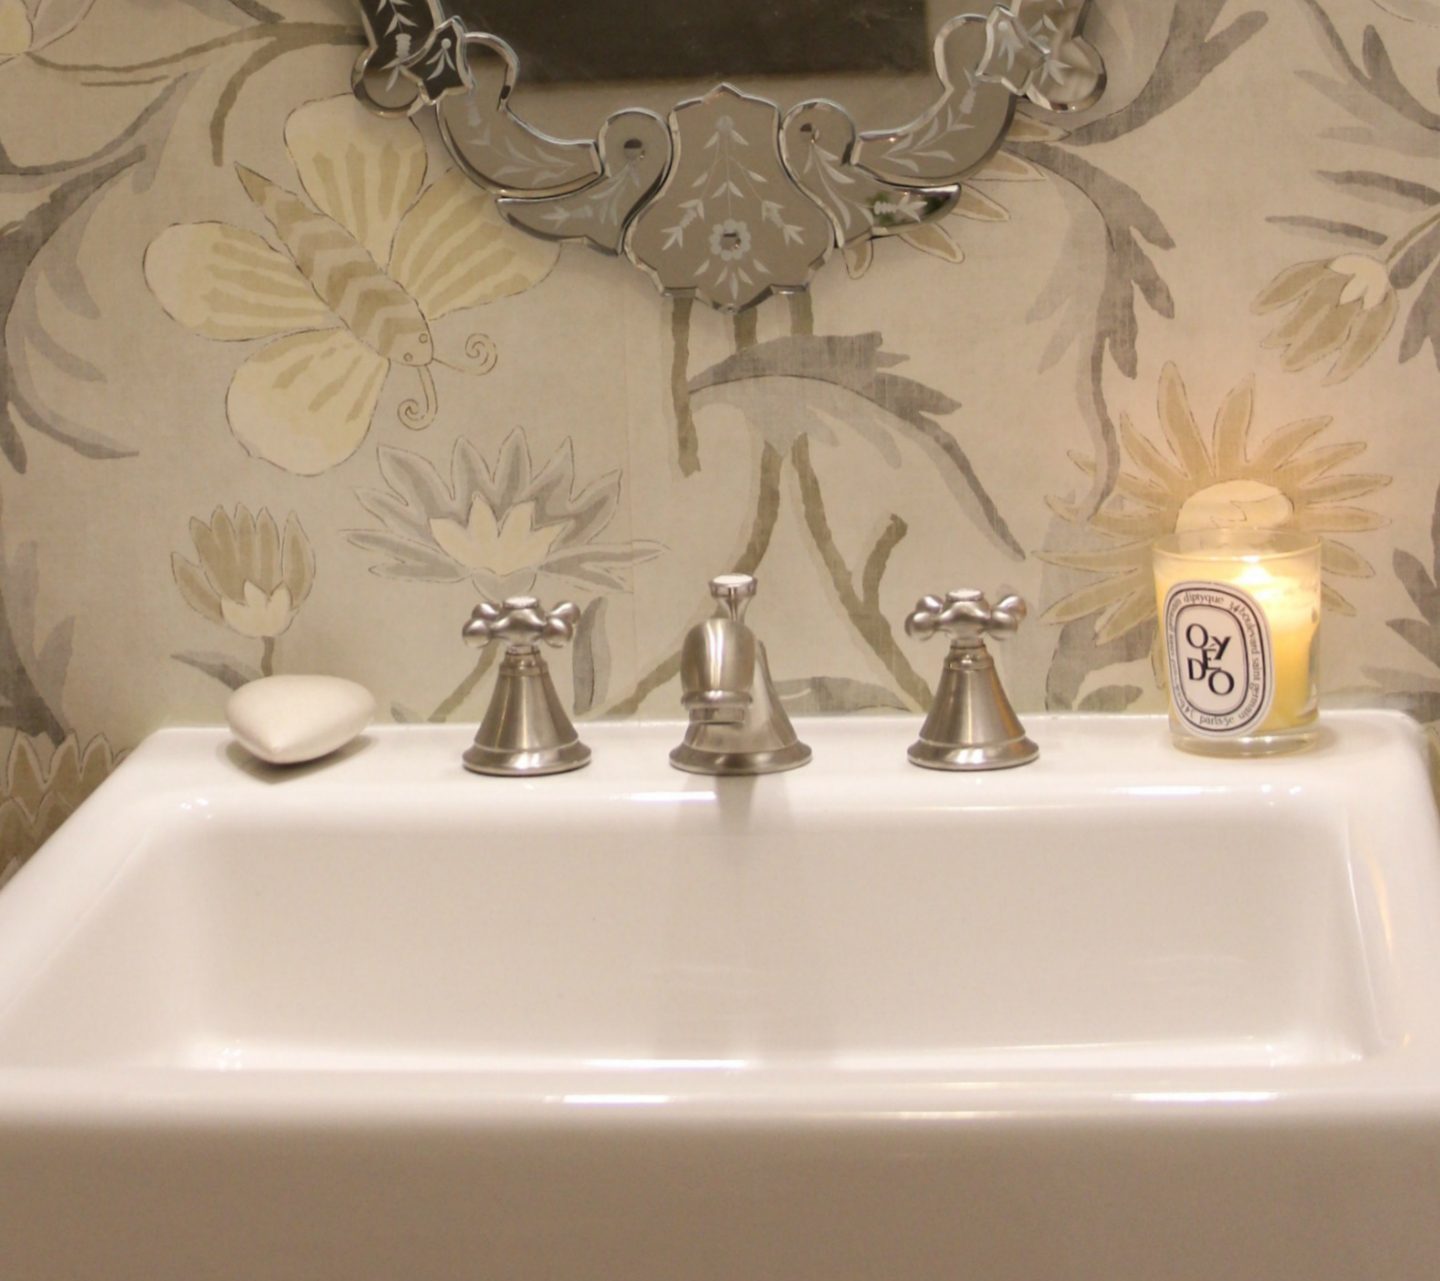
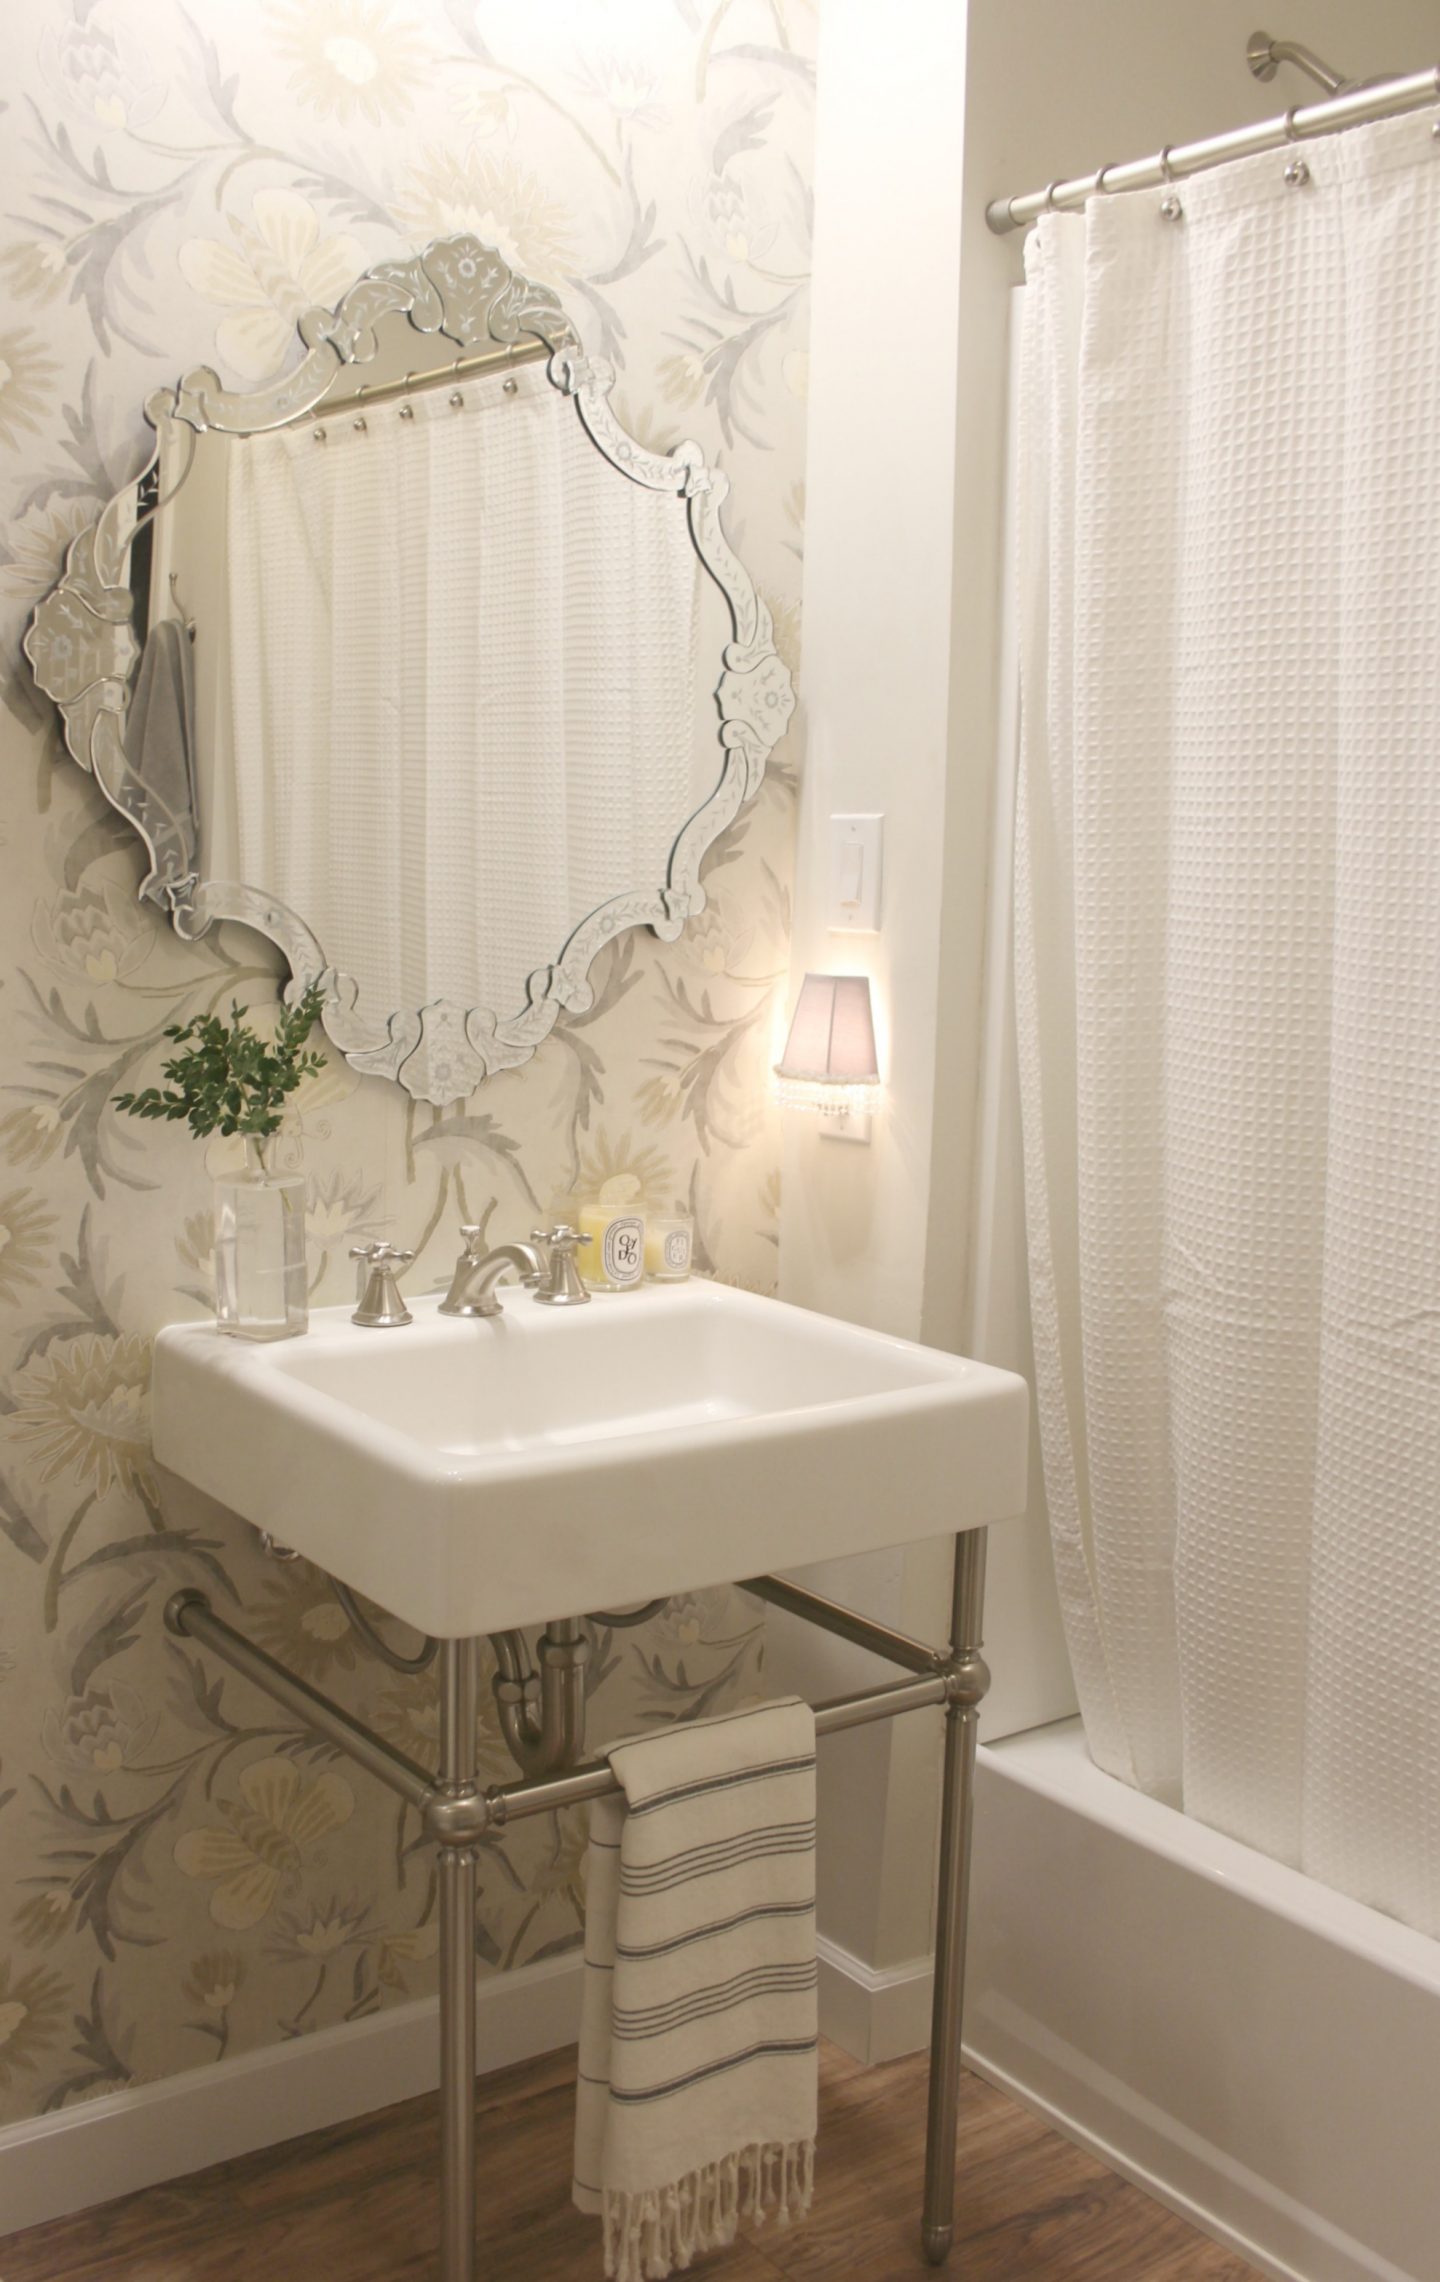
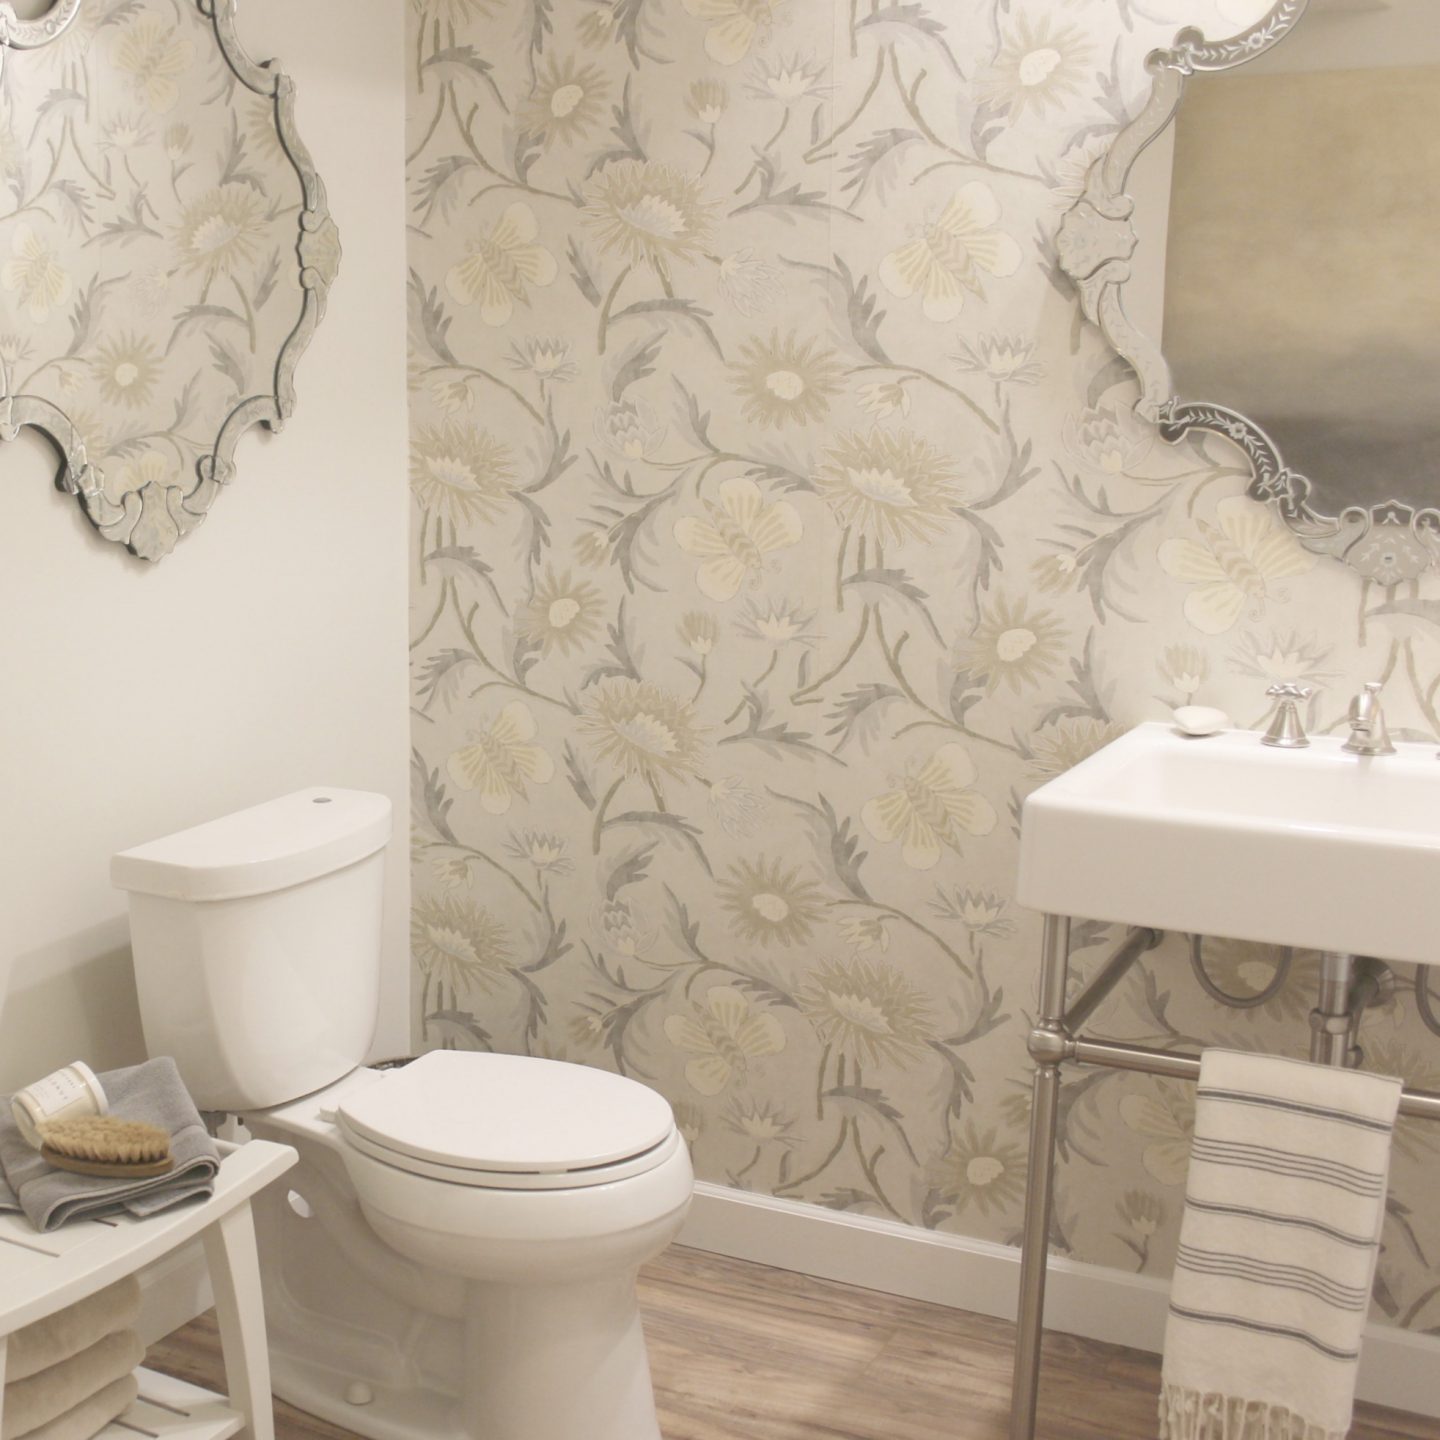
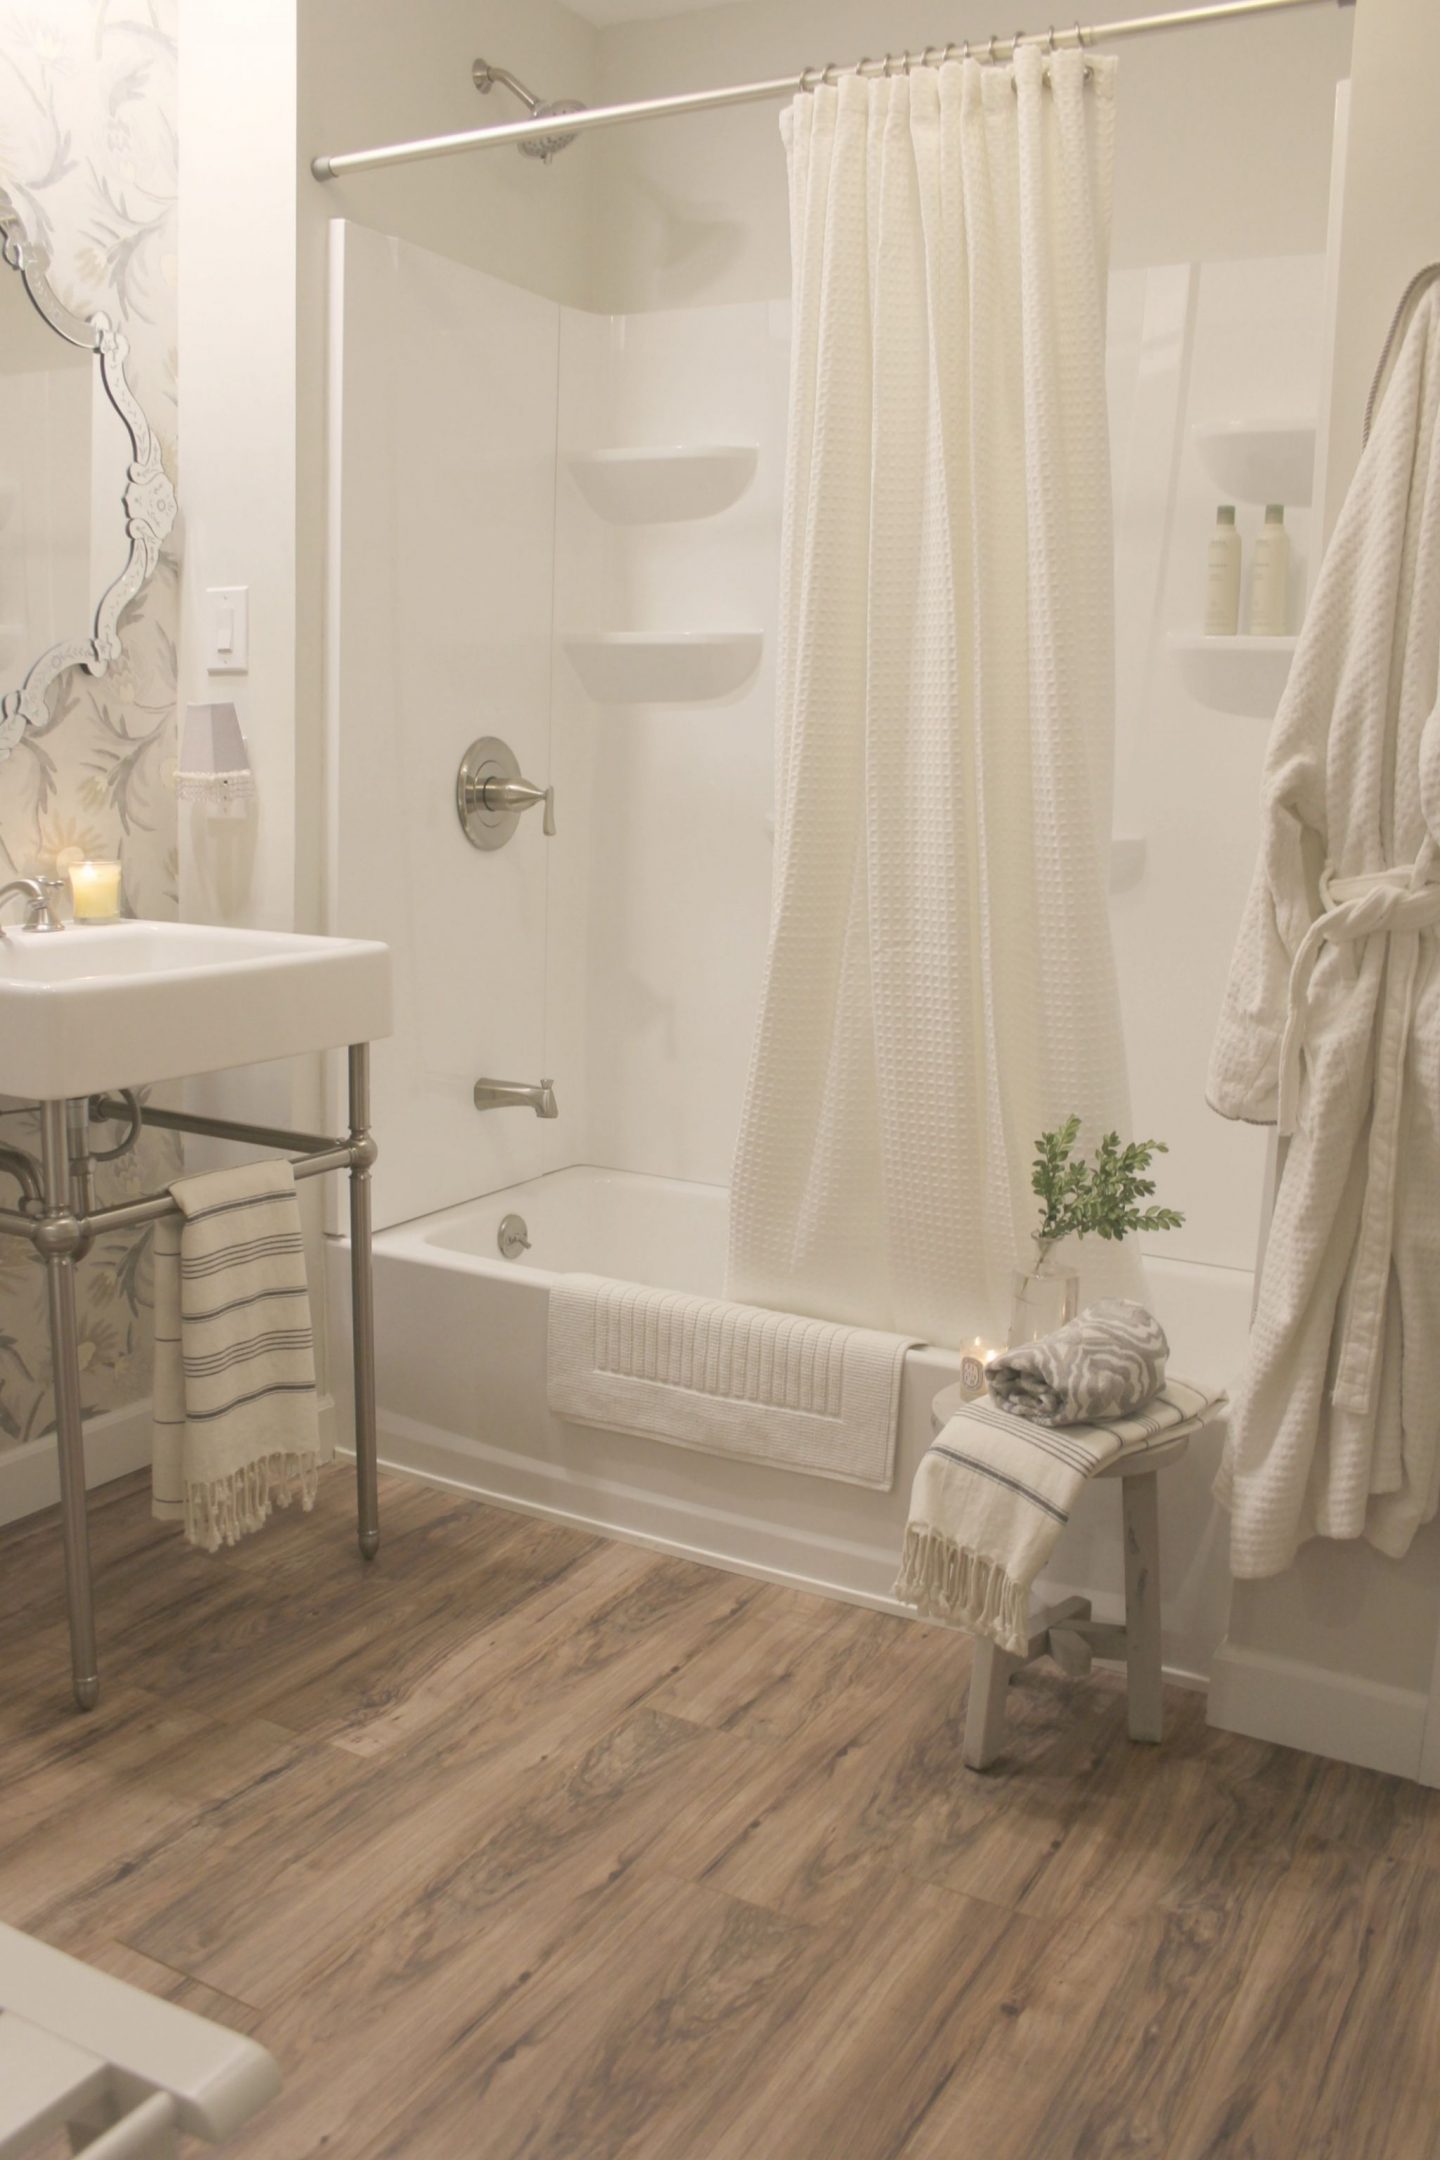
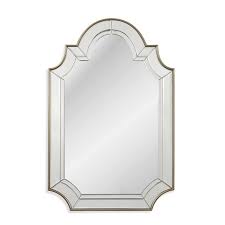
Keeping costs manageable…We were determined to keep costs and backbreaking labor to a minimum. I’ll discuss in more detail how we successfully achieved those goals in an upcoming story. A boost and boon to the budget was partnering with brands for two beautiful fixtures, and the other day I shared a little ditty about the the DXV console sink and GROHE Seabury widespread faucet with cross handles we chose for the bathroom design. They heighten the quality and spa-feel of the classically modern farmhouse style bathroom. I was also able to shop my house, and Venetian mirrors that worked in our last home but not here finally got dusted off.
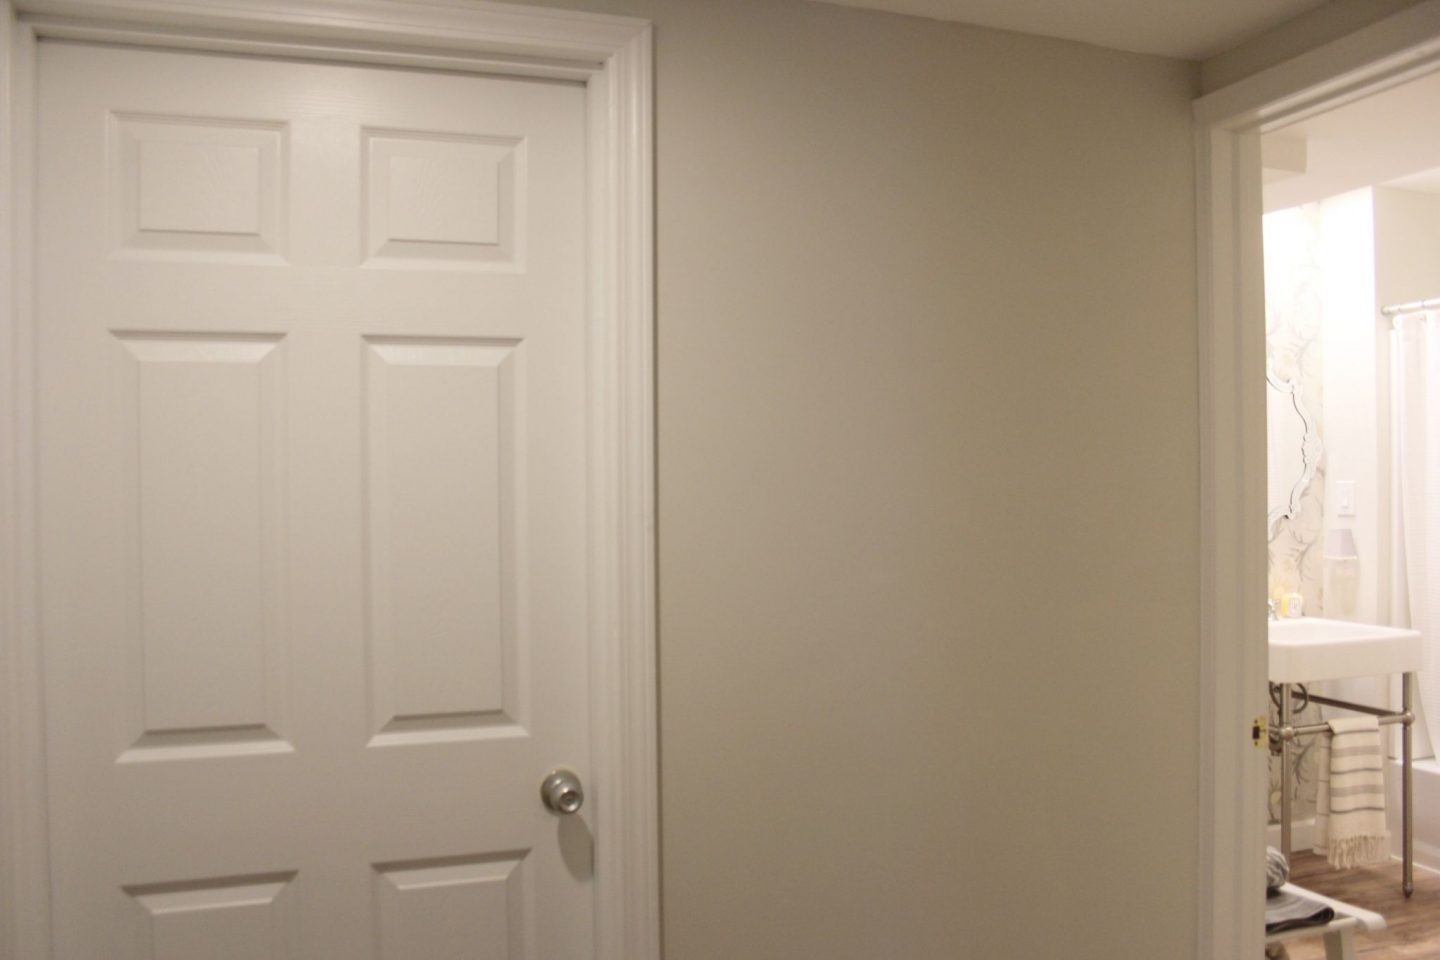
Creating a floorplan & recycling…Since we could not introduce a door to the bathroom directly from the media room without interrupting furniture placement and flow, we were forced to get creative and designed a small vestibule you enter from the existing door to the unfinished part of the basement. Then we created a door from this hallway to the unfinished workshop and storage space as well as the door to the new bathroom. We had saved all the pre-existing 6-panel interior doors we replaced when we upgraded to the knotty alder ones upstairs and were able to re-use them for the hall and bath.
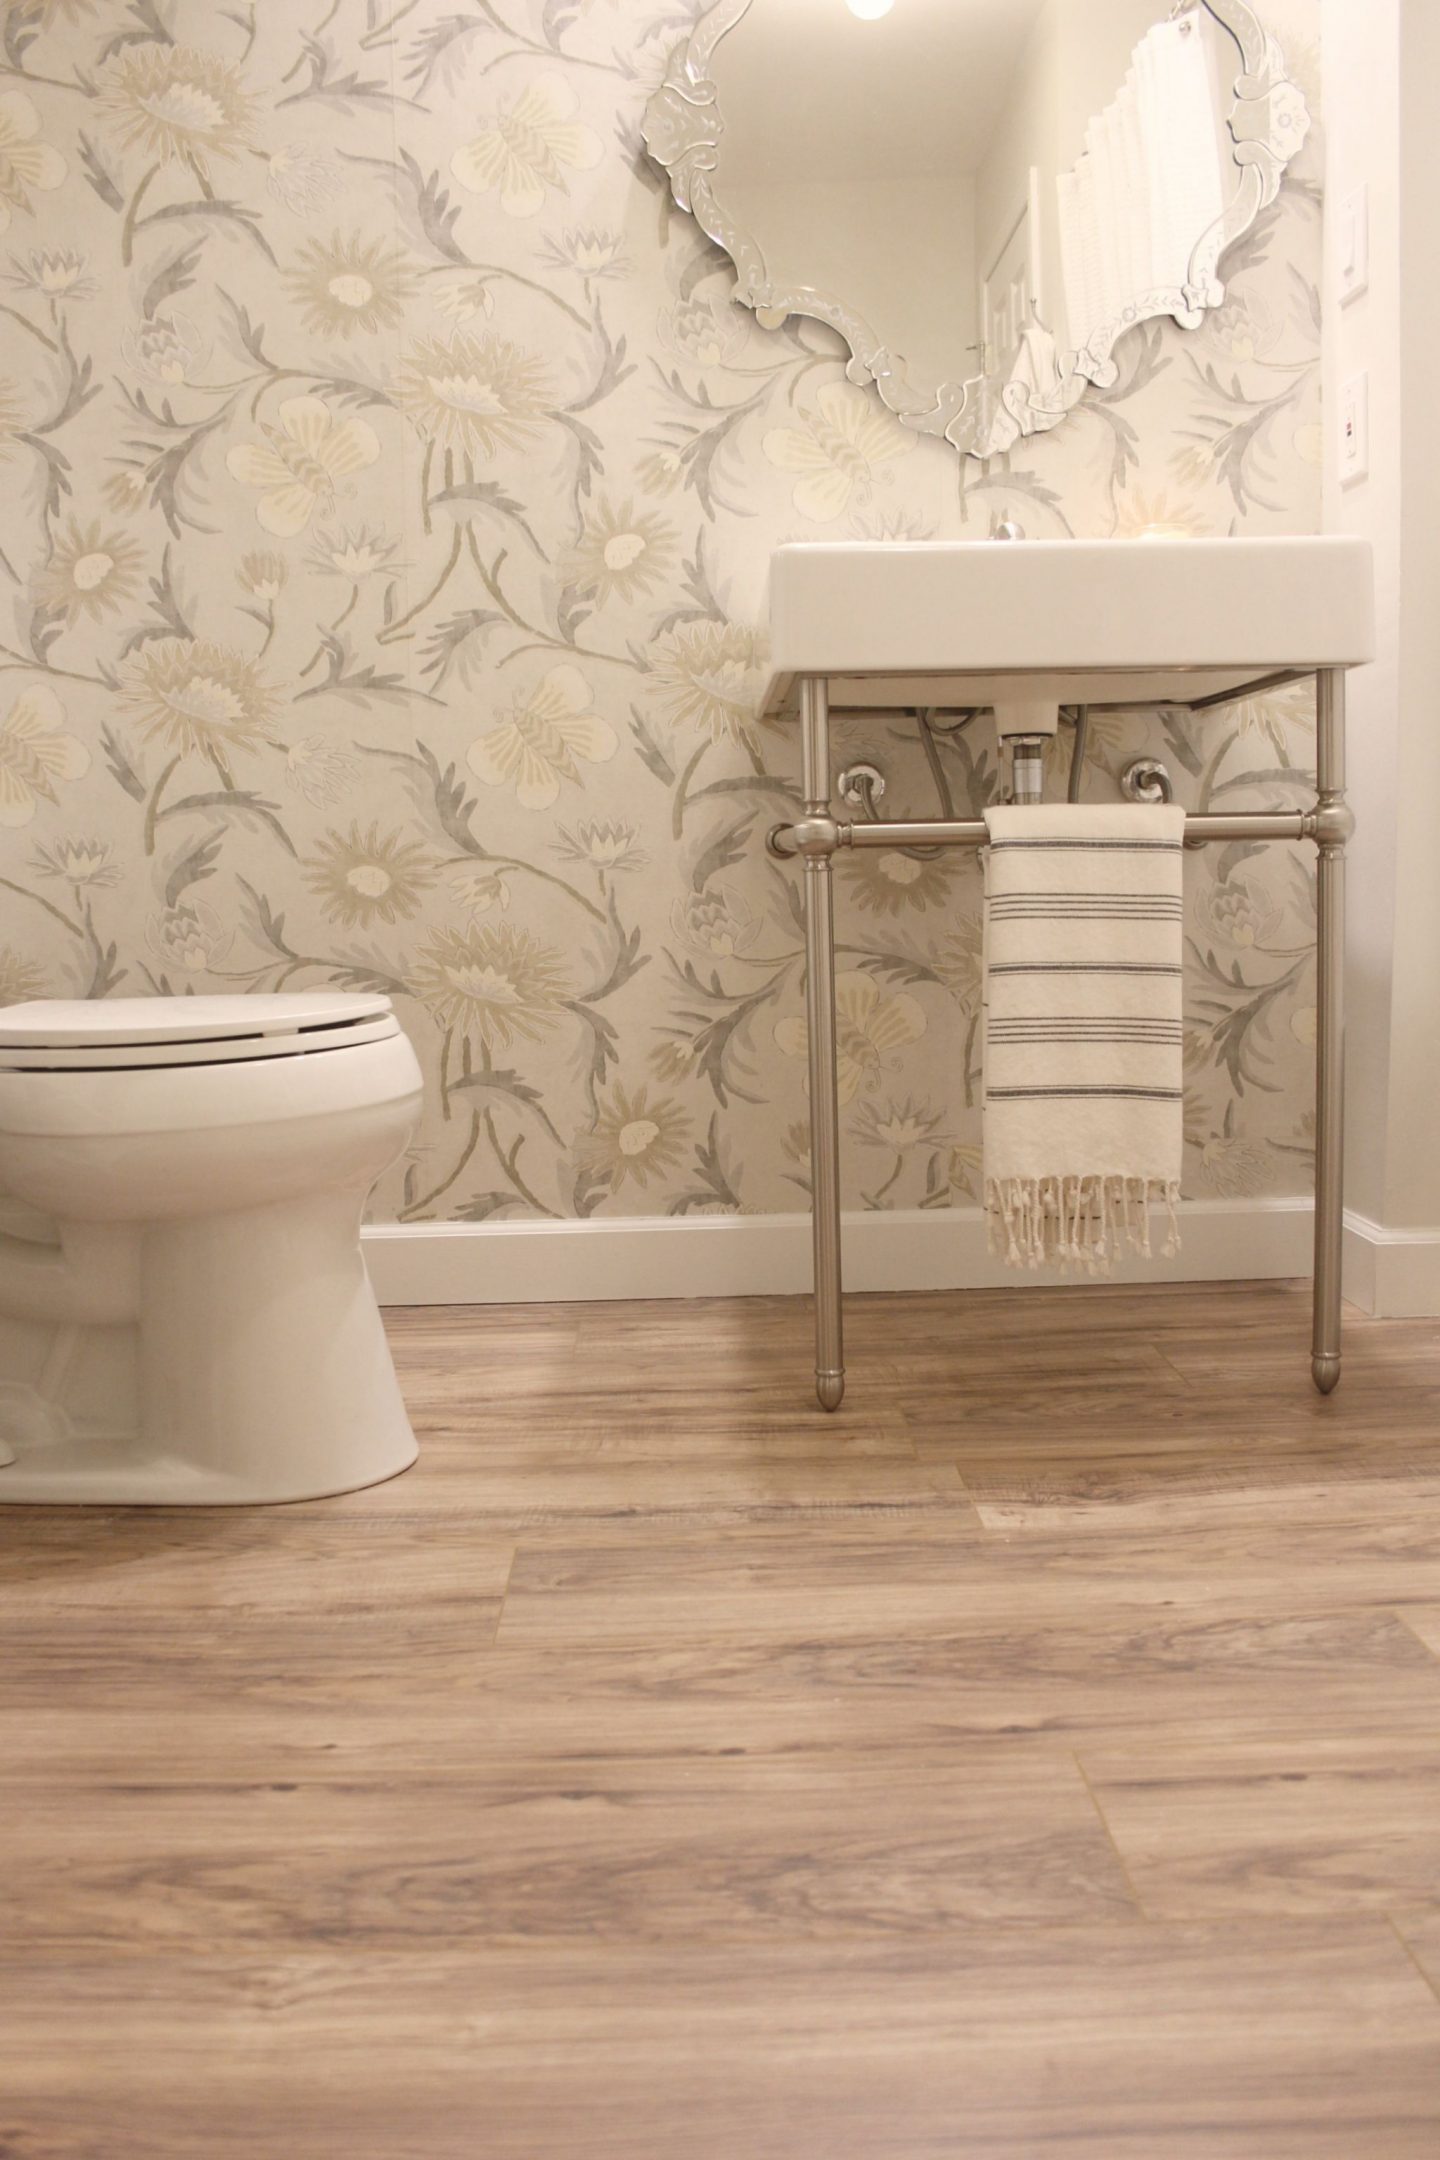
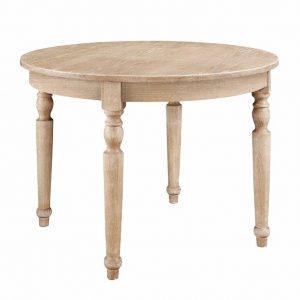
A loose bathroom design plan…We held our bathroom design plans loosely as we always do with these DIY adventures–it’s the only way we know how to stay on budget and meet a deadline. What this means is typically I don’t choose fixtures until just before it’s time to install them because then I know what dimensions and configurations will work. This may sound backwards to some of you designers who have a vision, sketch it, and then execute, but as renovators, it’s how we roll. Here’s an example: initially it appeared there would be plenty of space for a 30″ bathroom vanity or bathroom sink, and it’s what I planned for but held loosely. When it was go-time for the sink, and I could see the relationship of the toilet, sink, and shower, I knew a 24″ size sink would function and look better even though the 30″ could technically be squeezed in. So instead of a bunch of tweaking to make a 30″ sink work, we saved ourselves time and hassle by ordering the 24″.
DIY doesn’t mean change orders are easy…I don’t get overly attached to a particular fixture or model when we’re renovating because I know better. When you’re doing the work yourself, change orders are even more painful than submitting them to a contractor you have hired because it’s YOU who will do the changin’ and time is money! Since we have been renovating for years with this “do not be a clinger” approach, we have learned the results are often surprisingly better because when forced to get creative with a limited amount of choices, a more custom and imaginative result often emerges.
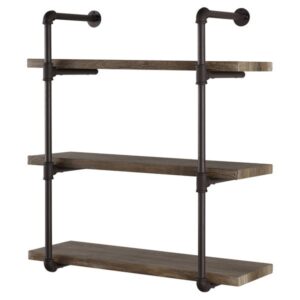
Linen closet or pretty open shelves? Another design feature I held loose was the space in the bathroom to be used for a deep closet, built-in shelves, or even a makeup vanity with cabinetry. We did not make a decision on how we would finish this part of the bathroom until after the drywall was up. How did we decide? My husband is coping with a shoulder injury, and we opted to create a deep closet since: it would not be as labor intensive as finish work for shelves, we could purchase pre-made shelves for it, it would be more about function than decor, and we already had a salvaged closet door.
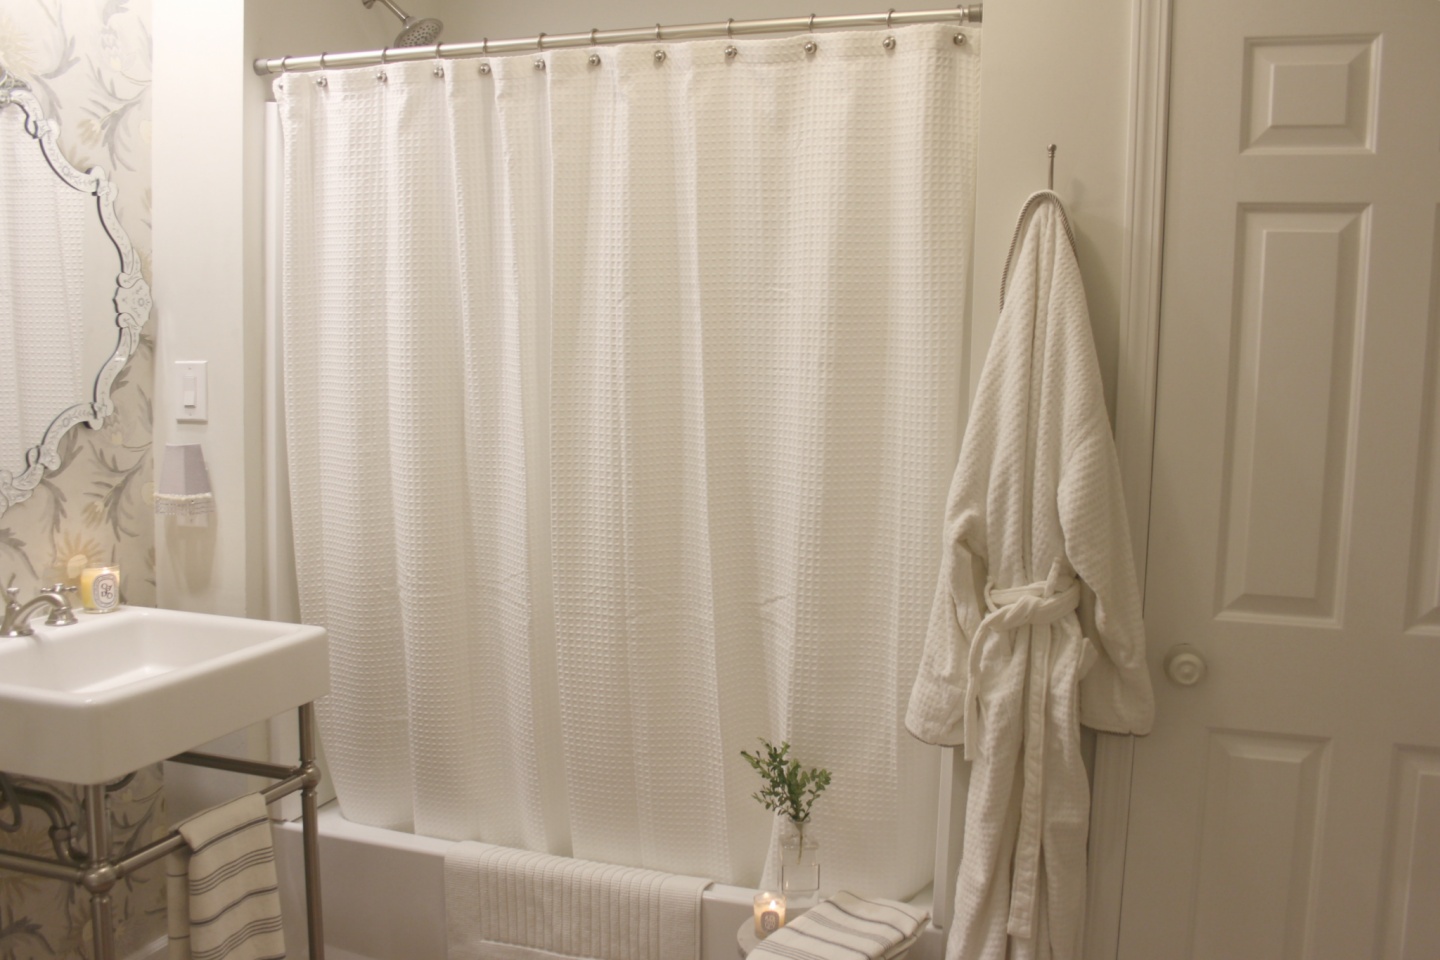
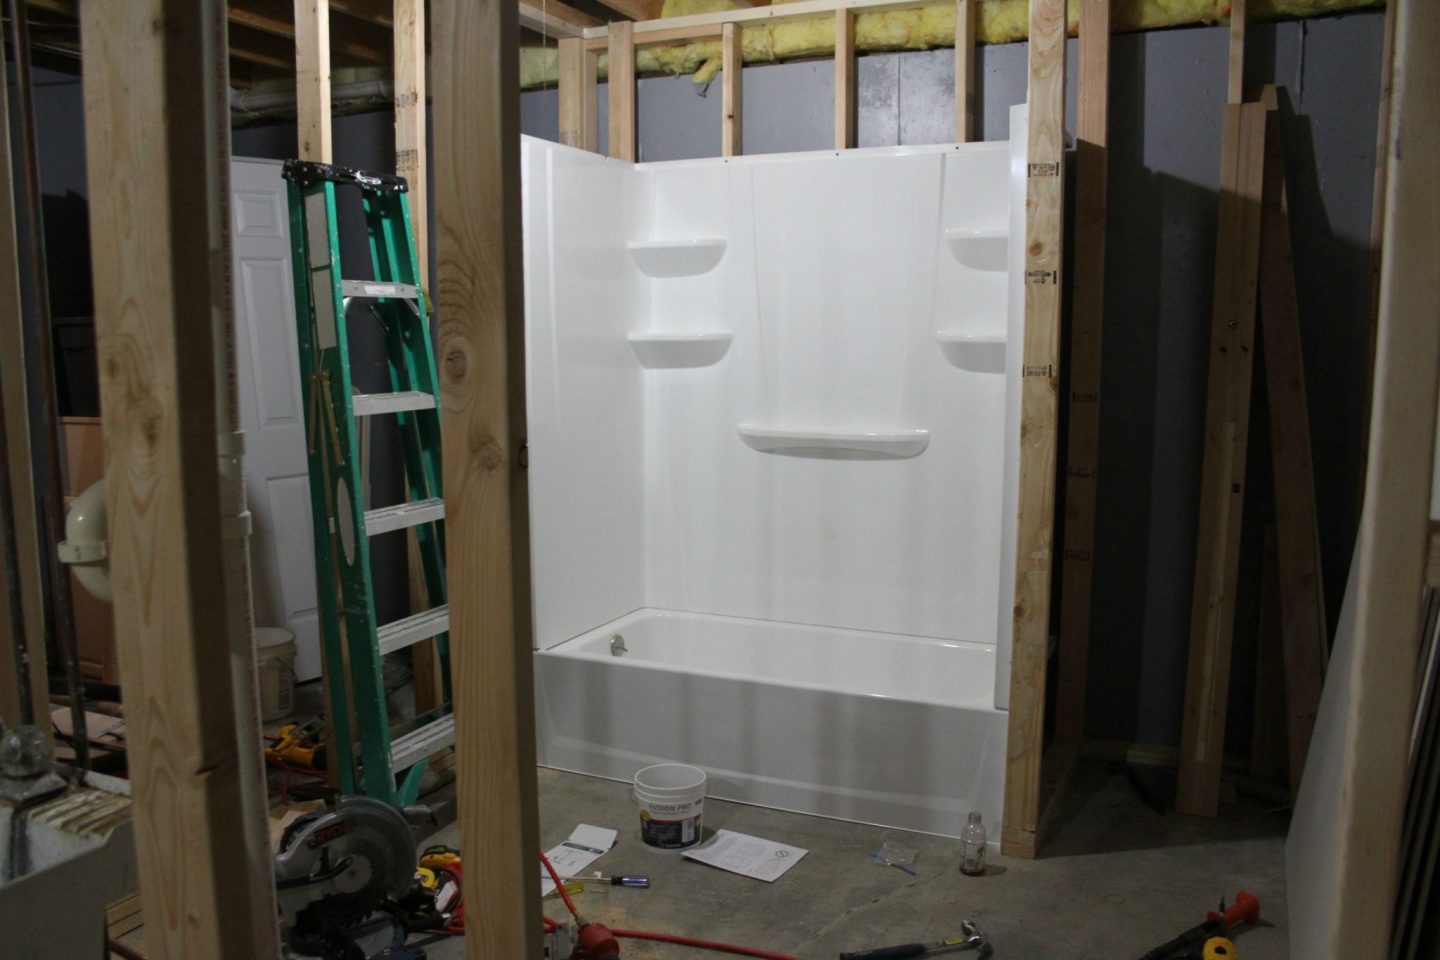
The bathtub/shower decision…This design decision was made based on function and facts: the bathroom will be used only occasionally by our visiting children, I am not crazy about grout, and it saved us a bunch of cash and ouchy shoulder time. Fiberglass tub surrounds are easy to install and clean, and after all the tiling we have done lately, we were both keen on no tile and no grout. I have noticed that even in the finest hotel bathrooms I have used, grout doesn’t stay good looking for long. While fiberglass shower wall surrounds may have fallen from favor because they are inexpensive, not custom, and not IG-worthy, I’m thrilled to have them working hard in the new zen groutless bathroom!
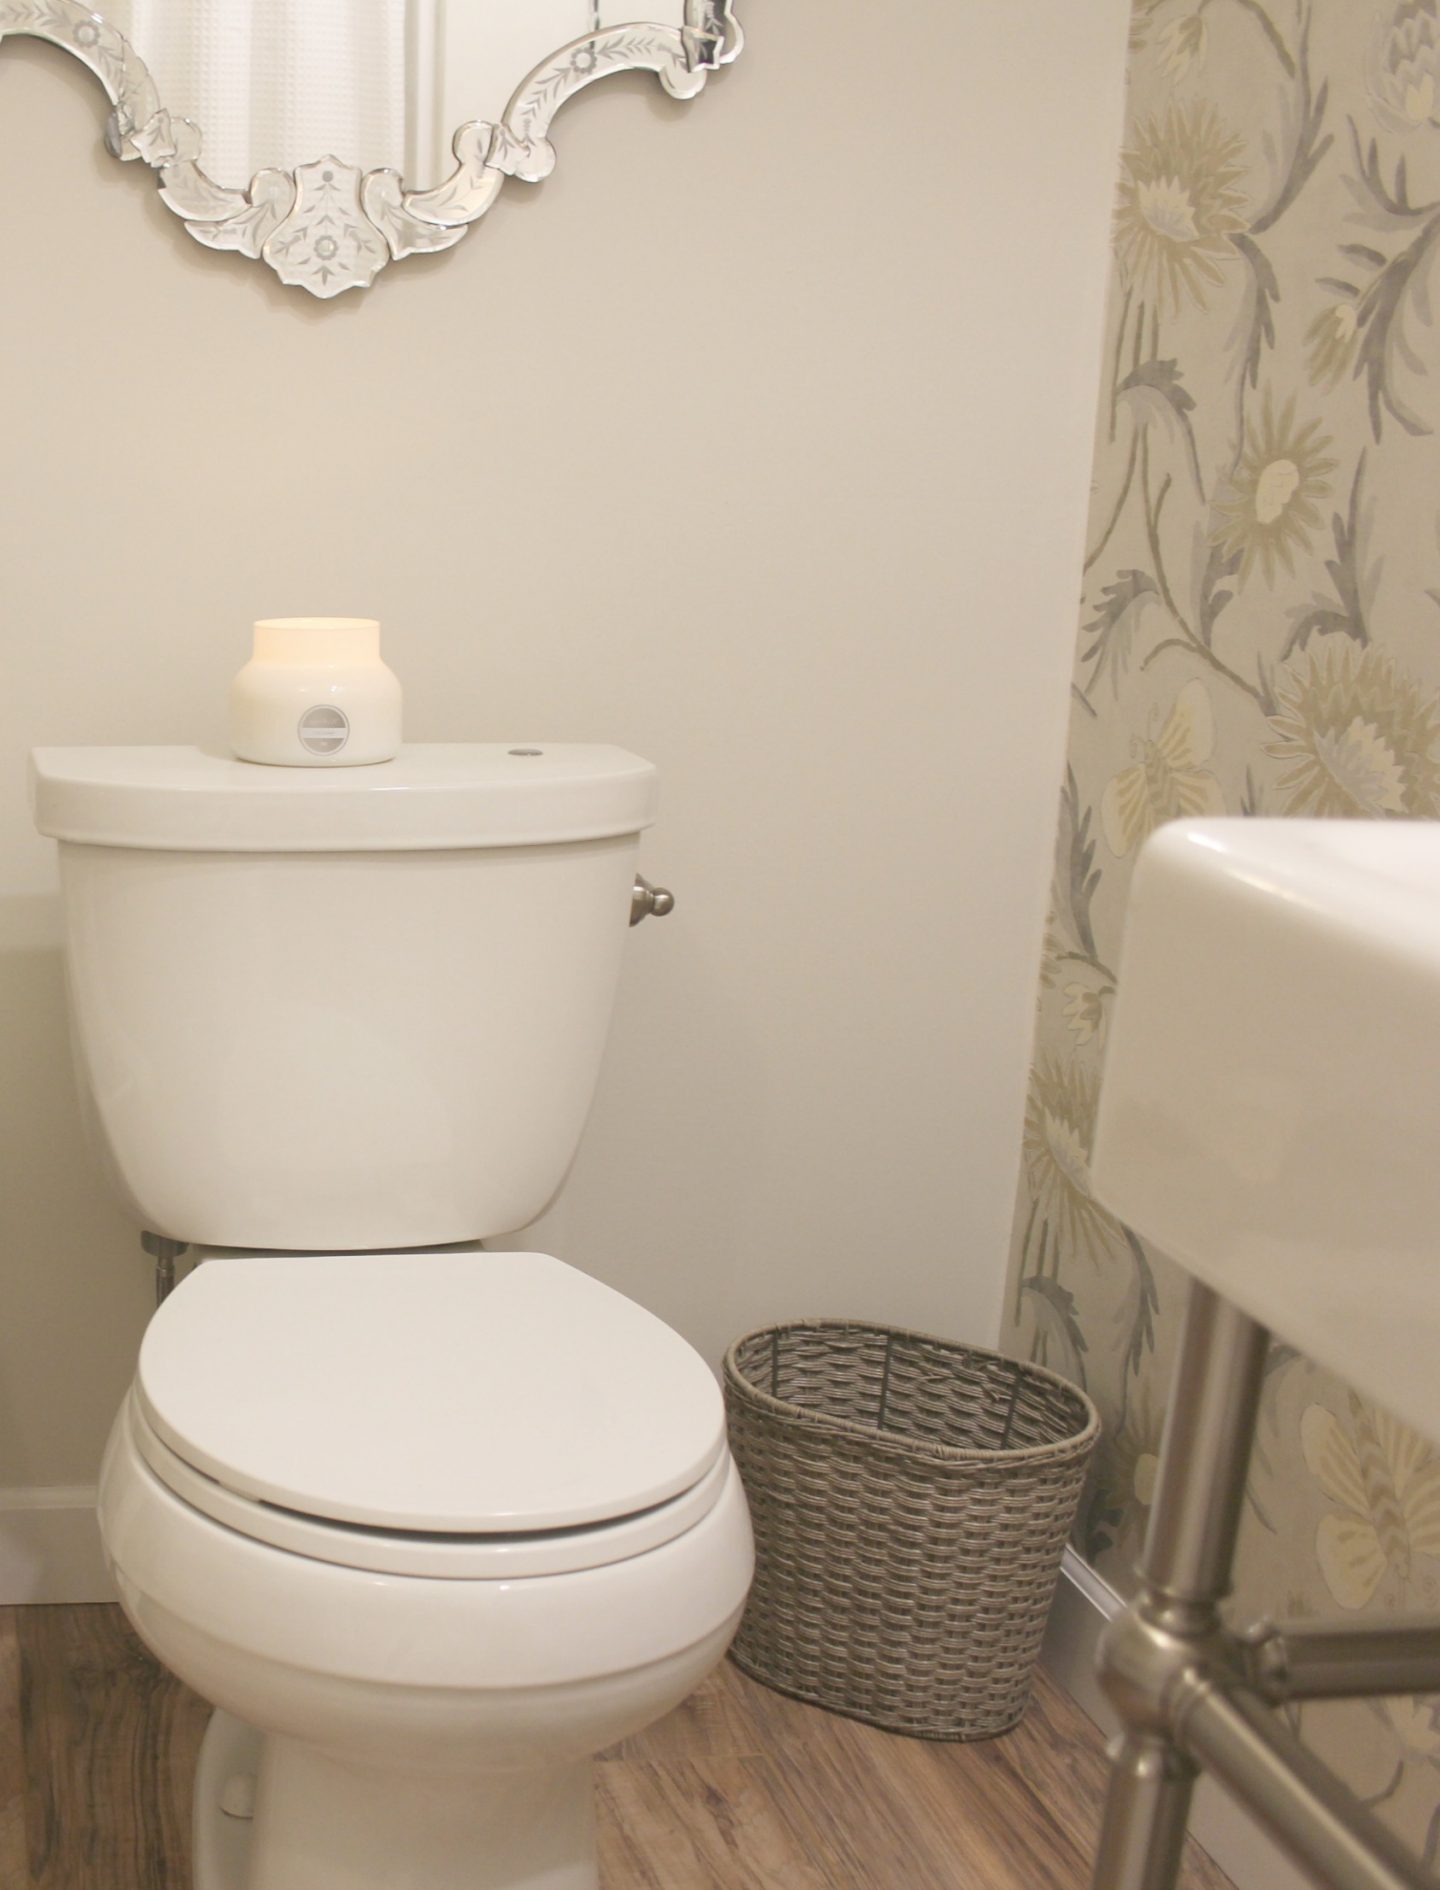
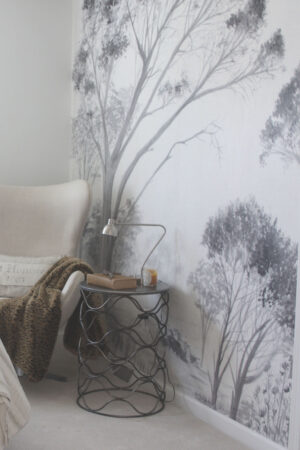
Thibaut (Lizette) Wallpaper…I even held the wallpaper idea loosely. I love the pattern with butterflies and the color palette, but I didn’t decide to use the Thibaut wallpaper until the last minute in case the space didn’t need the interest. My choice to paper the sink wall only is another example of our design flexibility…it took only a couple of hours to install, and if ever I tire of it, the work removing it will be only a fraction of what would be required if every wall was wallpapered.
The walls in the bathroom and hall are painted Benjamin Moore Classic Gray, and the trim is Benjamin Moore White. Care to see the wallpaper going up? Here you go:
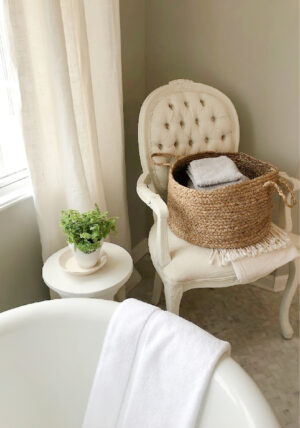
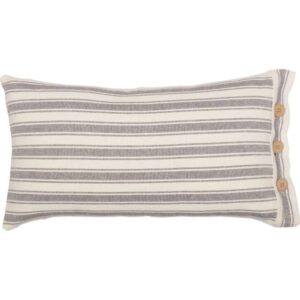
Zen-like Accessories… I wanted the bathroom to feel airy and spa-like, so there was no need for too many accessories, but the space is large enough that it would look stark without them. I found this teak shower bench but hated the finish so I painted it light grey, and now it’s perfect upon the warm wood-toned floor next to the toilet where it sort of buffers it when you walk through the bathroom door. If you can’t have the toilet in a closet or a partial wall, this is the next best thing. On the toilet is my favorite white candle – a Capri Blue volcano candle. The rustic teak stool near the tub (which got a wash of BM Revere Pewter a few years back) was shopped from my house (here’s a cute one), and I always have Diptyque candles around me. The Pamuk Turkish striped towels are a luxurious touch.


Let me know if you have any questions about the transformation of this space — I’m happy to help!
Find the resource guide with links to the fixtures right here. For more peeks around our house, visit here.
I independently selected products in this post—if you buy from one of my links, I may earn a commission.
Peace to you right where you are.
-michele
Shop for items you already intended to buy on Amazon RIGHT HERE, and also find home decor here to keep decor inspiration flowing on Hello Lovely!
Hello Lovely is a participant in the Amazon Services LLC Associates Program, an affiliate advertising program designed to provide a means for sites to earn fees by linking to Amazon.com and affiliated sites.


You created such beautiful balance in this space- the streamlined against the more ornate (mirror, wallpaper). It works so well. You get an A+!!
Author
Thanks for the kind words, Jeanne! Have a lovely weekend. 🙂
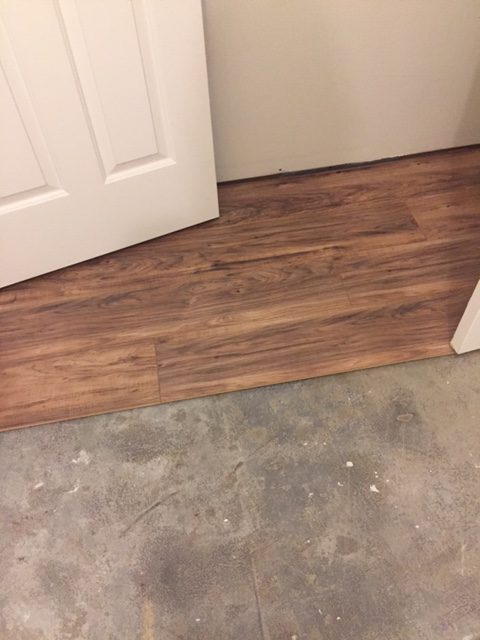
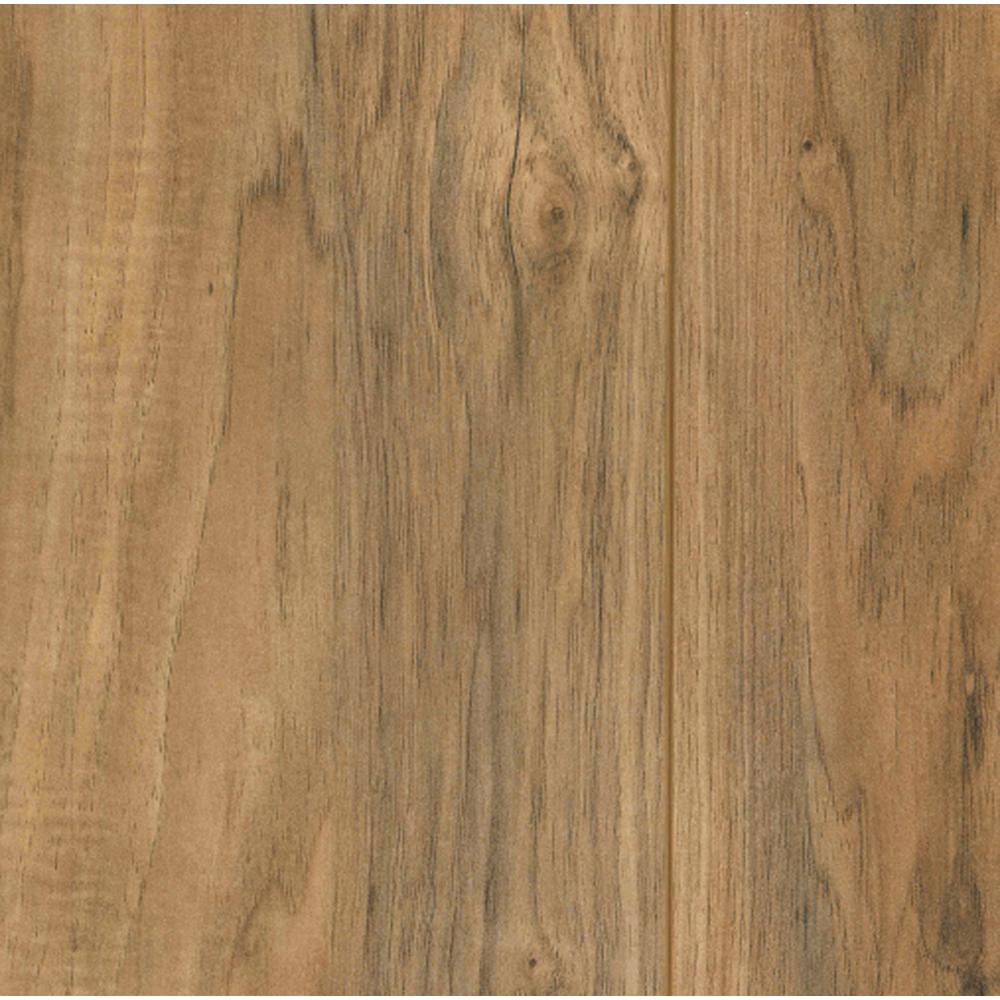
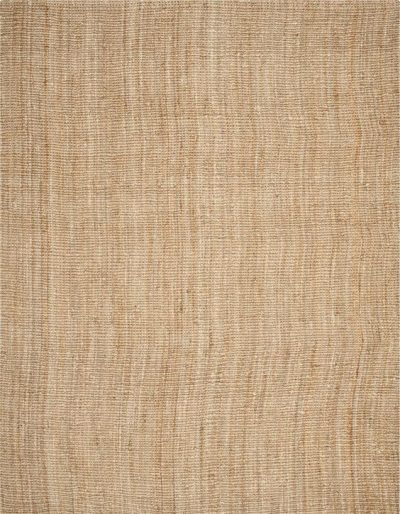
You and your hubby do nice work! Kudos! Here are a few thoughts from this kitchen and bath designer, for what they are worth: love your advice about the tub/shower unit…classic and appropriate for a basement bath. (Would have loved the valve placement on the other side of the tub/shower, though.) That DXV console is lovely, no pun intended 🙂 Wallpaper is stunning. Regarding the flooring choice: I would not place a laminate flooring in a bathroom….plenty of waterproof LVP products on the market that are better suited to a wet environment. Lastly, your sage advice about being flexible is refreshing! Always go into the project with a great plan and design, but allow some degree of compromise. I really enjoy you blog my friend!
Peace,
Liz
Author
Hi Liz! Thanks for sharing your bath design expertise here. I so agree about valve placement for shower. It was roughed in, and we had to do that left drain. I also hear you about laminate in a bathroom – there are superior options out there for sure. Thanks for reading, friend. 🙂
You did an amazing job. Beautiful!
Author
Thanks, Phillis! This project actually went quickly! 🙂
Beautiful reno, Michele, and how blessed you are to have a handy husband! You two need your own HGTV show. 🙂
Author
Have your people call my people, Rhonda! My sons are colorful personalities and would be an asset on any HGTV show too! 🙂
I always wonder about wallpaper in a bathroom. Is it going to peel or are wallpapers better these days?
Author
We have had lived with wallpaper in many bathrooms through the years and not had a problem. That said, we are also ones to change up the decor quite often! From what I have observed, wallpaper does NOT come down easily! Thanks for reading, Karol. 🙂
You created a beautiful space. I love the beautiful mirror and wallpaper and the accessories are so artfully arranged. It all looks great!
Author
Thanks, Lurlie! So glad you are following along. 🙂
I love your bathroom, but disappointed to see nothing about lighting. Obviously a basement bathroom with no windows had to have lighting considerations (and a fan, of course). There appears to be some sort of ceiling light over the sink, but none over the shower/bath?
Author
We installed little halogen lights in the ceiling above the mirror and a vintage 1920s ceiling light that we have put in every home we have lived in for 25 years. 🙂 So nothing blogworthy to show. 🙂