I know I’m a broken record…it’s FAR more enjoyable to share interior design work and renovations that aren’t mine! While it is deeply gratifying to renovate, restore, re-use and create new designs, it is also vulnerable to publish rooms that are still evolving. Such is life when you are DIYers with full-time jobs and limited schedules to do the work. None of the spaces here at the fussy formal Georgian have been a cakewalk or quick to remedy. But the spaces I’m revealing today were less of a headache than other rooms. Let’s peek at Hello Lovely’s family room progress, paint colors, and shopping resources.
Hello Lovely’s Family Room & Powder Bath Progress
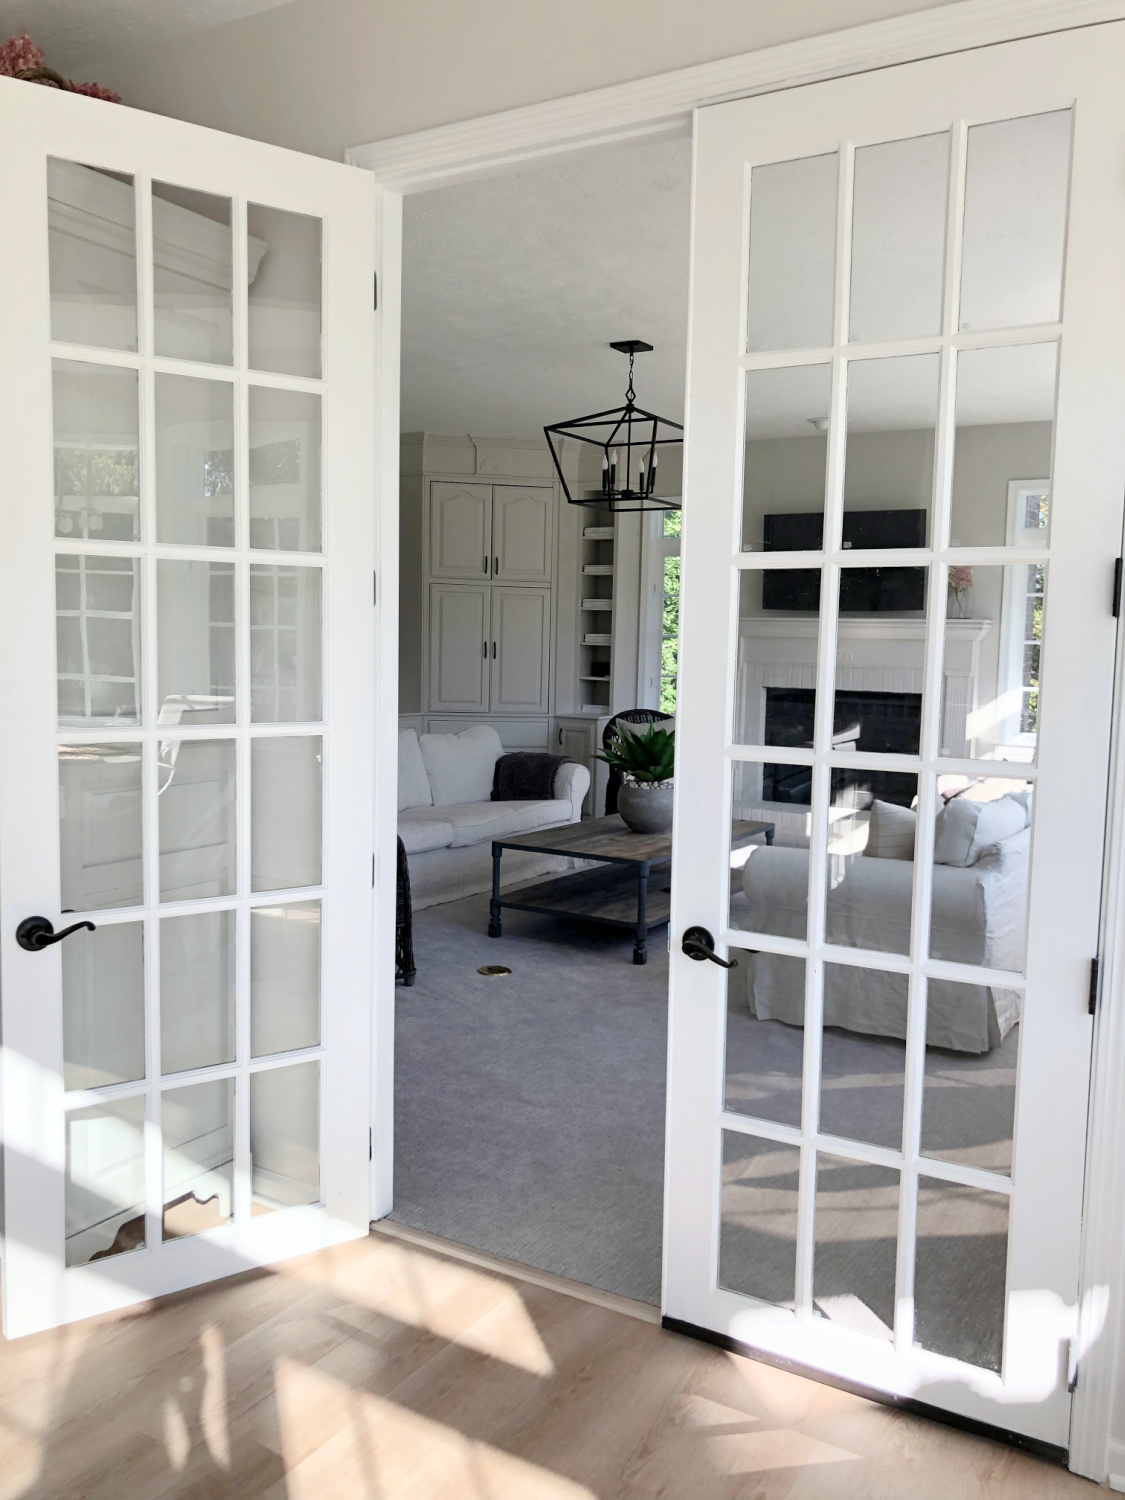
The family room is connected to the kitchen with existing 8′ French doors that my husband insisted on keeping. He likes working from home (talking on phone, working on laptop) in there and needs to be able to create privacy from the kitchen and hall. A future owner may want to knock down this wall with the doors and where I placed a large freestanding cupboard.
Psst. Whenever I mention we are “real life renovators,” I’m not bragging or taking a stab at anyone. We would prefer to have access to the trades, a film crew, and craft services. But instead it’s just two lovebirds. And because it’s real life, it takes a longggg time and the process is anything but glamorous. 🙂
Addressing Doors & Trim
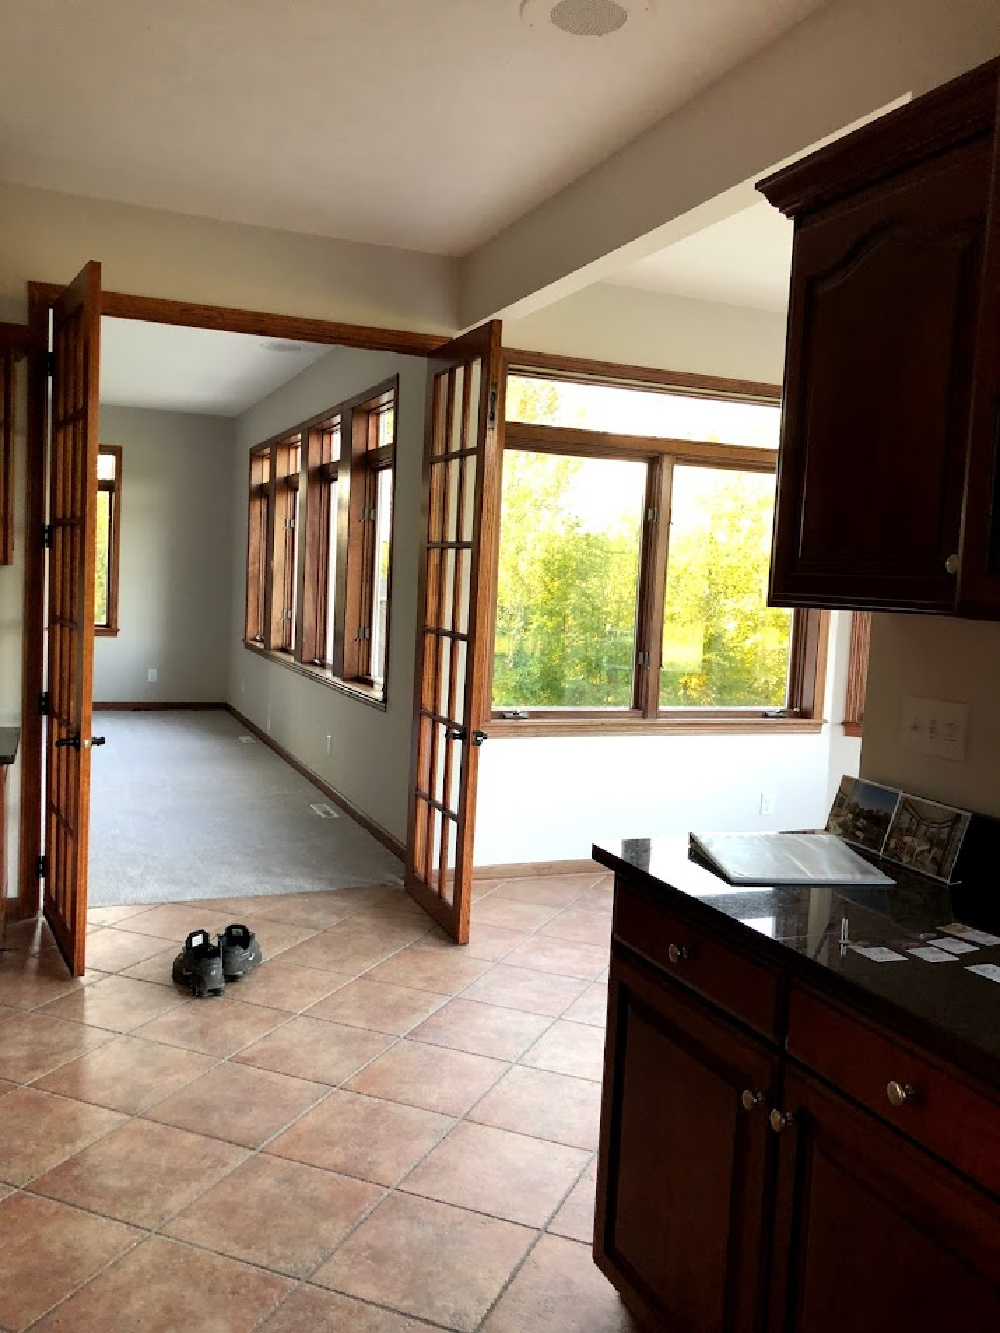
The doors were the first thing I addressed with layers and layers of primer and enamel (Sherwin-Williams Emerald Enamel Paint in White – satin finish). They don’t look bad in the photo, but the finish was orange and felt dated. Here’s where they started:
Easy Swap for Light Fixture
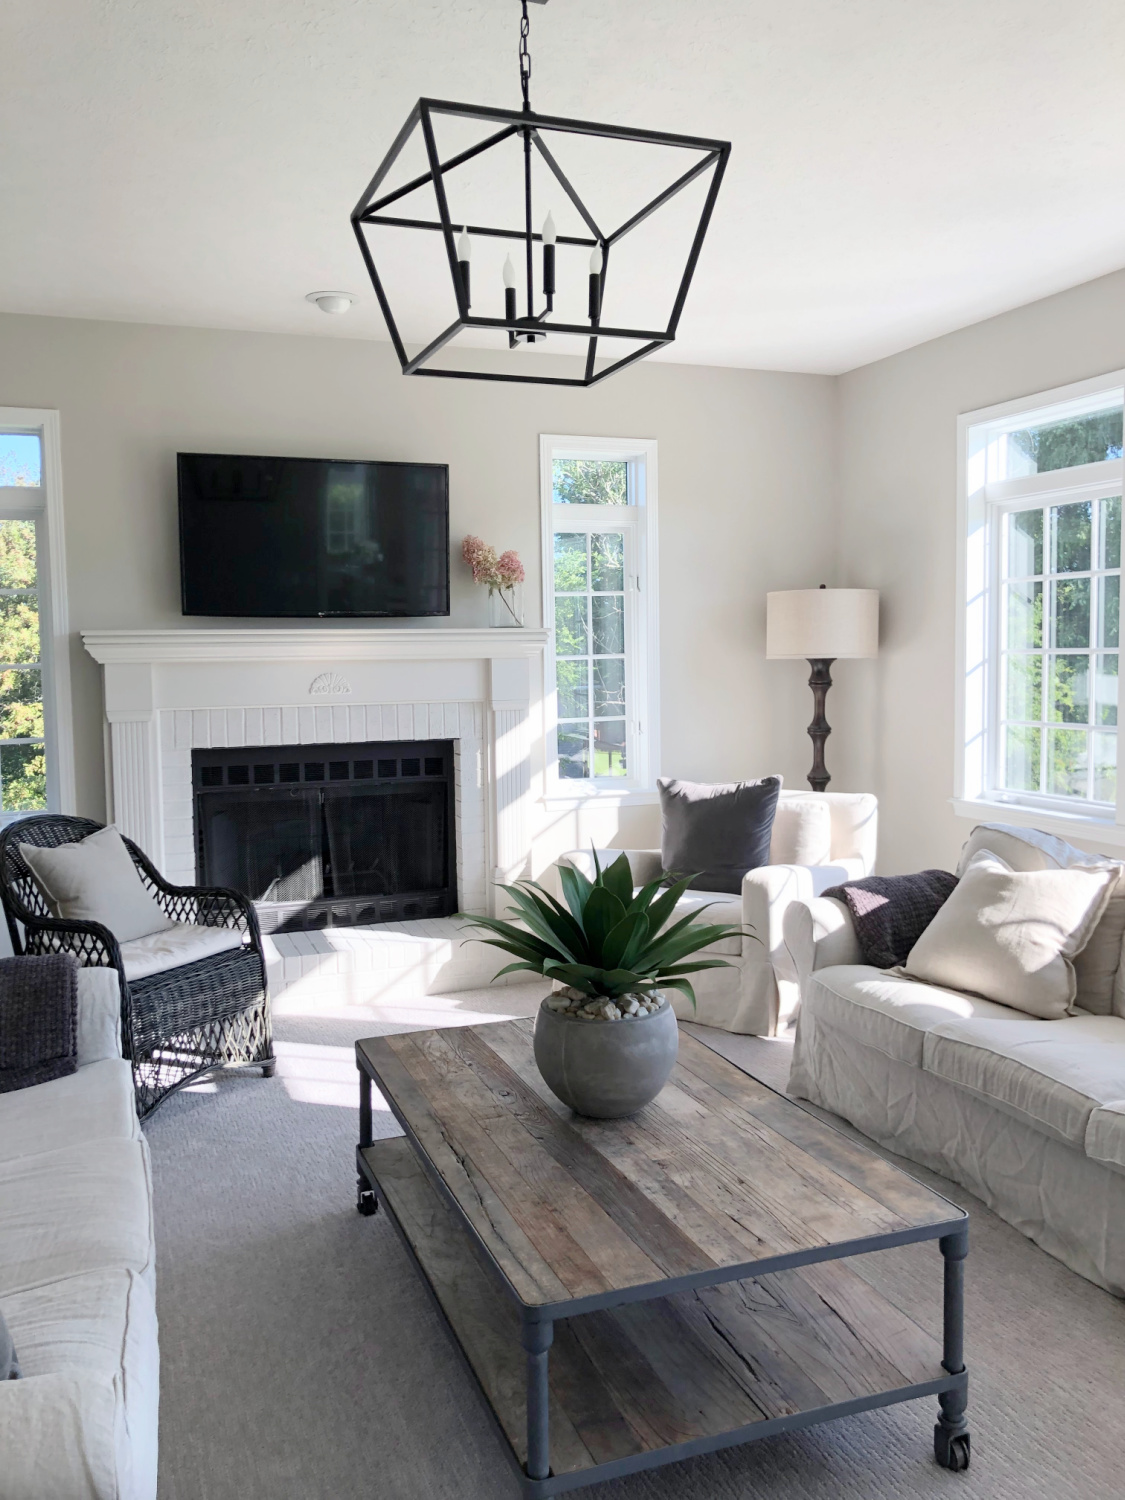
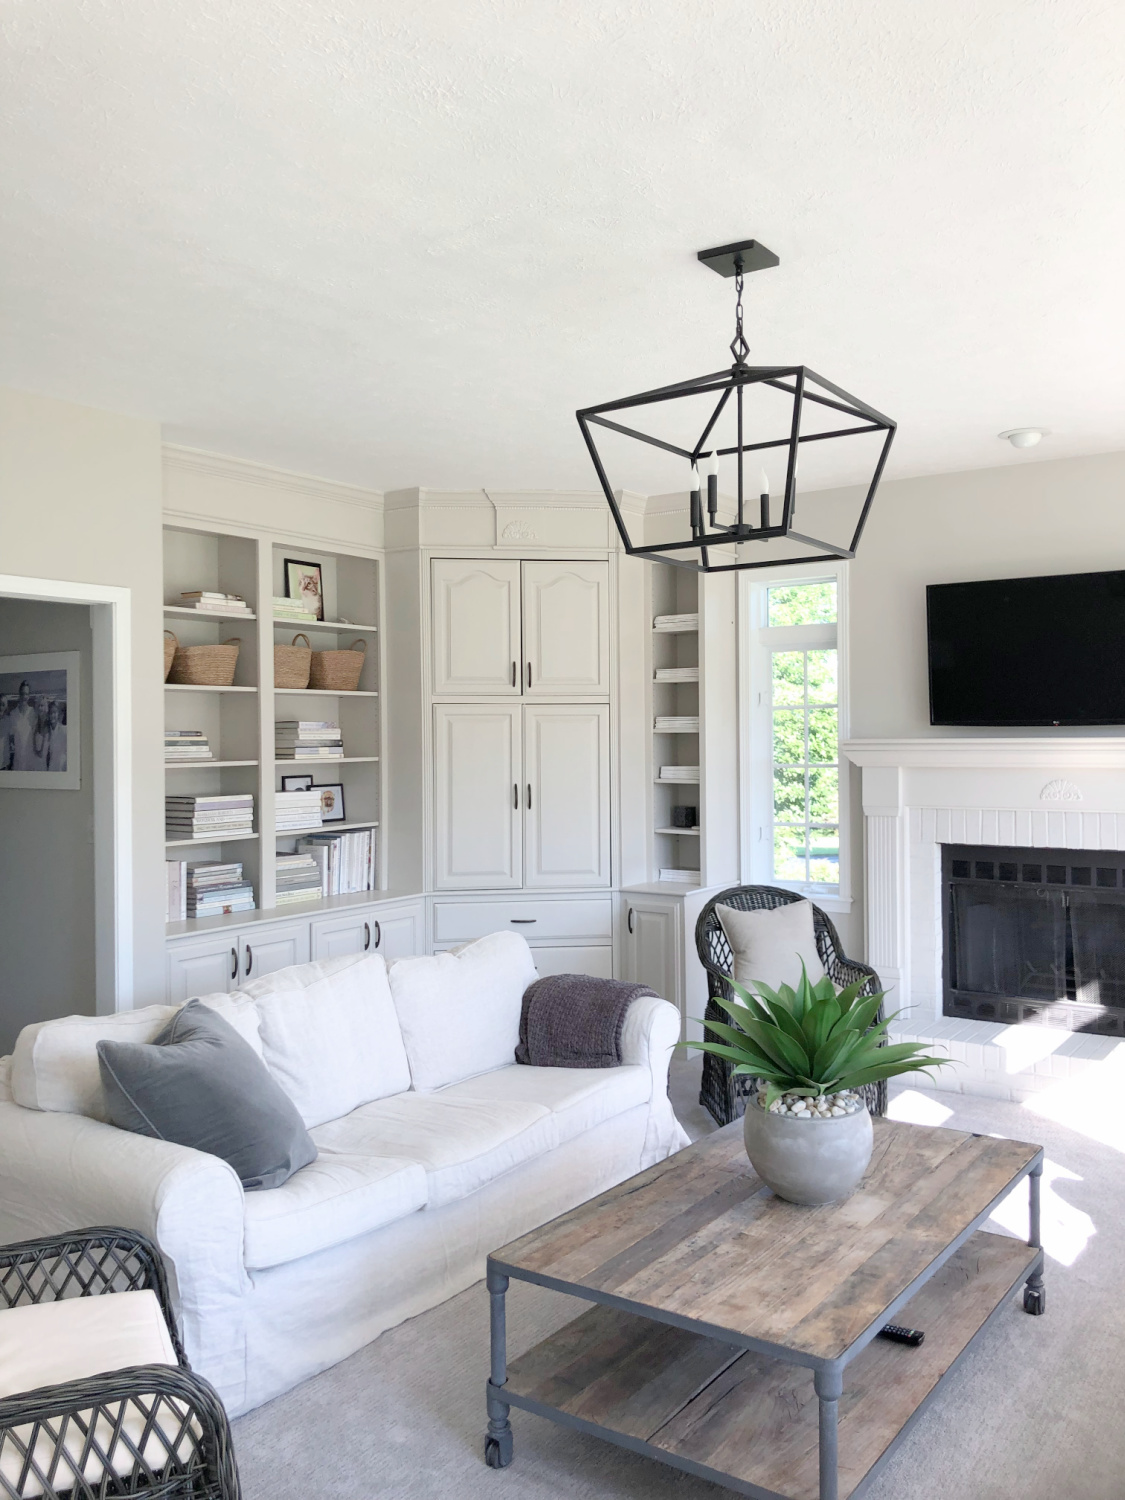
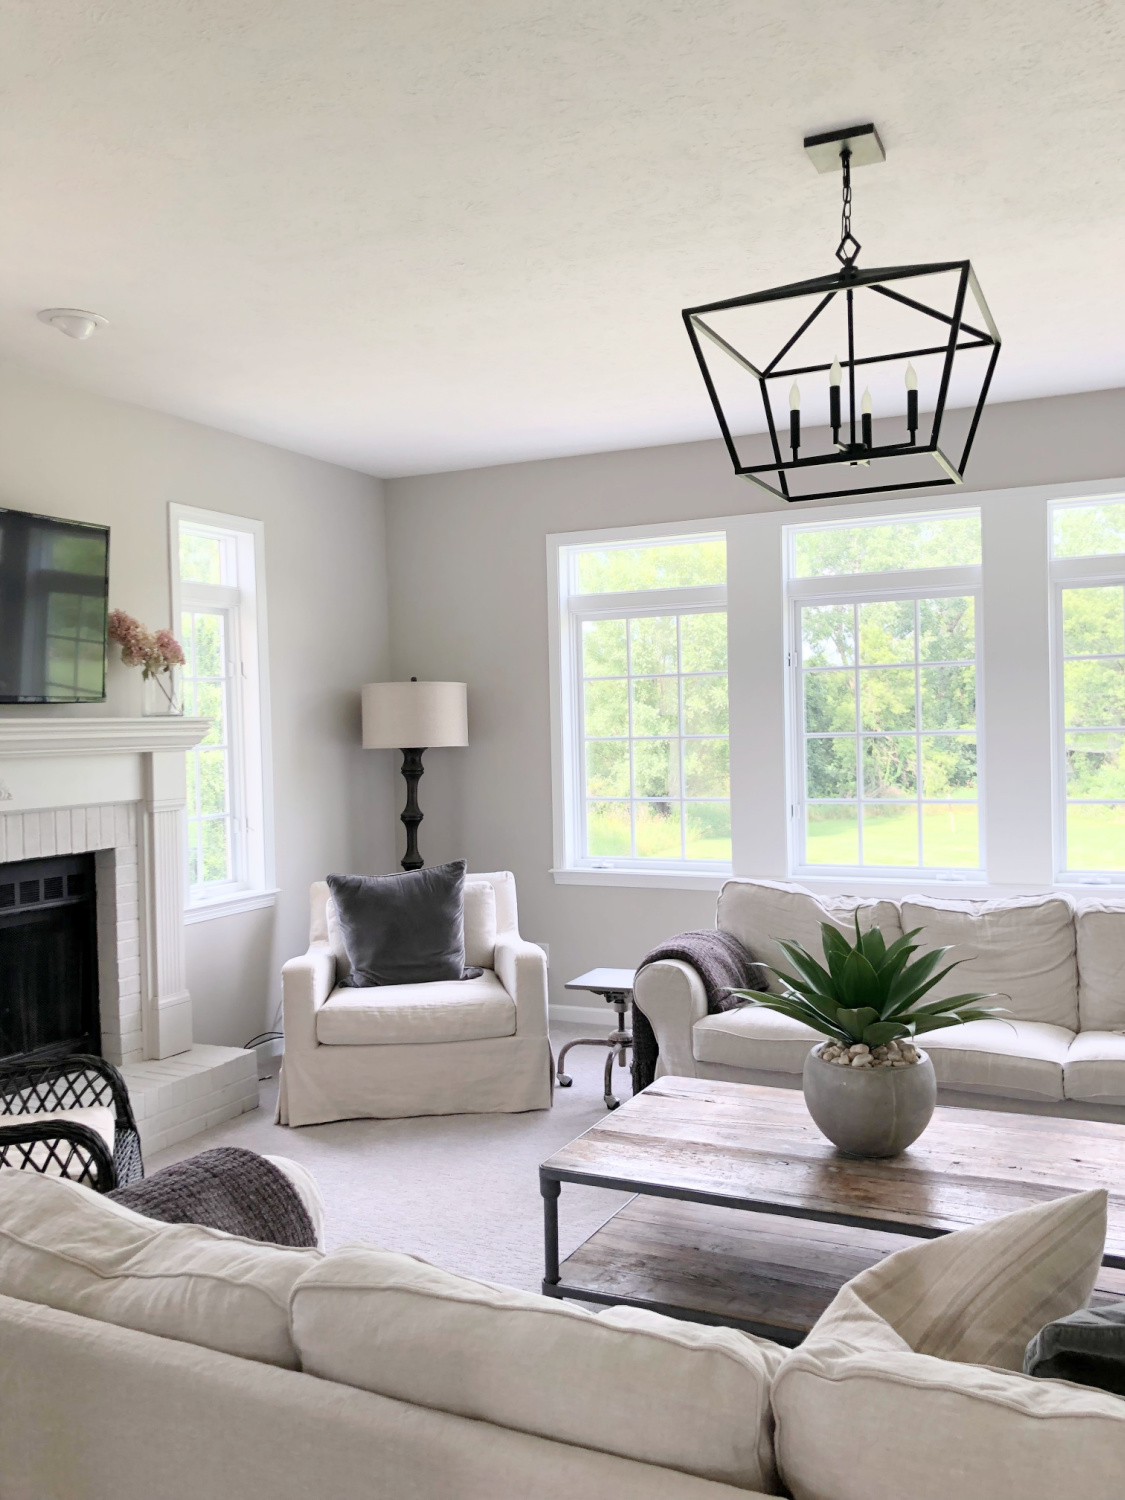
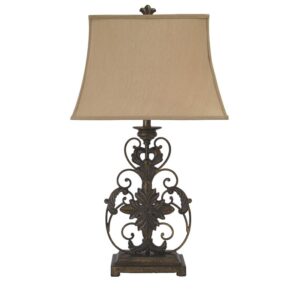
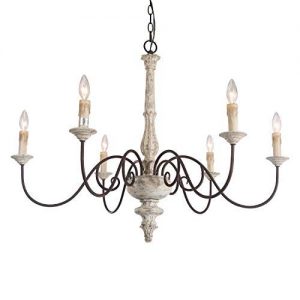
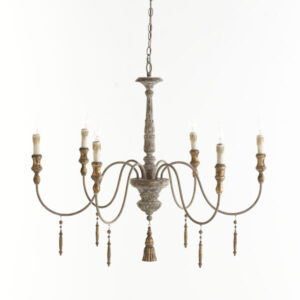
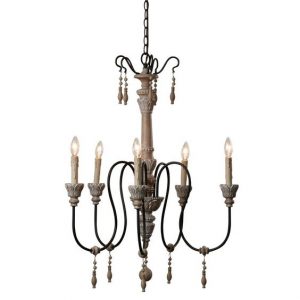
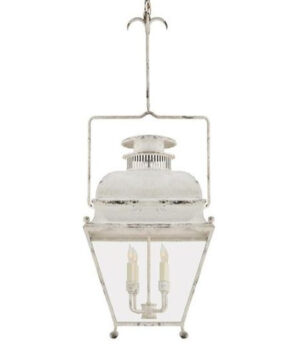
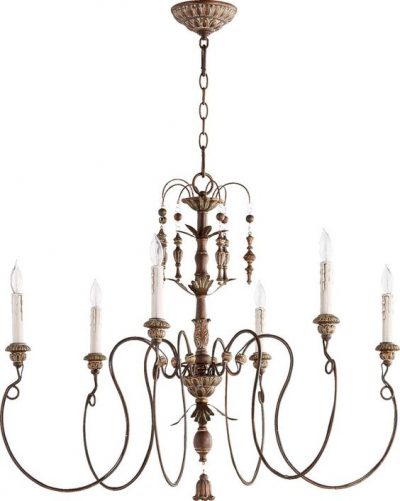
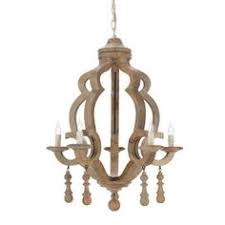
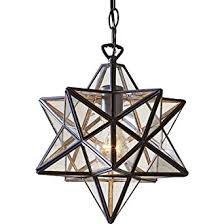
A lot of labor, but all worth it now that it’s done! You might think I started painting windows next, but nope. Next, we hung this iron lantern pendant (it’s huge in real life!) which is original to the house and was in the breakfast nook where I placed the pièce de résistance, Thomas O’Brien Elizabeth chandelier.
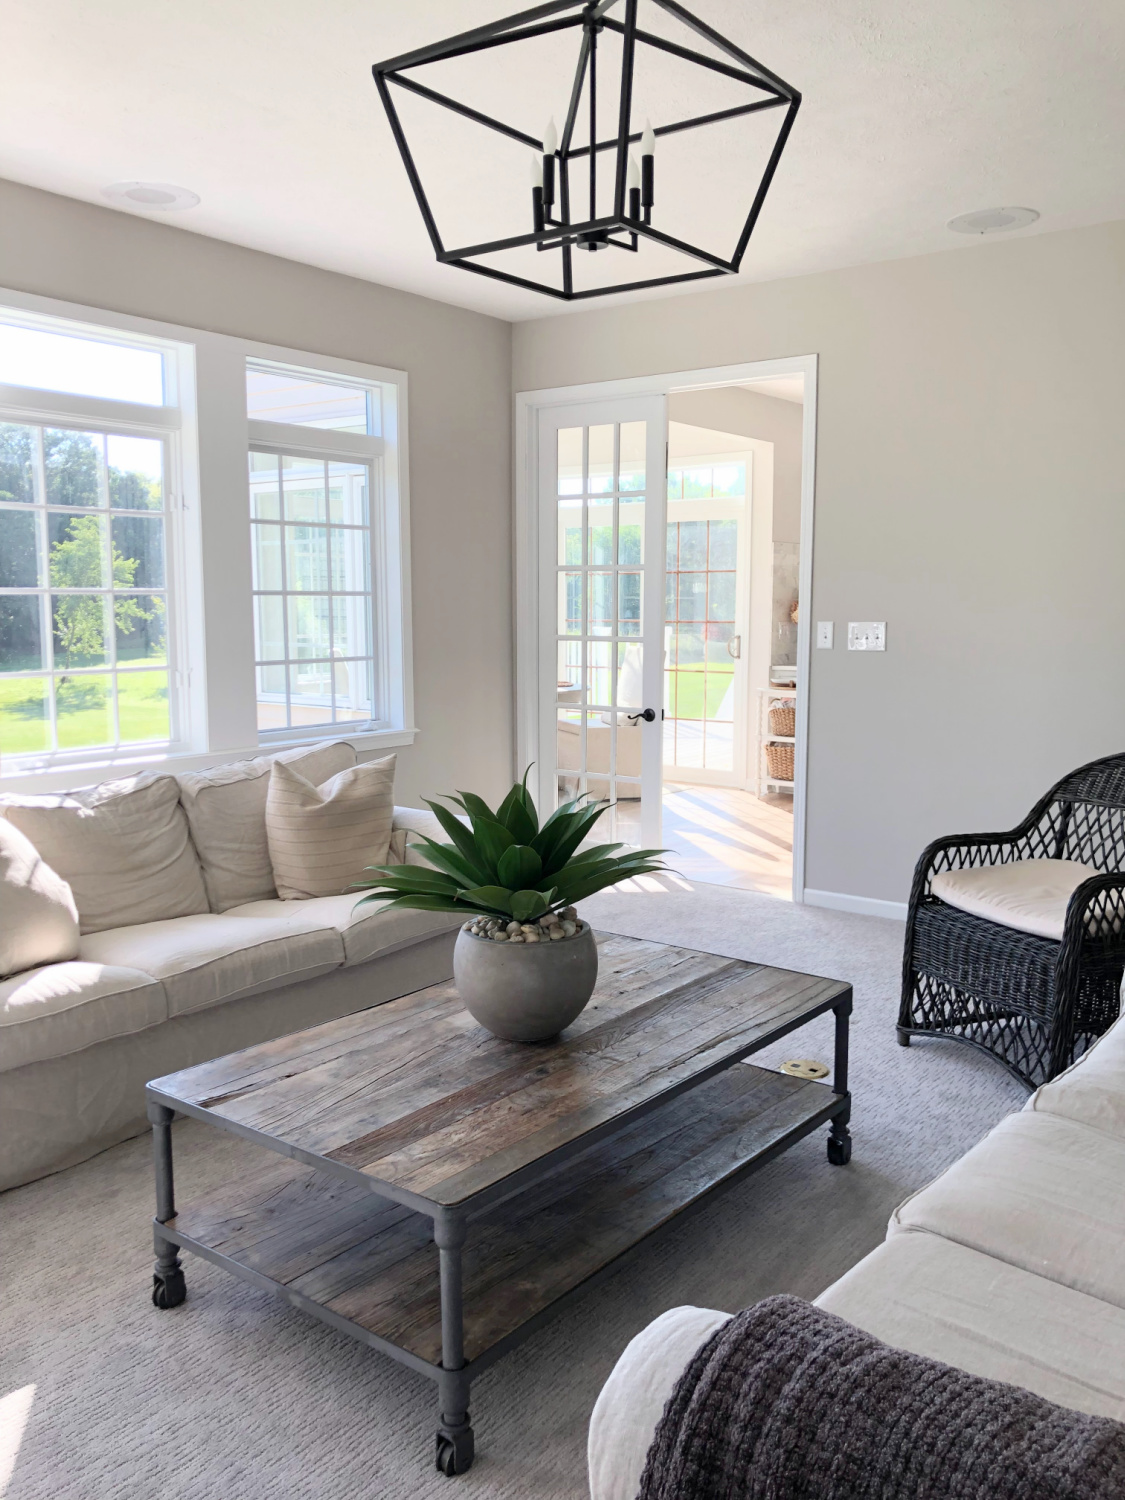
I think the iron lantern is perfect for reinforcing the European Country and Belgian feel. The open design keeps it airy even though it is massive.
Adding Electrical & A Facelift for Fireplace
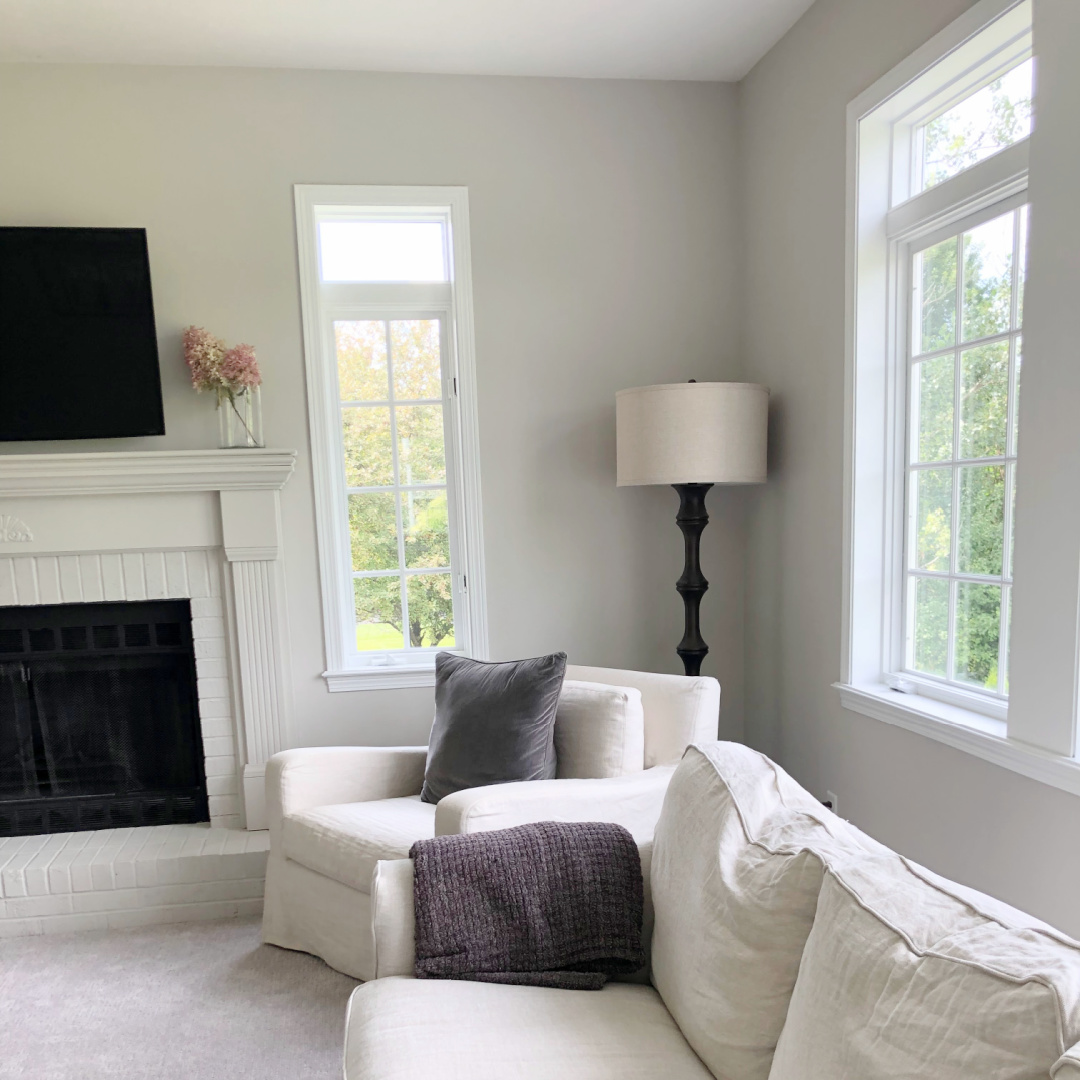
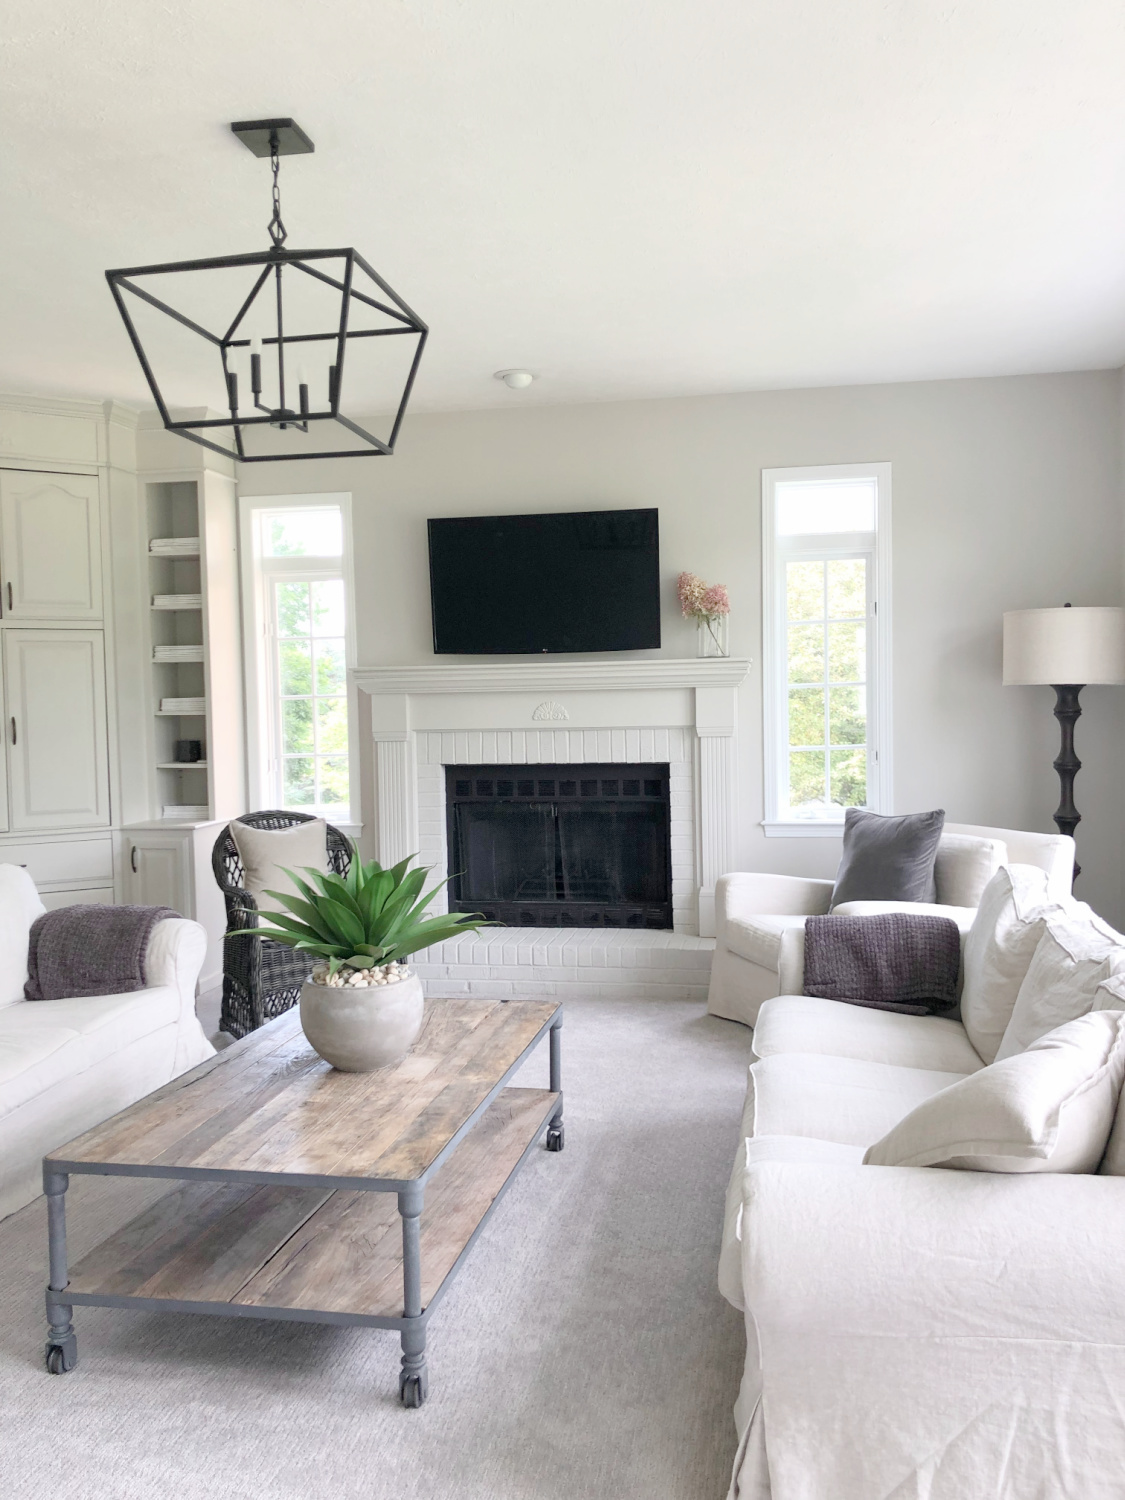
My husband opened up the wall above the fireplace to add electrical for a TV. The only place for a television was inside the built-in placed at an angle. We couldn’t figure out how to arrange seating to make that work. A dramatic transformation happened when I painted the fireplace Sherwin-Williams Agreeable Gray to convince my husband we didn’t need to rip it out and start new just yet.

I also removed the glass with brass doors for a less fussy look and painted the inside of the firebox with heat resistant black paint. He loved it immediately because it is suddenly elegant. I can imagine adding quartz or marble later on the surround.
Here’s the fireplace before the brown and red were erased, paving the way for a more balanced look with the TV above it.
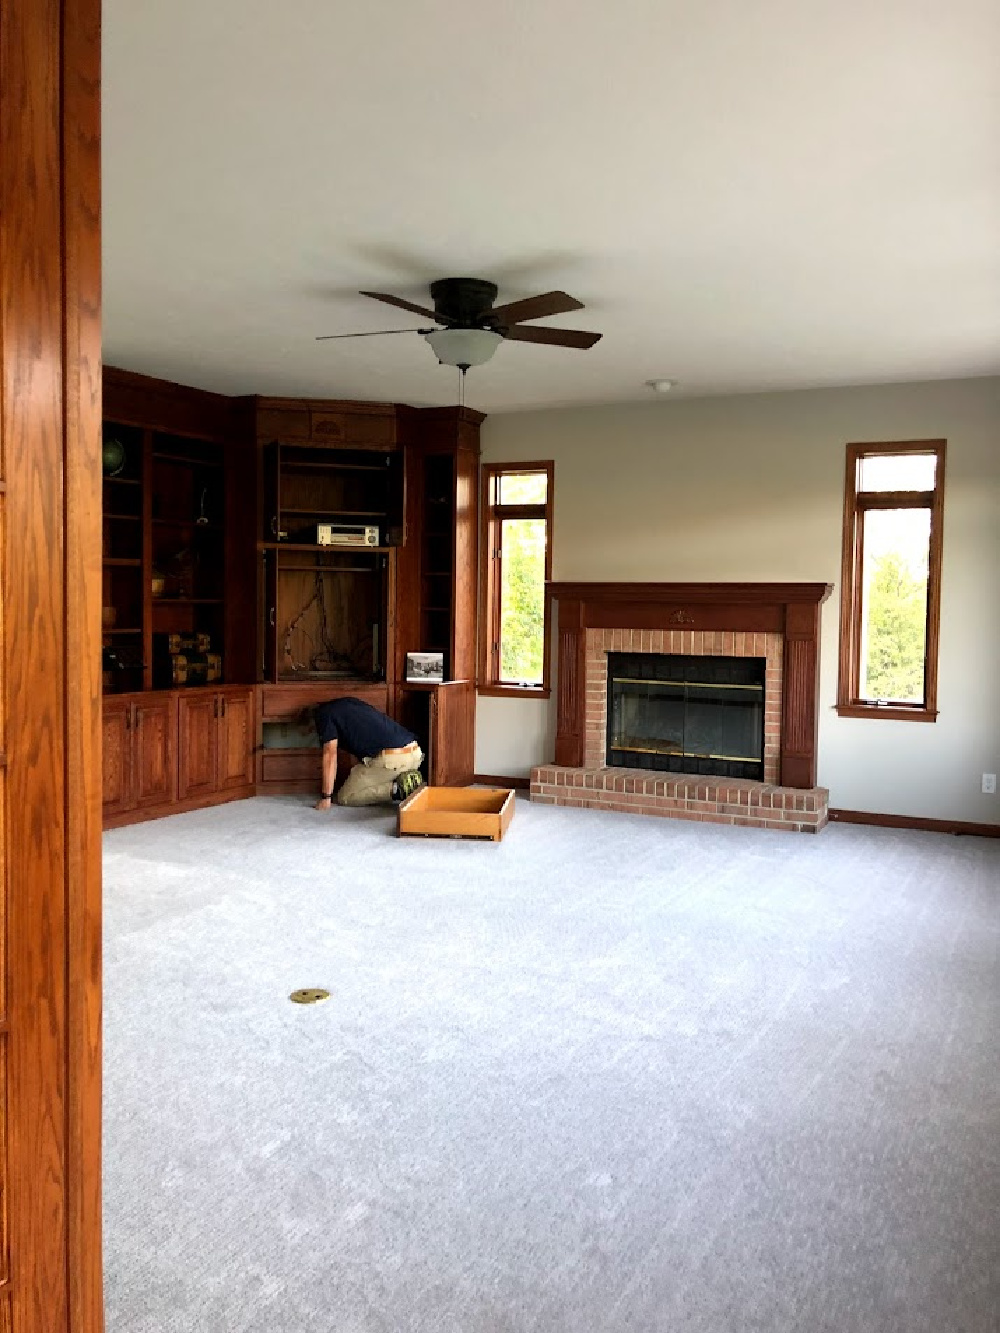
Once the fireplace was transformed, my husband no longer had reservations about me proceeding to paint all of the windows and trim.

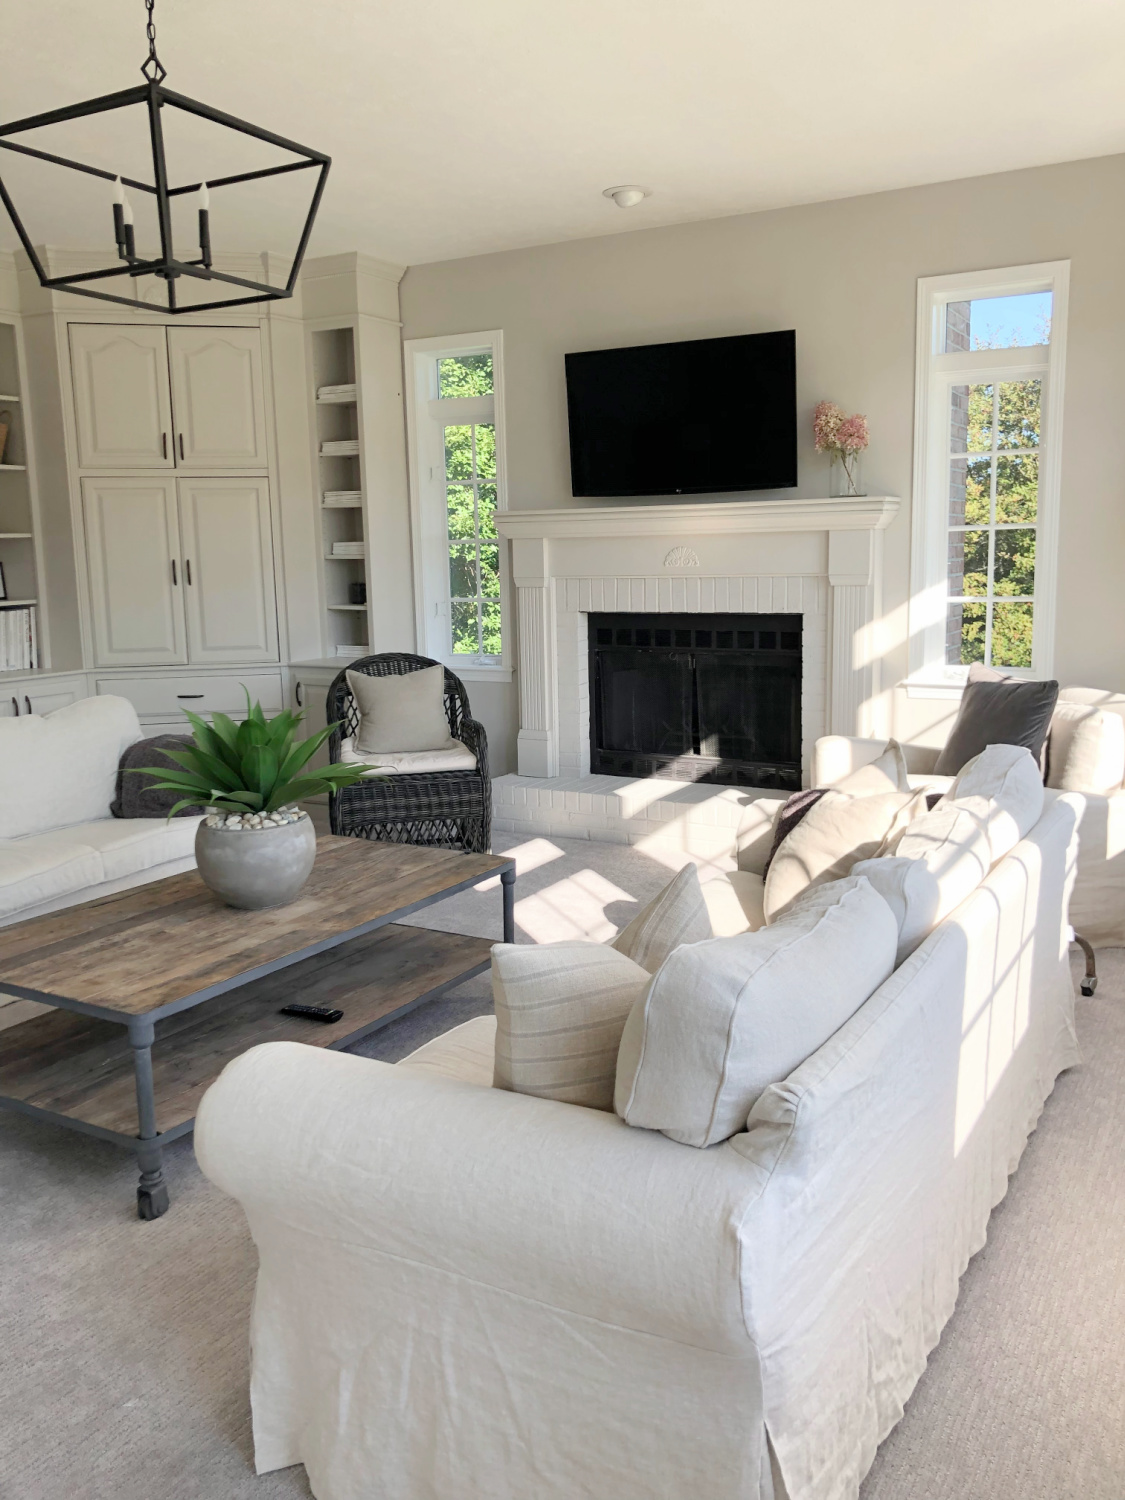
6 Coats of Hand Applied White Paint for Windows & Trim
So heaven help me, I began painting six windows, six transoms, pocket door, and all of the trim. All of the painting done in this house on trim, cabinets, and doors has been brush work. We used our sprayer just once to prime the cabinets installed in the pantry, and I just didn’t like the flatness of the look. I’m not after a “brand spankin new” look as much as a timeless, evolved one. I ended up brushing over the sprayed! So absolutely everything is completely handpainted including the exterior garage doors and deck!
Renovation is an Emotional Rollercoaster
Thoughts on painting over dark colors and stain…If you are brave enough to do it as a DIYer, get yourself on every church prayer list in town. 🙂 You’ll get the first two coats of primer on everything and feel invincible and elated…for 10 seconds.
The reality of at least four more coats of enamel over all that primer on all those surfaces including the window grids will sink in.

You are suddenly quite humble again.
And slightly more neurotic than when you began the whole ridiculous pursuit. “Was it really so depressing to live with all of that brown?” you’ll ask. “Couldn’t we have simply covered it all with heavy drapes?”

You’ll realize there’s no turning back and that…oops…you still have a wall of darkly stained built-ins to address even after all the trim. But then you’ll get some rest, wake up to a gorgeously fresh new day with no mistakes in it, and keep taking baby steps closer to the AFTER.
Know Thyself & Don’t Overthink About What Others Would Do
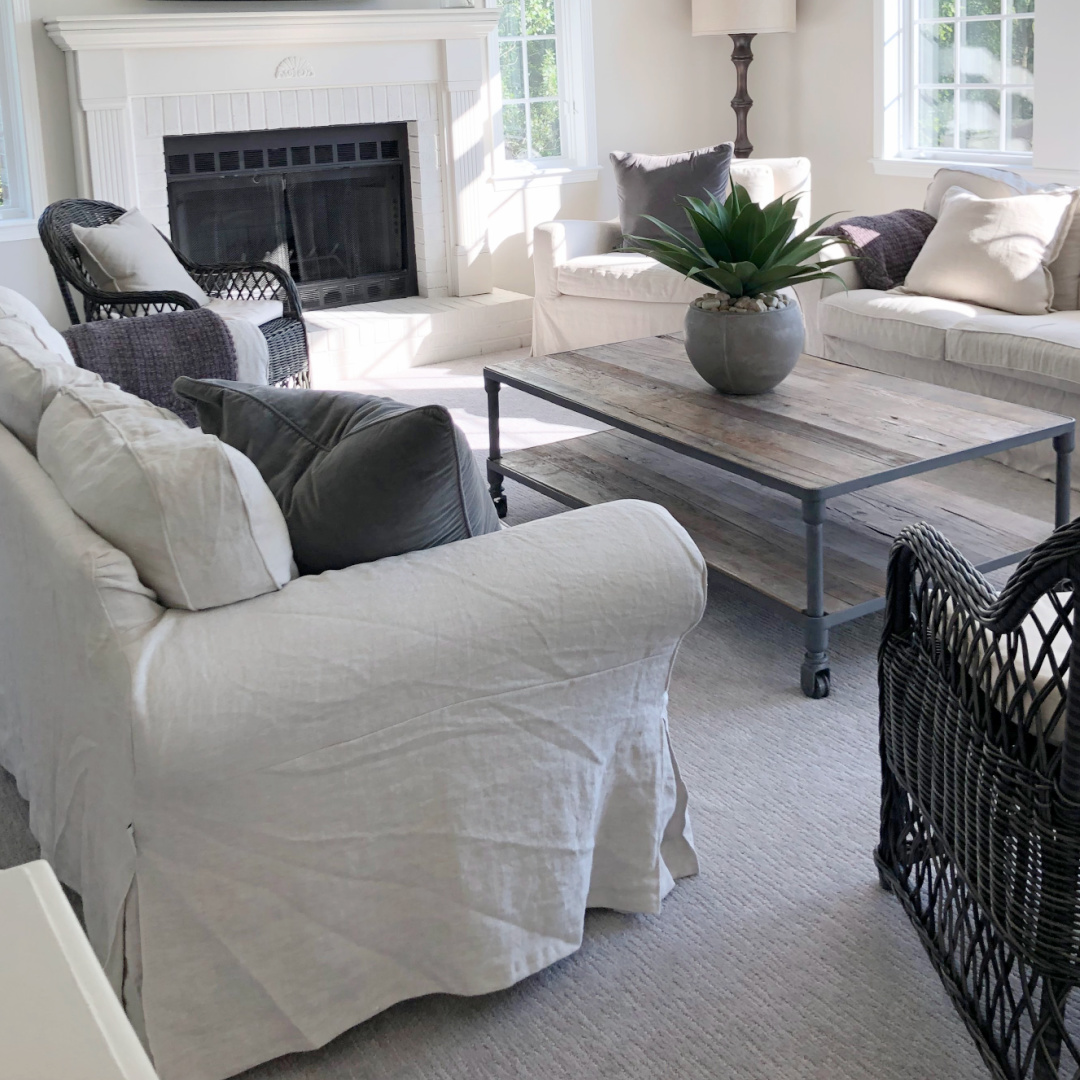
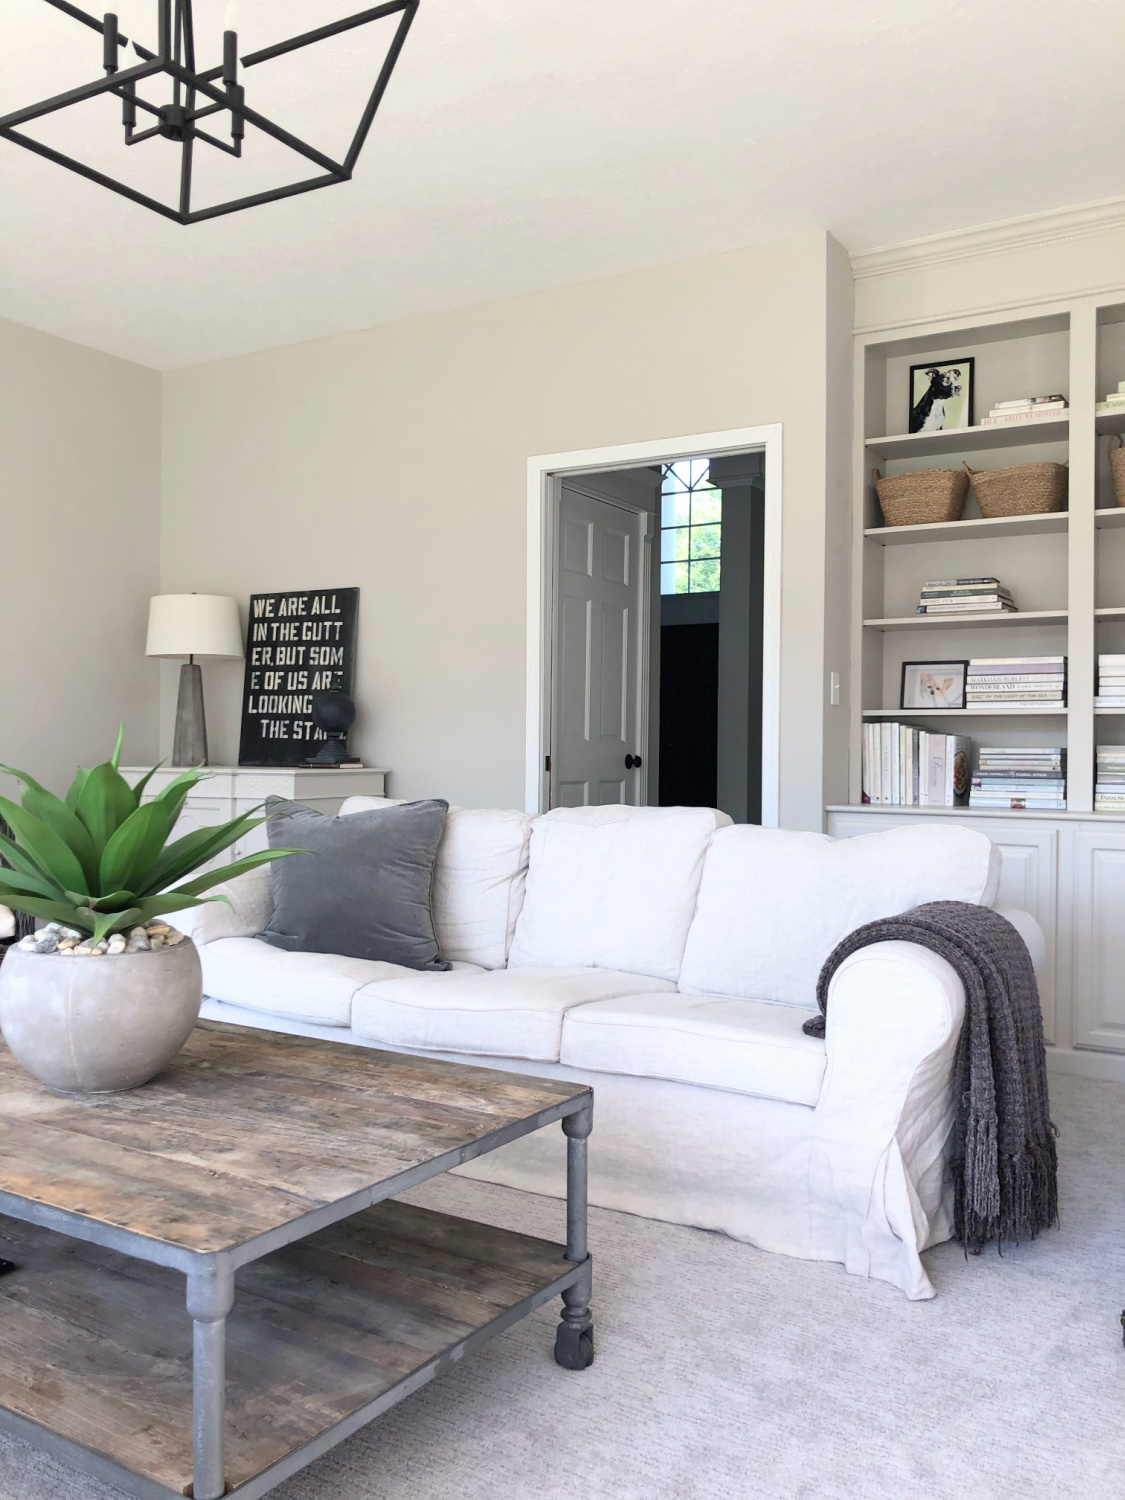
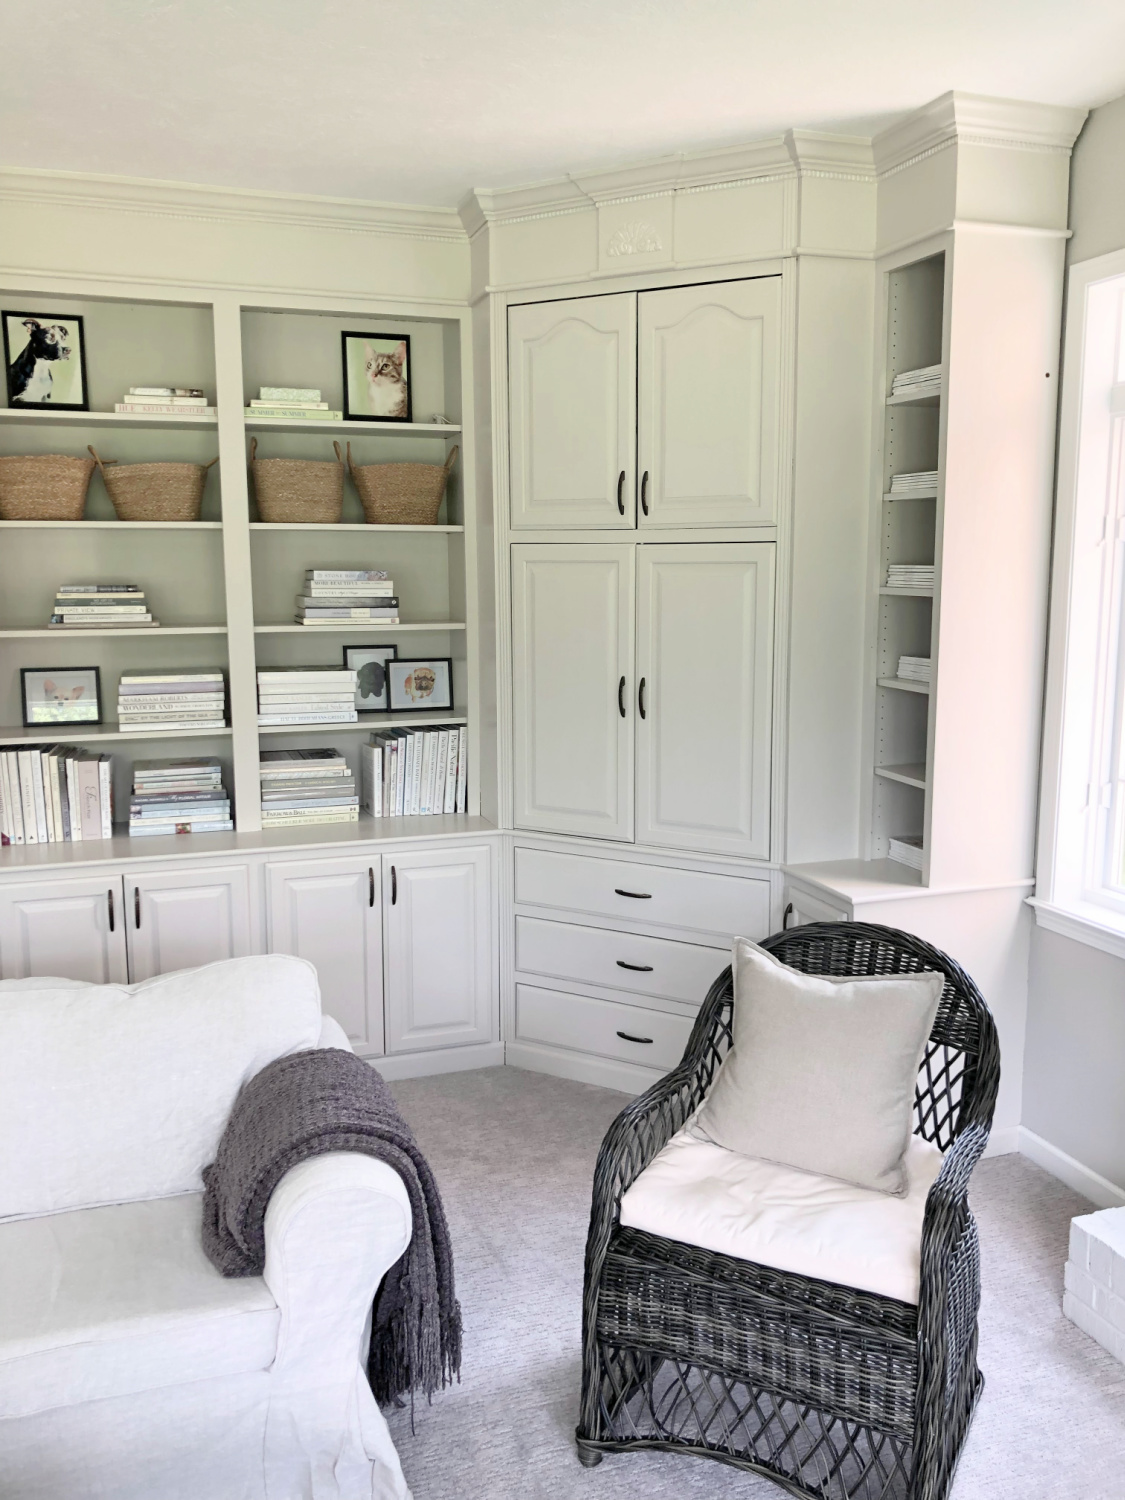
In our case, it was all very much worth it because the room took on a new identity and feels like the cozy, sophisticated, unfussy, European country library/family room that suits us.
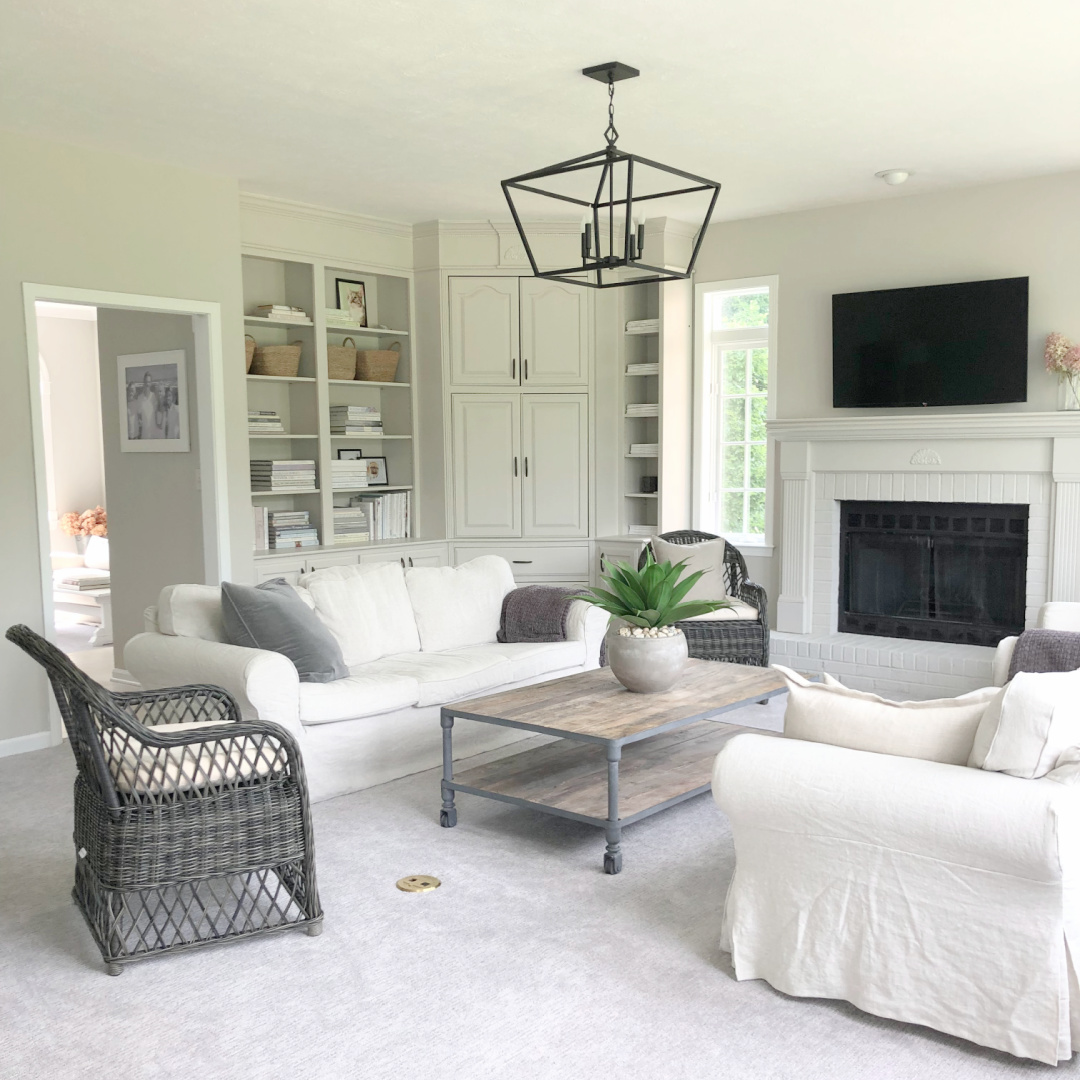
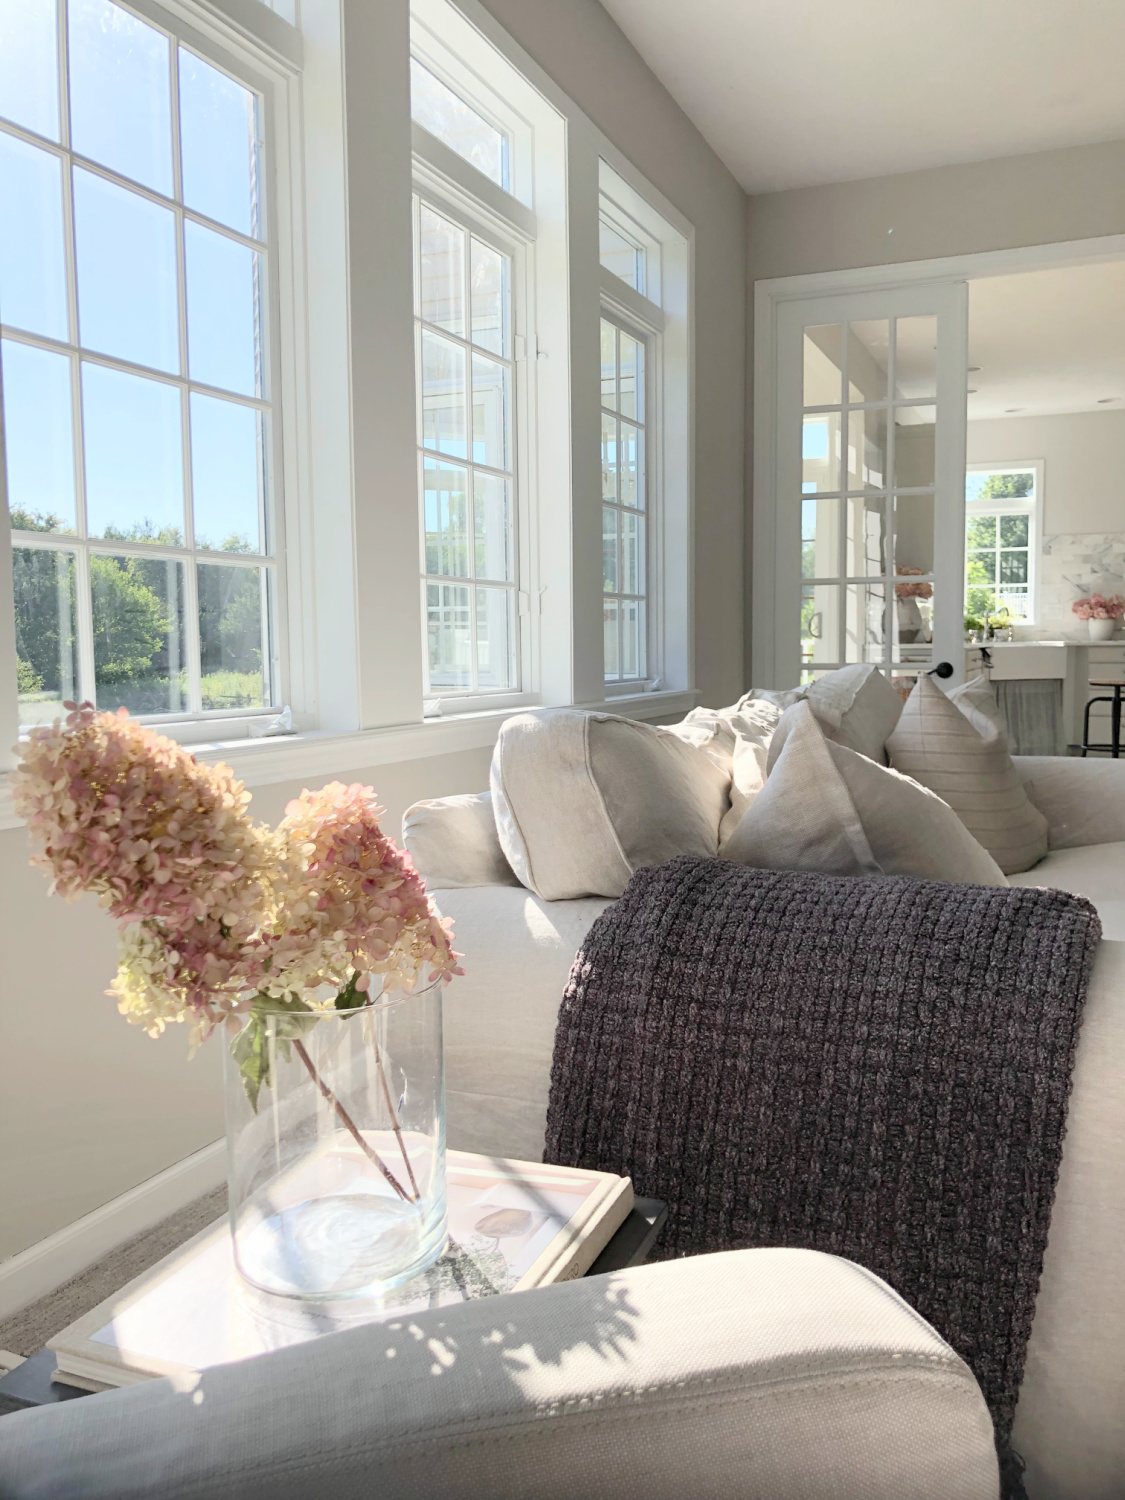
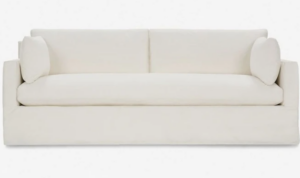
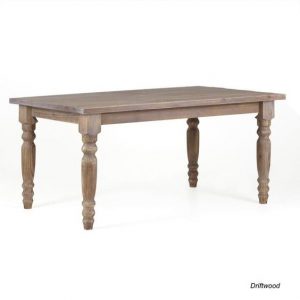
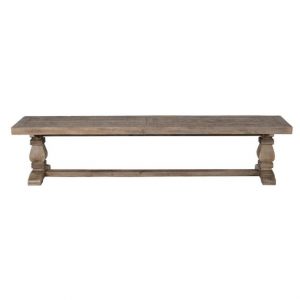
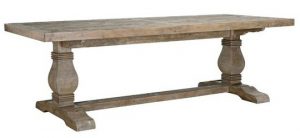
Because this room is no fuss (slipcovered sofas, nothing precious, rustic tables and nothing new), it’s easy to USE. Plop down and take a nap here. Watch the game. Curl up for a movie. Stare out the wall of windows at the peaceful forest (the whole reason we bought this place!).
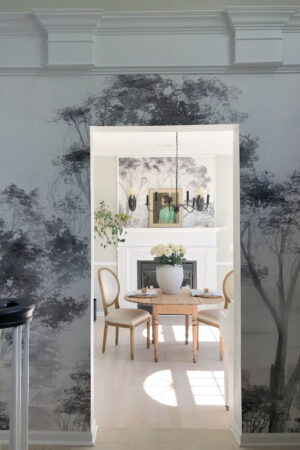
I forgot to snap a photo of the pocket door closed, but the doorway (below) leads to the front section of the home. There’s a two-story entry with a huge window above the front doors you can see below:
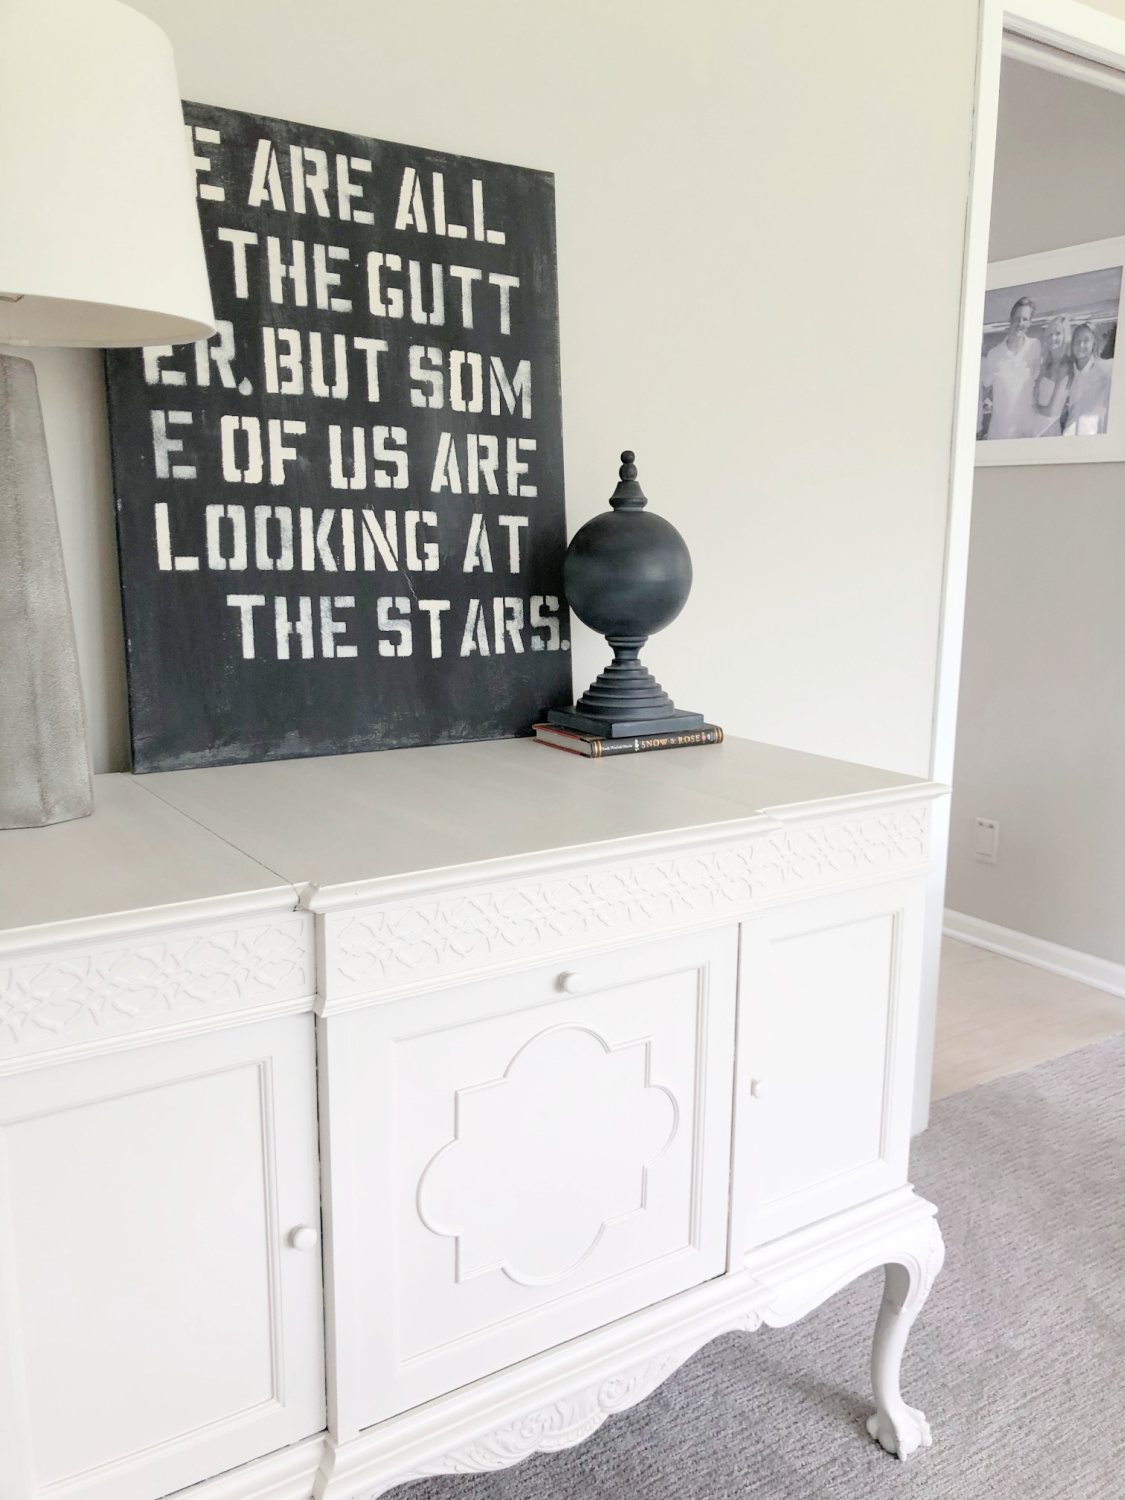
Painted Console & Original Art
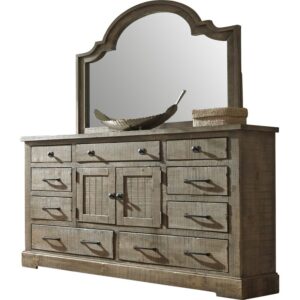
I painted baseboards and windows white, but the built-ins and a console (antique victrola cabinet you see below) were painted the same greige as walls: Sherwin-Williams Agreeable Gray.
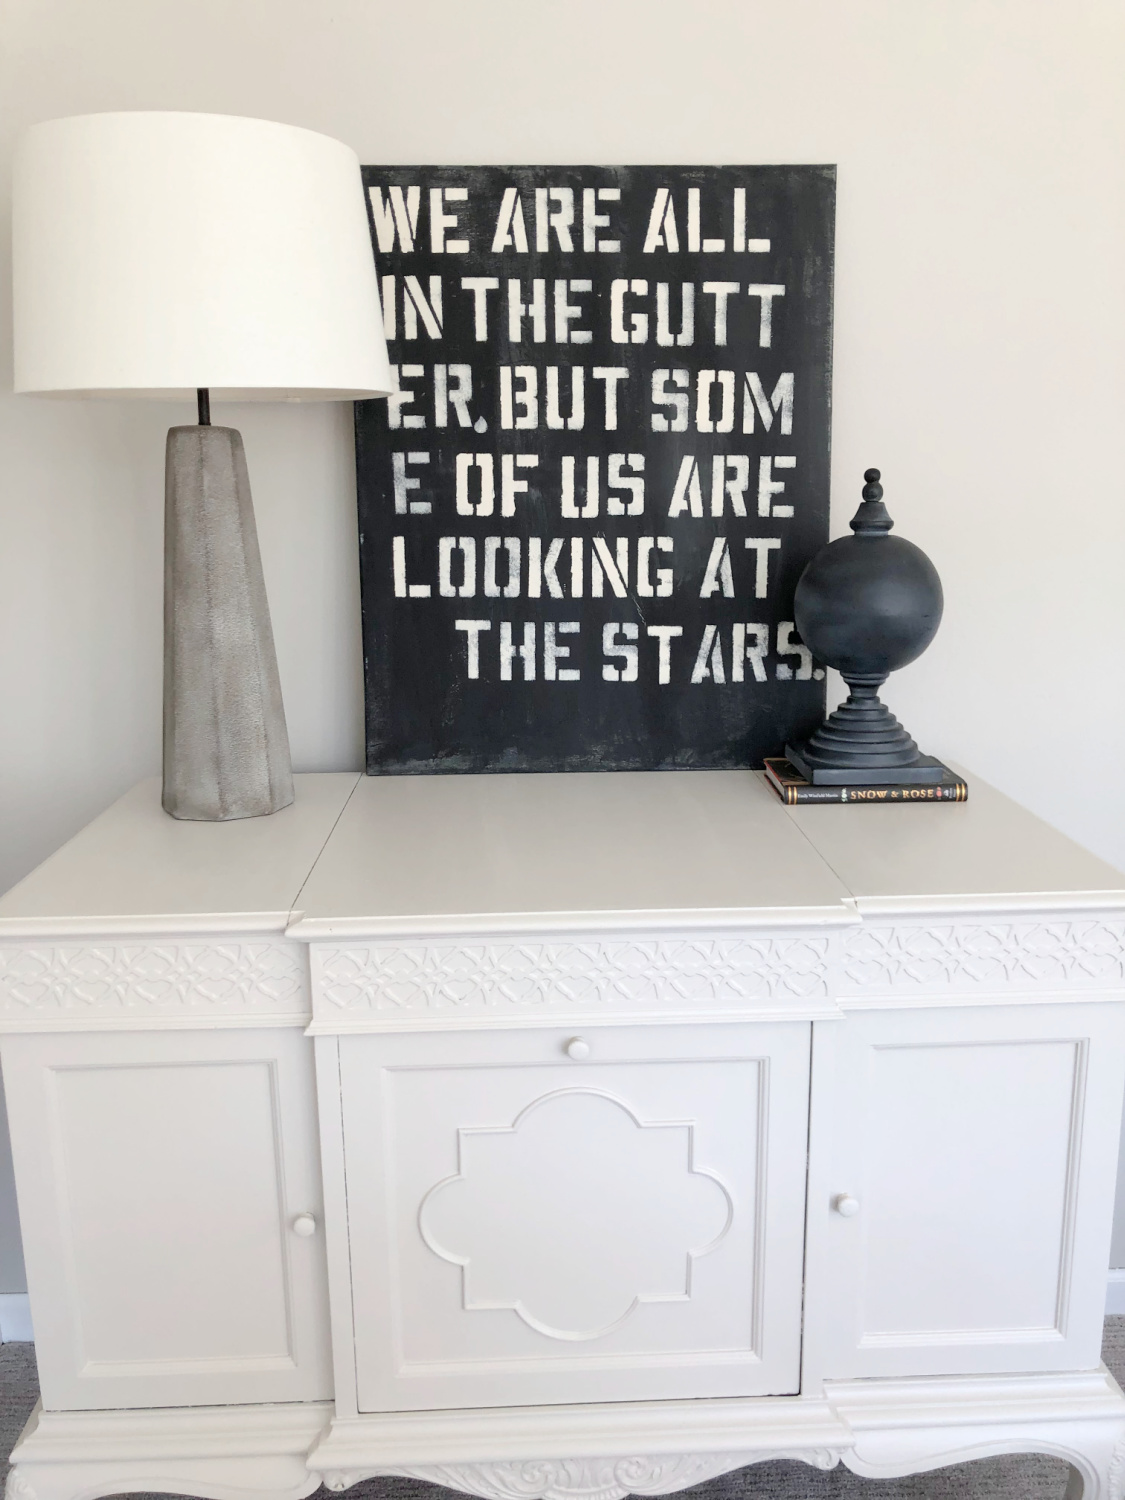
Sticking with one color kept everything very serene and neutral enough if the wall color changes down the line.
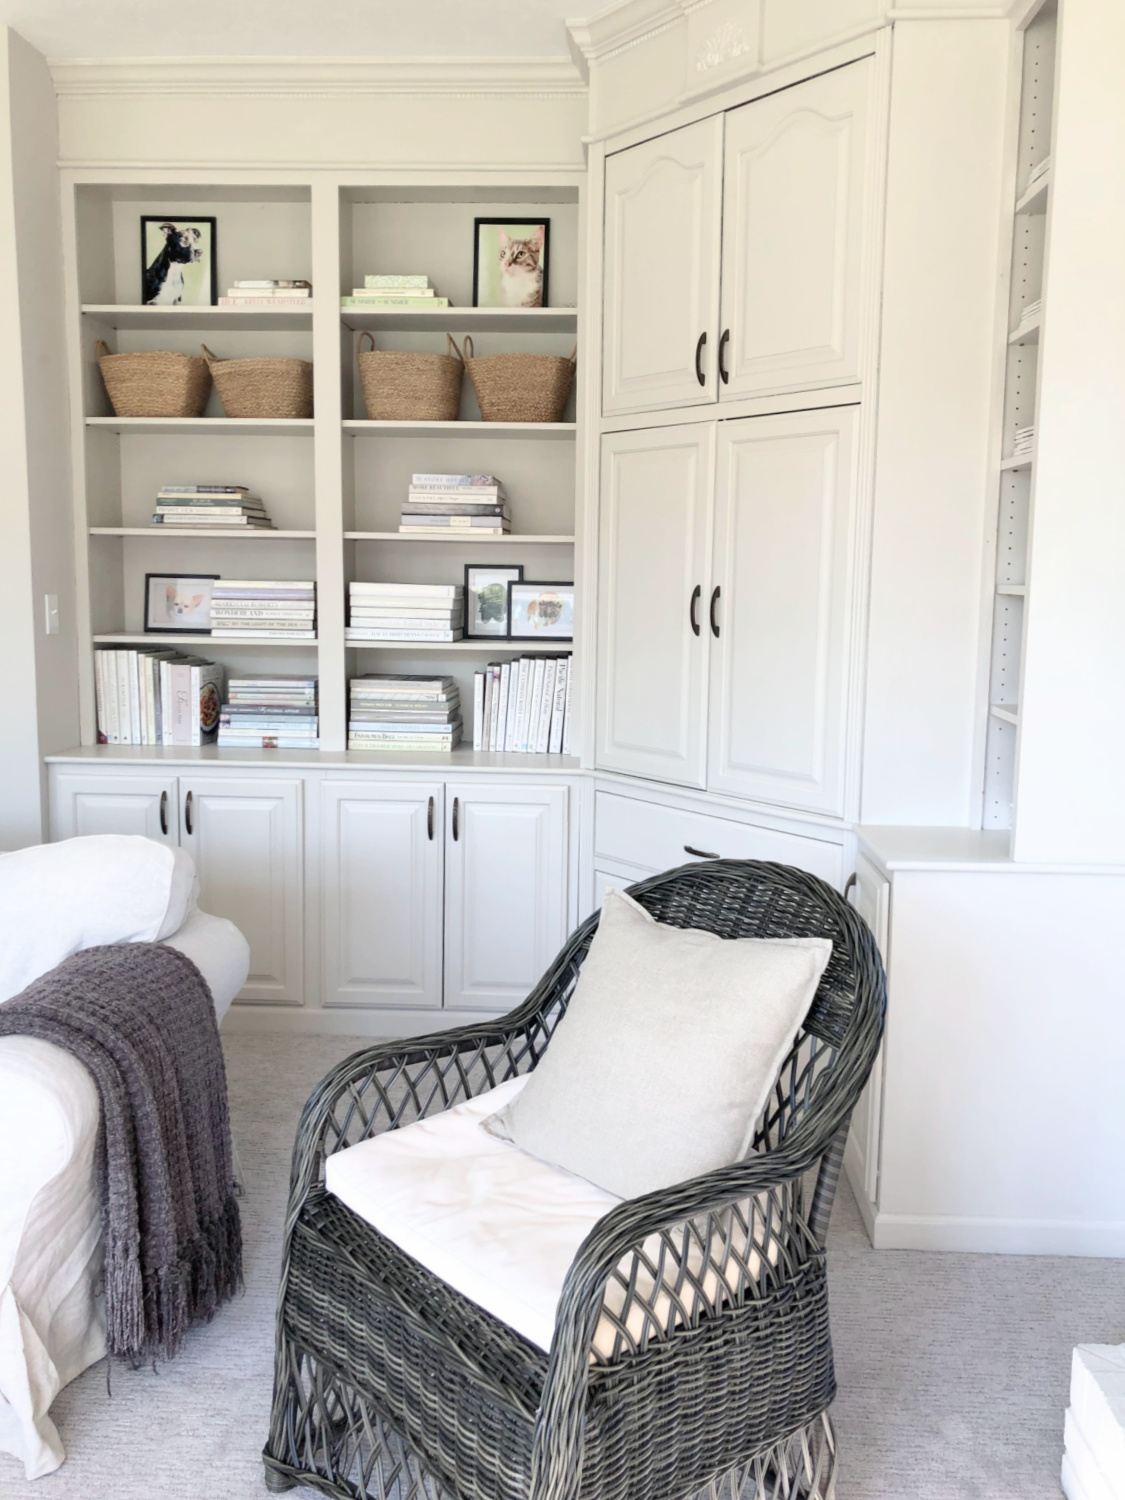
Quieting the Dark Brown Corner
To paint the built-ins, we removed the hardware, removed all of the shelves and…
yep, just like everything else, I primed each side with 4 coats by hand.
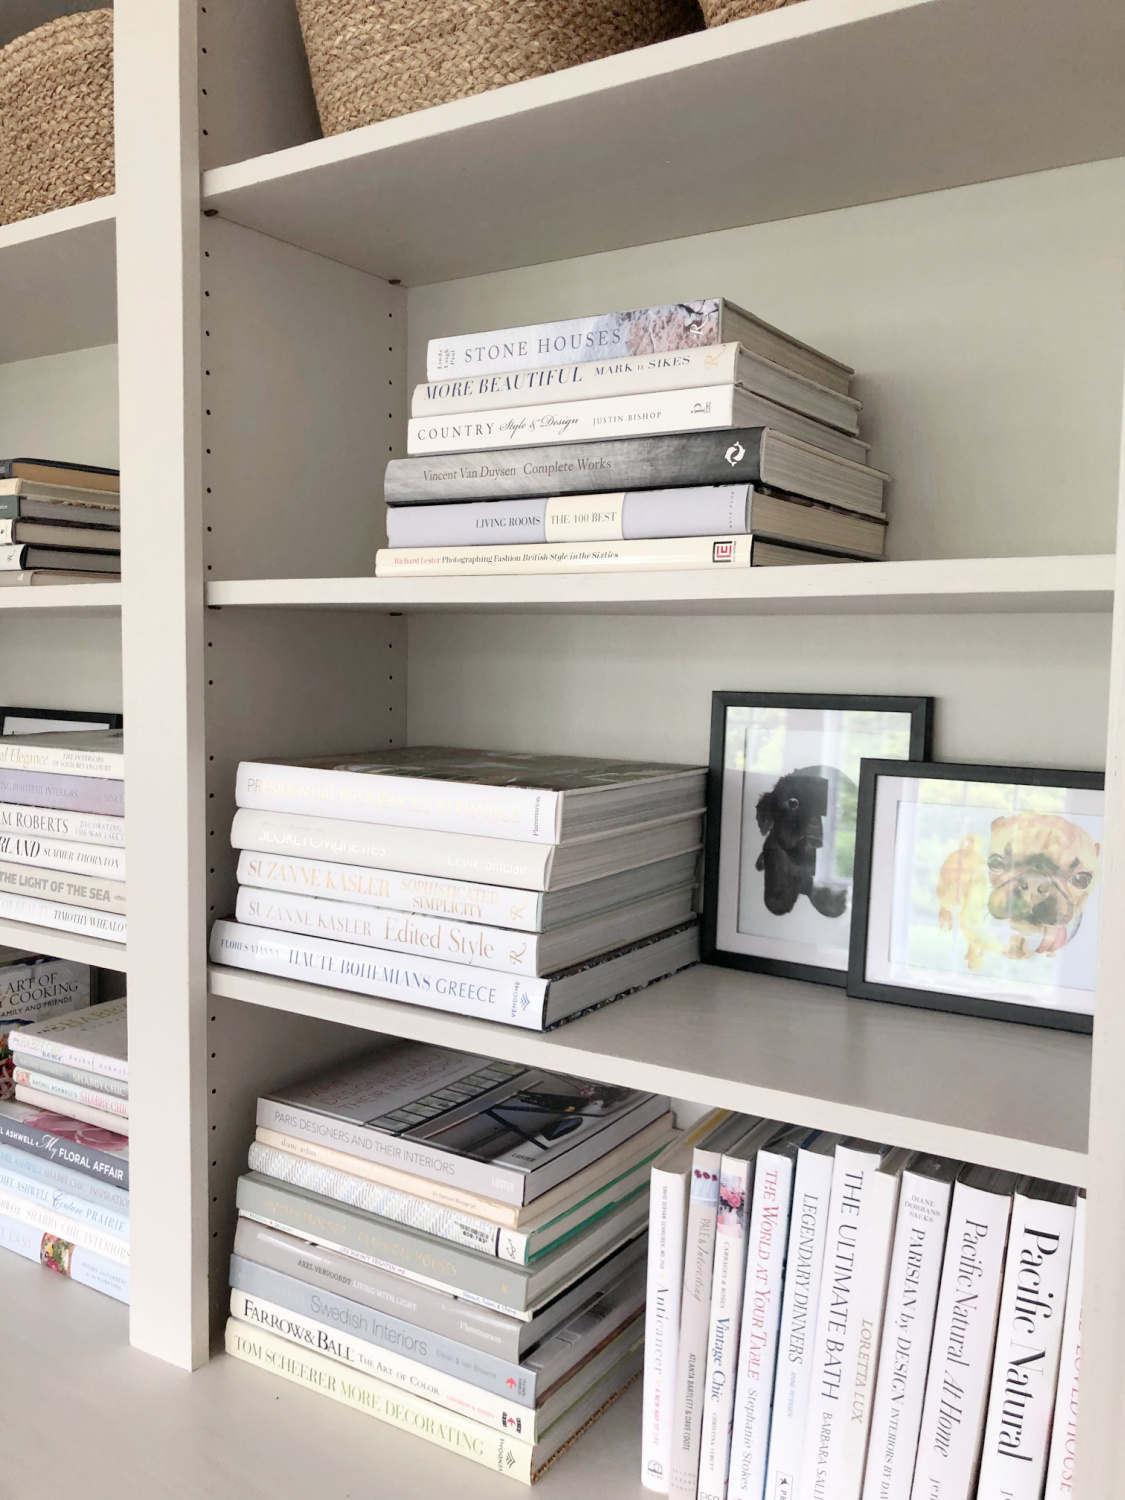
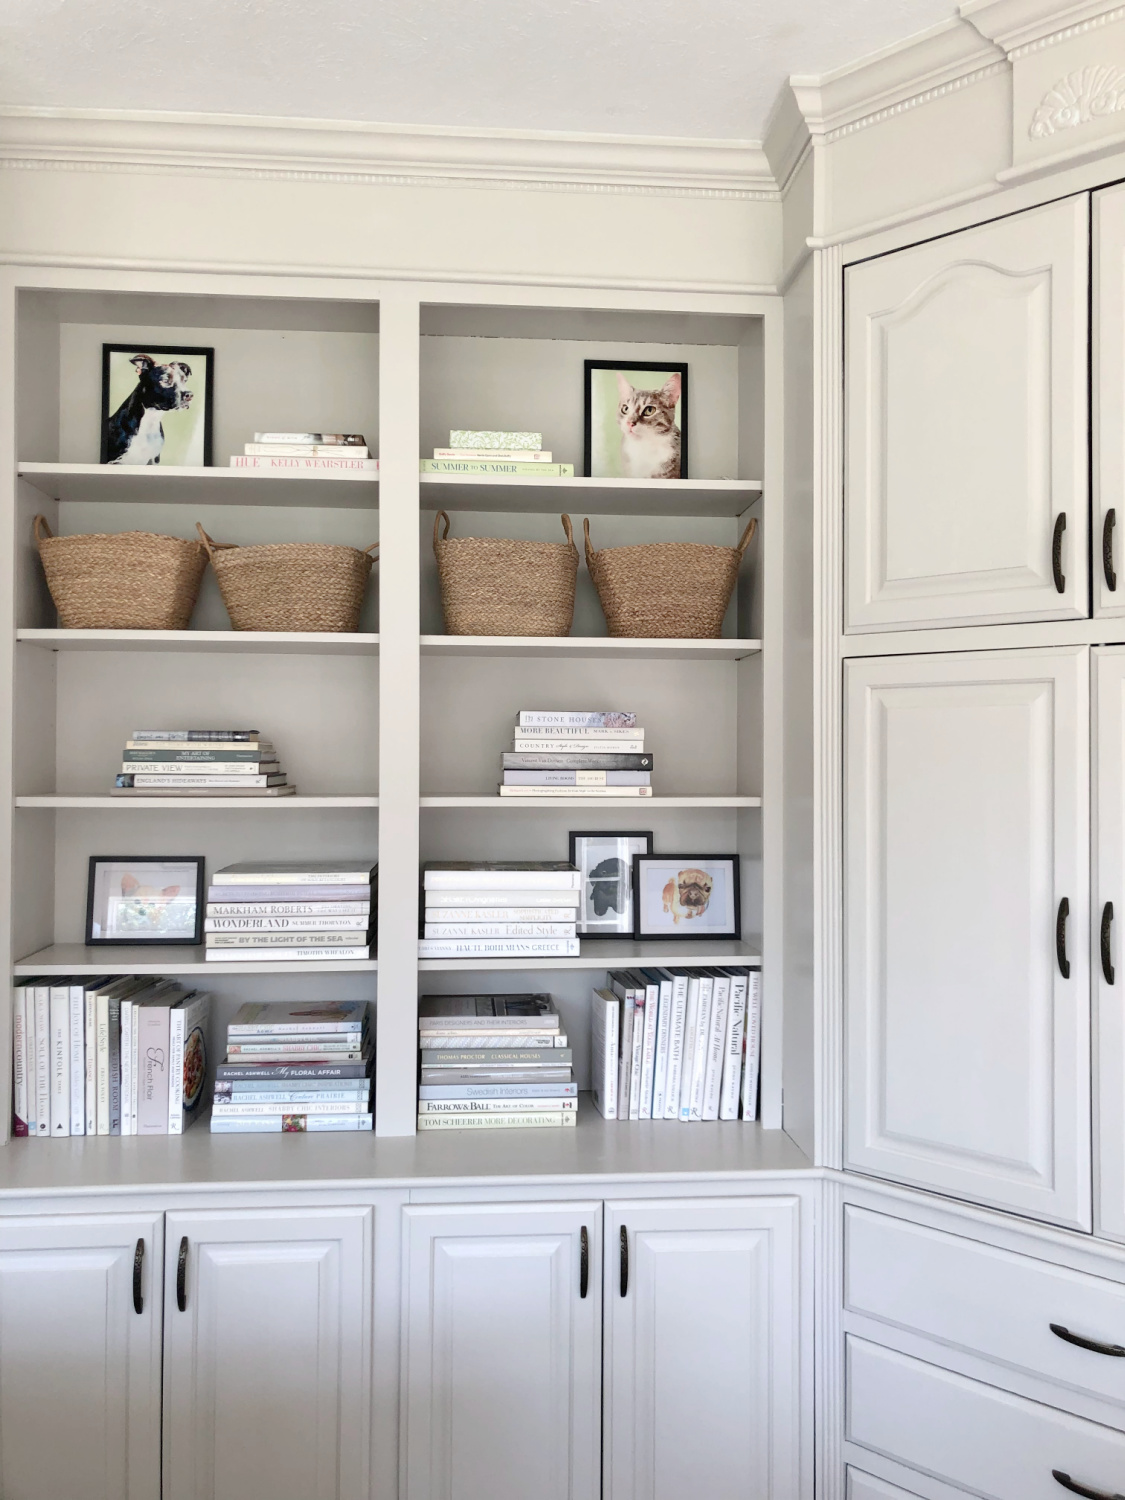
Six coats later, the shelves went back in the built-ins, and we let it all harden for a couple of weeks.
The shelf styling is destined to evolve with the rest of the room.
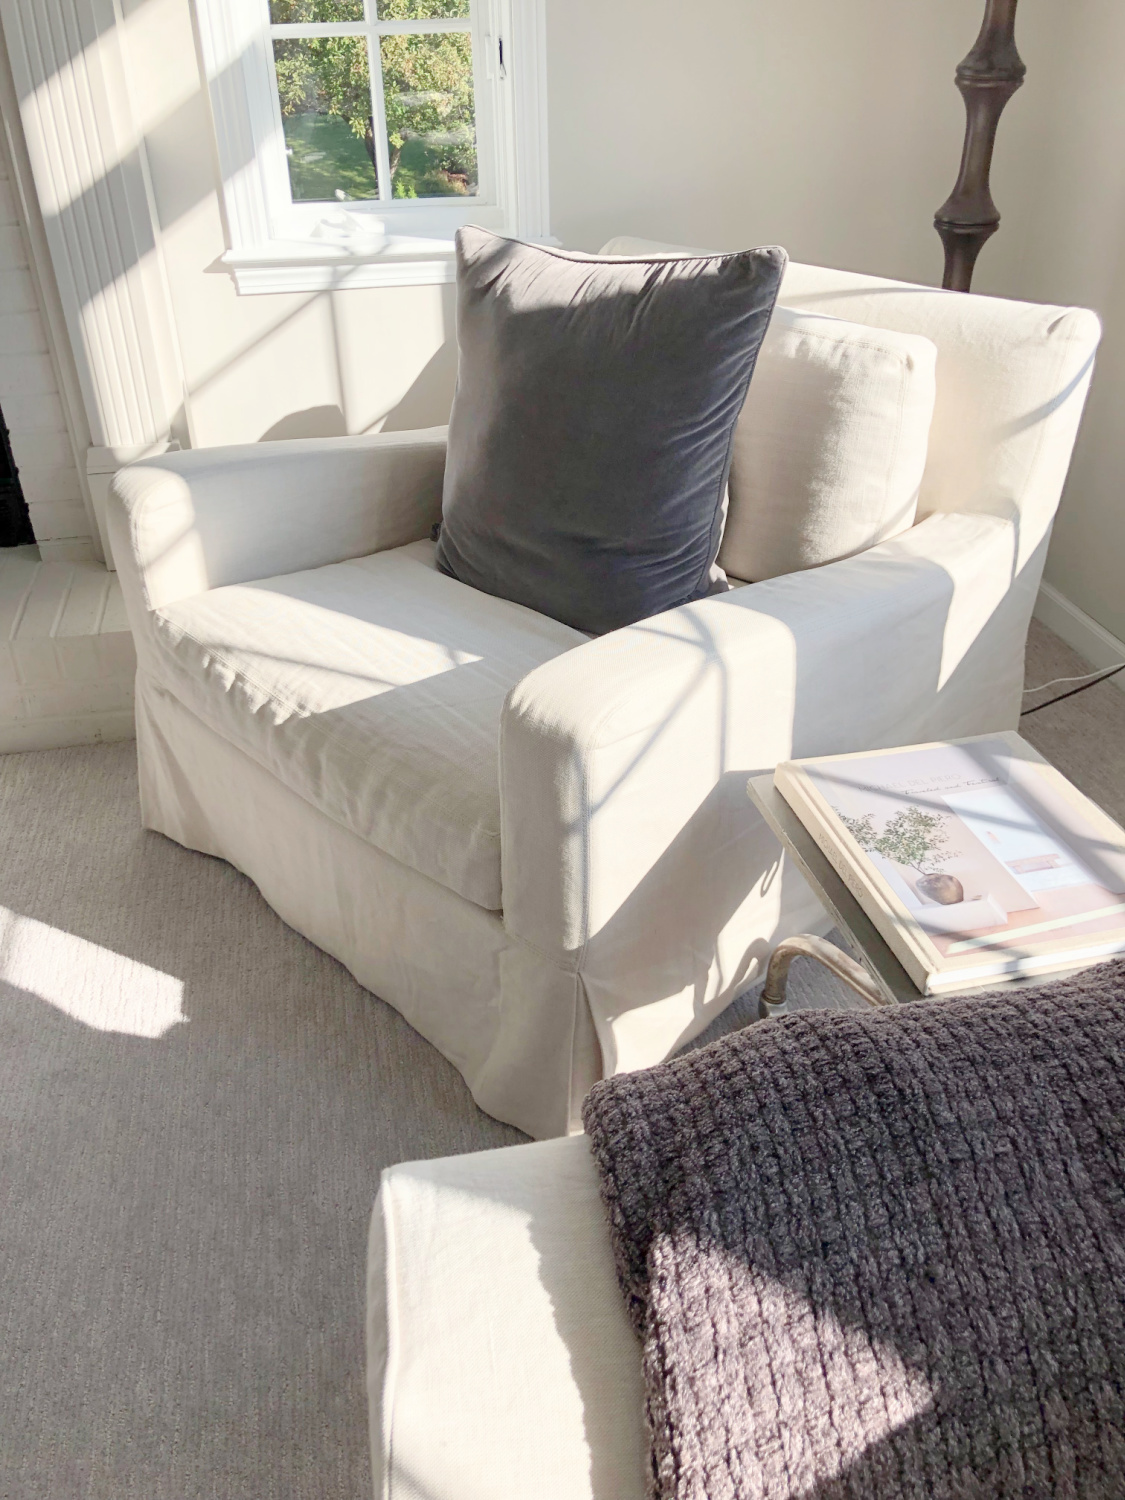
Furniture & Finishing Touches
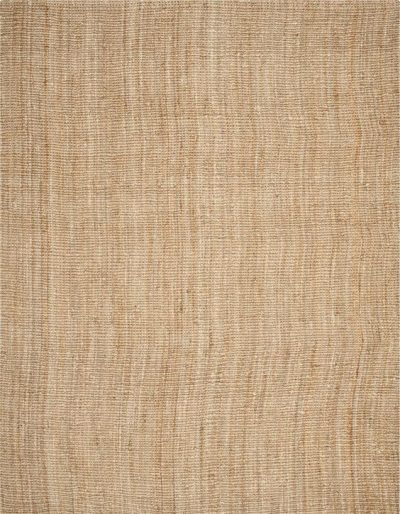
No window treatments or rugs yet, but it doesn’t feel half bad as a minimal collection of things we already owned.
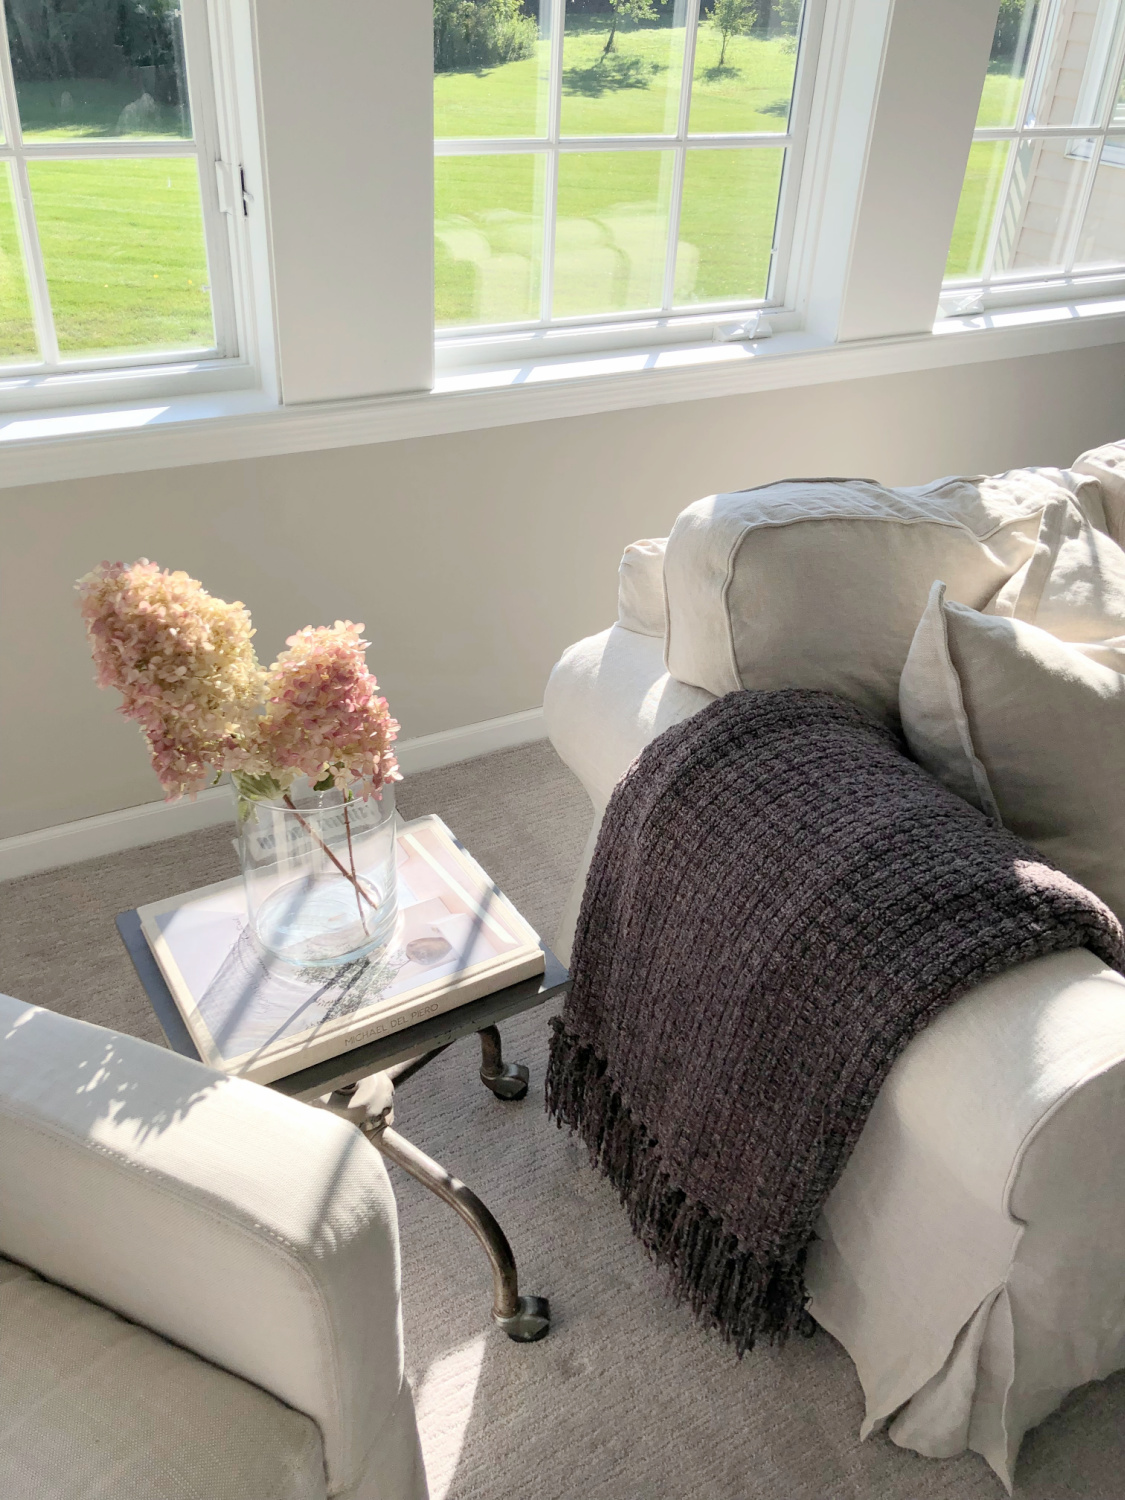
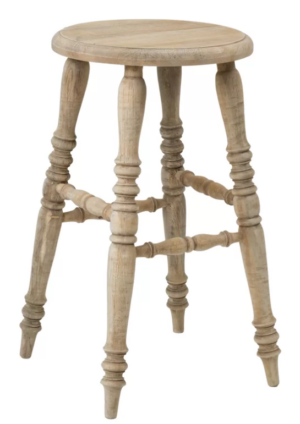
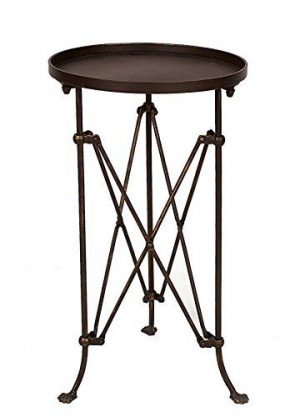
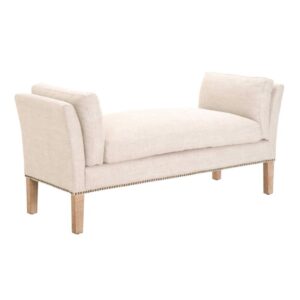
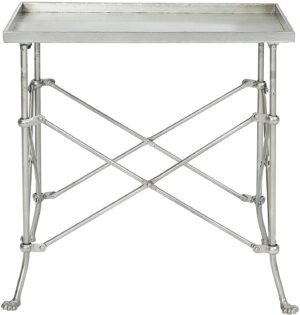
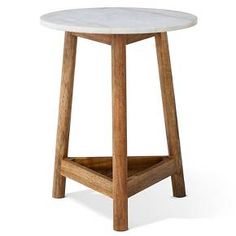
The custom Belgian linen slipcovers from BEMZ on the old sofas are wonderful – I commissioned them when we re-designed our second home in Arizona. My $1 garage sale find from 15 years ago–the industrial stool/table (above)–is still serving us well.
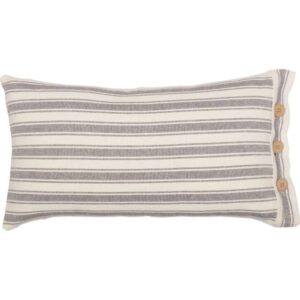
I haven’t even bought new pillows yet! Come to think of it, every single item has been with us for many years. My painting of the Oscar Wilde quote is from 2008 when I began a creative journey selling my art.
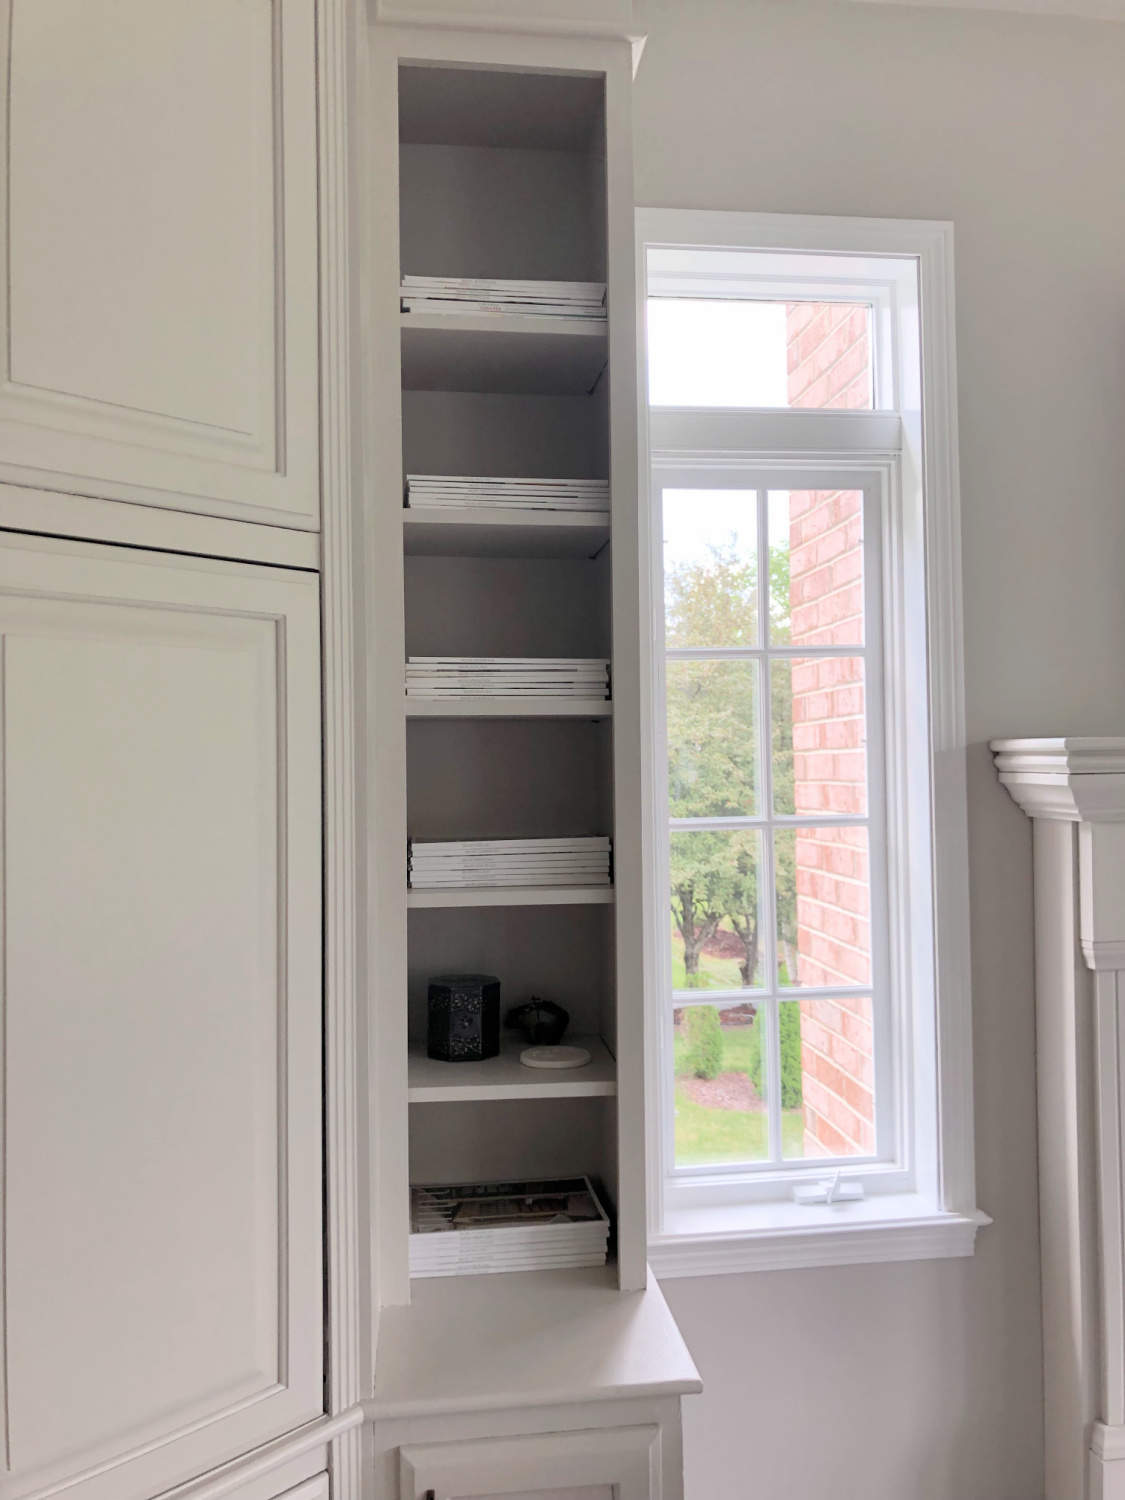
By the way, if you are wondering what we store in all of the built-ins, cupboards, and many closets throughout this home?
Nothing. Most are empty. We have a huge full, walk-out basement for storage. I may fill the built-ins in here with more books since there are many more on shelves in the basement.

Powder Room Upgrade
Here’s the powder room around the corner from the family room at the point of removing the dark finish from the hardwood:
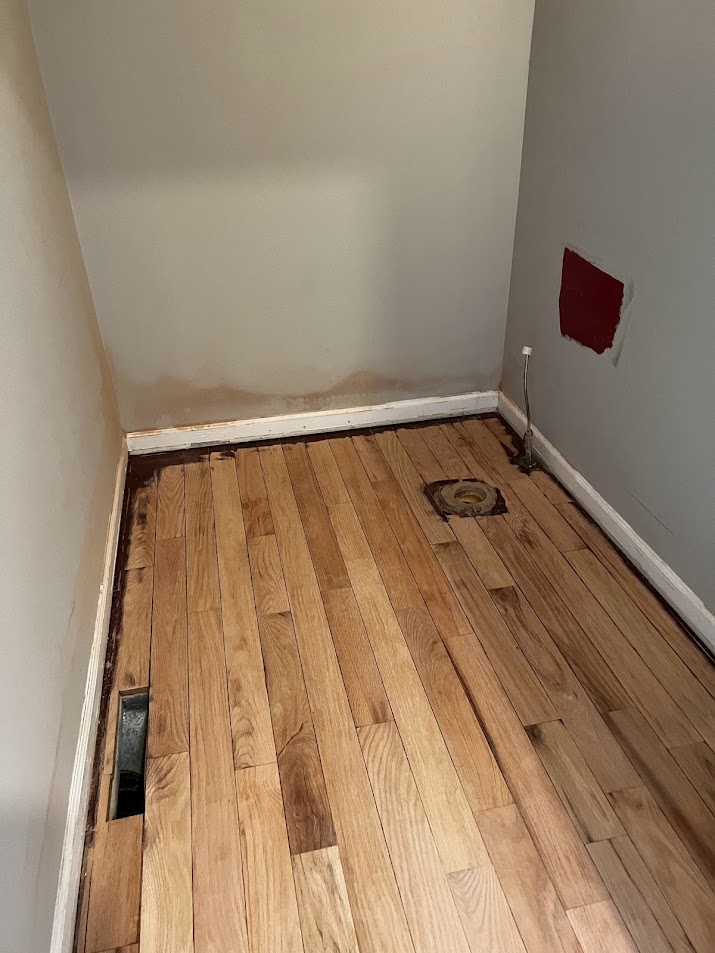
Refinishing floors always sounds like the best idea until you begin. Because dust. Red dust if you are working with dark cherry stained floors. If you are not an advanced carpenter or renovator as my husband is, it’s worth every penny to pay SOMEONE ELSE to take on the laborious process (probably $8 per square foot) or to simply start fresh.
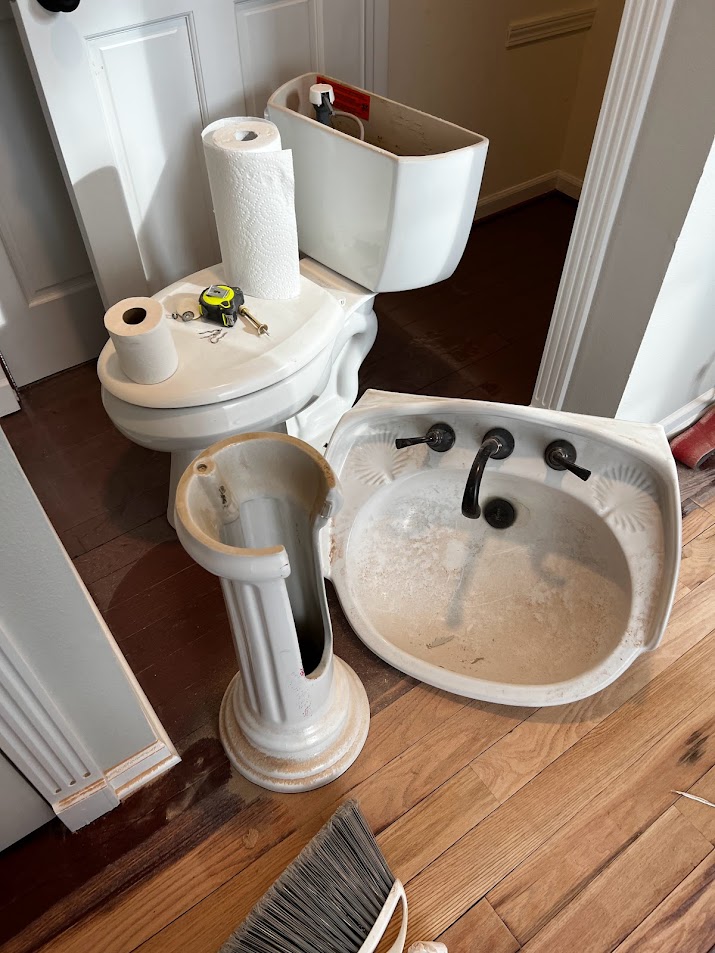
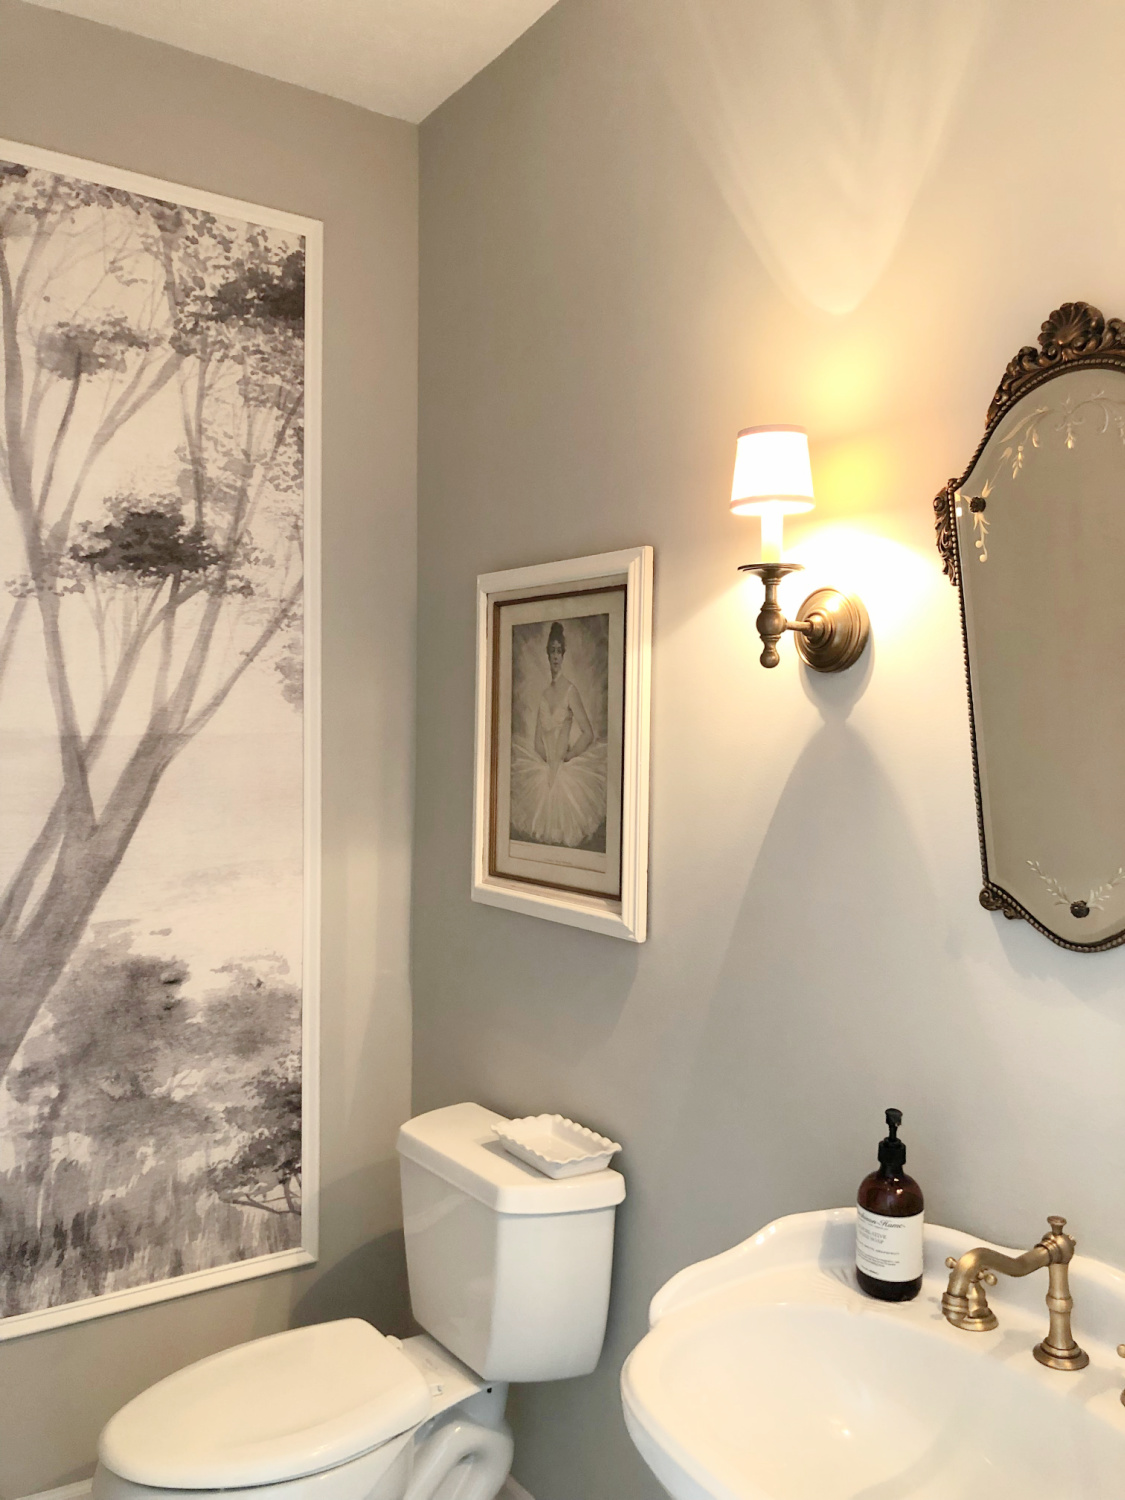
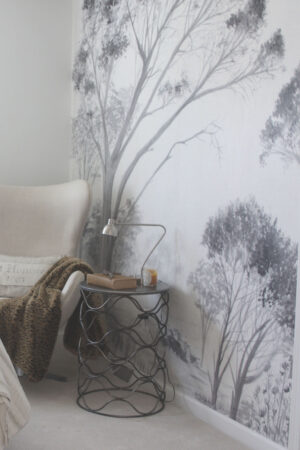
My husband framed leftover wallpaper from the mural, installed upgraded timeless sconces, a new faucet, and a very old mirror I’ll never part with! The antique etching is something I have owned forever. The paint color is Sherwin-Williams Repose Gray.

Repose Gray is cooler than Agreeable Gray, has blue undertones, and is a bit darker. I’ll be sharing our living room next which is painted this color.
The sconces in here are so special! Hand-rubbed antique brass, super heavy and made with quality to last for generations. The Chapman & Myers classic sconce is HERE.
In another post, I share the living room.
To shop my home, SEE THIS.

I independently selected products in this post—if you buy from one of my links, I may earn a commission.
Peace to you right where you are.
-michele
Thanks for shopping RIGHT HERE to keep decor inspiration flowing on Hello Lovely!
Hello Lovely is a participant in the Amazon Services LLC Associates Program, an affiliate advertising program designed to provide a means for sites to earn fees by linking to Amazon.com and affiliated sites.


Wow, what a transformation paint and all your hard work made! It looks like such a tranquil space! Great job.
Author
Thanks so much – soooooo much paint! 🙂
Bravo – what a transition its just beautiful and WHAT a labor of love .Don’t sell yourself short you two love birds can certainly hold your place next to any “pro” . About 7 years ago my husband and I tackled our knotty pine dark stained kitchen cabinets – I know what you mean by the minutes of feeling good about your progress only to be met with dark orange spots moments later . I came very close to just breaking a few cabinet doors in order to justify having brand new white kitchen cabinets installed, but of course $$$$ changed my mind . So….after 3 months of this madness during the GA. summer heat we had beautiful white kitchen cabinets . Over the years I have had to do very minor touch ups but have recently noticed a few knots threatening to show themselves – but I keep saying no big deal Ill deal with that soooooon …….
One question – The windows appear to have no grids in the before pictures , is it just the angle or did you replace the windows or just add the grids ?
Author
You totally get it, Marilyn. Covering those knots is somethin else. It’s so gratifying to transform dark things to light isn’t it? The window grids had been removed and were down in the basement. Painting them took more hours than I can tell you. While the trim required 6 coats, double that for the grids. Each grid in the house is like 12 little picture frames. Oy. But I did it one grid at a time, one twelfth at a time. You just have to have screws loose to decide to take on such a goliath. 🙂
Michele I’m giving you a shout out for all the patience and hard work painting all of the trim! You did an amazing job! And now it looks updated and beautiful! I admire all the work you and your husband do. Do you have a source for the sconces in your powder room (last picture)?
Author
I do, and I need to add it to the post so thanks for reminding me! We love them. They are Chapman & Myers Classic Single Sconce, in hand-rubbed antique brass: https://rstyle.me/+SKQIkjfBJKgyh1MChWX3NQ
Author
And thank you for the shout! You’re awesome.
What an improvement to neutralize the brown in your family room! You must have oodles of patience to transform with paint, don’t you? The end result is worth the tedium, effort, time, and pain. Well done, Michele.
Author
Thank you! I can definitely get focused and have a strong will. 🙂 The builtins were something I painted over the course of two weekends, and we put a favorite movie on as I walked along the base cabinets barefoot, reaching as high as I could. It is definitely built-in Pilates and gym membership! Hahahaha.
Oh, and love the framed wall paper in the powder room!!
Author
Merci! I knew I would love it since I never tire of those grisaille trees. Some days though I think about painting that room white. What do you think?
The color on the powder room walls adds soft contrast to the framed grisaille paper, woodwork, flooring, and fixtures. Perfectly lovely now!
Author
Thanks!
serene and sublime!
Author
Thanks, Suzi. Those words look lovely together. 🙂