If there is a paintbrush in my hand, my eyes are smiling. Mostly. I love creating abstracts on canvas and transforming dark furniture with paint. Painting walls is a different creature entirely though.
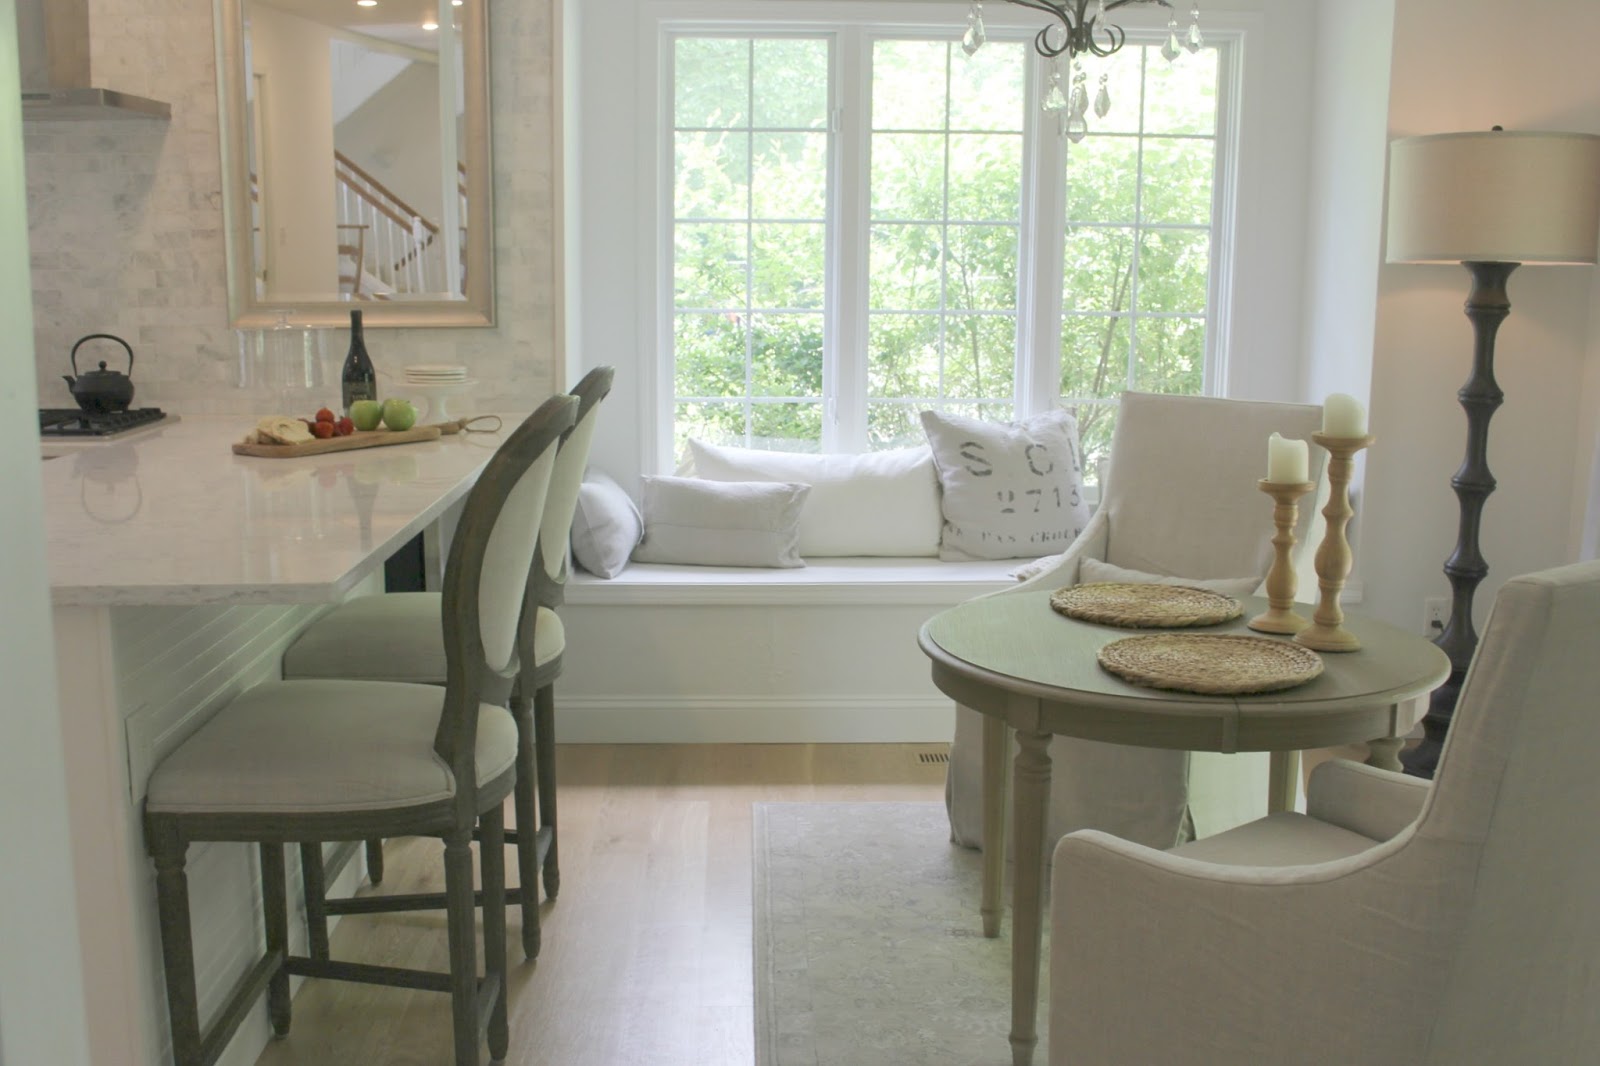
As a blogger with a passion for interior design, by now you know I don’t just write about home improvement, I truly live it. As DIYers, my husband and I have worked on more than a dozen homes, which…oy…adds up to hundreds of walls requiring interior painting! For most of our projects, it made financial sense to do the interior painting ourselves and for a few, it was wise to leave the job to professionals.
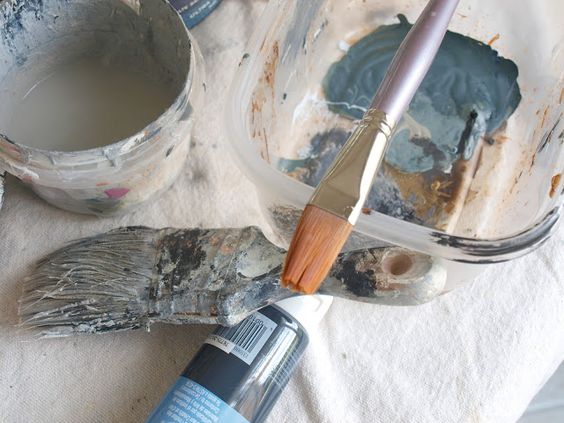
It’s true that paint will transform a space dramatically, and our Chicagoland fixer upper had been freshly painted top to bottom in an unfortunate shade of “pale margarine yellow.” What a shame all that effort and expense was spent just in time to be erased entirely! The paint color chosen not only dated the place, it cast a yellow tint on everything we brought moved into the home. I don’ t have anything against painting a room light yellow if yellow is your thing, but this shade everywhere? Combined with the golden natural light we get here? Made me sad. So we only left one room alone (the media/family room in the lower level) and DIY painted over every other wall and ceiling surface.
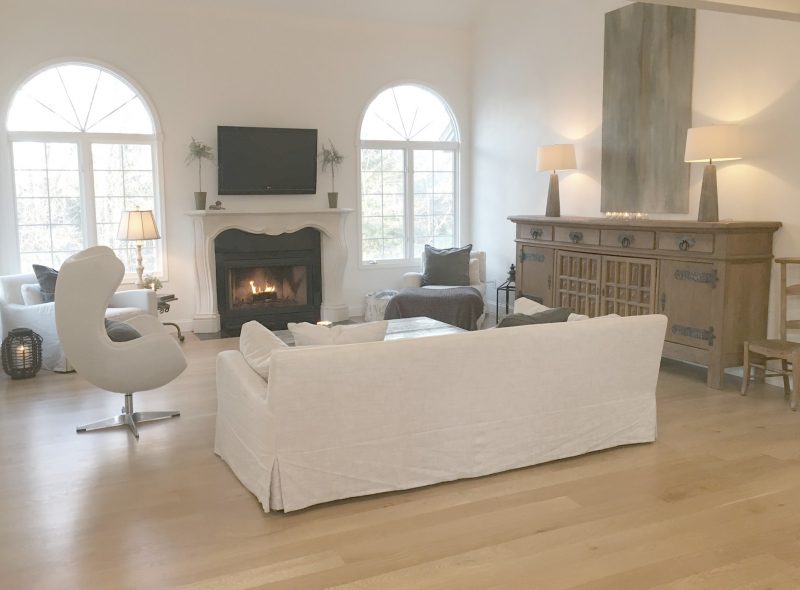
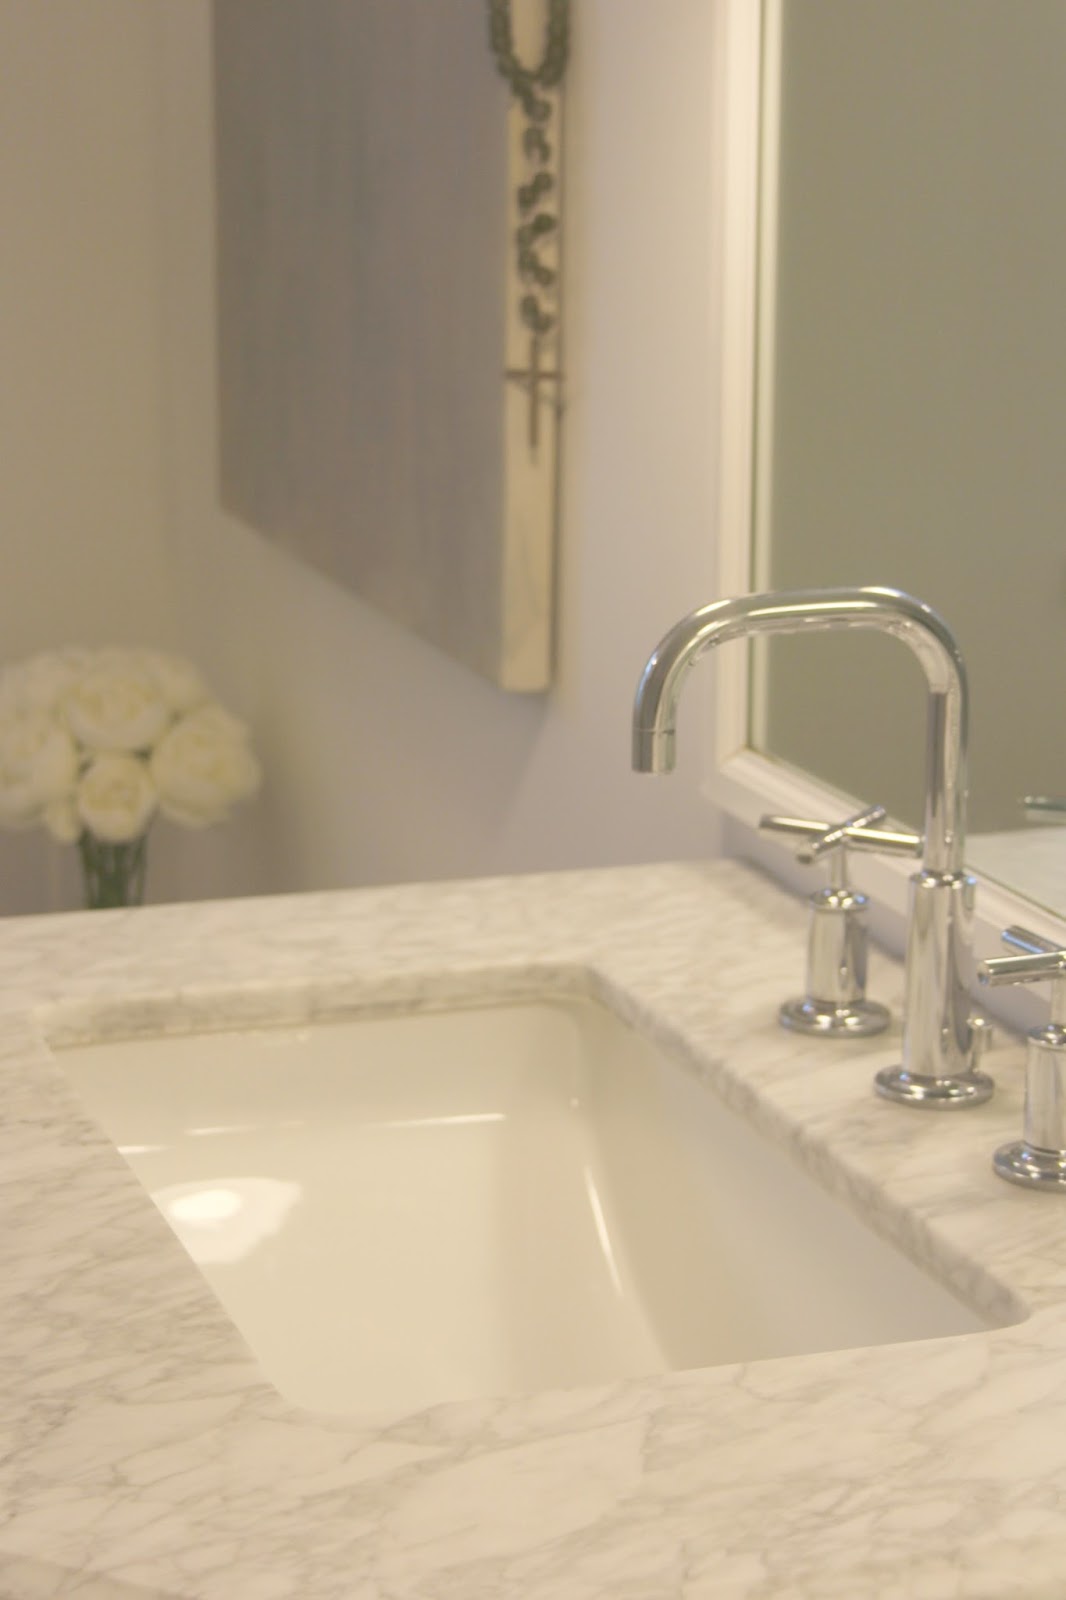
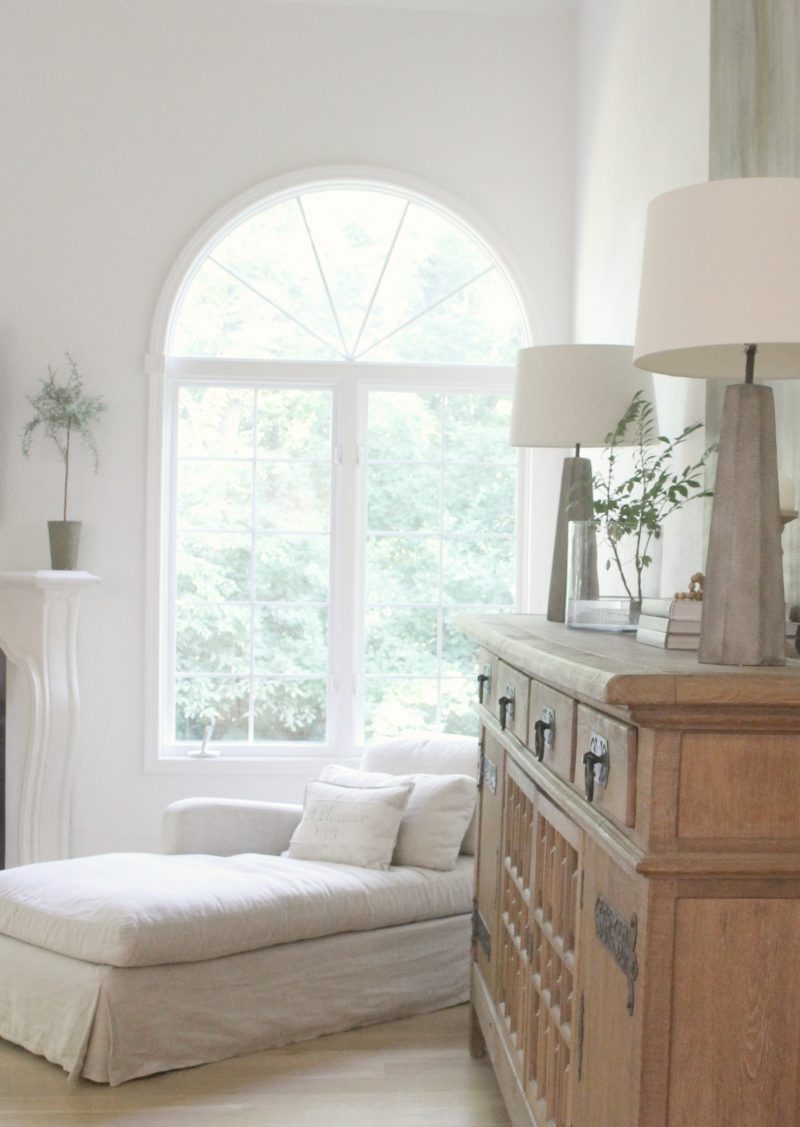
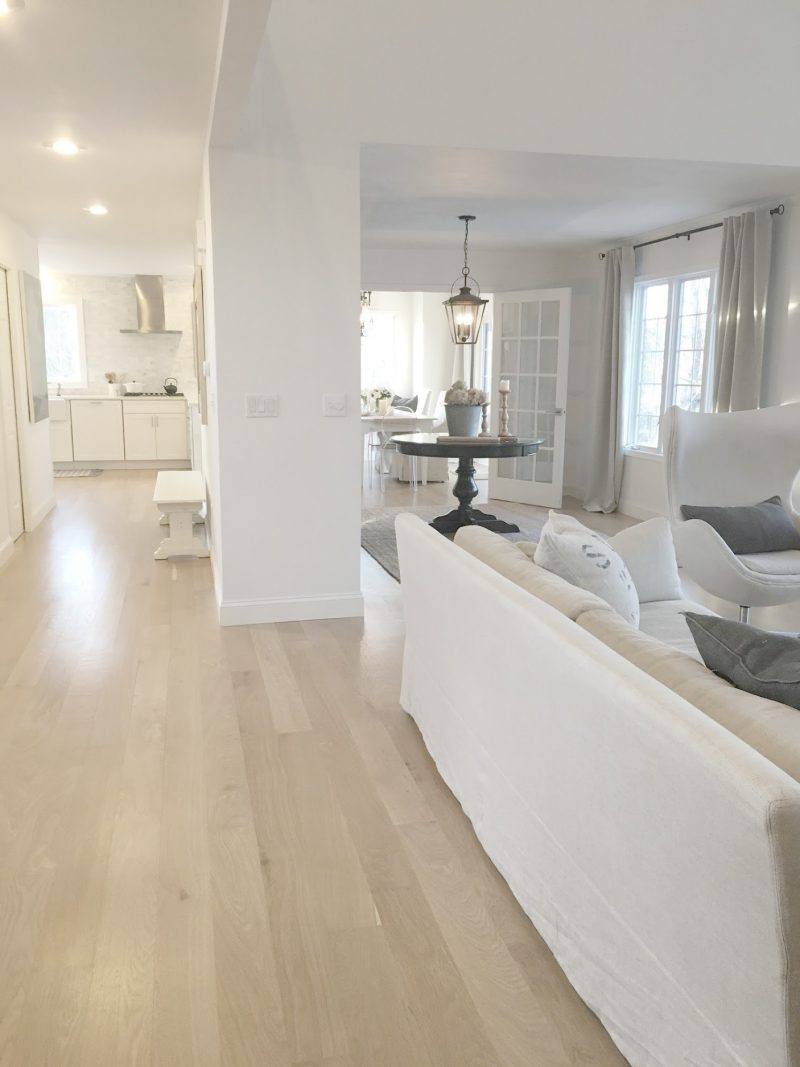
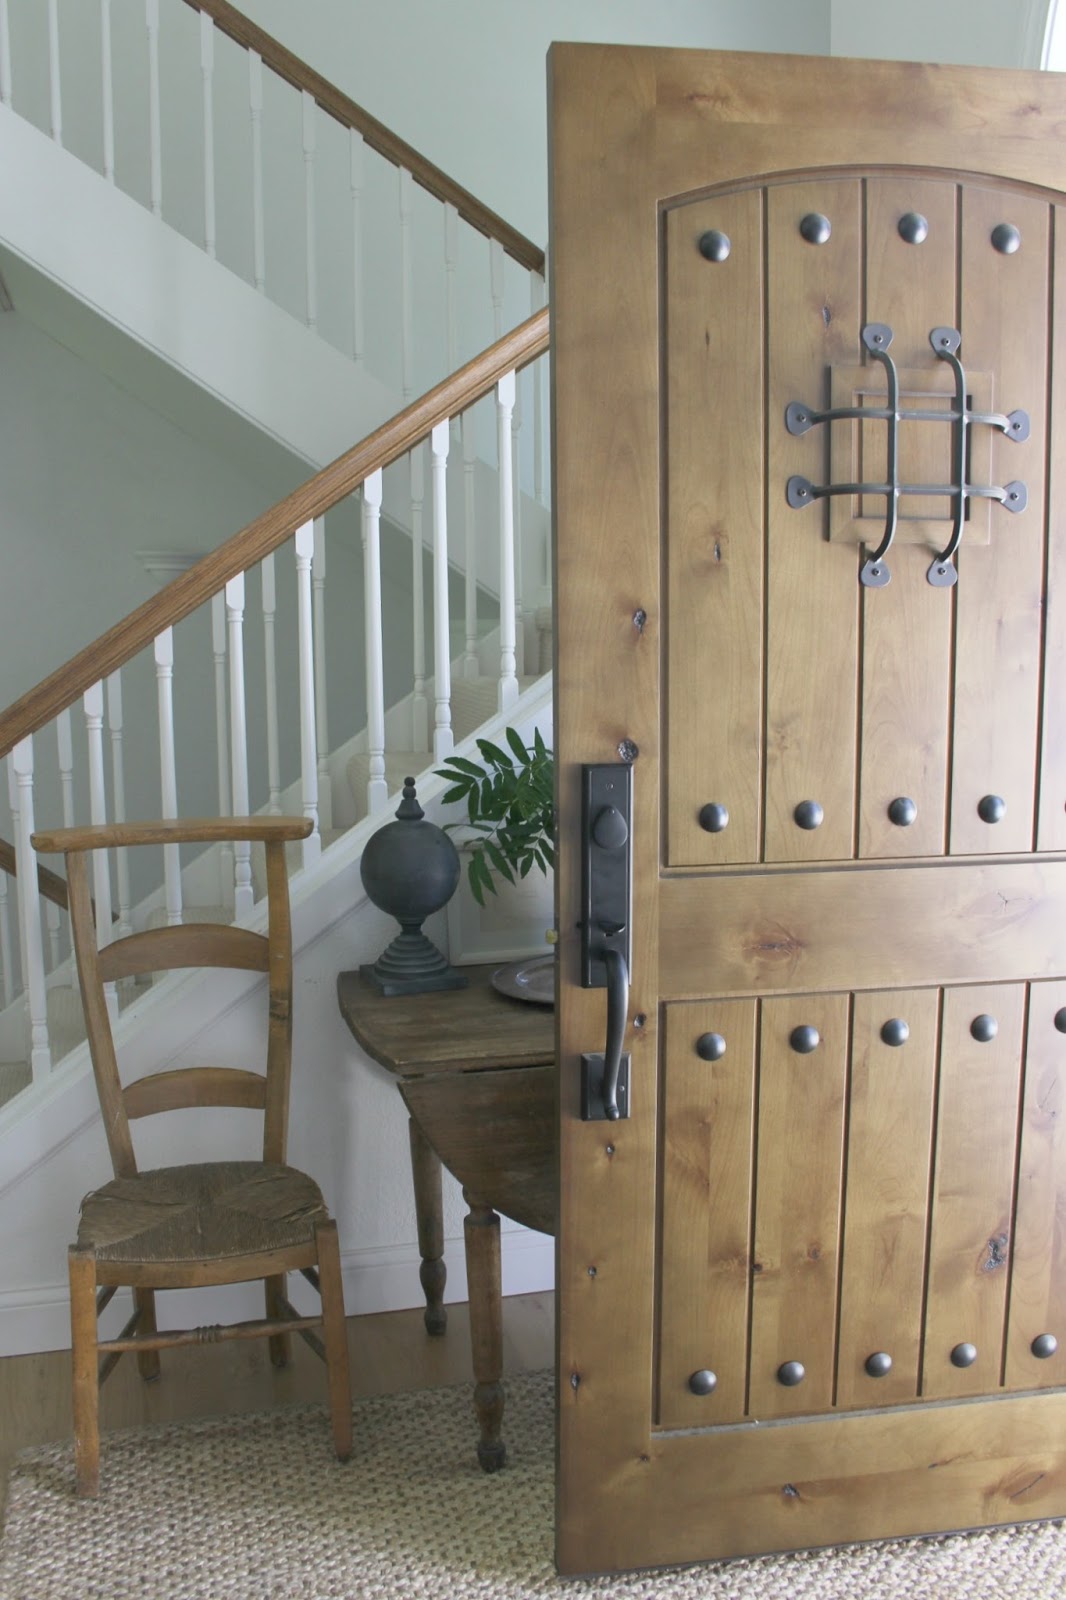
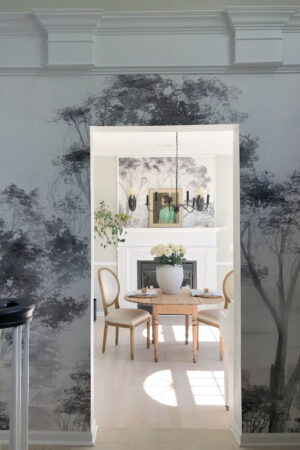
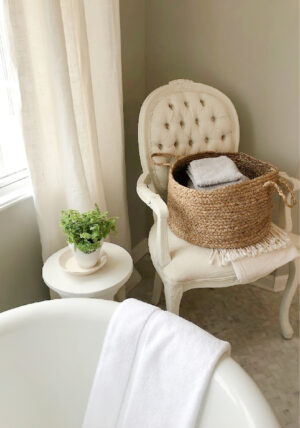
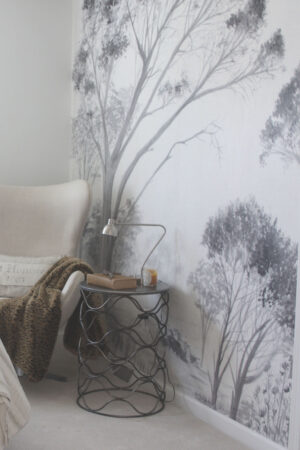
How about you? Wondering whether to paint walls yourselves or to hire a pro? I’m sharing a few straightforward considerations to mull over as well as images of spaces we have painted recently:
Time is Money. Will you have enough time to do it yourself? Hiring a professional may save you time, labor, and headache.
Let’s Avoid the ER…Oui? Painting walls is a physical workout…do you have physical limitations, vertigo, shaky hands, or issues impacting your safety and health? Allowing someone else to climb the ladder is money well spent, and your joints will thank you.

Scaffolding Woes. If you have high ceilings or a whole house of rooms which require paint, it’s likely a job to leave to a team of professionals with the proper equipment and expertise. When we built our prior French Country home, we left all of the interior painting to a team of professionals who used high tech sprayers and knocked out the job in no time.
Money Talks. Have a budget to pay for the the work to be done by professionals? Lucky you! Go pro, mama.
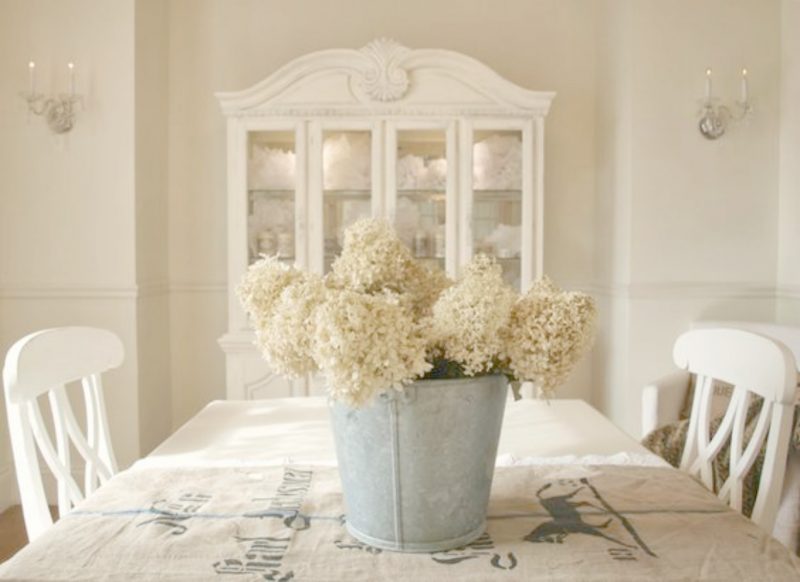
My go to whites: In our prior home, we had most of our walls painted Benjamin Moore White Sand, and here at the fixer upper, the bright white that worked best was Benjamin Moore White (yep, that’s right, W H I T E…the folks at the paint counter are destined to make you repeat the underwhelming mono-syllabic name of this color!).
If DIY painting is new for you, here are 6 SMART TIPS to keep the stress level low and the WOW factor high.
- Remove furniture, lamps, and objects from the room or move them away from walls. Remove outlet and light switch plates to save time and effort taping off those areas.
- Cover the floor with a dropcloth.
- Prep work is important when you want to execute it like the pros. Repair any wall damage, cracks, and holes with joint compound or spackle. Allow to dry completely, then sand and smooth. Remove any dust by wiping down and vacuuming wall surfaces.
- You will most likely need to mask off with painter’s tape those areas you don’t want painted (trim, light fixtures, etc).
- To cut in, use an angled 2 1/2″ or 3″ quality paintbrush, using light pressure and smooth strokes. Move around the room, along the edges, as fast as you feel comfortable, keeping a wet edge. First cut out the wall – ceiling, then corners, then around outlets, then windows, then vents, and then the wall – floor. When the room is cut in entirely, you’re ready to roll.
- For rolling, start at the top of the wall and work your way down. Load your roller with paint and roll it on the wall in a W pattern. Then, fill in the W area with paint. Work quickly and keep a wet edge moving along the wall. If you notice you missed a spot, let it dry, keep moving, and go back later for touch-ups.


If you are feeling extra geeky and game for a few BONUS painting hacks, check out these brilliant ones:
This is Tray Smart. (See what I did there? Ha!) Line your paint tray with a disposable insert, aluminum foil, or a plastic bag for easier clean-up and less paint down the sink drain.
Glove Love. Consider wearing disposable gloves to avoid messy hands and to store paint brushes that you don’t want to dry out. And don’t forget a mask…your lungs will thank you.
Not Just for Laundry. For easier paint brush cleanup, add fabric softener to the water in which you soak brushes to prevent dryness and hardening of the bristles.

Your turn: HAVE A PAINT TIP OR WOE TO SHARE?
I independently selected products in this post—if you buy from one of my links, I may earn a commission.
Peace to you right where you are.
-michele
Shop for items you already intended to buy on Amazon RIGHT HERE, and also find home decor here to keep decor inspiration flowing on Hello Lovely!
Hello Lovely is a participant in the Amazon Services LLC Associates Program, an affiliate advertising program designed to provide a means for sites to earn fees by linking to Amazon.com and affiliated sites.


















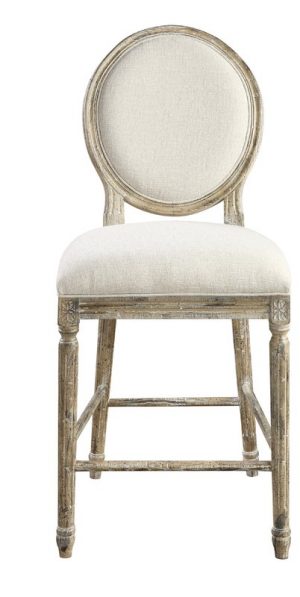






































I love this house and everything about it everything. I also love the Arizona house also you have a nack of talent it shows love your homes thank you for sharing I come threw all the time may not comment all the time but I look at all your post’s thank you .
Author
So great to hear from you, Marie. Thanks for following along and all the kindness! xox
Brushes and rollers keep better wrapped in plastic and in the fridge. Don’t rinse, just wring out excess paint as best you can and wrap in plastic bag/wrap. This doesn’t mean indefinitely but it does mean you can overnight/couple of day save and reuse. Save a little $$ on additional rollers/brushes.
Author
Great tip! Definitely. I do the same with my brush sometimes!
“If you notice you missed a spot, let it dry, keep moving, and go back later for touch-ups.” This tip is a must. I have personally experienced this while doing DIY projects people make this mistake. You should be very quick as well as careful about the finishing of the walls.
Author
Thanks for reinforcing this tip, Lisa. And thanks for reading! 🙂
well done! is this your new place? the front door and all the rooms turned out amazing, awesome eye candy Michele!
Author
It’s the fixer upper in Illinois we bought 2.5 years ago…it feels new though since we re-did everything! Thanks, Elaine.
Beautiful place! Looks very cozy and home-y. I was just wondering where you are sourcing your materials? Btw, very helpful tips! 🙂
– Sam
Author
Thanks, Sam. If you are asking about sources for home decor and fixtures, see this post: https://www.hellolovelystudio.com/2017/06/hello-lovely-fixer-upper-all-sources.html
very nice tips. thanks for sharing the article:)
Author
Thanks for reading, Jenny. 🙂